1. Product Overview
The Hormann FIT 1 BS Wireless Push Button is designed to control your garage door and gate operators equipped with BiSecur technology. With its clean design and ease of use, it offers a practical solution for controlling your automated systems.
This device is ideal for indoor installation, near the access point you wish to automate.
2. Key Features and Components
- Wireless Operation: Eliminates the need for complex wiring.
- Single Channel: Controls one specific automation.
- BiSecur Technology: Ensures secure and stable radio transmission.
- Compact Design: Blends seamlessly into any interior.
- Easy Installation: Can be fixed by screwing or gluing.
Package Contents:
- Hormann FIT 1 BS Push Button
- 2 x 1.5 V LR03 / AAA batteries
- Installation manual
- Mounting accessories
3. Specifications
| Specification | Detail |
|---|---|
| Product Type | Wireless Push Button |
| Number of Buttons | 1 |
| Radio Frequency | 868.3 MHz BiSecur |
| Power Supply | 2 x 1.5 V LR03 / AAA batteries |
| Protection Rating | IP20 (for dry areas only) |
| Dimensions (L x W x H) | 80 x 80 x 15 mm |
| Weight | 52 g |
| Color | White |
4. Compatibility
The Hormann FIT 1 BS Wireless Push Button is compatible with:
- Hormann operators equipped with BiSecur technology.
- Backward compatible with Hormann 868 MHz fixed code operators.
Note: Ensure your existing operator is compatible with the specified frequencies and technologies before installation.
5. Installation
The Hormann FIT 1 BS push button offers flexible installation options, allowing it to be fixed by either screwing or gluing, depending on your preference and the mounting surface.
Installation Steps:
- Prepare the Mounting Surface: Choose a dry, flat, and clean surface for installation. Ensure it is within range of your Hormann operator.
- Insert Batteries: Open the battery compartment and insert the two 1.5 V LR03 / AAA batteries, observing the correct polarity.
- Mounting (Screwing):
- Carefully detach the front cover from the back plate.
- Position the back plate on the desired surface and mark the drilling points.
- Drill holes and insert appropriate wall plugs if necessary.
- Secure the back plate using the provided mounting screws.
- Reattach the front cover to the secured back plate.
- Mounting (Gluing):
- Apply a suitable adhesive (not supplied) to the back of the push button.
- Press the push button firmly onto the desired clean surface for the recommended duration as per the adhesive instructions.
- Pairing with Operator: Follow the specific pairing instructions for your Hormann garage door or gate operator to link the push button. This typically involves activating a programming mode on the operator and then pressing the button on the FIT 1 BS. Refer to your operator's manual for detailed pairing steps.

Figure 1: Front view of the Hormann FIT 1 BS Wireless Push Button. This image shows the clean, white design with the large circular button and the Hormann logo at the bottom.

Figure 2: The Hormann FIT 1 BS Wireless Push Button displayed on a clear stand, providing a full front view of the device.

Figure 3: An angled view of the Hormann FIT 1 BS Wireless Push Button on a clear stand, highlighting its slim profile.

Figure 4: Another perspective of the Hormann FIT 1 BS Wireless Push Button on its stand, showing the top edge and the button's curvature.
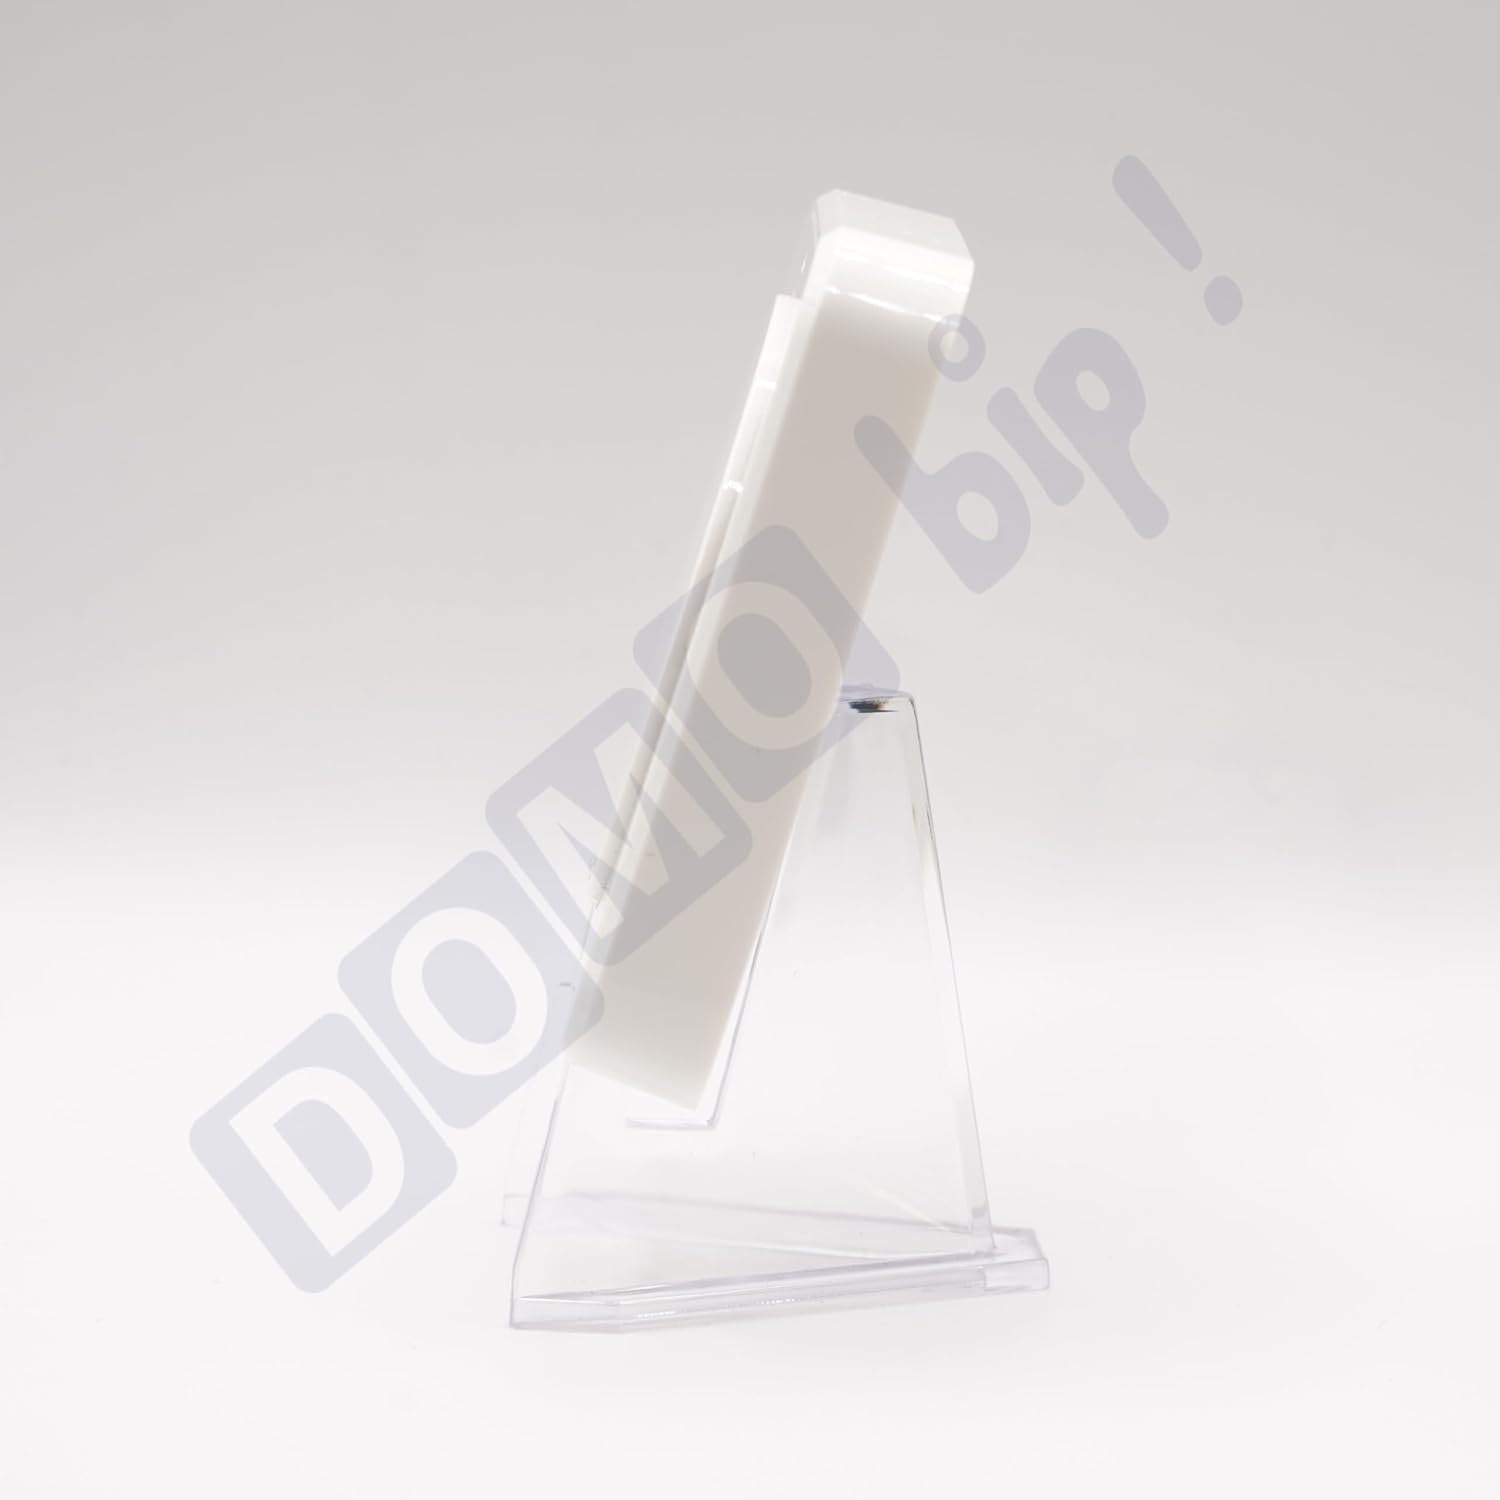
Figure 5: Side view of the Hormann FIT 1 BS Wireless Push Button on a clear stand, emphasizing its thin design.
6. Operation
The Hormann FIT 1 BS Wireless Push Button features a single, intuitive button for simplified control of your automated systems.
Basic Operation:
- Opening/Closing: Press the large circular button once to initiate the opening or closing sequence of your paired garage door or gate operator.
- Stopping: Press the button again during operation to stop the movement.
The exact behavior (e.g., full open/close cycle, stop-reverse) depends on the programming of your specific Hormann operator.
7. Maintenance
To ensure the longevity and optimal performance of your Hormann FIT 1 BS Wireless Push Button, follow these simple maintenance guidelines:
- Cleaning: Wipe the surface with a soft, dry cloth. Avoid using abrasive cleaners or solvents, as these can damage the finish.
- Battery Replacement: When the push button's response becomes sluggish or it stops functioning, it's likely time to replace the batteries. Open the battery compartment, remove the old batteries, and insert two new 1.5 V LR03 / AAA batteries, ensuring correct polarity. Dispose of old batteries responsibly.
- Environmental Conditions: As the device has an IP20 rating, ensure it is used only in dry indoor environments. Avoid exposure to moisture, extreme temperatures, or direct sunlight.
8. Troubleshooting
If you encounter issues with your Hormann FIT 1 BS Wireless Push Button, try the following troubleshooting steps:
- Device Not Responding:
- Check the batteries. Replace them if they are old or depleted.
- Ensure the push button is within the operating range of your Hormann operator.
- Verify that the push button is correctly paired with your operator. If unsure, attempt to re-pair it according to your operator's manual.
- Intermittent Operation:
- Check for potential sources of radio interference (e.g., other wireless devices, large metal objects) near the push button or the operator.
- Ensure the batteries are securely seated and have sufficient charge.
- Button Feels Stuck or Unresponsive:
- Inspect the button for any physical obstructions or debris.
- If the button is physically damaged, the unit may need replacement.
If these steps do not resolve the issue, please refer to the support information provided by Hormann or your product retailer.
9. Warranty and Support
Information regarding the specific warranty period and support contacts for the Hormann FIT 1 BS Wireless Push Button is typically provided with the product packaging or available on the official Hormann website. Please retain your proof of purchase for warranty claims.
For technical assistance or further inquiries, please contact Hormann customer service or your authorized dealer.


