
1. Important Safety Information
Read all instructions carefully before installation and operation. Failure to follow these instructions may result in damage to the product or vehicle, and may void the warranty. Professional installation is recommended.
- Ensure the vehicle's ignition is off and the battery is disconnected before beginning installation.
- Do not operate the system in a way that distracts you from driving. Always prioritize road safety.
- This product is designed for specific Mercedes-Benz E-Class W212, E200, S212 models (2015-2016) with NTG 5.0/5.1 system (4-door vehicles only). It is not compatible with C207 models or NTG4.0/4.5/4.7 systems. Verify compatibility before installation.
- Handle fiber optic cables with care to prevent damage.
2. Package Contents
Verify all components are present before installation:
- Ultra narrow 12.3" in-cell display screen
- Plug and play power Cable/Frame
- USB/AUX/RCA Cable
- AMI Cable
- Installation tools and touch pen

3. Compatibility Check
This unit is specifically designed for Mercedes-Benz E-Class W212, E200, E230, E260, E300, S212 models manufactured between 2015 and 2016, equipped with the NTG 5.0/5.1 system. It is only suitable for 4-door vehicles and is not compatible with C207 models or vehicles with NTG4.0/4.5/4.7 systems.

4. Installation Guide
4.1 Fiber Optic Cable Transfer
If your original car system uses fiber optic cables for audio, you must transfer them to the new system's harness to ensure sound functionality.
- Locate the original car CD unit.
- Unplug the 2P fiber optic harness from the original car CD unit.
- Insert this fiber optic harness into the corresponding slot on the Linux system harness.
Video Guide: How to transfer fiber optic cables (no sound issue troubleshooting)
4.2 Wired CarPlay/Android Auto Connection
For wired CarPlay or Android Auto functionality, use the USB1 port. USB2 is for storage only.

4.3 Sound Activation (AUX/AMI)
To ensure audio output, the system requires connection via either the AMI cable or the original AUX input.
- If your vehicle has an AMI port, directly insert the provided AMI cable.
- If using the original AUX input (typically found in the manual gear position or passenger side storage box), navigate to the system settings and turn off the "AUX auto switching" setting.

Video Guide: How to connect Carplay and activate sound (Method 1)
Video Guide: How to connect Carplay and activate sound (Method 2)
5. Operating Instructions
5.1 System Overview
The Uckazy multimedia system features a dual-system design, allowing seamless switching between the Linux 5.0 system (for CarPlay/Android Auto) and the original car's NTG system. It utilizes an ultra-narrow 12.3-inch IN-CELL screen with HD1920*720 resolution for enhanced clarity and reduced reflection.


5.2 Switching Between Systems
The system allows for a one-click switch between the Linux system (CarPlay/Android Auto) and the original car system. All original functions, including radio, amplifier, steering wheel controls, mouse knob, and reverse camera, are retained.

Video Guide: Operating System Linux
5.3 CarPlay and Android Auto Features
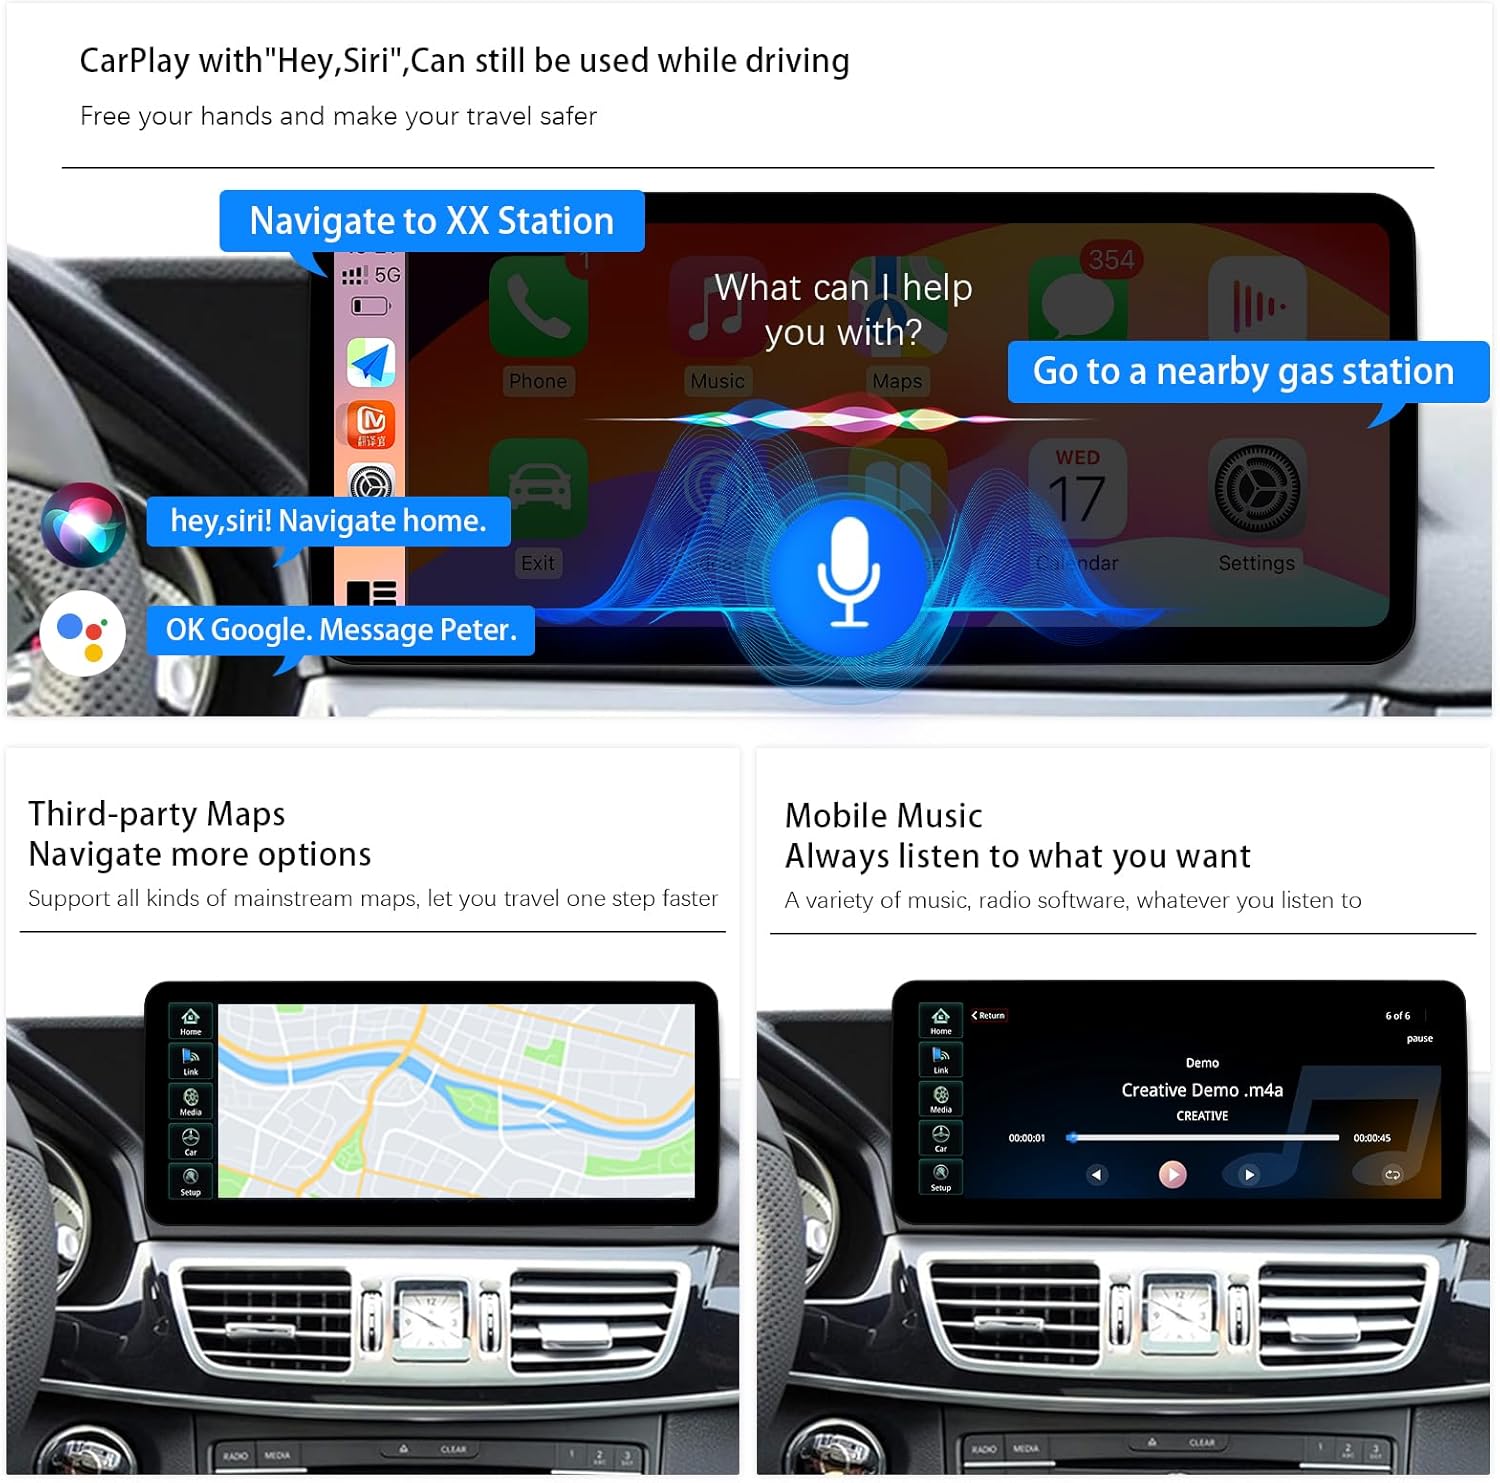
The system supports wireless and wired Apple CarPlay and Android Auto, wireless MirrorLink for iOS and Android phones, Bluetooth, and Wi-Fi. It includes a built-in DSP with 16 EQ segments for audio customization.
- Access map navigation, phone contacts, email, notifications, and music.
- Utilize voice assistants like Siri or Google Voice Assistant for hands-free operation.

5.4 Automatic Light Sensitivity
The screen automatically adjusts its brightness based on your car's original headlights, optimizing visibility during day and night driving.

6. Settings and Customization
6.1 OEM Resolution Settings
To ensure correct display of original car information, set the OEM screen resolution in the system settings.
- Navigate to Setup > Car Settings > Original Car Screen Resolution.
- Select the correct resolution for your OEM display. Incorrect settings may prevent original car information from displaying correctly.

6.2 Camera Settings
Configure the system for your vehicle's reverse camera type.
- Navigate to Setup > Car Settings > Reversing Settings > Camera Type.
- Select either "Original Camera" or "Aftermarket Camera" as appropriate. Incorrect selection will prevent the reverse camera from functioning.
6.3 AUX Auto Switch
If you are experiencing sound issues or prefer manual control over AUX input, adjust this setting.
- Navigate to Setup > Car Settings > Auto Switch to AUX.
- Toggle this setting ON or OFF based on your preference.

7. Troubleshooting
| Problem | Possible Cause | Solution |
|---|---|---|
| No sound from the system. | Fiber optic cables not transferred correctly, or AUX/AMI not activated. |
|
| CarPlay/Android Auto not connecting wirelessly. | Bluetooth not connected or Siri/Google Voice Assistant not enabled. |
|
| Original car information not displaying correctly. | Incorrect OEM screen resolution setting. | Adjust the "Original Car Screen Resolution" in the system settings to match your vehicle's display (refer to Section 6.1). |
| Reverse camera not working. | Incorrect camera type selected in settings. | Verify the "Camera Type" setting (Original or Aftermarket) is correct in the Reversing Settings (refer to Section 6.2). |
| Sound is distorted or has noise. | Potential interference or improper USB connection. | Ensure the noise reduction connection (if applicable, as shown in Figure 4.2) is correctly installed. |
If you encounter problems during installation or operation, please contact Uckazy Factory Outlet for technical support. You can find their contact information on the product's Amazon page under "Sold by Uckzay Factory Outlet" and clicking "Ask a question."

8. Specifications
| Display Size | 12.3 Inches |
| Resolution | HD 1920*720 |
| Operating System | Linux 5.0 |
| Connectivity Technology | Bluetooth, Wi-Fi, USB |
| Special Features | Touchscreen, Wireless/Wired Apple CarPlay, Wireless/Wired Android Auto, MirrorLink, Built-in DSP with 16 EQ segments, Automatic Light Sensitivity |
| Vehicle Service Type | Car (Mercedes-Benz E-Class W212, E200, S212 2015-2016, NTG 5.0/5.1 System, 4-door) |
| Product Dimensions | 7.3 x 1.6 x 5.12 inches |
| Item Weight | 3.96 pounds |
9. Warranty and Support
The product comes with a 1-year manufacturer's warranty. For any technical assistance, installation queries, or troubleshooting, please contact the seller, Uckazy Factory Outlet, directly through the Amazon platform. They offer dedicated technical support to resolve issues related to installation, sound, CarPlay, or original car UI display.
Contacting Support:
- Visit the product page on Amazon.
- Locate "Sold by Uckzay Factory Outlet".
- Click on "Ask a question" to send a message to the technical support team.
10. Maintenance
To ensure the longevity and optimal performance of your multimedia system, follow these maintenance guidelines:
- Cleaning: Use a soft, lint-free cloth to clean the screen. For stubborn smudges, slightly dampen the cloth with water or a screen-safe cleaner. Avoid harsh chemicals or abrasive materials.
- Temperature: Avoid exposing the unit to extreme temperatures, both hot and cold, for extended periods.
- Software Updates: Periodically check for firmware updates from the manufacturer to ensure the system has the latest features and bug fixes. Follow the provided instructions for safe updating.
- Cable Connections: Ensure all cables remain securely connected. Loose connections can lead to intermittent functionality or sound issues.