Introduction
This manual provides essential information for the safe and efficient operation of your Promethean PRM-30 LCD Projector. Please read these instructions thoroughly before using the projector and retain them for future reference.
Safety Information
- Do not block ventilation openings. Ensure adequate airflow around the projector.
- Avoid direct eye exposure to the projector lens when the lamp is on.
- Do not place the projector on an unstable cart, stand, or table.
- Unplug the projector from the power outlet before cleaning.
- Refer all servicing to qualified service personnel.
Package Contents
Verify that all items are present in the package:
- Promethean PRM-30 LCD Projector
- Remote Control
- Power Cable
- HDMI Cable
- User Manual (this document)
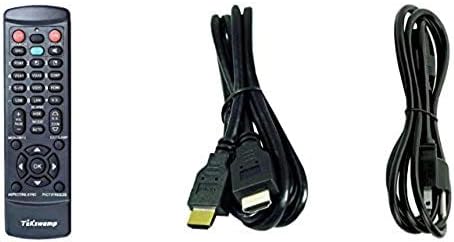
Image: Included accessories, showing the remote control, HDMI cable, and power cable.
Projector Overview
Front and Side View
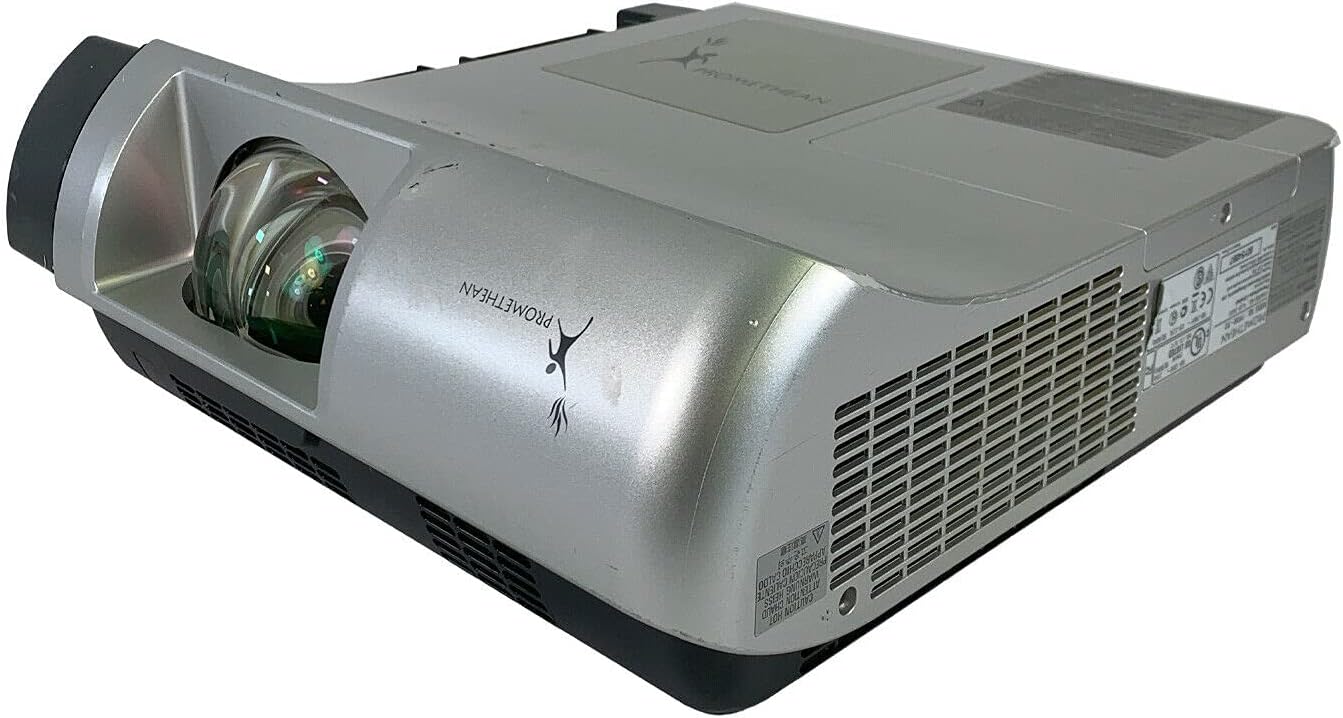
Image: Front and side view of the Promethean PRM-30 projector, highlighting the lens and ventilation.
Rear Panel Connections

Image: Rear panel of the projector, showing various input and output ports including HDMI, VGA, Composite, LAN, and RS232.
The rear panel provides various connectivity options for your audio and video sources. Refer to the "Connecting Devices" section for detailed instructions.
Top Panel Controls and Indicators

Image: Top view of the projector, displaying the control panel buttons and indicator lights for power, lamp, and warning.
The top panel features buttons for power, menu navigation, input selection, and focus/zoom adjustment. Indicator lights provide status information for power, lamp life, and warnings.
Setup
1. Projector Placement
Position the projector on a stable, flat surface or mount it securely for ceiling projection. Ensure the projector is within the optimal throw distance for your screen size. The PRM-30 supports front, rear, ceiling, and table-top projection.
- Table Top Projection: Place the projector on a flat surface in front of the screen.
- Ceiling Projection: Mount the projector inverted from the ceiling. Adjust settings in the menu for correct image orientation.
- Rear Projection: Place the projector behind a translucent screen. Adjust settings in the menu for correct image orientation.
2. Connecting Devices
Connect your video and audio sources to the appropriate ports on the projector's rear panel.
- HDMI: For high-definition digital video and audio. Use an HDMI cable to connect to your source device.
- VGA/SVGA D-Sub (Computer In): For analog computer signals. Connect using a VGA cable.
- Composite (RCA): For standard definition video. Connect using RCA cables (yellow for video, red/white for audio).
- S-Video: For enhanced standard definition video.
- LAN (RJ-45): For network control and monitoring.
- RS232 (DB-9pin): For serial control.
- Headphone Jack: For audio output to external headphones or speakers.
3. Power Connection
Connect the power cable to the projector's power inlet and then to a suitable electrical outlet.
Operating Instructions
Powering On/Off
- To Power On: Press the Power button on the projector's control panel or the remote control. The power indicator light will turn on.
- To Power Off: Press the Power button again. The projector will enter a cooling down cycle before completely shutting off. Do not unplug the projector during the cooling cycle.
Input Source Selection
Press the "Input" or "Source" button on the projector or remote control to cycle through available input sources (HDMI, VGA, Composite, S-Video, etc.) until your desired source is displayed.
Image Adjustment
- Focus: Rotate the focus ring on the projector lens until the image is sharp and clear.
- Zoom: Adjust the zoom ring on the projector lens to change the image size without moving the projector.
- Keystone Correction: If the image appears trapezoidal, use the keystone correction function (usually via menu or dedicated buttons) to square the image.
- Color Correction: Access the projector's on-screen display (OSD) menu to adjust color settings, brightness, and contrast for optimal image quality.
Audio Output
The projector has built-in speakers. For external audio, connect speakers or headphones to the Headphone Jack or use the audio output from your source device.
Maintenance
Lamp Replacement
When the "LAMP REPLACE" indicator illuminates, it is time to replace the projector lamp. Refer to the specific lamp replacement instructions provided with your replacement lamp or consult a qualified technician. Always allow the projector to cool down completely before attempting lamp replacement.
Air Filter Cleaning
Regularly clean the air filter to maintain optimal performance and prevent overheating. While this specific unit is noted as having "No Filter Cover", general projector maintenance often involves cleaning air intake areas. Use a soft brush or vacuum cleaner to remove dust from the ventilation grilles.

Image: Side view of the projector showing the ventilation grille, which should be kept clear of dust.
General Cleaning
Wipe the projector casing with a soft, damp cloth. Do not use abrasive cleaners or solvents. For the lens, use a specialized lens cleaning cloth and solution to avoid scratching.
Troubleshooting
| Problem | Possible Cause | Solution |
|---|---|---|
| No image on screen |
|
|
| Image is dim or poor quality |
|
|
| No sound |
|
|
| Remote control not working |
|
|
Specifications
| Brand | PROMETHEAN |
| Model | PRM-30 |
| Display Type | LCD |
| Brightness | 2500 ANSI lumens |
| Contrast Ratio | 500:1 |
| Native Resolution | 1280x800 |
| HD Video Mode | 1080i |
| Projector Weight | 12.57 lbs. |
| Connectivity | LAN, Composite: RCA, Network: RJ-45, RS232: DB-9pin, S-Video, Headphone Jack, HDMI Standard, VGA/SVGA D-Sub, Wired |
| Special Features | Built-in Speakers, Ceiling Projection, Color Correction, HD Ready, Projection Tilt, Rear Projection, Short Throw Projection, Table Top Projection, Portable |
| Package Dimensions | 16 x 16 x 8 inches |
Warranty and Support
This Promethean PRM-30 projector is offered as a renewed product. Please refer to the seller's (PR Renewed) specific return and warranty policies for details. Typically, renewed products come with a limited warranty or return period.
- Return Policy: This product typically includes a 90-day refund or replacement policy.
- Technical Support: For technical assistance or warranty claims, please contact the seller, PR Renewed, directly.
- Protection Plans: Optional extended protection plans may be available for purchase separately.


