1. Introduction
This manual provides essential instructions for the setup, operation, and maintenance of your CAPOXO Capoxo-SQ-21-Charger-NV 4K Full HD Wired Security Camera. This device is designed for indoor surveillance, offering continuous recording, motion detection, and night vision capabilities. Please read this manual thoroughly before using the product to ensure proper functionality and safety.

Image 1.1: The CAPOXO Capoxo-SQ-21-Charger-NV wired security camera, designed to resemble a standard USB wall charger.
2. Product Overview
2.1 Package Contents
Verify that all items are present in your package:
- CAPOXO Security Camera
- USB Cable
- Card Reader
- User Manual
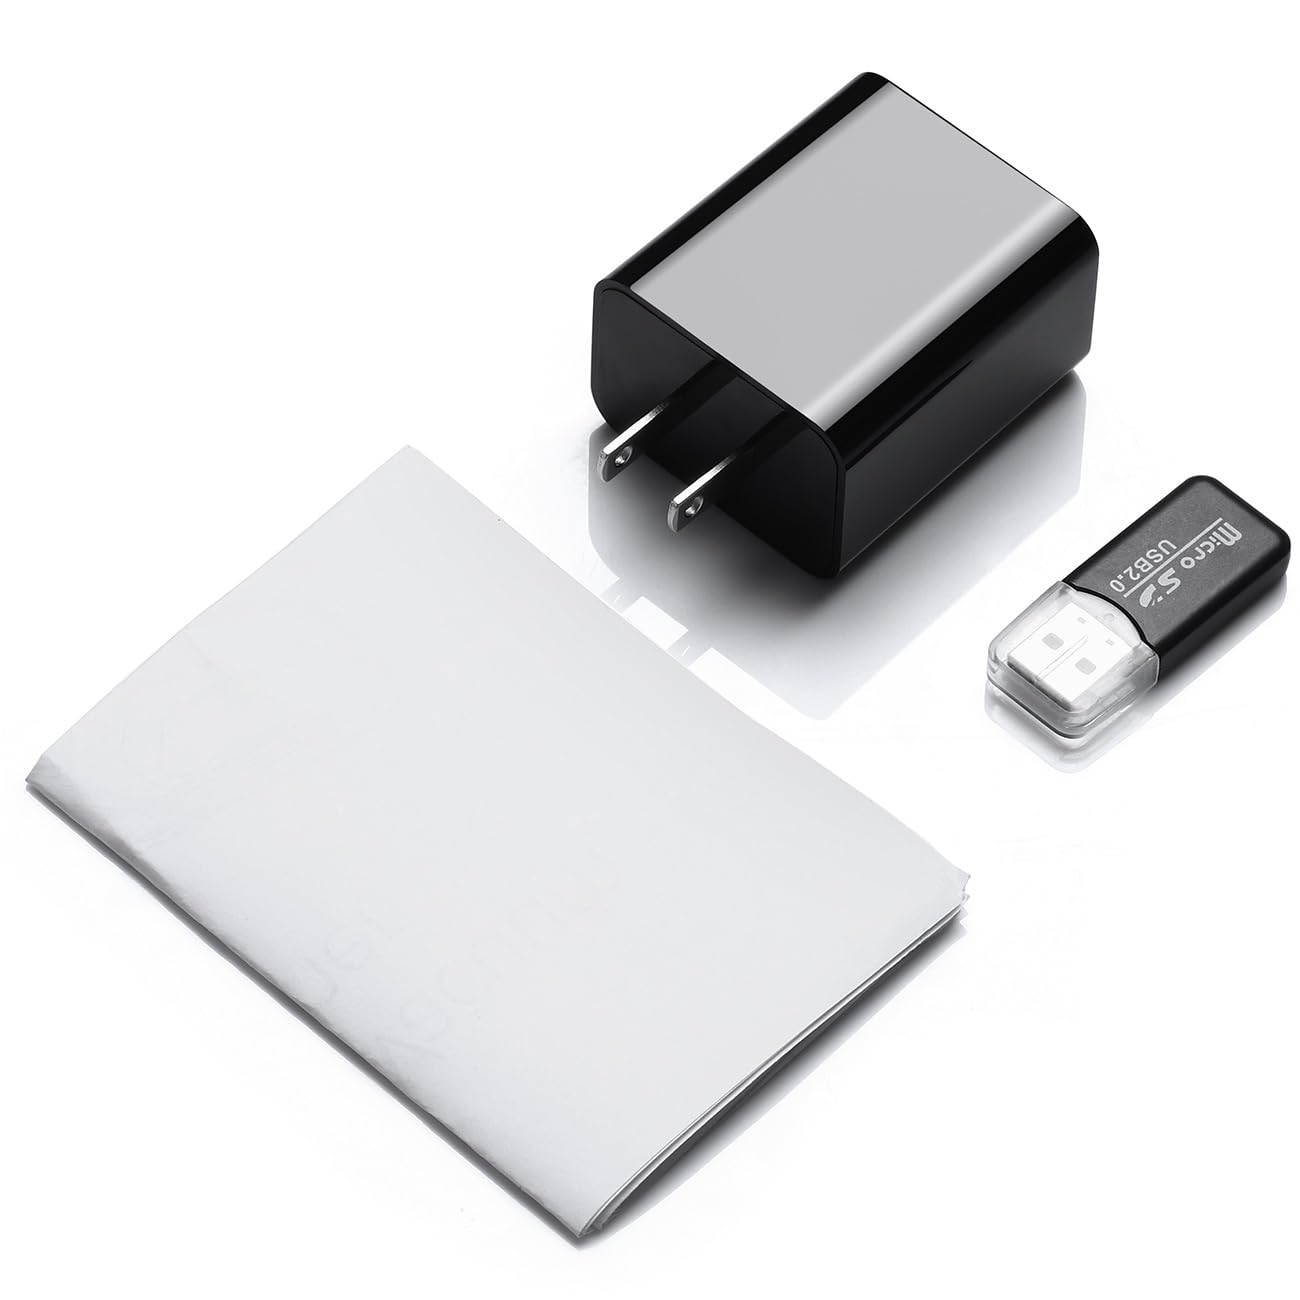
Image 2.1: Contents of the CAPOXO security camera package, including the camera, USB cable, card reader, and user manual.
2.2 Camera Components
Familiarize yourself with the camera's key components:

Image 2.2: Detailed diagram showing the camera's components, including the HD Lens, Card Slot, USB port, Mode Switch, IR LEDs, and Front Cover.
- HD Lens: Captures video footage.
- Card Slot: For inserting a Micro SD card (up to 128GB, not included).
- USB Port: Functions as a standard USB charging port and for power supply to the camera.
- Mode Switch: Toggles between recording modes (M: Motion-activated, C: Loop recording).
- IR LEDs: Infrared emitters for night vision.
- Front Cover: A removable cover to access the card slot and mode switch.
2.3 Key Features
- Full HD 1080p Resolution: Records video at 1920x1080 for clear footage.
- Continuous Loop Recording: Automatically overwrites older footage to ensure uninterrupted surveillance.
- Night Vision Capability: Equipped with infrared LEDs for clear recording in low-light conditions up to 5 meters.
- Motion Detection Technology: Automatically initiates recording when movement is detected.
- Expandable Storage: Supports Micro SD cards up to 128GB (not included).
3. Setup
3.1 Inserting the Micro SD Card
- Gently remove the front cover of the camera to expose the card slot.
- Insert a formatted Micro SD card (Class 10 or higher, up to 128GB) into the card slot with the gold contacts facing down until it clicks into place.
- Replace the front cover.
Note: The Micro SD card is not included and must be purchased separately. Ensure the card is formatted before first use for optimal performance.
3.2 Powering the Camera
- Plug the camera directly into a standard 220V AC wall outlet.
- The camera will automatically power on and begin operation according to the selected mode.

Image 3.1: The CAPOXO security camera plugged into a wall outlet, ready for operation.
4. Operating Instructions
4.1 Selecting Recording Mode
The camera features a mode switch located under the front cover:
- 'C' Position (Loop Recording): The camera will continuously record video. When the SD card is full, the oldest files will be automatically overwritten by new recordings.
- 'M' Position (Motion Detection): The camera will only record when it detects movement within its field of view. This conserves storage space and highlights important events.
4.2 Night Vision
The camera automatically activates its infrared (IR) LEDs in low-light conditions to provide clear night vision footage up to 5 meters. These LEDs are designed to be discreet.

Image 4.1: Demonstration of the camera's night vision capability, showing clear visibility in a dark room.
4.3 Accessing Recordings
- Unplug the camera from the power outlet.
- Remove the front cover and carefully eject the Micro SD card.
- Insert the Micro SD card into the provided card reader.
- Connect the card reader to a computer's USB port.
- Access the recorded video files on your computer.
5. Maintenance
- Cleaning: Use a soft, dry cloth to clean the camera lens and body. Avoid using liquid cleaners or abrasive materials.
- SD Card Management: Regularly back up important recordings. Periodically format the Micro SD card to maintain optimal performance and prevent data corruption.
- Placement: Ensure the camera is placed in a stable indoor environment, away from direct sunlight, extreme temperatures, and high humidity.
6. Troubleshooting
- Camera is not recording:
- Ensure the camera is properly plugged into a live power outlet.
- Check if the Micro SD card is inserted correctly and is not full.
- Try formatting the Micro SD card.
- Verify the mode switch is set to 'C' for continuous recording or 'M' for motion detection.
- Poor video quality:
- Clean the camera lens with a soft cloth.
- Ensure adequate lighting in the recording area, especially for optimal daytime footage.
- Check if the camera is within its effective night vision range during low-light conditions.
- Motion detection is not working:
- Ensure the mode switch is set to 'M' (Motion Detection).
- Verify that the camera's field of view is clear and not obstructed.
- Test the motion detection by moving in front of the camera.
- Cannot access files on computer:
- Ensure the Micro SD card is properly inserted into the card reader.
- Try connecting the card reader to a different USB port or computer.
- Check if the Micro SD card is damaged or corrupted.
7. Specifications
| Model Name | Capoxo-SQ-21-Charger-NV |
| Resolution | Full HD 1080p (1920x1080) |
| Storage Support | Up to 128GB Micro SD Card (not included) |
| Recording Modes | Loop Recording, Motion Detection |
| Night Vision Range | Up to 5 meters (via IR LEDs) |
| Power Source | AC (220V) |
| Connectivity | USB 2.0 |
| Indoor/Outdoor Usage | Indoor |
| Product Dimensions | 5.3 x 4.6 x 3.2 cm |
| Item Weight | 250 g |
| Included Components | Camera, USB Cable, Card Reader |
8. Warranty and Support
For any product-related inquiries, technical support, or warranty claims, please contact CAPOXO customer service through your purchase platform or the official CAPOXO website. Please have your model number (Capoxo-SQ-21-Charger-NV) and proof of purchase ready when contacting support.
Please refer to the terms and conditions of your purchase for specific warranty details.


