Introduction
The Technoline WT175 is a compact and versatile quartz alarm clock designed for convenience and portability. It features a clear digital display and offers multiple functions including time, date, temperature, humidity, and various alarm settings. Its magnetic casing makes it suitable for travel and everyday use.

Figure 1: Front view of the Technoline WT175 Mini Travel Alarm Clock, displaying the time and control buttons.
Key Features
- 12/24 hour time display
- Date display
- Temperature display (in Celsius)
- Humidity display
- Alarm with snooze function
- Configurable alarm settings: Weekday, Weekend, or Daily
- Timer with countdown and stop function
- Low battery indicator
- Magnetic casing for versatile placement
Package Contents
- Technoline WT175 Mini Travel Alarm Clock
- User Manual (this document)
- Note: Batteries are not included and must be purchased separately.

Figure 2: Product packaging for the Technoline WT175, detailing specifications and features.
Setup
1. Battery Installation
- Locate the battery compartment on the back of the alarm clock.
- Open the battery compartment cover.
- Insert 1x AAA Micro LR03 battery, ensuring correct polarity (+/-).
- Close the battery compartment cover securely.
2. Initial Power-On
Upon successful battery installation, the display will activate. You may need to press the SET button to begin initial time and date configuration.
Operating Instructions
The Technoline WT175 features several control buttons: SET, START/STOP/RESET, ZZ (Snooze/Light), AL SET ON-OFF, +, and MODE.
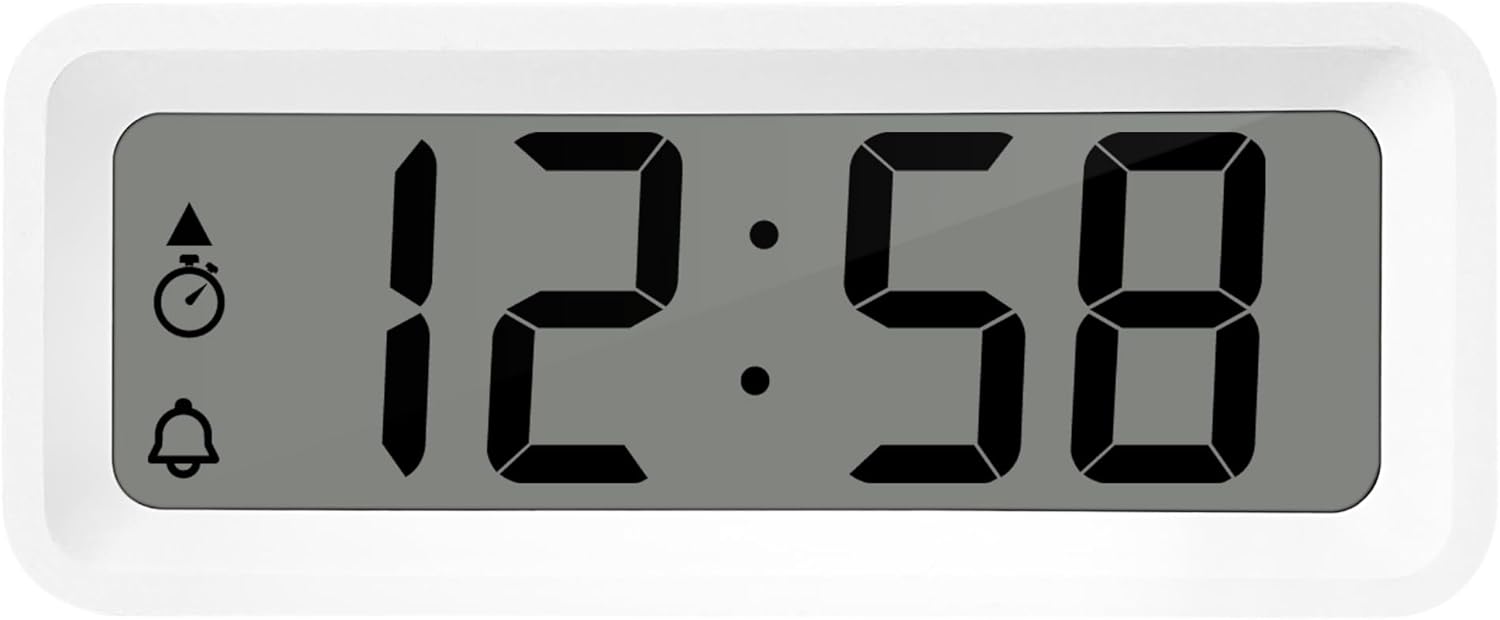
Figure 3: Detailed view of the alarm clock's display and control buttons.
1. Setting Time and Date
- Press and hold the SET button until the time display starts flashing.
- Use the + or - buttons to adjust the hour.
- Press SET again to confirm the hour and move to minutes.
- Use + or - to adjust the minutes.
- Continue pressing SET to cycle through and set the year, month, and day using the + or - buttons.
- Press SET one last time to exit the setting mode.
2. 12/24 Hour Format Selection
While in normal time display mode, press the MODE button to toggle between 12-hour and 24-hour time formats.
3. Setting the Alarm
- Press the AL SET ON-OFF button once to enter alarm setting mode. The alarm time will flash.
- Use the + or - buttons to adjust the alarm hour.
- Press AL SET ON-OFF again to confirm the hour and move to alarm minutes.
- Use + or - to adjust the alarm minutes.
- Press AL SET ON-OFF again to confirm and exit alarm setting mode.
4. Activating/Deactivating Alarm and Snooze
- To turn the alarm ON or OFF, press the AL SET ON-OFF button while in normal time display mode. An alarm icon will appear/disappear on the display.
- When the alarm sounds, press the ZZ (Snooze) button to activate the snooze function. The alarm will temporarily stop and sound again after a few minutes.
- To stop the alarm completely, press any other button (e.g., SET or MODE).
5. Weekday/Weekend/Daily Alarm Settings
The WT175 allows for flexible alarm scheduling. While in alarm setting mode (after pressing AL SET ON-OFF), you can cycle through alarm types by pressing the + or - buttons after setting the alarm time. Look for indicators on the display for:
- Daily Alarm: Alarm sounds every day.
- Weekday Alarm: Alarm sounds Monday to Friday.
- Weekend Alarm: Alarm sounds Saturday and Sunday.
6. Timer and Countdown Function
- Press the MODE button repeatedly until the timer display appears (often indicated by a stopwatch icon).
- To set the countdown timer, press and hold SET. Use + or - to set the desired hours, minutes, and seconds. Press SET to confirm each segment.
- Press START/STOP/RESET to begin the countdown.
- Press START/STOP/RESET again to pause/resume the countdown.
- To reset the timer, press and hold START/STOP/RESET.
7. Temperature and Humidity Display
The Technoline WT175 continuously displays the current indoor temperature (in Celsius) and humidity levels. These readings are typically shown alongside the time and date on the main display.

Figure 4: The WT175 alarm clock displaying time, temperature, and humidity in a bedroom setting.
Maintenance
1. Battery Replacement
When the low battery indicator appears on the display, it is time to replace the battery. Follow the battery installation steps outlined in the Setup section. Ensure to dispose of old batteries responsibly according to local regulations.
2. Cleaning
To clean the alarm clock, use a soft, dry cloth. Do not use abrasive cleaners, solvents, or immerse the device in water. Avoid spraying cleaning solutions directly onto the unit.
Troubleshooting
- Display is blank or dim:
- Check if the battery is correctly installed.
- Replace the battery with a fresh one.
- Alarm does not sound:
- Ensure the alarm is activated (alarm icon visible on display).
- Verify the alarm time is set correctly.
- Check the alarm type (Daily, Weekday, Weekend) matches your desired schedule.
- Incorrect time or date:
- Re-enter the time and date following the instructions in the Operating Instructions section.
- Ensure the 12/24 hour format is set as desired.
- Buttons are unresponsive:
- Remove and reinsert the battery to perform a soft reset.
- Ensure the device is not in a specific setting mode that locks other buttons.
Specifications
| Feature | Detail |
|---|---|
| Model | WT175 |
| Brand | Technoline |
| Dimensions (L x W x H) | 8.8 x 3.81 x 3.7 cm |
| Weight | 120 grams |
| Power Source | 1x AAA Micro LR03 Battery (not included) |
| Display Type | Digital |
| Special Features | Alarm, Snooze, Temperature, Humidity, Date, Timer, Countdown, Magnetic Casing, Low Battery Indicator |
| Color | White (as per current product variant) |
| Indoor/Outdoor Use | Indoor |

Figure 5: Dimensions of the Technoline WT175 alarm clock.
Warranty and Support
For warranty information or technical support regarding your Technoline WT175 Mini Travel Alarm Clock, please refer to the warranty card included with your purchase or visit the official Technoline website.
Official Technoline Website: http://www.technoline.de


