
1. Introduction
The NEXTORCH TA21 is a high-performance tactical flashlight designed for versatility and durability. It features a dual white and red light source, multiple operating modes, and a compact design suitable for various applications. This manual provides detailed instructions for its proper use and maintenance.

Image 1: NEXTORCH TA21 Tactical Flashlight with FR-1 Tactical Ring.
2. Setup
2.1. Included Items
- TA21 Tactical Flashlight
- FR-1 Tactical Ring
- Multi-language Use Manual
- USB-C Charging Cable
- Hand Strap
2.2. Battery Installation and Charging
The TA21 is equipped with a rechargeable 16340 battery (800mAh) with a USB-C charging port. It is also compatible with non-rechargeable CR123A batteries.
- Unscrew the tail cap counter-clockwise to access the battery compartment.
- Insert the provided 16340 battery with the positive (+) end facing the flashlight head.
- Screw the tail cap back on clockwise until secure.
- To charge, insert the USB-C charging cable into the battery's port. The indicator light will turn red during charging and blue when fully charged. Full charge takes approximately 2.5 hours.

Image 2: Illustration of the dual fuel compatibility and USB-C charging process.
2.3. FR-1 Tactical Ring Installation
The FR-1 Tactical Ring enhances grip and provides additional carrying options.
- Align the tactical ring with the tail cap of the flashlight.
- Screw the tail cap onto the flashlight body, ensuring the tactical ring is securely positioned between the tail cap and the flashlight body.

Image 3: The FR-1 Tactical Ring attached to the NEXTORCH TA21 flashlight.
3. Operating Instructions
The TA21 features a patented multi-mode design, allowing you to switch between four modes by rotating the barrel head.
Video 1: Official instructions for use of the NEXTORCH TA21 Tactical Flashlight, demonstrating mode switching and operation.
3.1. Mode Selection
Rotate the barrel head to select one of the four primary modes:
- TAC Mode: Designed for tactical applications. Half-press for momentary-on (1300 lumens), full-press for one-step variable frequency strobe.
- DUTY Mode: General purpose mode. Half-press for momentary-on, full-press for constant on. Half-press again to cycle through low, medium, and high brightness levels.
- LOCK Mode: Prevents accidental activation. The flashlight will not turn on in this position.
- RED Light Mode: Provides red light illumination. Half-press for momentary-on, full-press for constant on. Half-press again to cycle through low, medium, and high brightness levels.

Image 4: Visual guide to rotating the flashlight head for mode selection.
3.2. White Light Operation
The white light source provides up to 1300 lumens, suitable for tactical, duty, and everyday carry situations.
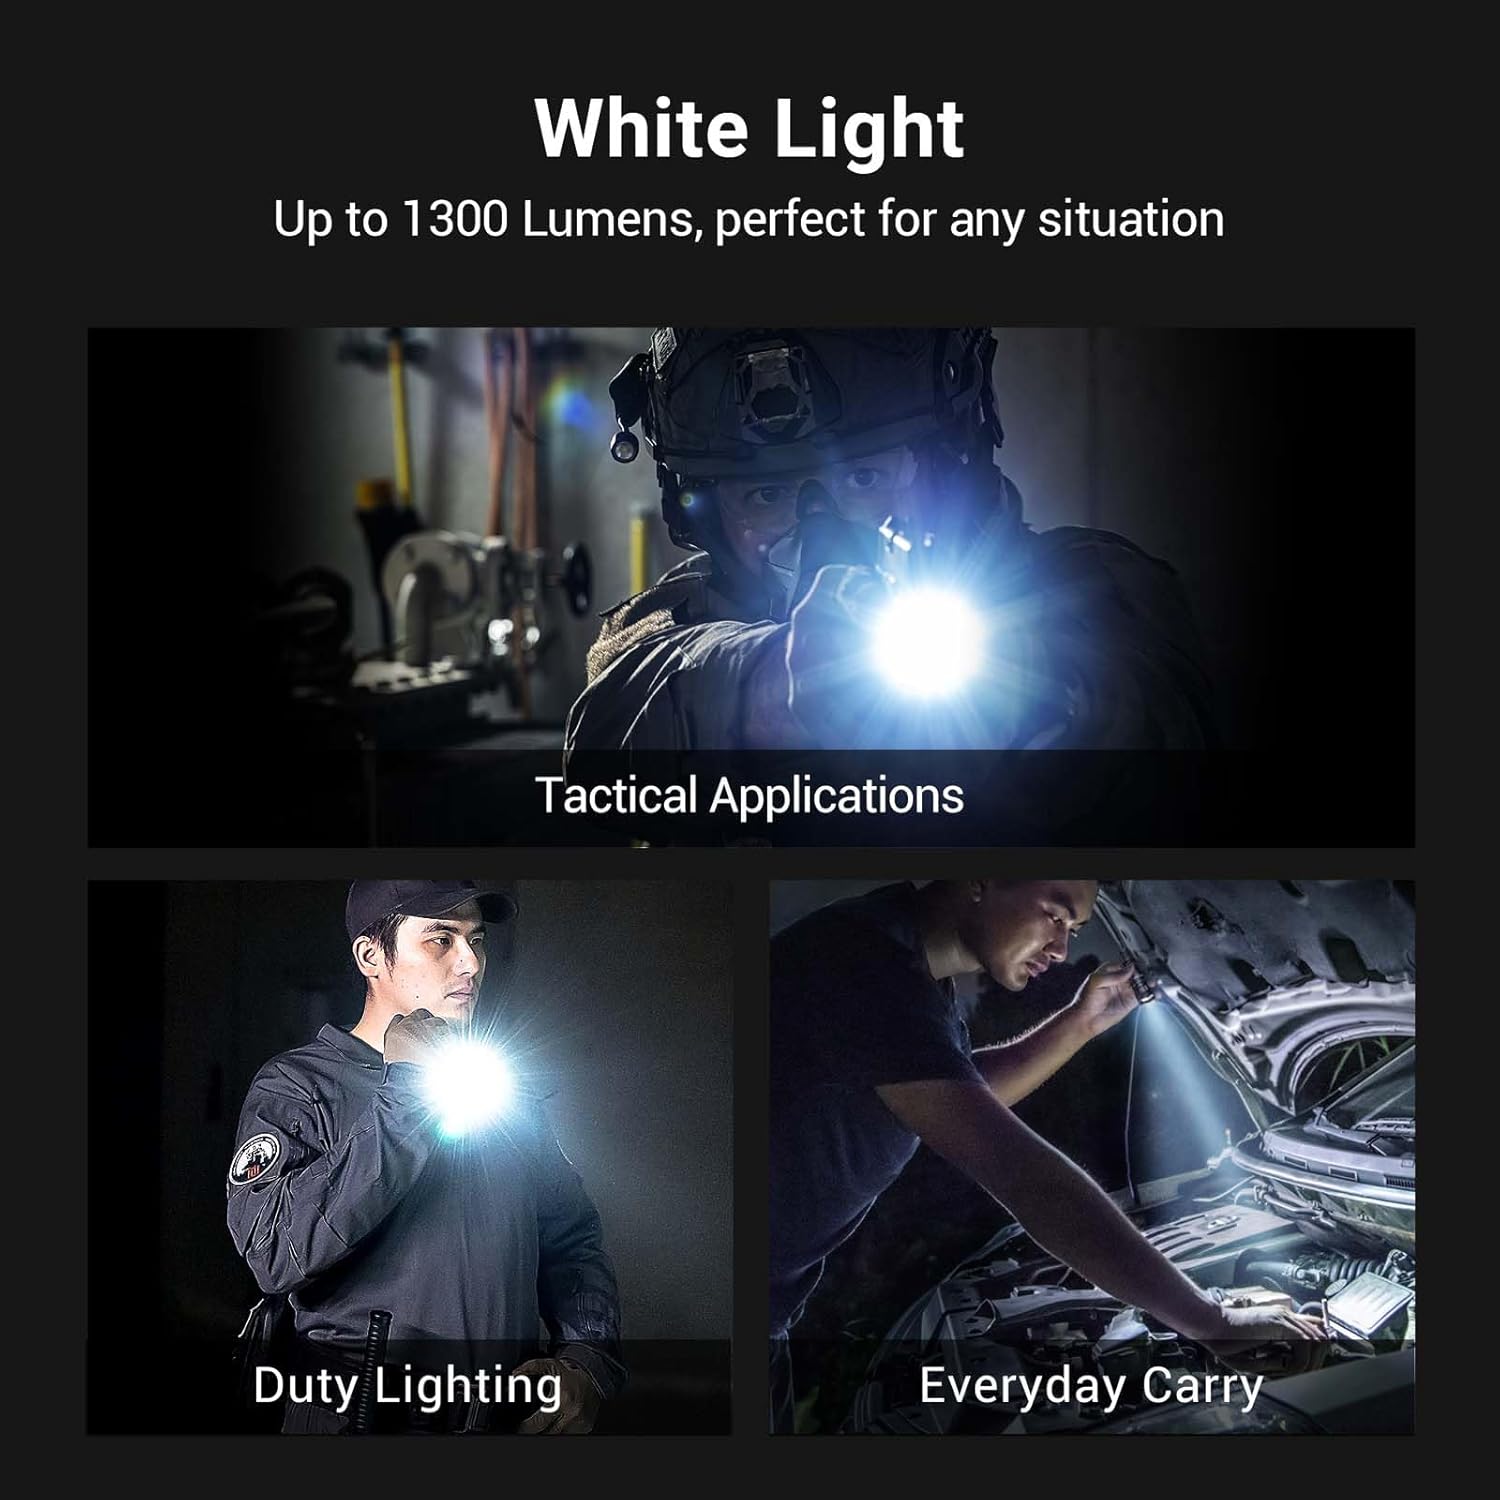
Image 5: Examples of white light use in various scenarios.
3.3. Red Light Operation
The red light source (up to 150 lumens) is ideal for preserving night vision, covert operations, signal transmission, and field exploration.
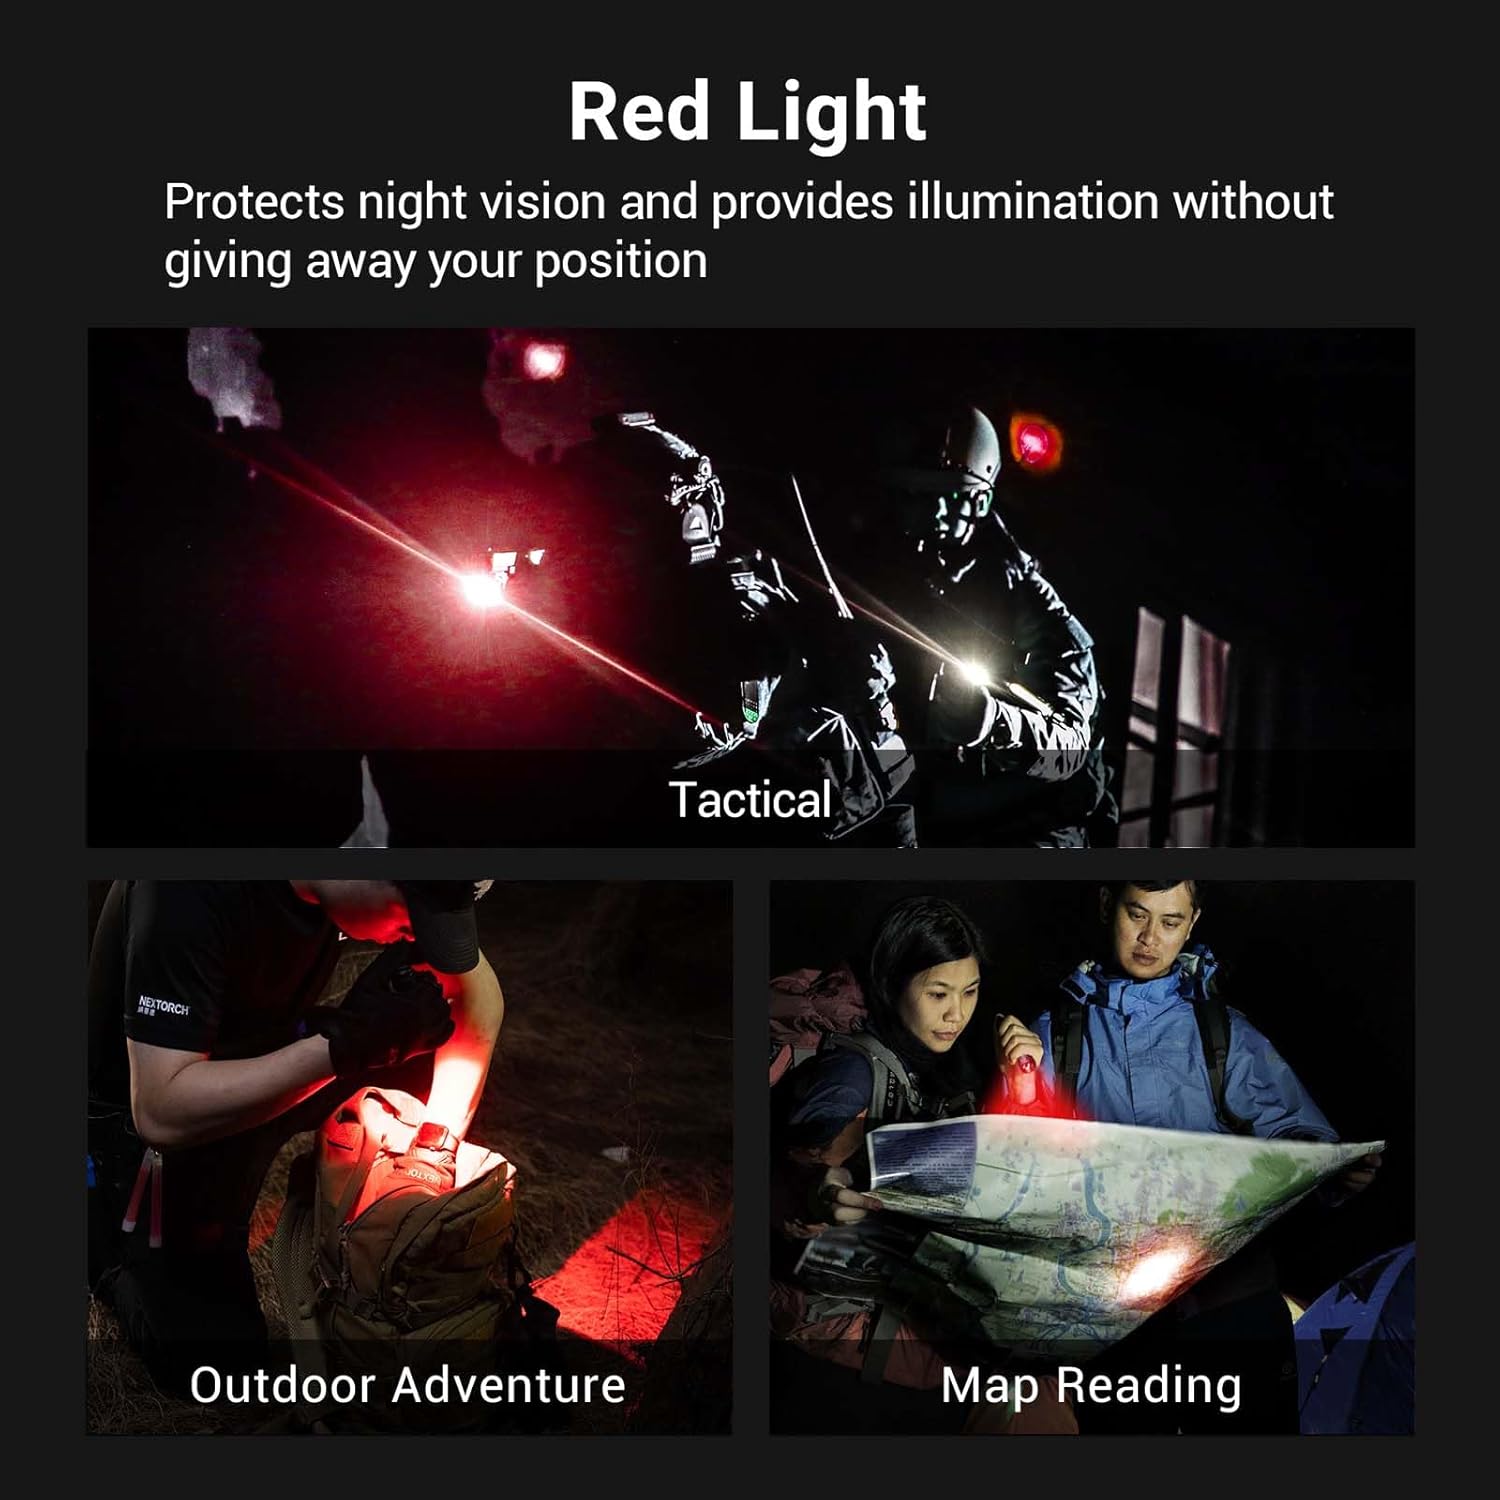
Image 6: Examples of red light use in various scenarios.
3.4. Ceramic Glass Breaker
The flashlight head features an ultra-high hardness ceramic bead, second only to diamond, designed for emergency window breaking in rescue or self-defense situations.

Image 7: Demonstration of the nano-ceramic strike bezel breaking glass.
4. Maintenance
4.1. General Care
- Keep the flashlight clean and dry. Wipe with a soft cloth.
- Avoid dropping the flashlight from excessive heights, though it is rated for 2-meter impact resistance.
- Ensure the tail cap is tightly screwed to maintain IPX8 (2 meters) waterproof rating.

Image 8: The TA21 flashlight demonstrating its waterproof and impact-resistant features.
4.2. Battery Care
- Recharge the 16340 battery regularly to maintain optimal performance.
- If using CR123A batteries, replace them when depleted. Do not attempt to recharge non-rechargeable batteries.
- Store the flashlight with a partially charged battery if not in use for extended periods.
5. Troubleshooting
5.1. Flashlight Not Turning On
- Check if the flashlight is in LOCK mode. Rotate the barrel head to DUTY or TAC mode.
- Ensure the battery is correctly inserted and fully charged.
- Verify the tail cap is screwed on tightly.
5.2. Inconsistent Mode Switching or Brightness
- Ensure the barrel head is rotated firmly and clicks into place for each mode.
- Practice the half-press and full-press actions to become familiar with the switch operation for different brightness levels and strobe.
6. Specifications
| Feature | Detail |
|---|---|
| Light Output (White) | 1300 Lumens (High) |
| Light Output (Red) | 150 Lumens (High) |
| Beam Distance | Up to 160 meters |
| Power Source | 1 x 16340 Lithium Ion battery (included) or 1 x CR123A battery |
| Battery Capacity | 800mAh (16340) |
| Charging Port | USB-C (on battery) |
| Material | Hard Anodized Aircraft Grade Aluminum Alloy |
| Dimensions | 98 mm (Length) x 32 mm (Head) x 23 mm (Diameter) |
| Weight | 3.42 oz (without battery) |
| Water Resistance | IPX8 (2 meters submersible) |
| Impact Resistance | 2 meters |

Image 9: Detailed specifications table for the NEXTORCH TA21.
7. Warranty and Support
NEXTORCH offers a five-year warranty on all flashlights. For any questions or support regarding your TA21 tactical flashlight, please contact our professional team.