1. Introduction
This manual provides detailed instructions for the setup, operation, and maintenance of your RadioShack Digital Indoor Antenna. This antenna is designed to receive Full HD and digital TV signals, including local VHF and UHF broadcasts, offering a wide frequency range for comprehensive channel reception. Its compact and innovative design allows for seamless integration into various home environments.
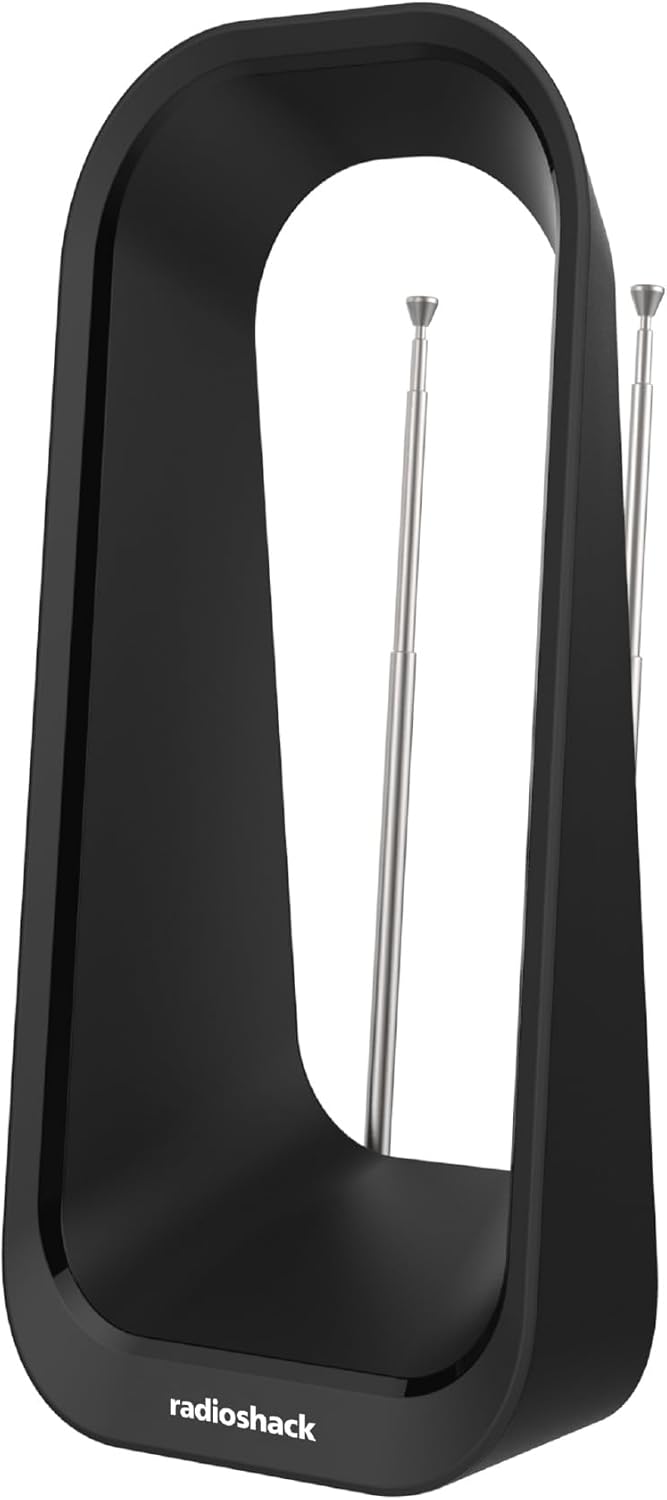
Figure 1: Front view of the RadioShack Digital Indoor Antenna, showcasing its hollow design and retractable dipoles.
2. Safety Information
Please read all safety instructions before using this product. Failure to follow these instructions may result in electric shock, fire, or damage to the antenna or connected devices.
- This antenna is designed for indoor use only. Do not expose it to rain, moisture, or extreme temperatures.
- Do not place the antenna near heat sources such as radiators, heat registers, stoves, or other apparatus (including amplifiers) that produce heat.
- Do not block any ventilation openings. Install in accordance with the manufacturer’s instructions.
- Clean only with a dry cloth.
- Do not attempt to service this product yourself. Refer all servicing to qualified service personnel.
3. Package Contents
Verify that all items are present in the package before proceeding with installation.

Figure 2: Illustration of the antenna packaging, indicating the included item.
- 1 x RadioShack Digital Indoor Antenna
4. Setup
Follow these steps to set up your antenna for optimal reception.
- Connect the Antenna: Locate the coaxial input (usually labeled 'ANT IN' or 'RF IN') on the back of your television or digital converter box. Connect the coaxial cable from the RadioShack Digital Indoor Antenna to this input.
- Position the Antenna: Place the antenna in a location where it can receive the strongest signal. Generally, higher locations or near a window facing the broadcast towers are ideal. Avoid placing it near large metal objects or other electronic devices that may cause interference.
- Adjust Dipoles for VHF Reception: For enhanced VHF signal reception, extend the retractable dipoles located on the top of the antenna. Adjust their angle and length to optimize reception for VHF channels. For UHF signals, the dipoles can remain retracted.
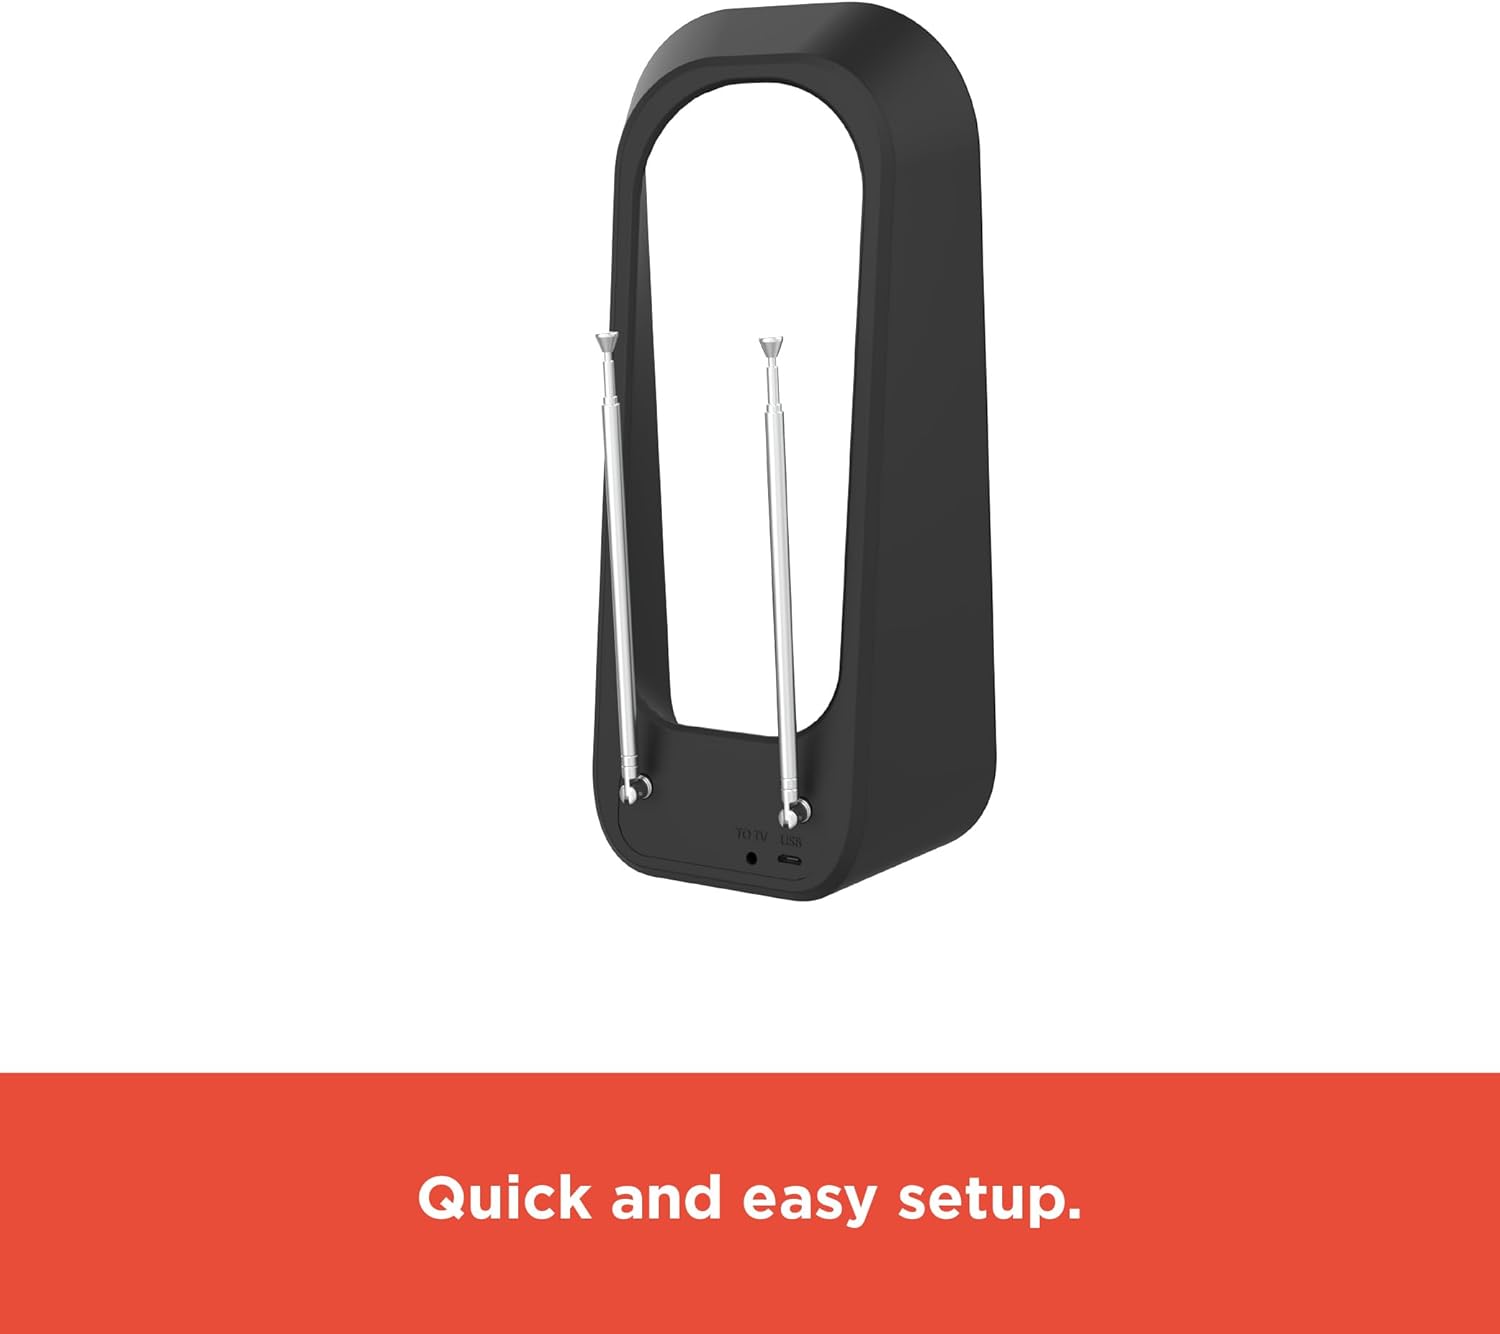
Figure 3: Rear view of the antenna, highlighting the coaxial cable connection point.
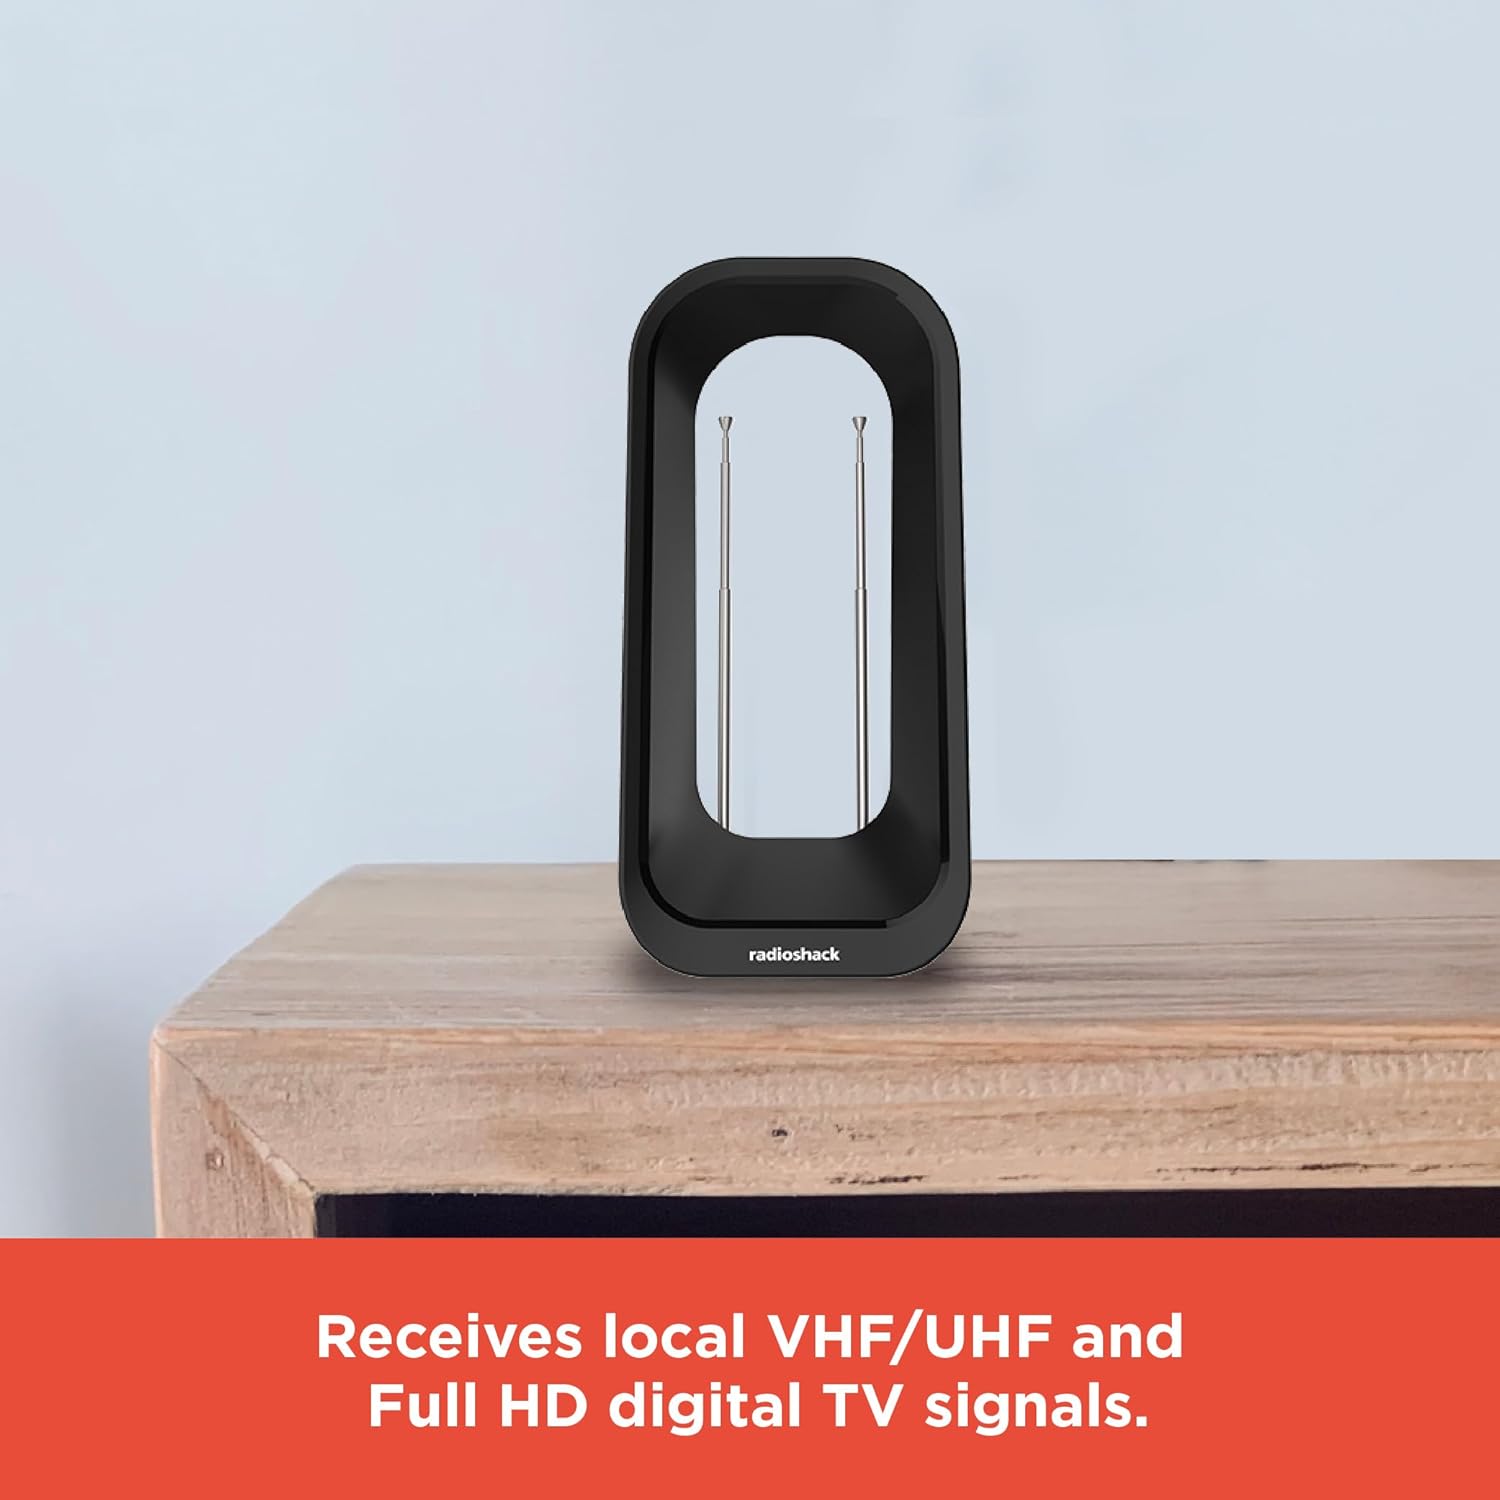
Figure 4: The antenna positioned on a cabinet, illustrating typical indoor placement.

Figure 5: The antenna with its dipoles extended, used for optimizing VHF signal reception.
5. Operating
Once the antenna is connected and positioned, you need to perform a channel scan on your television.
- Access TV Menu: Turn on your television and press the 'Menu' or 'Settings' button on your TV remote control.
- Navigate to Channel Scan: Look for options such as 'Channel Setup', 'Antenna Setup', 'Scan', 'Auto Program', or 'Auto Tune'. Select the option that initiates a channel scan.
- Start Scan: Choose 'Antenna' or 'Air' as the signal source (not 'Cable'). Start the scan. This process may take several minutes as your TV searches for available channels.
- Optimize Reception: After the scan is complete, check the picture quality of the received channels. If some channels are missing or have poor quality, try repositioning the antenna slightly, adjusting the dipoles, and then performing another channel scan. Small adjustments can significantly impact reception.
6. Maintenance
The RadioShack Digital Indoor Antenna requires minimal maintenance.
- Cleaning: To clean the antenna, gently wipe its surface with a soft, dry cloth. Do not use liquid cleaners, aerosols, or abrasive cleaning agents, as these may damage the finish or internal components.
- Storage: If storing the antenna for an extended period, ensure it is kept in a dry, cool place away from direct sunlight and extreme temperatures.
7. Troubleshooting
If you encounter issues with your antenna, refer to the following common problems and solutions.
| Problem | Possible Cause | Solution |
|---|---|---|
| No signal or poor picture quality. | Antenna not positioned correctly; interference; weak signal area. | Try repositioning the antenna higher or closer to a window. Adjust the retractable dipoles. Perform a new channel scan after each adjustment. Ensure no large metal objects are near the antenna. |
| Missing channels. | Incomplete channel scan; antenna not receiving all frequencies. | Ensure your TV's input is set to 'Antenna' or 'Air'. Perform a full channel scan. Try adjusting the antenna's position and angle, then rescan. Check if the missing channels are within the antenna's frequency range (VHF 174-230MHz, UHF 470-862MHz). |
| Antenna not working after initial setup. | Loose connection; incorrect TV settings. | Verify that the coaxial cable is securely connected to both the antenna and the TV/converter box. Double-check that your TV's input source is set to 'Antenna' and not 'Cable' or another input. |
8. Specifications
Key technical specifications for the RadioShack Digital Indoor Antenna.
| Feature | Specification |
|---|---|
| Product Dimensions | 4.53"L x 3.23"W x 9.61"H |
| Item Weight | 10.6 ounces |
| Frequency Range | VHF: 174-230MHz, UHF: 470-862MHz |
| Reception Type | Full HD, Digital TV, Local VHF/UHF |
| Antenna Type | Indoor Digital Antenna |
| Manufacturer | RadioShack |
9. Warranty and Support
For warranty information or technical support, please refer to the contact details provided with your purchase or visit the official RadioShack website. Keep your proof of purchase for any warranty claims.


