
1. Introduction
This user manual provides comprehensive instructions for the Phenyx Pro Dual Digital Wireless Microphone System, model PDP-2-2B. This system is designed for clear, delay-free audio transmission using 48kHz/24Bit UHF digital circuitry, offering 2x15 tunable frequencies in the 902-928MHz range. It includes a portable mini receiver, two bodypack transmitters, and both headset and lapel microphones, making it suitable for various applications such as live performances, karaoke, and public speaking.
2. What's Included
The Phenyx Pro PDP-2-2B system comes with the following components:
- 1 x Receiver with a 6.35mm plug
- 2 x Bodypack Transmitters
- 2 x Headset Microphones
- 2 x Lapel/Lavalier Microphones
- 1 x USB-C Dual Charging Cable
- 1 x 6.35mm to 3.5mm Adapter
- 1 x Angle TS Male to 1/4" TS Female Adapter (to keep receiver antenna upward)
- 1 x User's Manual

Image: All components included in the Phenyx Pro PDP-2-2B package.
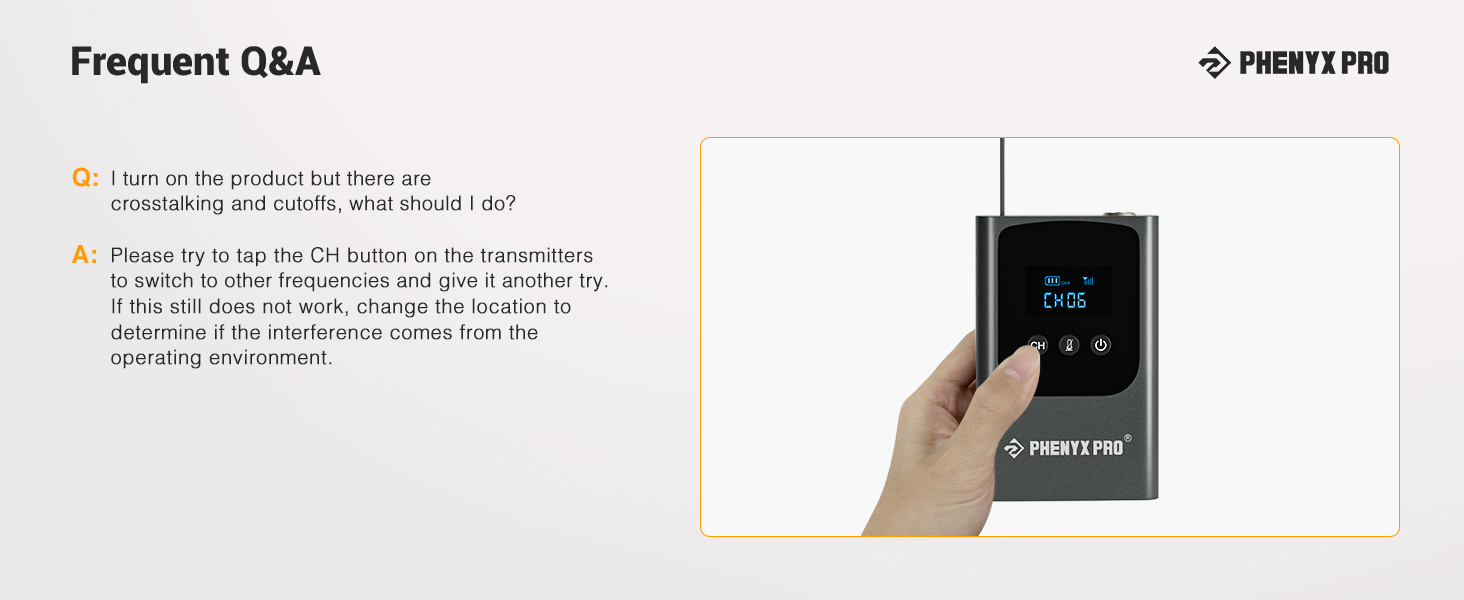
Image: Detailed diagram showing each included item: user manual, USB-C triple charging cable, two lapel mics, 6.35mm to 3.5mm adapter, angle TS male to female adapter, two rechargeable bodypack transmitters, rechargeable wireless receiver, and two headset mics.
3. Setup
3.1. Initial Charging
Before first use, ensure all components are fully charged. The receiver has a 1500mAh battery, and each bodypack transmitter has a 550mAh battery. Use the provided USB Type-C dual charging cable to charge the receiver and bodypack transmitters. A red indicator light will show during charging, turning off when fully charged.
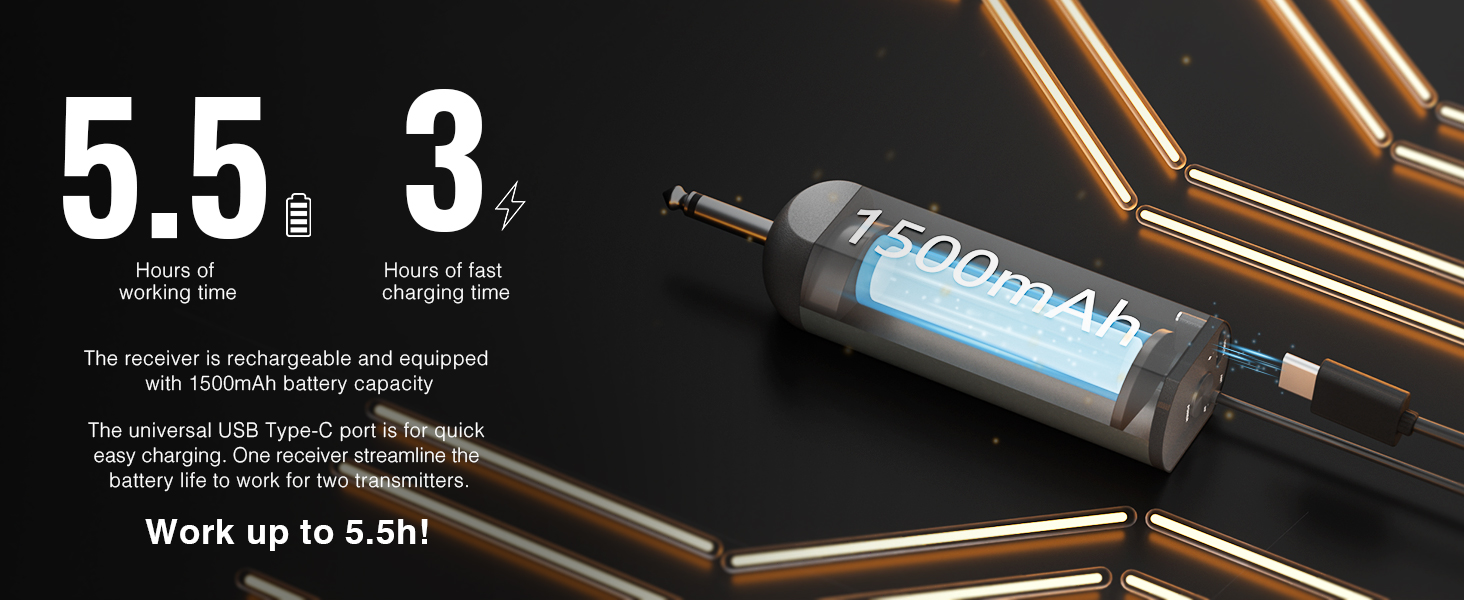
Image: The receiver and bodypack transmitters being charged via USB-C. The receiver has a 1500mAh battery, providing up to 5.5 hours of working time with 3 hours fast charging. The bodypacks have 500mAh batteries.
Video: A short video demonstrating the functions of the bodypack transmitter, including powering on, muting, and changing channels.
3.2. Connecting Microphones to Bodypack Transmitters
Connect either a headset microphone or a lapel microphone to the 3-pin mini XLR jack on each bodypack transmitter. Ensure a secure connection.

Image: A bodypack transmitter with a headset microphone connected via its 3-pin mini XLR jack.
3.3. Connecting the Receiver
Plug the 1/4" TS connector of the receiver directly into your audio system (e.g., karaoke machine, partybox, mixer, audio interface, amplifier, or PA system). For optimal signal reception, use the included angle TS male to 1/4" TS female adapter to keep the receiver's antenna pointed upward.

Image: The wireless receiver connected to a mixing console, demonstrating its portability and flexible connectivity options. The antenna is shown upright for better signal.

Image: A visual guide for quick setup: 1. Turn on the receiver. 2. Turn on the transmitter. 3. Connect the headset/lapel mic to the bodypack. 4. Plug the receiver into a partybox or audio system to output sound.
Video: A short video demonstrating the unboxing and setup of the Phenyx Pro PDP-2-2B system, including connecting the receiver and bodypacks.
4. Operating Instructions
4.1. Powering On and Pairing
To power on the system, long-press the power button on both the receiver and the bodypack transmitters. The system is designed for automatic pairing. The receiver will display the channel (CH) and battery status. The bodypack transmitters will also show their channel and battery status.
Image: A visual guide for quick setup: 1. Turn on the receiver. 2. Turn on the transmitter. 3. Connect the headset/lapel mic to the bodypack. 4. Plug the receiver into a partybox or audio system to output sound.
4.2. Transmitter Functions
Each bodypack transmitter features a display showing channel and battery status, along with three buttons:
- Power Button: Long press to turn the transmitter on/off.
- Mute Button: Short press to mute or unmute the microphone. The display will flash when muted.
- CH (Channel) Button: Tap to cycle through the 2x15 UHF tunable frequencies to select a desired channel remotely.

Image: The bodypack transmitter showing its display and control buttons. It features a real-time battery indicator, instant remote frequency selection, one-tap mute function, and a 3-pin mini XLR connection for microphones.
Video: A short video demonstrating the functions of the bodypack transmitter, including powering on, muting, and changing channels.
4.3. Receiver Indicators
The receiver has a power button, USB-C charging port, antenna, battery indicator, and RF indicator. The RF indicator will light up when a signal is received from a paired transmitter.

Image: The portable wireless receiver highlighting its 1/4" TS connector, antenna, USB-C charging port, battery indicator, RF indicator, and power/pair button.
5. Maintenance
- Keep the system clean by wiping with a soft, dry cloth. Avoid liquid cleaners.
- Store the system in a cool, dry place away from direct sunlight and extreme temperatures.
- Ensure the USB-C charging ports are free from dust and debris.
- Handle microphones and cables with care to prevent damage.
6. Troubleshooting
6.1. Crosstalk or Cutoffs
If you experience crosstalk or signal cutoffs:
- Tap the CH button on the transmitters to switch to other frequencies.
- Change the location of the receiver and transmitters to determine if interference is from the operating environment.
- Ensure the receiver antenna is pointed upward and avoid metal or glass obstructions in the line of sight.
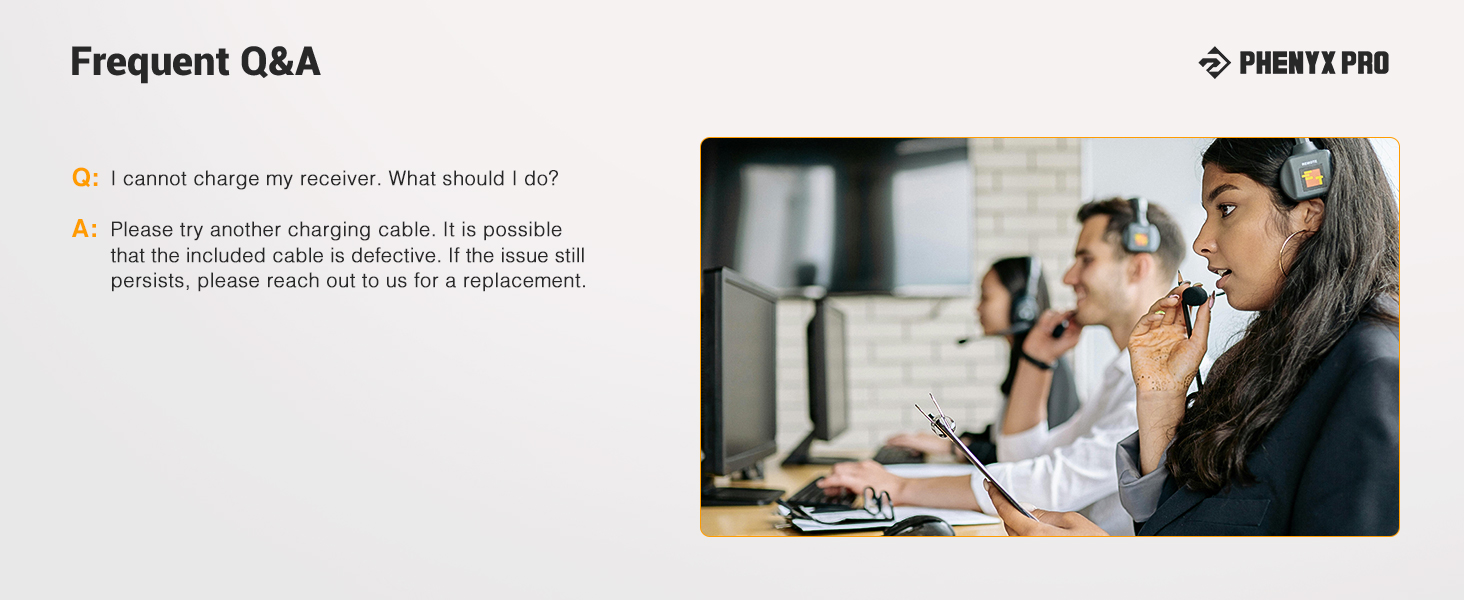
Image: Visual guide on optimizing reception: insert the receiver into the angle TS male to female adapter firmly to keep its antenna upward. Avoid metal/glass obstructions in the line of sight.
6.2. No Sound Output
This wireless system requires an active speaker or amplifier to output sound. Ensure the receiver is correctly connected to an appropriate audio input device.
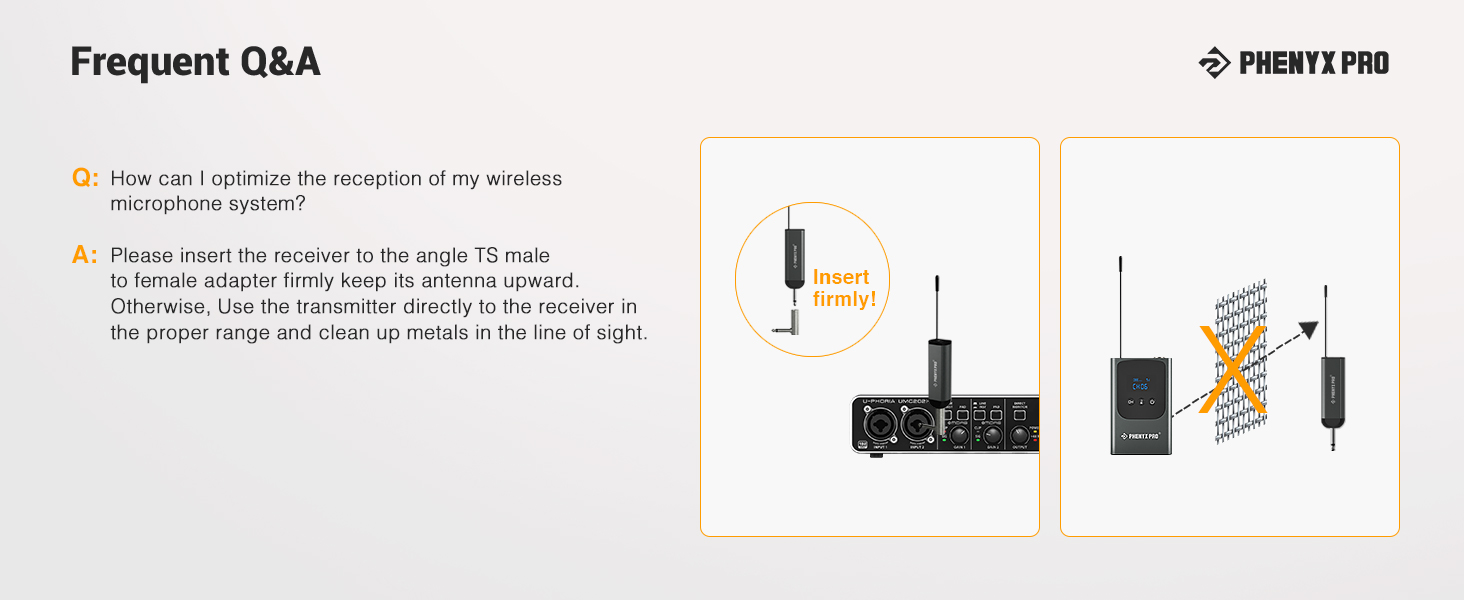
Image: The wireless receiver connected to a partybox, illustrating that an active speaker is required for sound output.
6.3. Charging Issues
If the receiver or transmitters are not charging, try using a different USB-C charging cable. If the issue persists, contact customer support for a replacement.
6.4. Optimal Sound Capture
For the clearest sound, properly wear your headset or lapel mic and keep the microphone about 1-2 inches (3-5cm) away from your mouth.

Image: Proper wearing of headset and lapel microphones for optimal sound capture, positioned 1-2 inches from the mouth.
7. Specifications
| Model Name | PDP-2-2B |
| Brand | Phenyx Pro |
| Connectivity Technology | UHF, USB, Wireless, XLR |
| Frequency Range | 902 - 928MHz |
| Number of Channels | 15 (2x15 tunable frequencies) |
| Microphone Form Factor | Headset, Lavalier |
| Power Source | Battery Powered (3 Lithium Ion batteries included) |
| Receiver Battery Capacity | 1500mAh |
| Bodypack Battery Capacity | 550mAh |
| Signal-to-Noise Ratio | 96 dB |
| Audible Noise | 50 Decibels |
| Item Weight | 0.45 Kilograms |
| Item Dimensions | 9.45 x 6.1 x 3.43 inches |
| Enclosure Material | Metal |
8. Warranty and Support
Phenyx Pro audio products come with a 12-month manufacturer warranty and lifetime supportive customer service. For troubleshooting or replacements for discontinuous/defective parts, please contact Phenyx Pro customer support.
Contact information can typically be found on the product packaging or the official Phenyx Pro website.


