
1. Introduction
Thank you for choosing the VILTROX DC-X2 6-inch Touchscreen Camera Field Monitor Kit. This monitor is designed to enhance your video production workflow with its high-brightness display, advanced monitoring functions, and robust build. This manual provides essential information for the proper setup, operation, and maintenance of your device. Please read it thoroughly before use.
2. Safety Information
- Do not expose the monitor to water or high humidity.
- Avoid dropping or subjecting the monitor to strong impacts.
- Use only VILTROX-approved power adapters and batteries.
- Do not attempt to disassemble or repair the monitor yourself. Contact qualified service personnel.
- Keep the monitor away from strong magnetic fields.
- Clean the screen with a soft, dry cloth. Avoid harsh chemicals.
3. Package Contents
Verify that all items are present in your package:
- 1x VILTROX DC-X2 Camera Field Monitor
- 1x NP-F550 Battery
- 1x Sunshade Hood
- 1x VL-550 Cold Shoe Adapter
- 1x Standard HDMI Cable
- 1x Mini HDMI Cable
- 1x USB Type-C Cable
- 1x Carry Case
- 1x Custom Screen Protectors
- 1x User Manual
- 1x Packing Box
- 1x Cage Rig

4. Product Overview
The VILTROX DC-X2 is a 6-inch IPS touchscreen field monitor featuring a 2000 Nits ultra-bright display, 4K HDMI input/output, and a range of professional monitoring functions. It comes with a custom rig cage for versatile mounting options.
4.1 Key Features
- 6-inch IPS FHD Display: 1920x1080 resolution with 160° wide viewing angles.
- 2000 Nits Ultra-Brightness: Ensures clear visibility even in direct sunlight.
- 4K HDMI Input/Output: Supports up to 4K@30Hz signals for real-time monitoring.
- Touchscreen Control: Intuitive UI for easy navigation and settings adjustment.
- Custom 3D LUTs: Import LUTs via USB-A for creative color grading and monitoring.
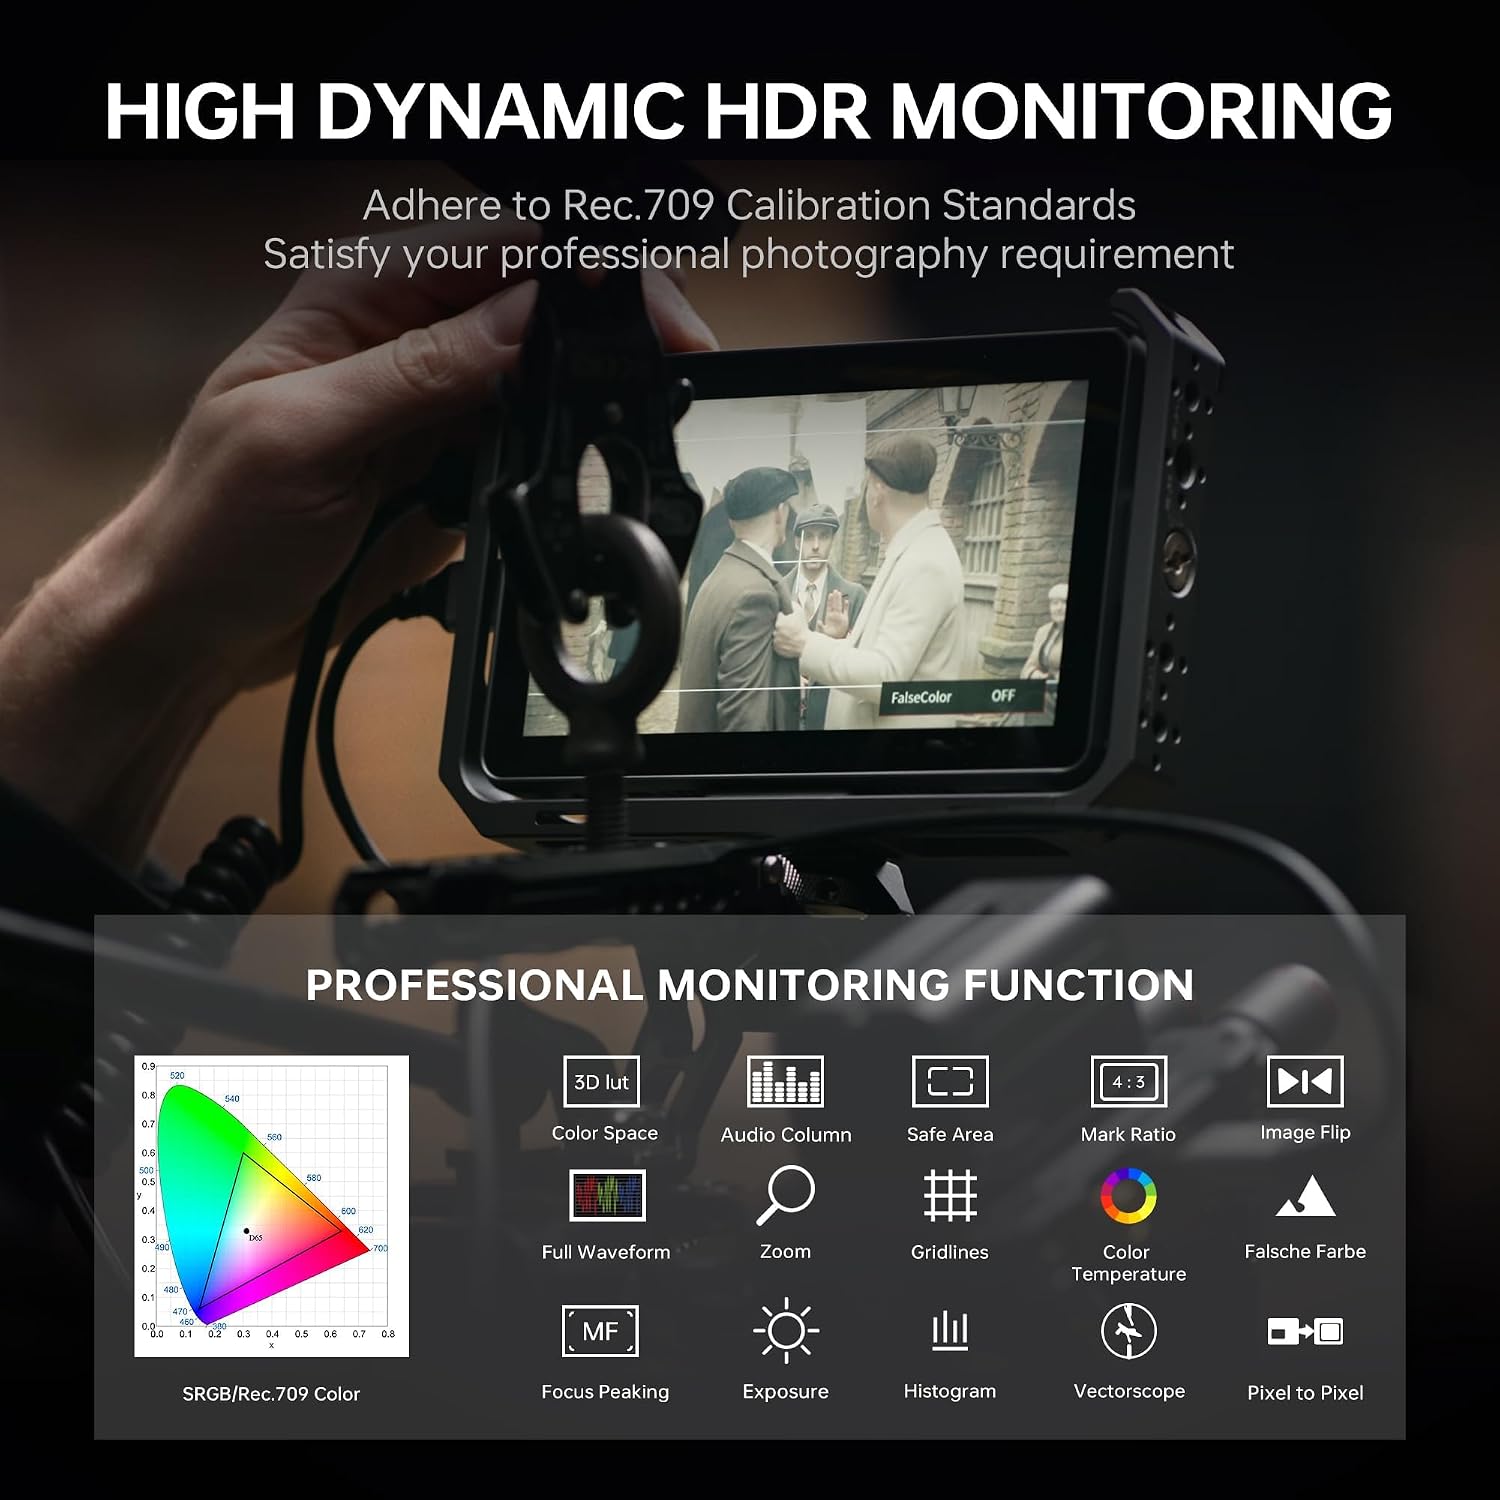
- Professional Monitoring Functions: Includes Parade waveform, Oscillogram, vector graph, brightness histogram, auxiliary focus, false color, and more.
- Multiple Power Options: Supports NP-F series batteries, DC adapter, and USB-C power banks.
- Customized Rig Cage: CNC aluminum alloy cage with multiple 1/4” and 3/8” mounting points.

4.2 Monitor Components
Familiarize yourself with the various ports and buttons on your DC-X2 monitor:
- Back/Menu Button
- Shortcut Key (F1-F4)
- Display Screen
- Fan Exhaust Vent
- Indicator Light
- Power Button
- HDMI Input
- HDMI Output
- Headphone Jack (3.5mm)
- Cooling Air Intake
- 1/4 Screw Hole
- Cooling Air Intake
- DC Port (12-18V/2A)
- Type-C Port (9V/3A)
- Cooling Air Intake
- 1/4 Screw Hole
- USB Interface (for 3D LUT import/firmware)
- Battery Release Button
- Battery Slot (NP-F series)
5. Setup
5.1 Mounting the Monitor
The DC-X2 monitor can be mounted using the included rig cage and cold shoe adapter.
- Attach the monitor to the rig cage using the provided screws.
- Secure the cold shoe adapter to the bottom of the rig cage.
- Mount the cold shoe adapter onto your camera's hot shoe or a compatible rig.

5.2 Powering the Monitor
The DC-X2 offers multiple power options:
- NP-F Series Battery: Insert a compatible NP-F550/NP-F750/NP-F970 battery into the battery slot on the back of the monitor.
- DC Adapter: Connect a 12-18V/2A DC power adapter to the DC port.
- USB-C Power Bank: Connect a 9V/3A USB-C power bank to the Type-C port.
5.3 Connecting to a Camera
Use the appropriate HDMI cable (Standard or Mini HDMI, included) to connect your camera's HDMI output to the monitor's HDMI Input port. You can also use the HDMI Output port to loop the signal to another monitor.

6. Operation
6.1 Power On/Off
Press and hold the Power Button (6) for a few seconds to turn the monitor on or off. The indicator light (5) will illuminate when the monitor is on.
6.2 Touchscreen Control
The DC-X2 features an intuitive touchscreen interface for easy navigation and function control.
- Single Tap: Select menu items or activate functions.
- Swipe: Navigate through menus or adjust parameters.
- Double Tap: Access the main menu or exit a sub-menu.

6.3 Shortcut Keys (F1-F4)
The four customizable shortcut keys (2) allow quick access to frequently used functions. By default:
- F1: Full Waveform function switch
- F2: Pseudo Color function switch
- F3: 3D LUT function switch
- F4: Lock Screen switch
You can customize these keys in the monitor's settings menu to assign up to 22 different shortcut functions.
6.4 Monitoring Functions
The DC-X2 offers a comprehensive suite of monitoring tools:
- Parade Waveform: Displays RGB/YUV/Y signal levels.
- Oscillogram: Provides detailed signal analysis.
- Vector Graph: Visualizes color saturation and hue.
- Brightness Histogram: Shows the distribution of brightness levels.
- Auxiliary Focus (Focus Peaking): Highlights in-focus areas.
- False Color: Helps evaluate exposure levels.
- Image Flip: Flips the image horizontally or vertically.
- 3D LUT: Apply custom Look-Up Tables for accurate color representation.
- Audio Column: Monitors audio input levels.
- Zoom: Magnifies a portion of the image for critical focus.
- Gridlines: Various framing guides.
- Safe Area: Displays safe zones for broadcast.
- Mark Ratio: Overlays aspect ratio markers.
- Color Temperature: Adjusts the color balance.
- Pixel to Pixel: Displays the image at its native resolution.

6.5 Importing 3D LUTs
To import custom 3D LUTs:
- Save your .cube or .dat 3D LUT files onto a USB drive.
- Insert the USB drive into the USB Interface (17) on the monitor.
- Navigate to the 3D LUT menu option on the monitor and select 'Import'.
- Choose the desired LUT file from the USB drive to import.

7. Maintenance
- Cleaning: Use a soft, lint-free cloth to clean the monitor screen and body. For stubborn smudges, slightly dampen the cloth with water. Do not use alcohol-based cleaners or solvents.
- Storage: When not in use, store the monitor in its carry case in a cool, dry place away from direct sunlight and extreme temperatures.
- Battery Care: If using NP-F batteries, ensure they are charged regularly and stored properly when not in use to prolong their lifespan. Remove batteries for long-term storage.
8. Troubleshooting
| Problem | Possible Cause | Solution |
|---|---|---|
| Monitor does not power on. | Battery is depleted or not inserted correctly. Power adapter is not connected or faulty. | Ensure battery is charged and correctly inserted. Check power adapter connection and try a different power source. |
| No video signal. | HDMI cable is loose or faulty. Camera output settings are incorrect. | Check HDMI cable connections. Verify camera's HDMI output settings (resolution, frame rate). Try a different HDMI cable. |
| Image is distorted or flickering. | Incompatible signal. Faulty cable. | Ensure camera output matches monitor's supported resolutions. Try a different HDMI cable. |
| Touchscreen is unresponsive. | Screen lock is active. Software glitch. | Deactivate screen lock (F4 by default). Restart the monitor. |
| Monitor overheats. | Poor ventilation. Prolonged use in high temperatures. | Ensure cooling vents are not obstructed. Operate in a well-ventilated area. Reduce brightness if possible. |
9. Specifications
| Feature | Specification |
|---|---|
| Brand | VILTROX |
| Model Number | DC-X2 |
| Screen Size | 6 inches |
| Resolution | FHD 1080p (1920 x 1080) |
| Native Resolution | 3840x2160 (Internal processing) |
| Aspect Ratio | 16:9 |
| Brightness | 2000 candela_per_square_meter (Nits) |
| Contrast Ratio | 1000:1 |
| Viewing Angle | 160 degrees |
| Refresh Rate | 60 hertz |
| Response Time | 1 milliseconds |
| Connectivity Technology | HDMI |
| Total Number of HDMI Ports | 2 (1 Input, 1 Output) |
| Additional Features | High Dynamic Range, Touchscreen |
| Item Dimensions (D x W x H) | 1.06"D x 6.12"W x 3.87"H |
| Item Weight | 1.3 kg |
10. Official Product Videos
10.1 VILTROX DC-X2/X3 2000Nits Camera Field Monitor Touchscreen Overview
Video: A comprehensive overview of the VILTROX DC-X2 and DC-X3 camera field monitors, highlighting their 2000 Nits touchscreen display and various features. This video demonstrates the monitor's capabilities and user interface.
10.2 VILTROX DC-X2 Camera Field Monitor 2000 Nits Features
Video: A detailed look at the VILTROX DC-X2 camera field monitor, focusing on its 2000 Nits brightness and how it performs in various lighting conditions. The video showcases the monitor's display quality and practical applications.
11. Warranty and Support
The VILTROX DC-X2 Camera Field Monitor Kit comes with a 1-year manufacturer's warranty. This warranty covers defects in materials and workmanship under normal use.
For technical support, warranty claims, or service inquiries, please refer to the contact information provided on the VILTROX official website or the documentation included with your product. Please retain your proof of purchase for warranty validation.


