
1. Introduction
This manual provides detailed instructions for the installation, setup, and operation of your Uckazy Ultra Narrow 12.3-inch Car Radio. This device is designed to enhance your driving experience by integrating advanced multimedia features while retaining your vehicle's original functionalities. Please read this manual thoroughly before installation and use to ensure proper operation and safety.
Video Description: A product overview demonstrating the Linux System 12.3-inch screen's interface and capabilities.
2. Compatibility
This car radio is specifically designed for BMW X1 F48 models manufactured between 2018 and 2020, equipped with the original EVO System. It is crucial to verify your vehicle's system type before proceeding with installation. If you are uncertain about your car's system, please consult a professional or contact customer support.
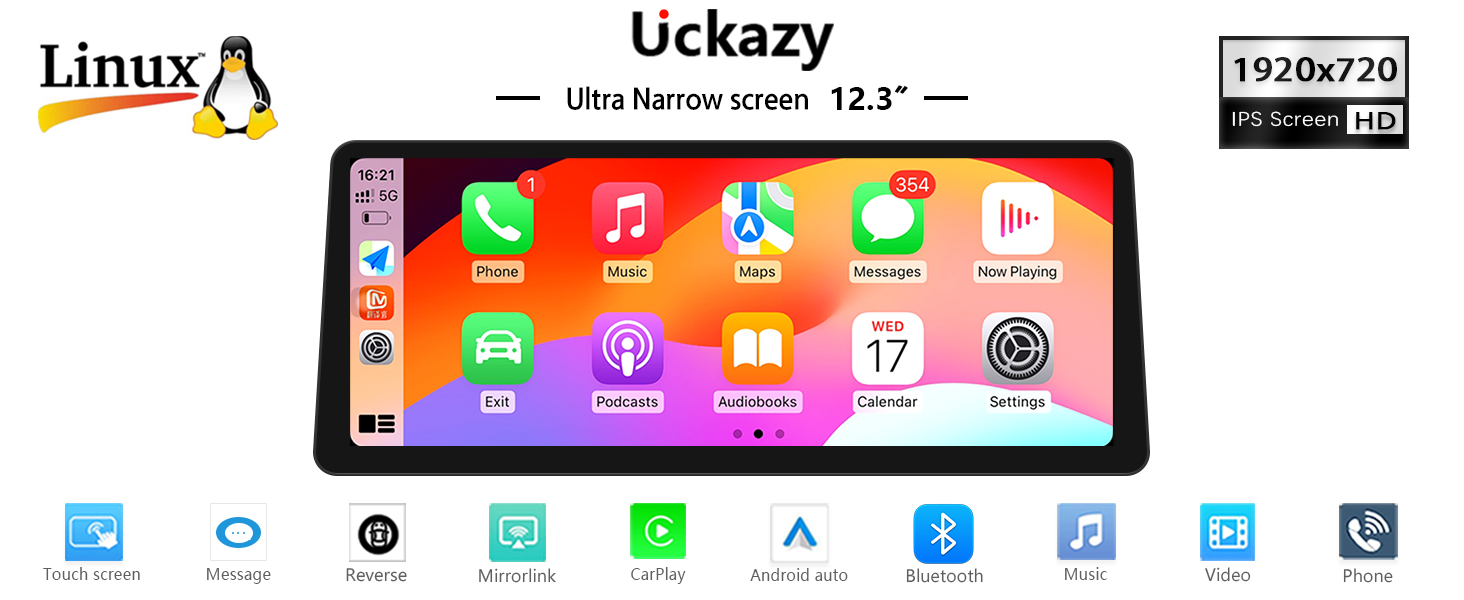
Image Description: An illustration showing how to identify if your BMW X1 F48 (2018-2020) has an EVO System, indicated by a 6-pin LVDS port, compared to an incompatible NBT System.
3. Key Features
- Ultra Narrow 12.3-inch IN-CELL Screen: Features a 1920x720 HD resolution display with full lamination technology, reducing reflection by 75% and enhancing clarity.
- Dual System Integration: Seamlessly switch between the Linux system and your original car system with a single click. Retains original car radio, amplifier, steering wheel controls, iDrive knob, and vehicle information display (speed, fuel, oil pressure, safety warnings, reverse camera).
- Wireless Connectivity: Supports wireless (and wired) Apple CarPlay, wireless (and wired) Android Auto, wireless MirrorLink for iOS and Android devices, Bluetooth, and Wi-Fi.
- Built-in DSP with 16 EQ Segments: Allows for detailed audio customization with various tuning methods and preset effects to optimize sound quality.
- Automatic Light Sensitivity: The display automatically adjusts between day and night modes based on your car's original headlights for optimal visibility.
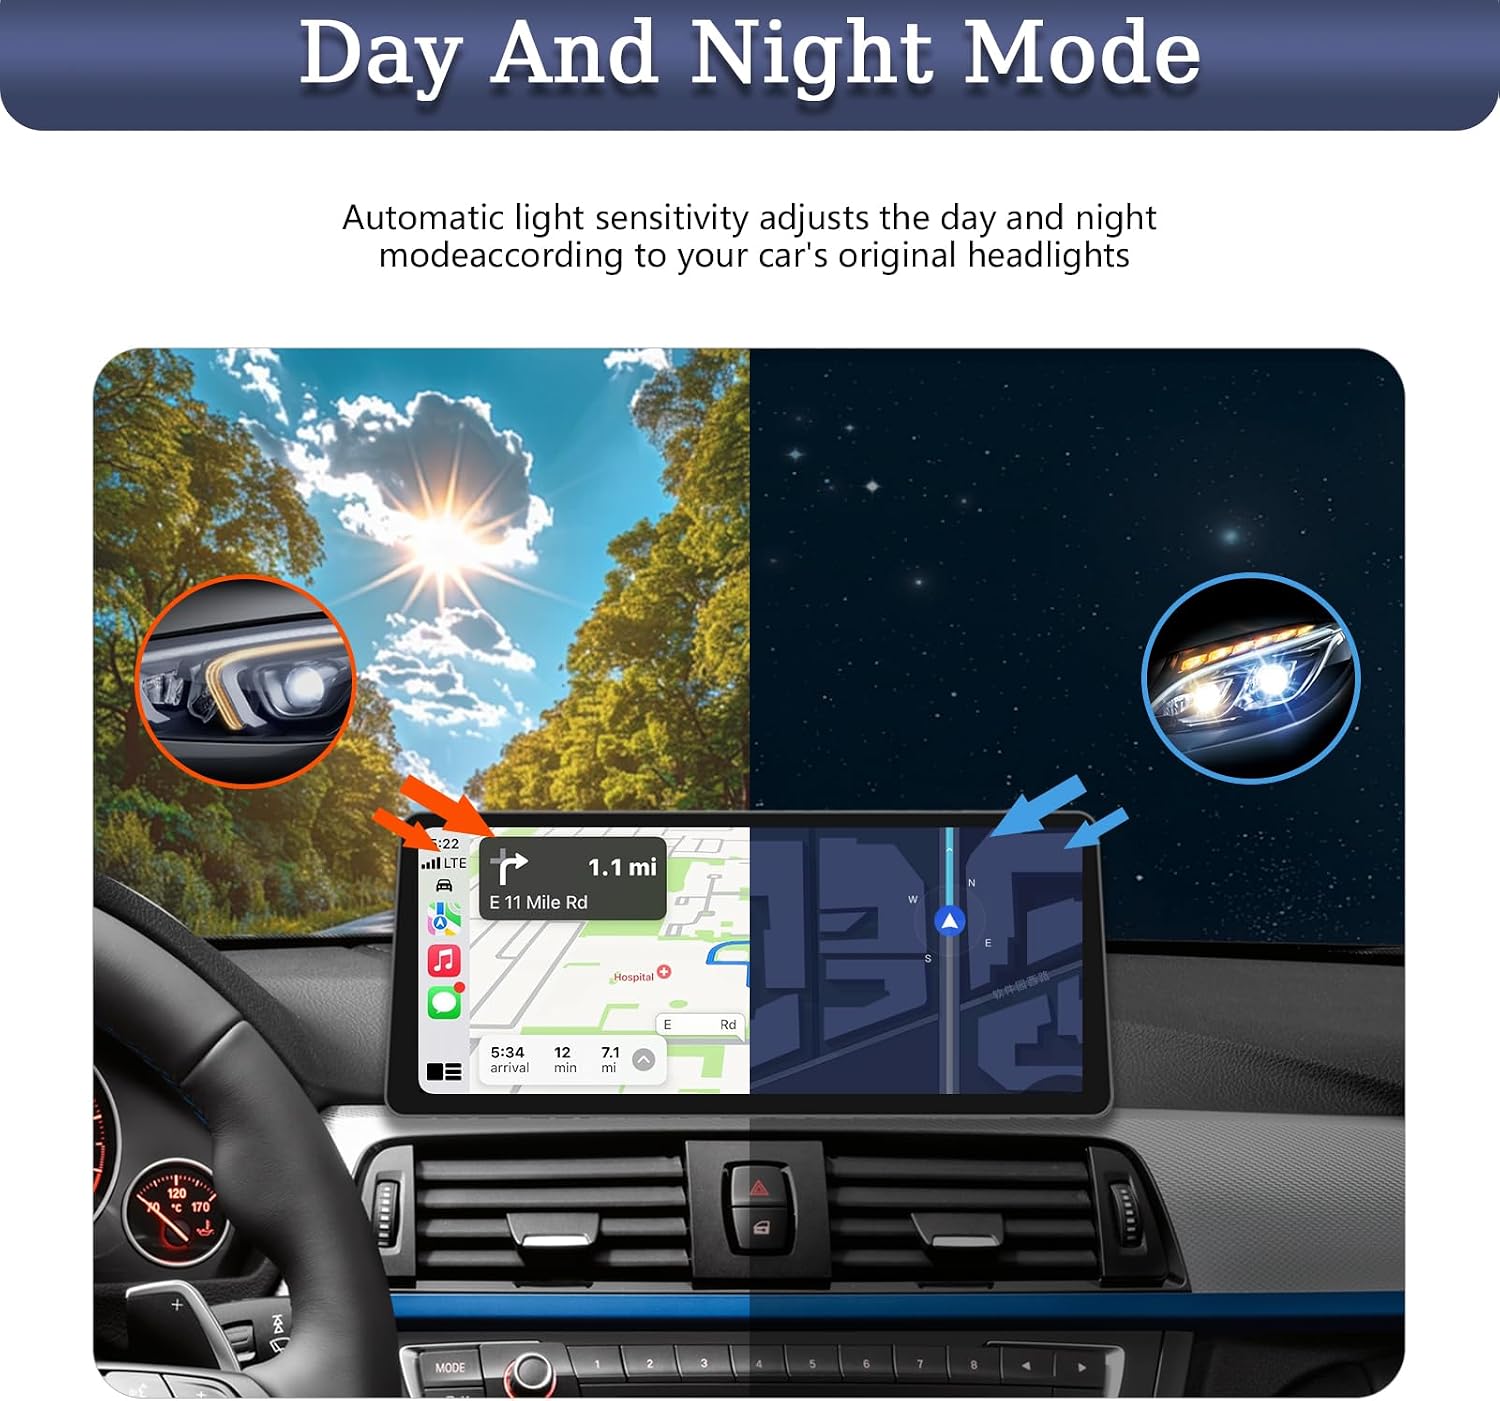
Image Description: Visual comparison of the display in day mode (bright sunlight) and night mode (darkness), demonstrating the automatic light sensitivity feature.
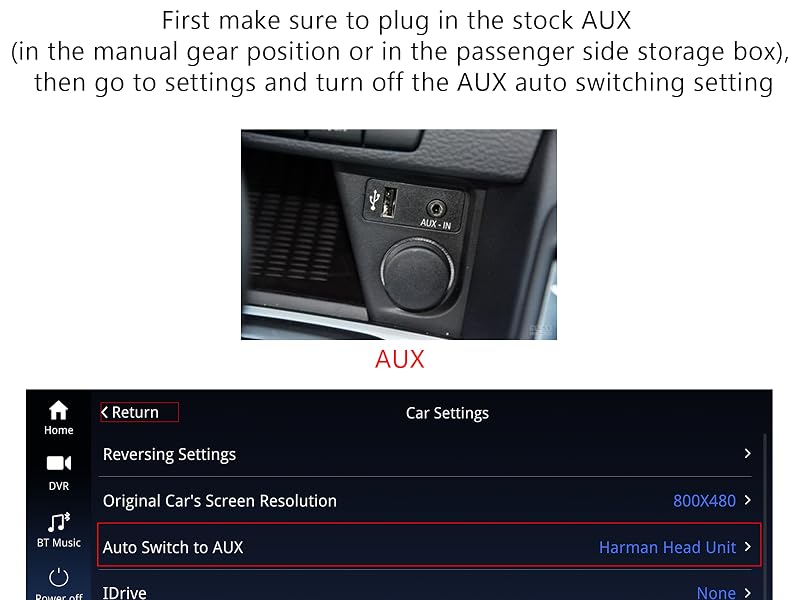
Image Description: Six panels illustrating support for original steering wheel control, OEM reversing camera, iDrive control, sound from original car stereo, retaining original CD player, and keeping the original car system.
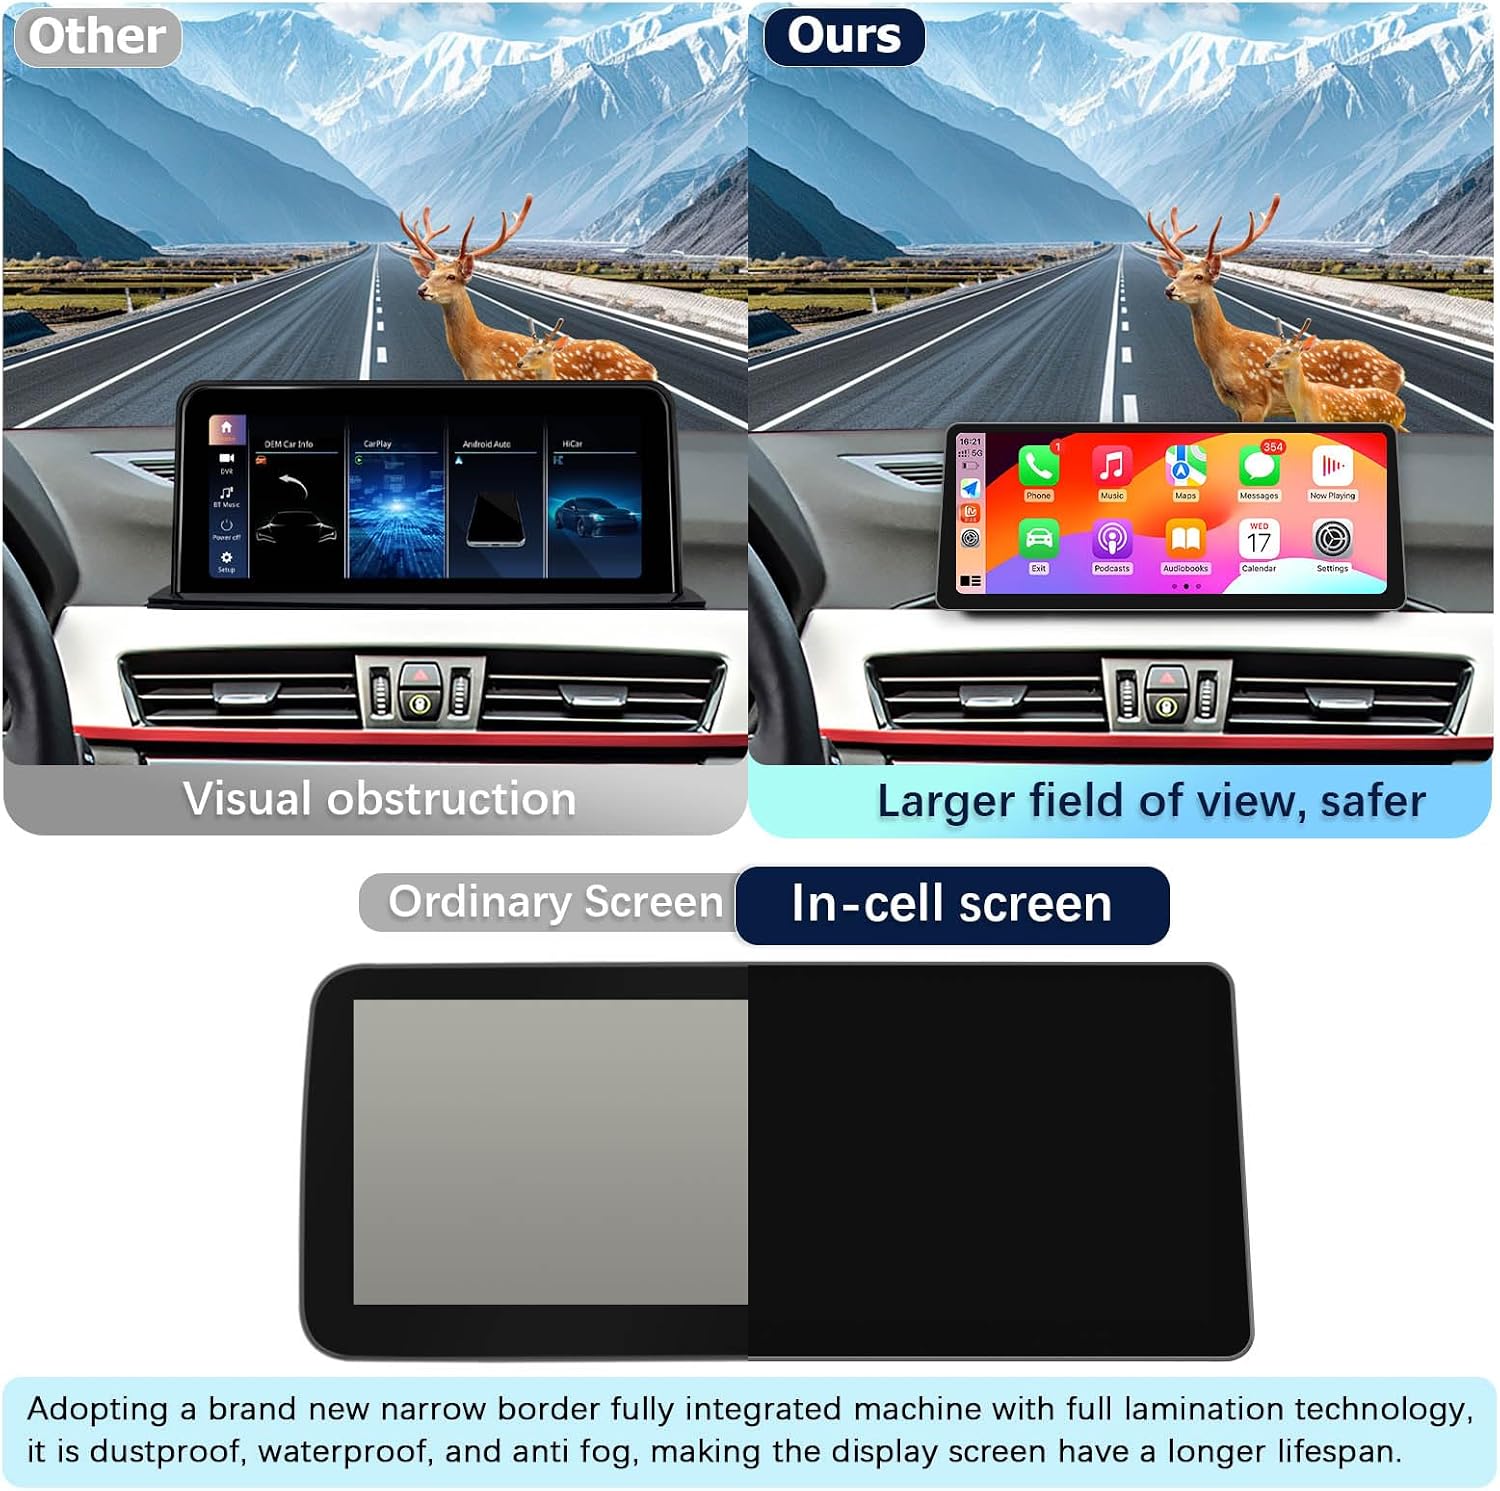
Image Description: A comparison showing the Uckazy product's larger field of view and narrower bezel compared to other products, highlighting reduced visual obstruction and a more modern design.
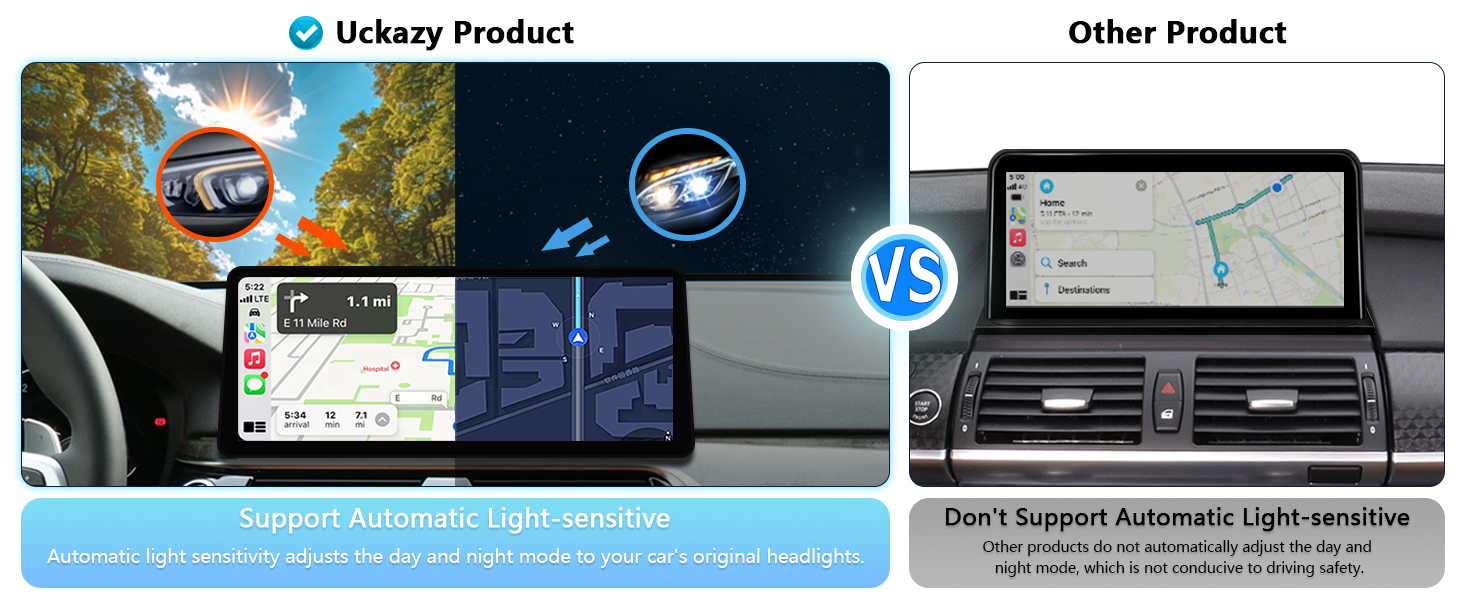
Image Description: An illustration demonstrating the one-click switching functionality between the original car CCC system and the new Linux system interface.
4. Installation
4.1 What's in the Box
- Ultra narrow 12.3" in-cell display screen
- Frame
- Plug and play power Cable
- USB/AUX/RCA Cable
- Installation tools and touch pen
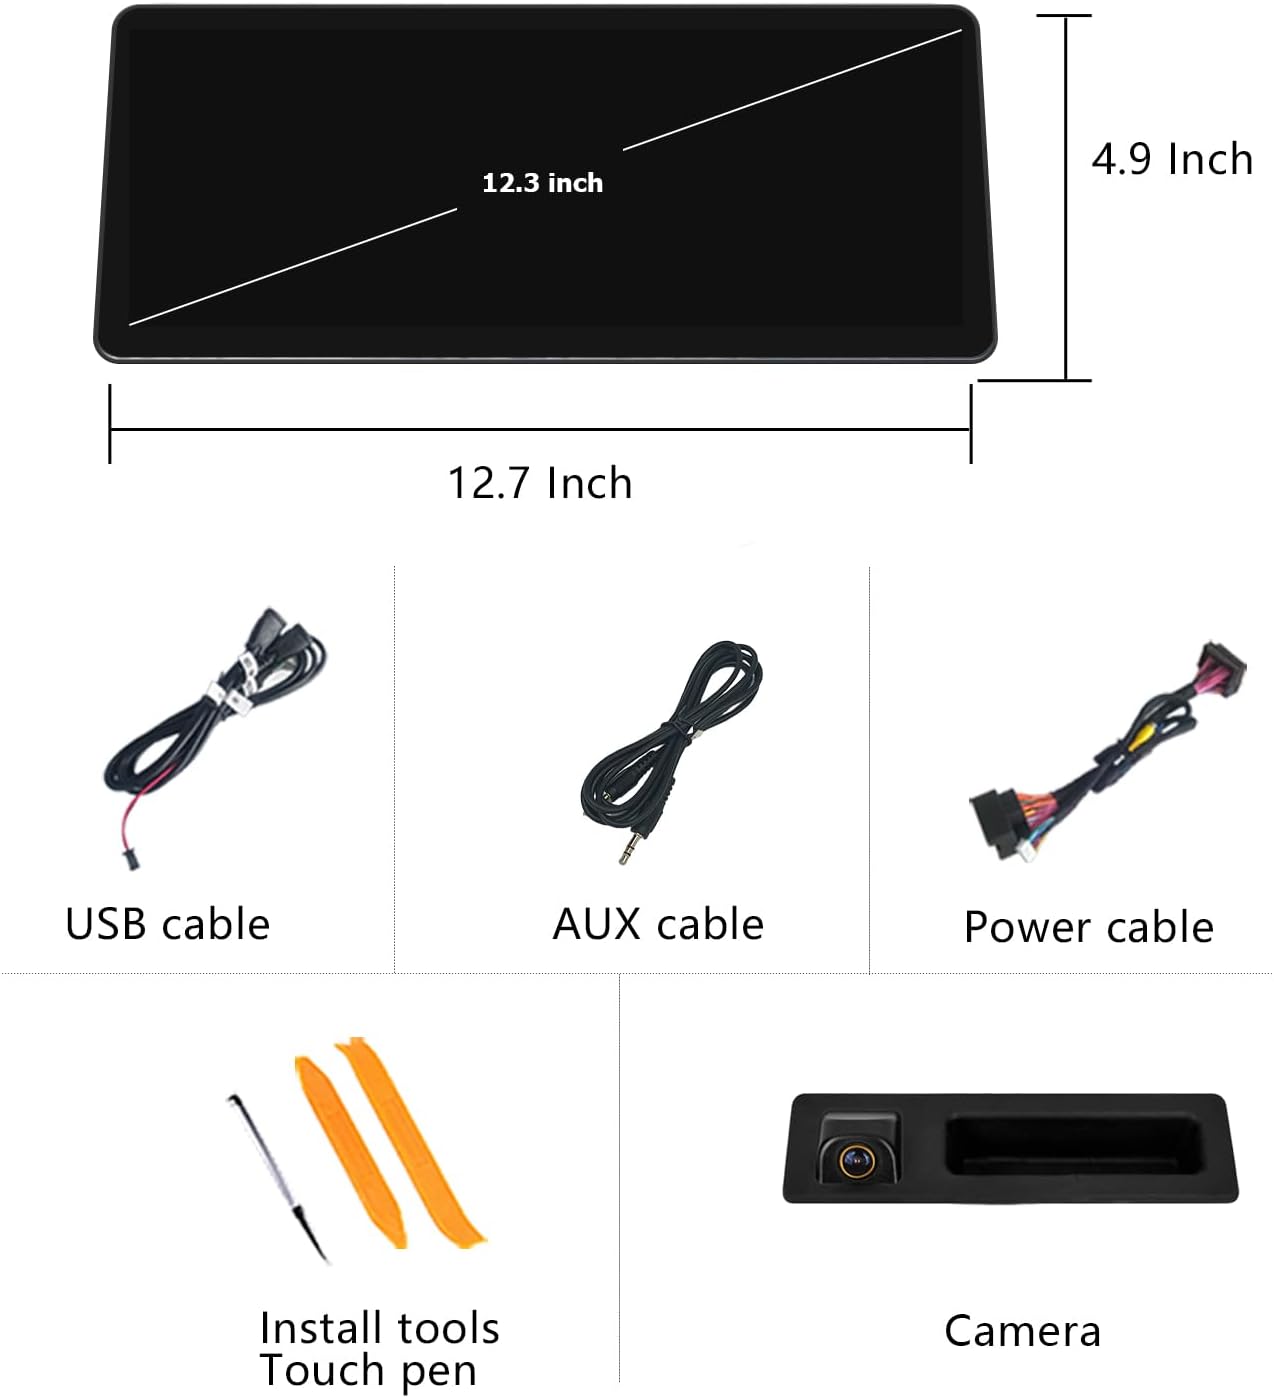
Image Description: An image displaying the main components included in the package: the 12.3-inch screen, USB cable, AUX cable, power cable, installation tools, touch pen, and a camera.
4.2 Fiber Optic Cable Connection
To connect with fiber optics, unplug the 2P fiber optic harness from the original car CD and insert it into the Linux system harness. Ensure correct wire definition and linking according to the provided diagram.
Video Description: Demonstrates how to transfer fiber optic cables during installation, showing the process of releasing the snap and plugging in the power cord.
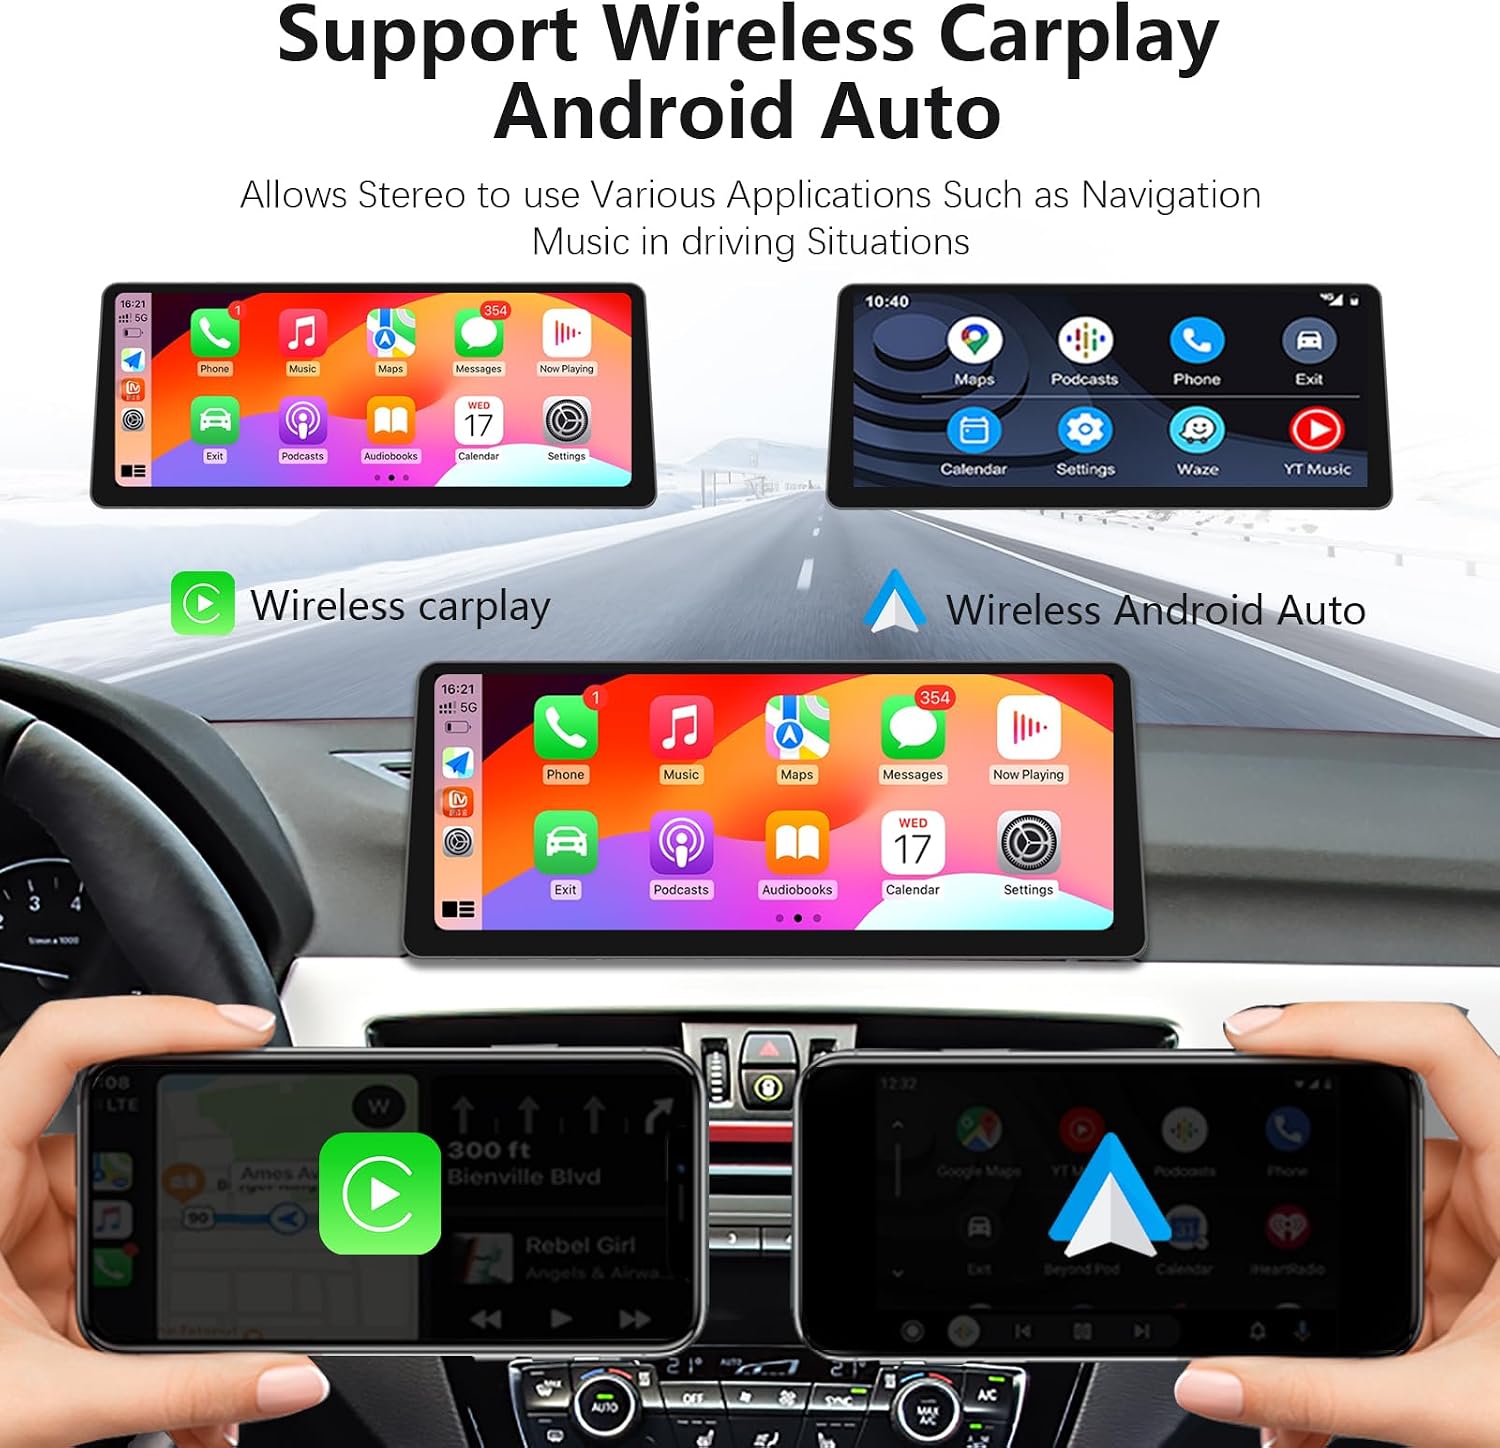
Image Description: A diagram illustrating the wire definition and linking for the car machine system, including how to connect with fiber optics by transferring the 2P fiber optic harness.
4.3 Power Cable Connection
Locate the power cord and plug it into the correct interface. Ensure the power cable is securely snapped to the original power cable. Pay close attention to the right interface to avoid incorrect connections.
4.4 Wired CarPlay/Android Auto Connection
For wired CarPlay or Android Auto, use USB1 (data link). USB2 is for read storage. If you experience noise in the sound, connect with AB.
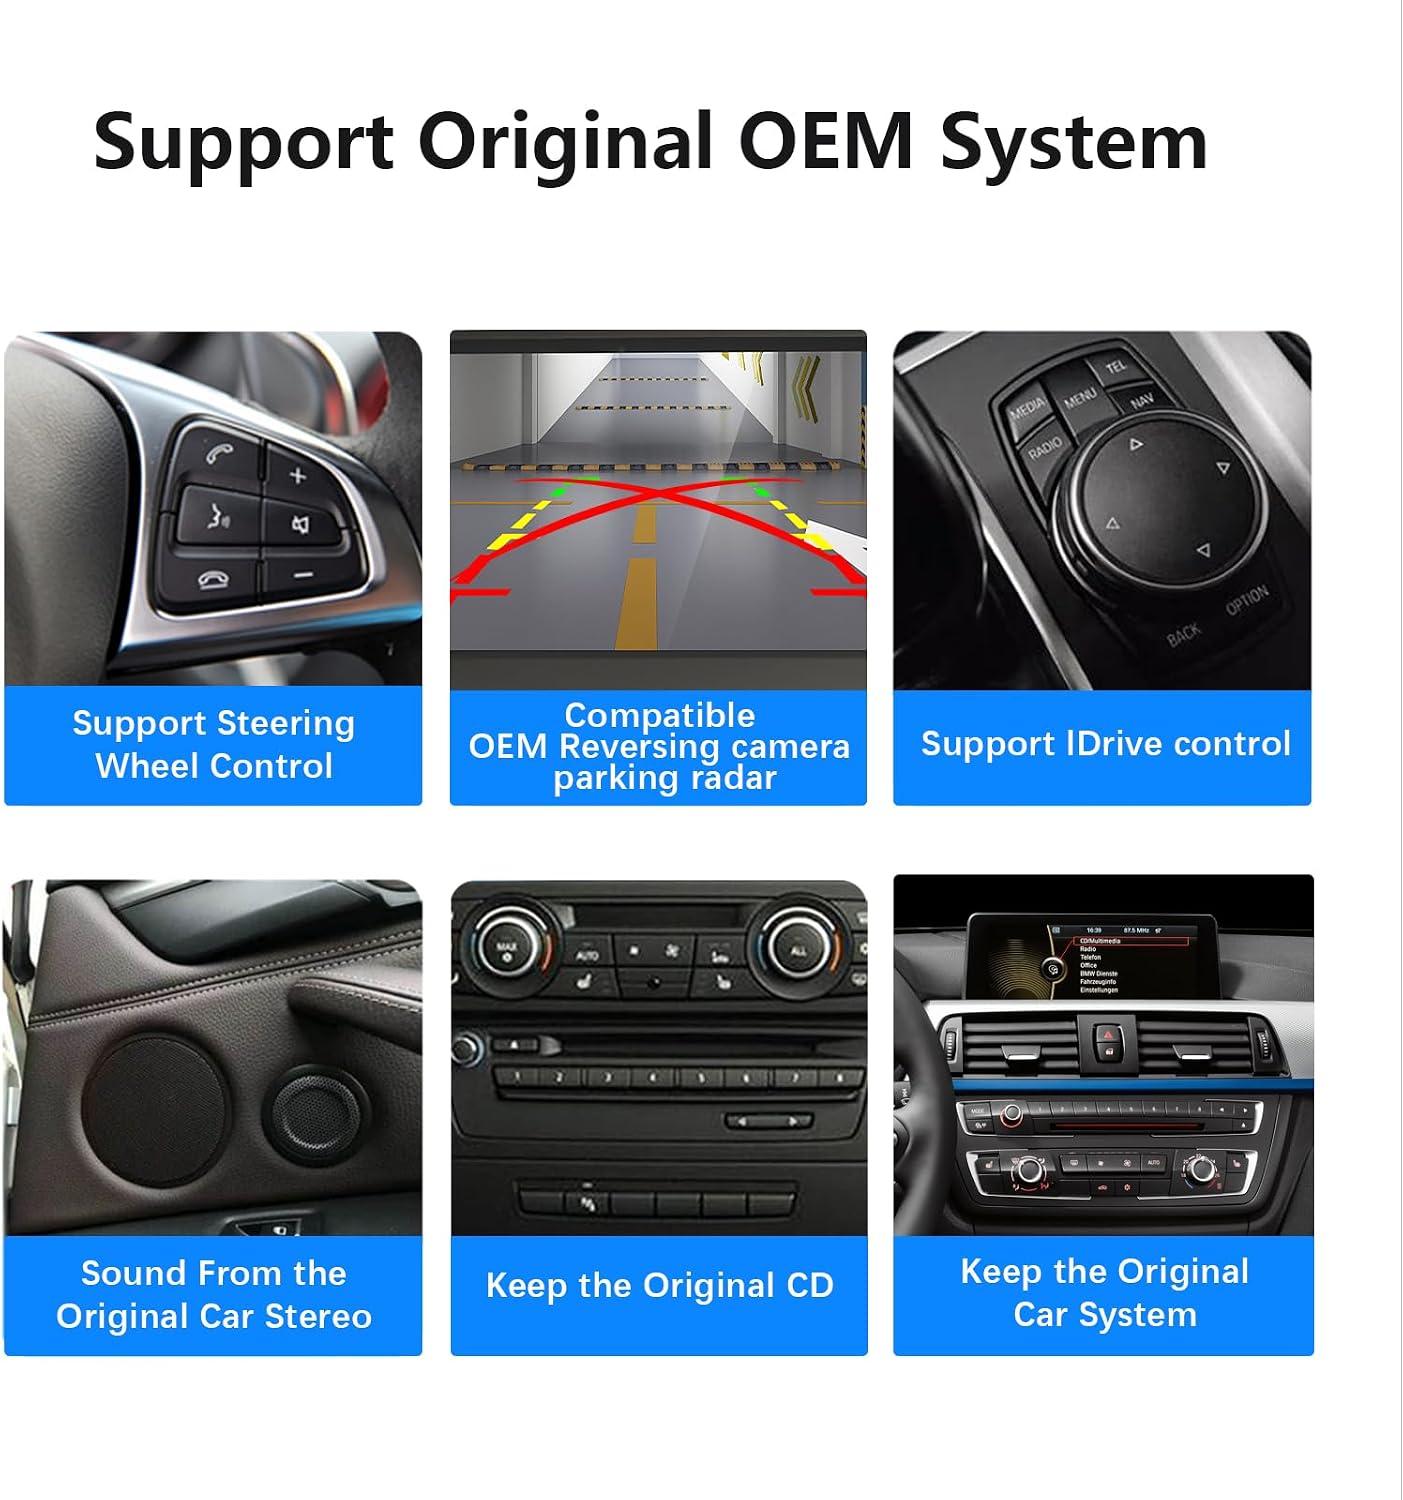
Image Description: A diagram showing the correct USB port (USB IN 1) to use for wired CarPlay or Android Auto connection, and a note about connecting with AB if sound is distorted.
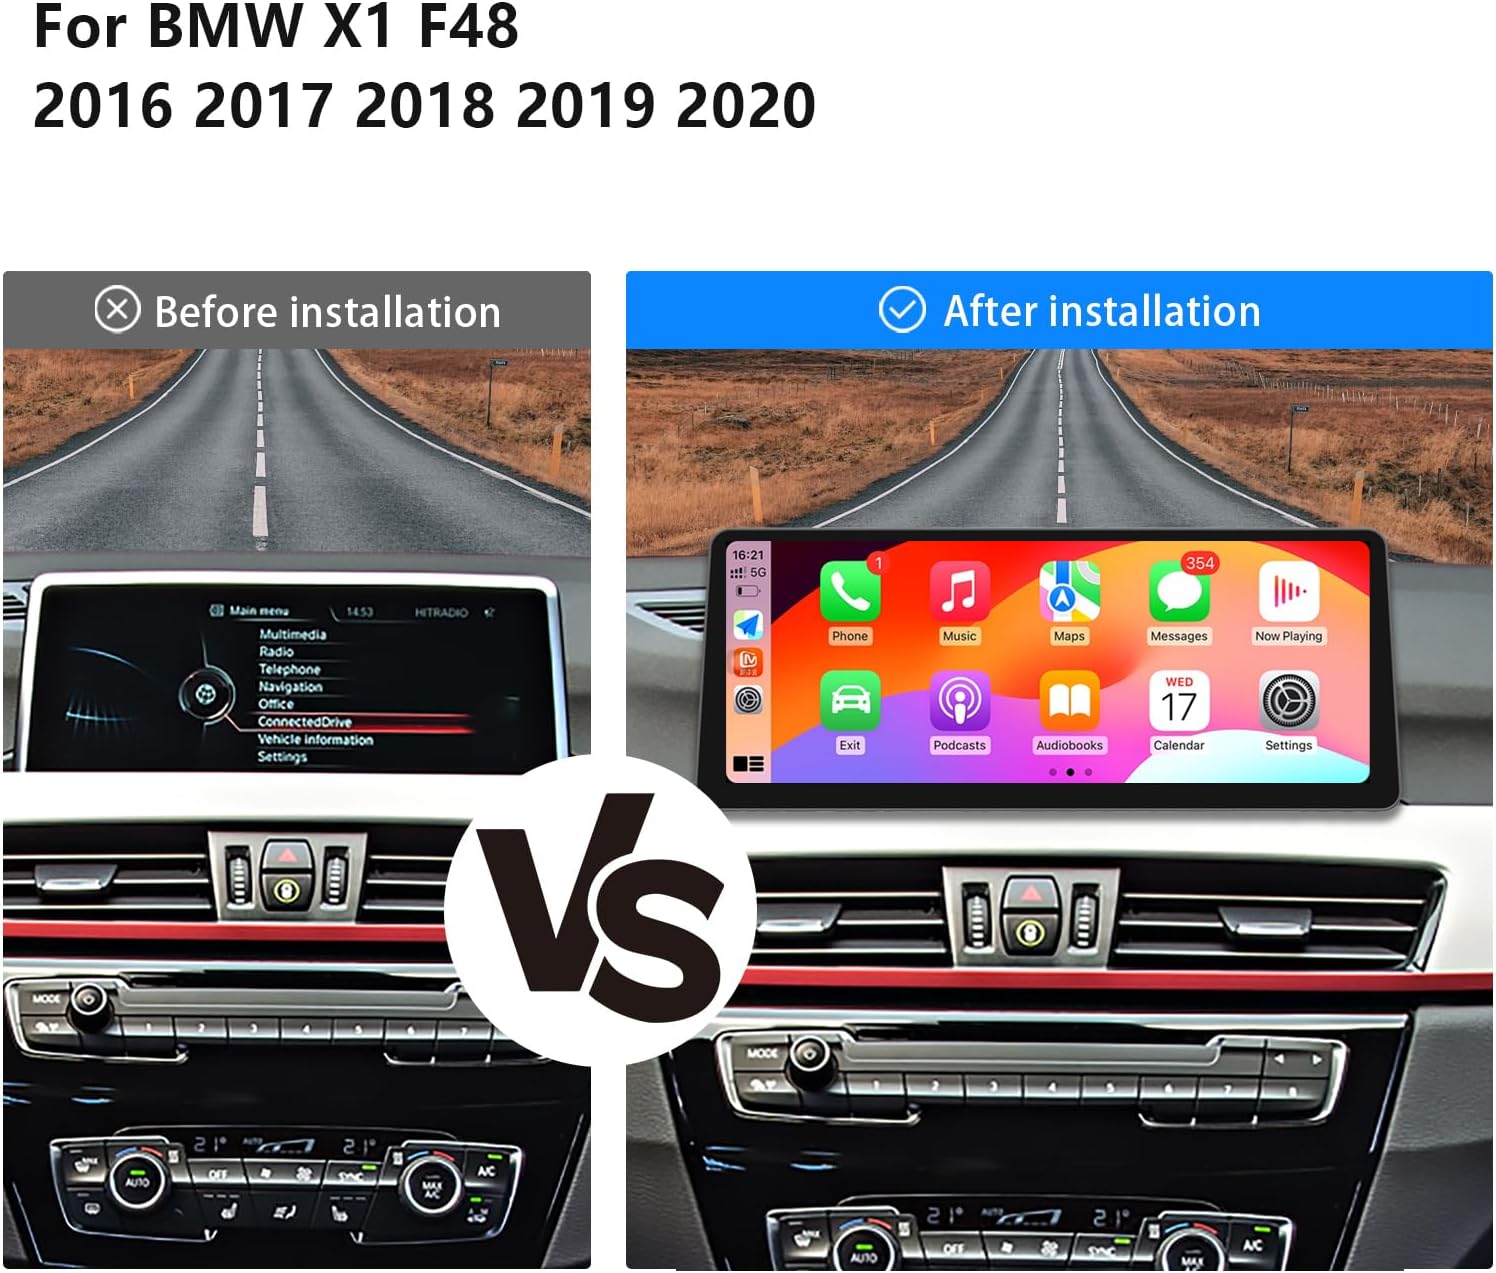
Image Description: A side-by-side comparison of the car's interior before and after the installation of the 12.3-inch car radio, showing the integrated display.
5. Setup
5.1 Initial Language Setting
If the original car system is in a language other than English, navigate to the settings menu to change the language to English for easier setup and operation.
Video Description: Demonstrates how to change the language setting on the car radio from Chinese to English within the system settings.
5.2 OEM Resolution and Camera Settings
Access the 'Car Settings' menu. Select the correct resolution for OEM displays under 'Original Car's Screen Resolution'. For cameras, go to 'Reversing Settings' and choose 'Original Camera' or 'Aftermarket Camera' as appropriate. Incorrect settings may prevent OEM car information or the reverse camera from displaying correctly.
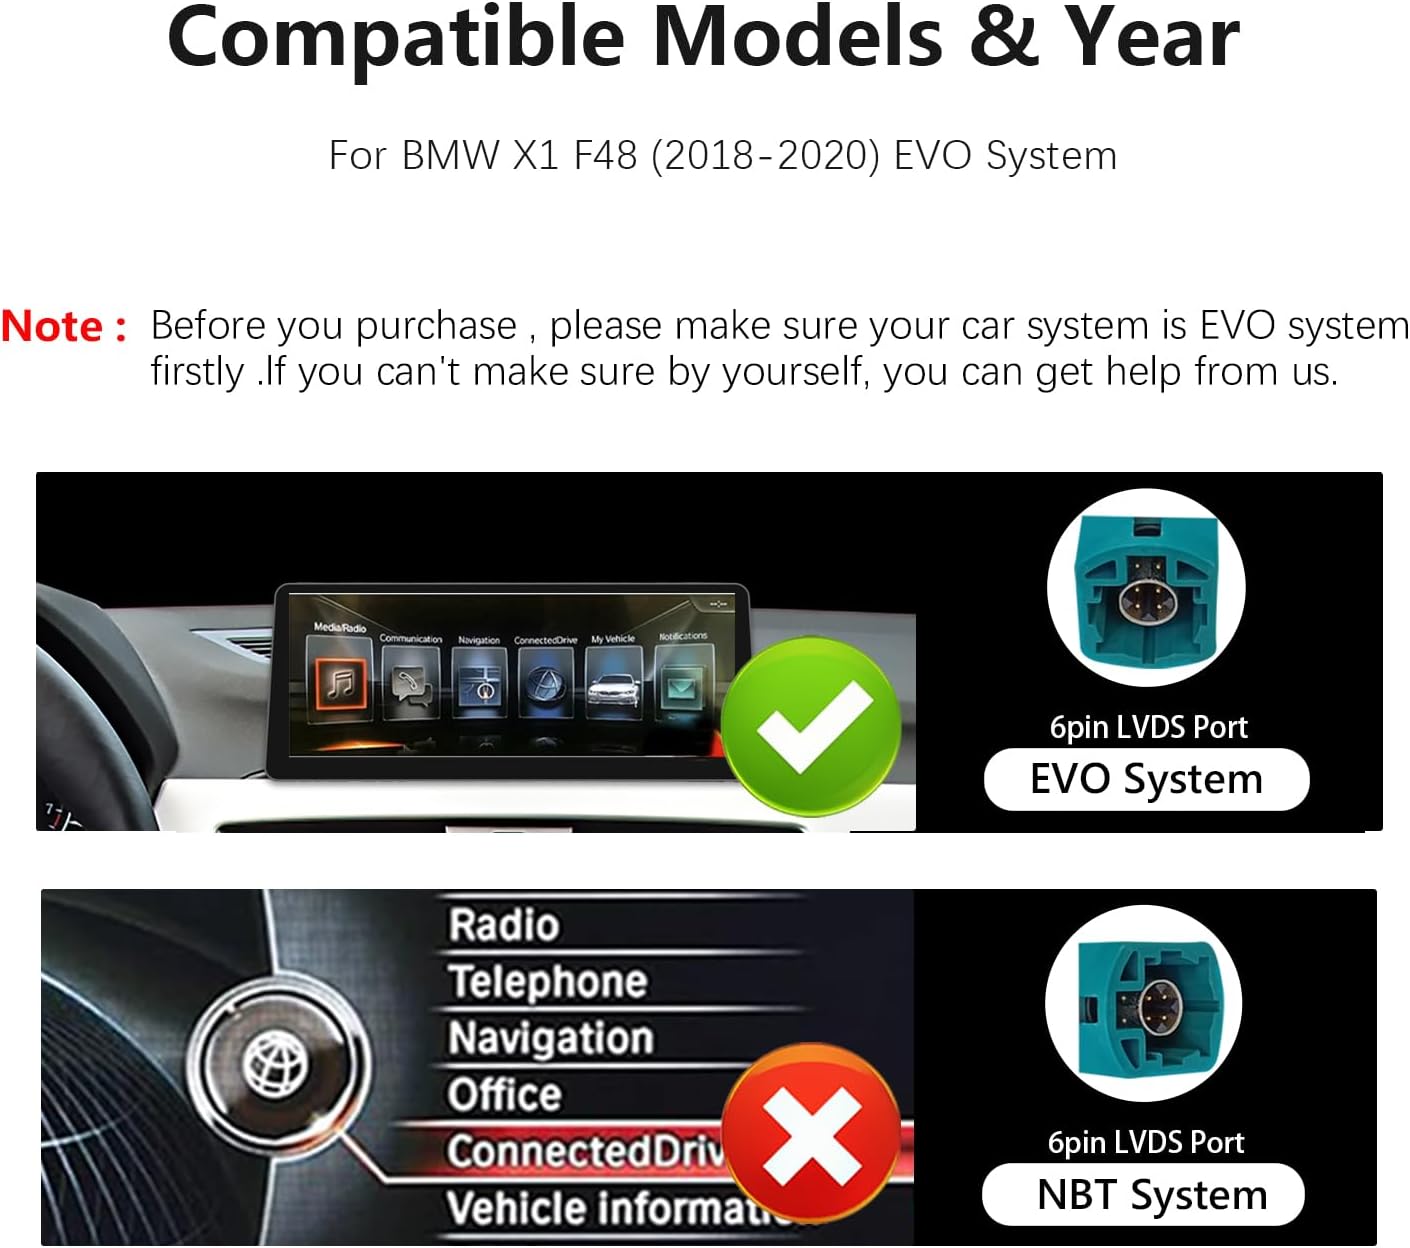
Image Description: Two panels showing the setup menus for adjusting OEM screen resolution (e.g., 800x480) and selecting the camera type (Original or Aftermarket) under reversing settings.
5.3 AUX Audio Setup
Ensure the stock AUX is plugged in (typically in the manual gear position or passenger side storage box). Then, go to settings and turn off the AUX auto switching setting. For manual AUX setting, navigate to 'Main menu' > 'Multimedia' > 'External devices'. Long press number '8' until a tone rings to activate CarPlay sound. For automatic AUX switching, go to 'Setup' > 'Car Settings' > 'Auto Switch to AUX' and select 'Harman Head Unit' or 'Alpine Head Unit' as applicable.
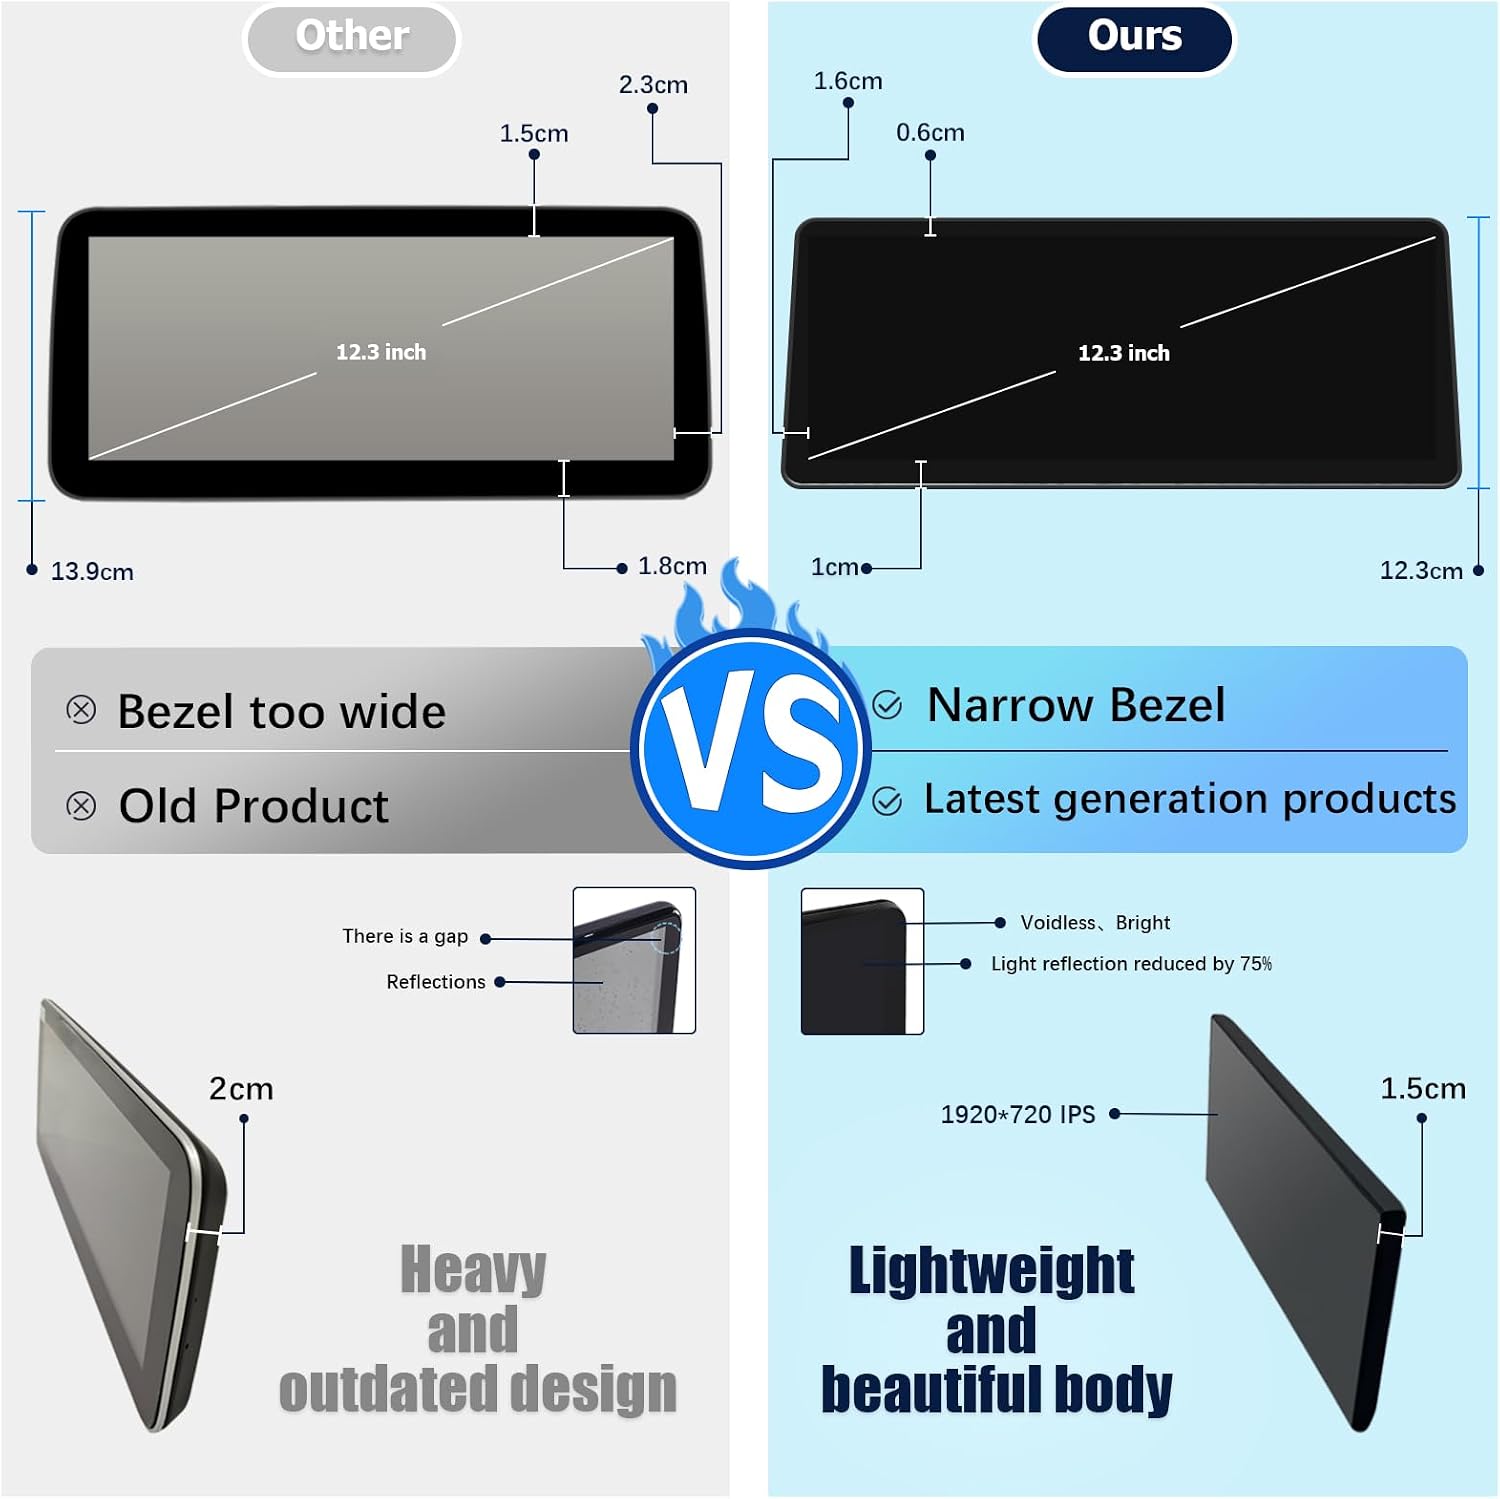
Image Description: An image showing the physical AUX port in a car and a screenshot of the 'Auto Switch to AUX' setting within the car radio's menu, indicating the selection of 'Harman Head Unit'.
Image Description: Two panels detailing how to set up AUX audio: one for automatic switching via car settings (Harman or Alpine Head Unit) and another for manual activation by pressing '8' on the original car system.
6. Operating Instructions
6.1 Wireless CarPlay Connection
First, ensure the necessary wires (LVDS and power cord) are connected to the machine. Then, turn on Bluetooth on your phone and the car radio. Find the Bluetooth connection for the screen (e.g., 'CAR-BT-78C0'). Pair your phone. If prompted, open Siri voice assistant on your iPhone. Once connected, CarPlay will display navigation, music, messages, and other functions.
Video Description: A demonstration of connecting a smartphone to the car radio for wireless CarPlay, showing the Bluetooth pairing process and the CarPlay interface with navigation, music, and messaging.
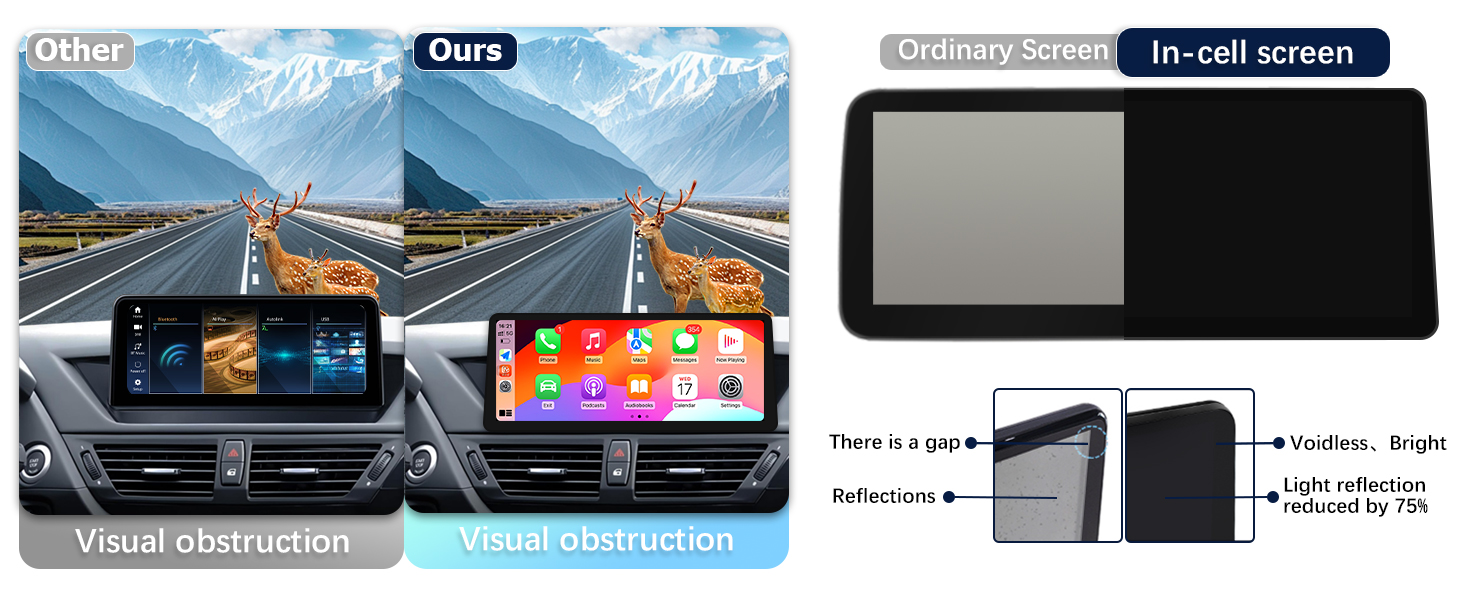
Image Description: A visual representation of the wireless CarPlay interface on the 12.3-inch screen, showing various application icons like Phone, Music, Maps, and Messages.
6.2 Main Interface Navigation
The main interface provides quick access to OEM Car Info, CarPlay, Android Auto, and HiCar. Use the touchscreen to navigate between these options and other system settings.
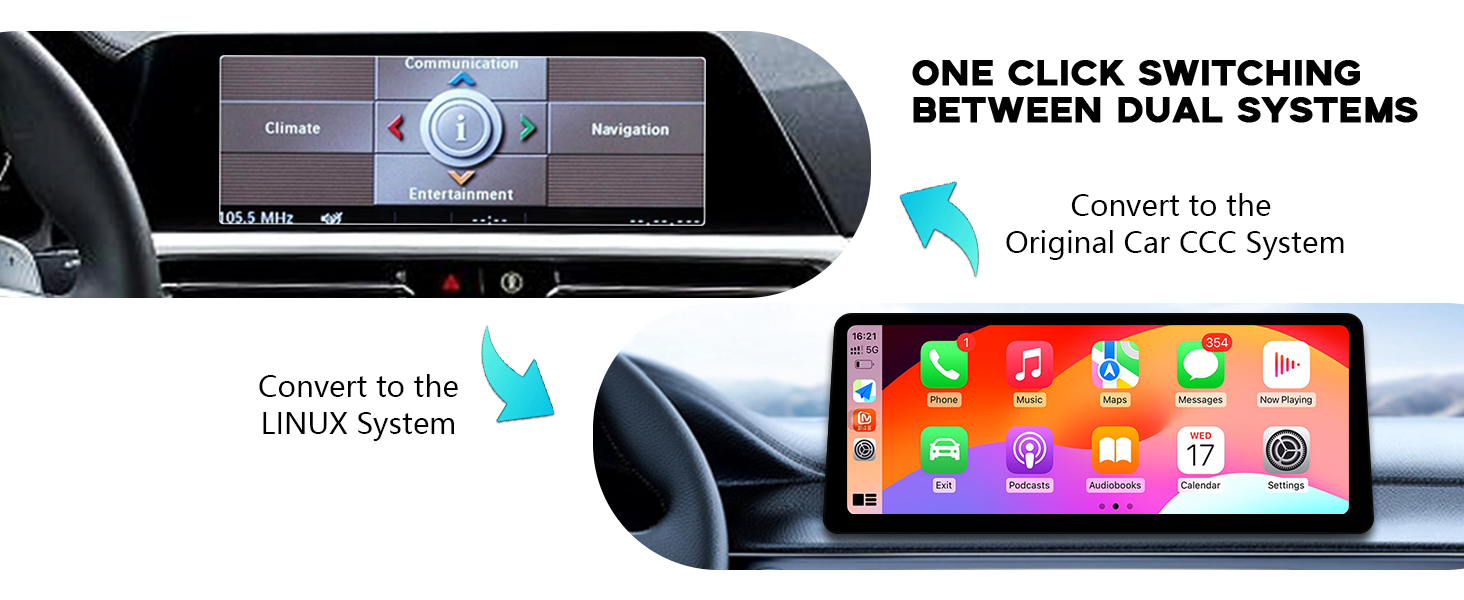
Image Description: A screenshot of the main interface of the car radio, displaying options for OEM Car Info, CarPlay, Android Auto, and HiCar, along with other system controls.
7. Maintenance
To ensure the longevity and optimal performance of your car radio, regularly clean the screen with a soft, lint-free cloth. Avoid using harsh chemicals or abrasive materials. Keep the unit free from excessive dust and moisture. Periodically check all cable connections to ensure they are secure.
8. Troubleshooting
8.1 No Sound / Distorted Sound
- Ensure the fiber optic cables are correctly connected as per the installation instructions.
- Verify the AUX audio setup is correctly configured (manual or automatic switch).
- If using wired CarPlay/Android Auto and experiencing noise, ensure the AB connection is made as shown in the installation section.
8.2 Display Issues
- If OEM car information or the reverse camera is not displaying, check the 'Original Car's Screen Resolution' and 'Camera Type' settings in the 'Car Settings' menu.
- Ensure all LVDS connections are secure.
8.3 Connectivity Problems (CarPlay/Android Auto)
- For wireless connections, ensure Bluetooth is enabled on both your phone and the car radio, and that the devices are paired.
- For wired connections, ensure you are using USB1 for data transfer.
- Verify that Siri (for CarPlay) or Google Voice Assistant (for Android Auto) is enabled on your smartphone.
9. Specifications
| Brand | Uckazy |
| Model Name | SF20250915 |
| Screen Size | 12.3 Inches |
| Display Type | IPS In-Cell Screen |
| Resolution | 1920 x 720 |
| Operating System | Linux System |
| Connectivity Technology | Bluetooth, Wi-Fi |
| Special Feature | Touchscreen, Apple CarPlay, Android Auto, MirrorLink, Built-in DSP |
| Memory Storage Capacity | 1 GB |
| Supported Navigation | GPS (online maps) |
10. Warranty
This Uckazy product comes with a 1-year manufacturer's warranty. Please retain your proof of purchase for any warranty claims. The warranty covers defects in materials and workmanship under normal use. It does not cover damage caused by improper installation, misuse, accidents, or unauthorized modifications.
11. Support
For technical assistance, installation queries, or troubleshooting, please contact Uckazy customer support. You can typically find contact information on the seller's page or through the platform where you purchased the product. Providing your product model and a detailed description of the issue will help expedite support.
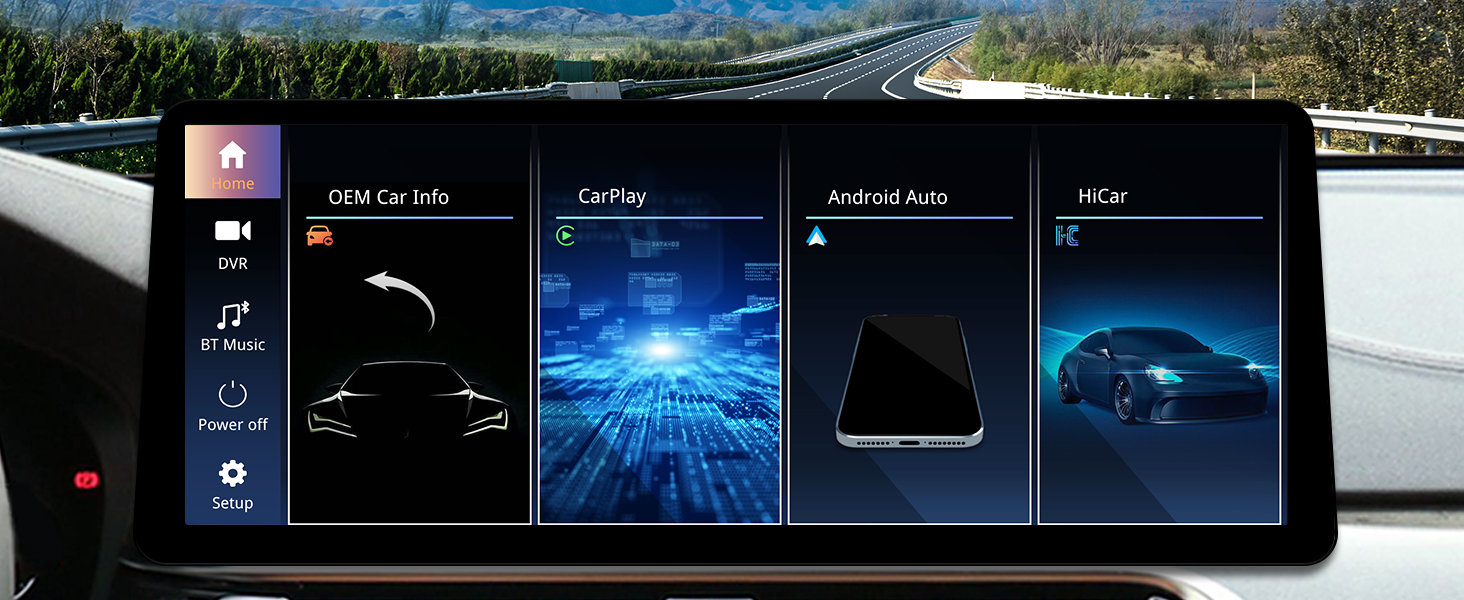
Image Description: An image illustrating how to access technical support by navigating to the seller's page and clicking on the 'Ask a question' link.