1. Introduction
Thank you for choosing the eOUTIL Digital Protractor/Inclinometer/Angle Finder. This precision tool is designed for accurate angle measurement in various applications, including automotive, woodworking, building, drilling machinery, and masonry. Its compact design, V-groove magnetic base, and clear LCD display make it an essential tool for professionals and DIY enthusiasts.
This manual provides detailed instructions for the proper setup, operation, maintenance, and troubleshooting of your device. Please read it thoroughly before use to ensure optimal performance and longevity.

Figure 1: eOUTIL Digital Protractor/Inclinometer/Angle Finder with included AAA batteries.
2. Safety Information
Please observe the following safety precautions to prevent injury and damage to the device:
- Do not expose the device to extreme temperatures or direct sunlight.
- Avoid dropping or subjecting the device to strong impacts.
- Keep the device away from strong magnetic fields, except for its intended magnetic base use.
- Do not attempt to disassemble or modify the device. Repairs should only be performed by qualified personnel.
- Ensure batteries are inserted with correct polarity. Remove batteries if the device will not be used for an extended period.
- Clean the device with a soft, dry cloth. Do not use abrasive cleaners or solvents.
3. Package Contents
Verify that all items are present in the package:
- 1 x eOUTIL Digital Angle Gauge
- 2 x 1.5V AAA Batteries
- 1 x Instruction Manual
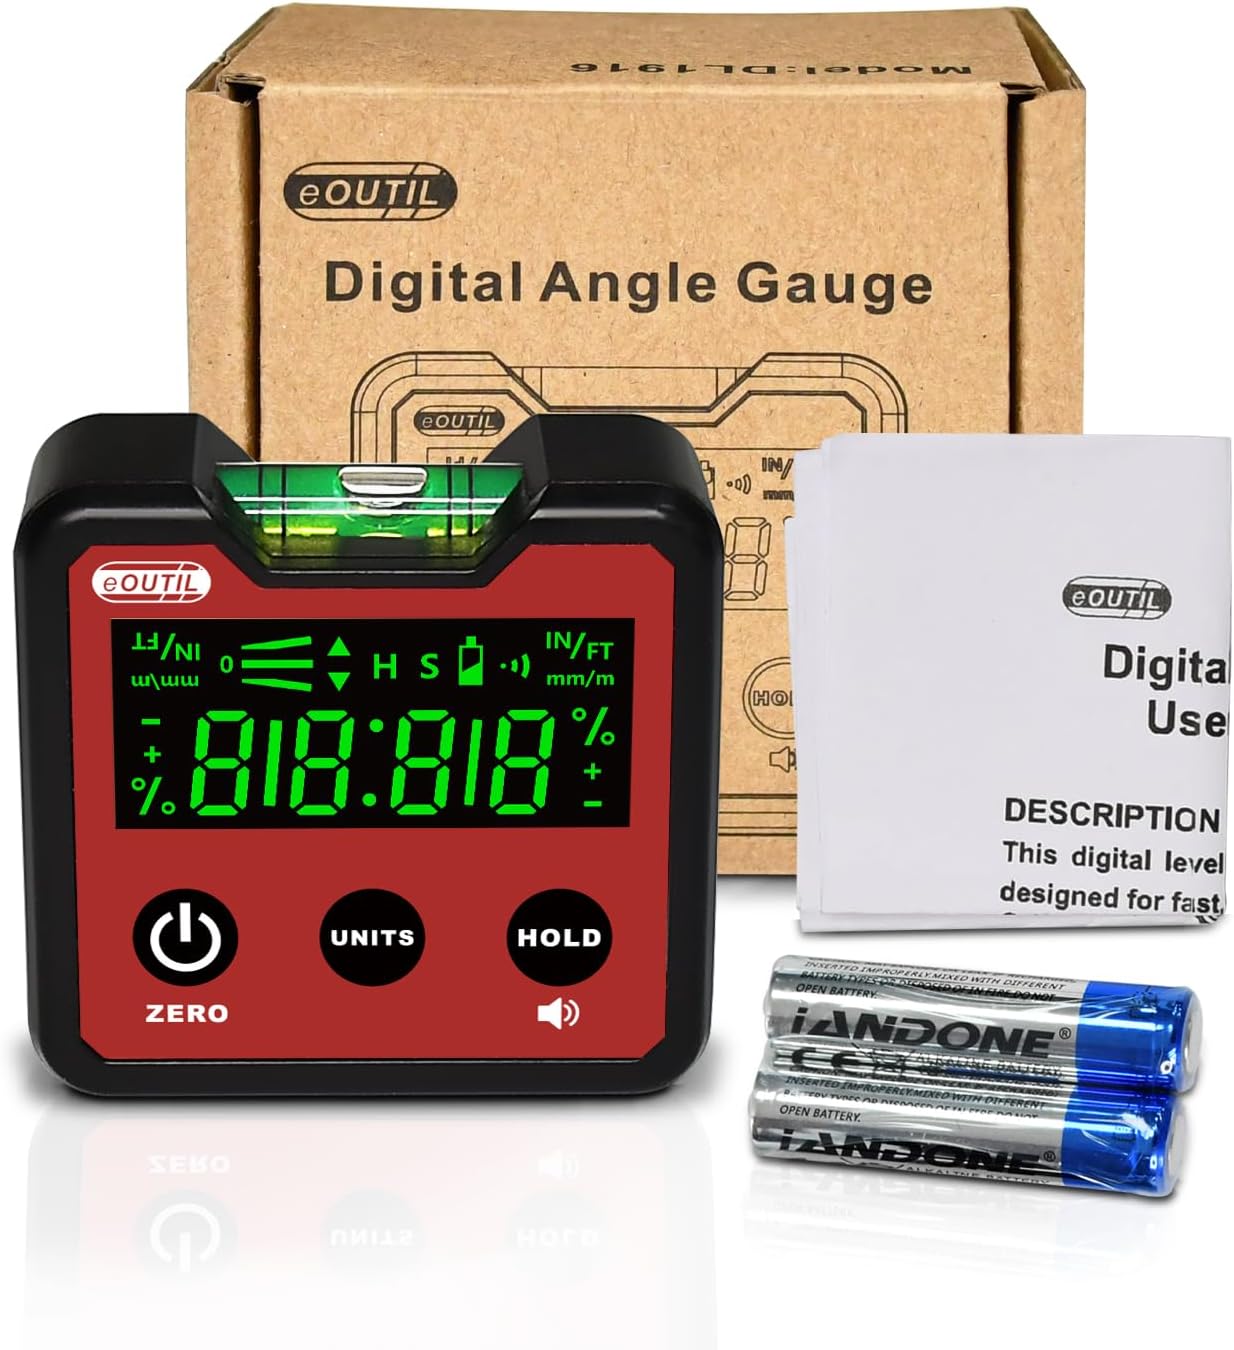
Figure 2: Contents of the eOUTIL Digital Angle Gauge package.
4. Specifications
| Feature | Detail |
|---|---|
| Model Number | DL1916 |
| Dimensions | 2.44 x 2.2 x 1.1 inches (62 x 56 x 28 mm) |
| Item Weight | 3.52 ounces |
| Material | ABS |
| Color | Red |
| Power Source | Battery Powered (2 x AAA Alkaline) |
| Measurement Modes | Absolute Angle, Relative Measurement |
| Display | Backlight LCD |
| Base | V-Groove Magnetic Base |
| Resistance | IP54 Dust and Water Resistant |

Figure 3: Detailed view of the eOUTIL Digital Angle Gauge with dimensions and button functions.
5. Setup
5.1 Battery Installation
- Locate the battery compartment cover on the back of the device.
- Slide the cover open.
- Insert two 1.5V AAA batteries, ensuring correct polarity (+/-) as indicated inside the compartment.
- Close the battery compartment cover securely.
Figure 4: The digital angle gauge with its battery compartment and included batteries.
6. Operating Instructions
6.1 Power On/Off
- Press the ZERO button (power icon) to turn the device on.
- Press and hold the ZERO button to turn the device off.
6.2 Measurement Modes
The device supports two primary measurement modes:
- Absolute Angle Mode: Measures the angle relative to a true horizontal surface.
- Relative Measurement Mode: Allows you to set any surface as a temporary "zero" reference for measuring subsequent angles relative to that reference.
To switch between modes, press the ZERO button briefly when the device is on. This will toggle between absolute and relative zeroing.
6.3 Changing Units
Press the UNITS button to cycle through the available measurement units:
- Degrees (°)
- Percentage (%)
- Millimeters/Meters (mm/m)
- Inches/Feet (IN/FT)

Figure 5: Examples of the four measurement units displayed on the device.
6.4 Data Hold Function
Press the HOLD button to freeze the current measurement on the display. Press it again to release the hold and resume live measurement.
6.5 Using the Magnetic Base
The V-groove magnetic base allows the device to be securely attached to ferrous metal surfaces, including pipes and curved objects, for hands-free measurement.

Figure 6: Demonstrating the magnetic base attachment on different metal surfaces.

Figure 7: The powerful built-in magnets on the base of the angle gauge.
7. Maintenance
7.1 Cleaning
Wipe the device with a soft, dry cloth. For stubborn dirt, a slightly damp cloth can be used, but ensure no moisture enters the device. Do not use harsh chemicals, solvents, or abrasive cleaners.
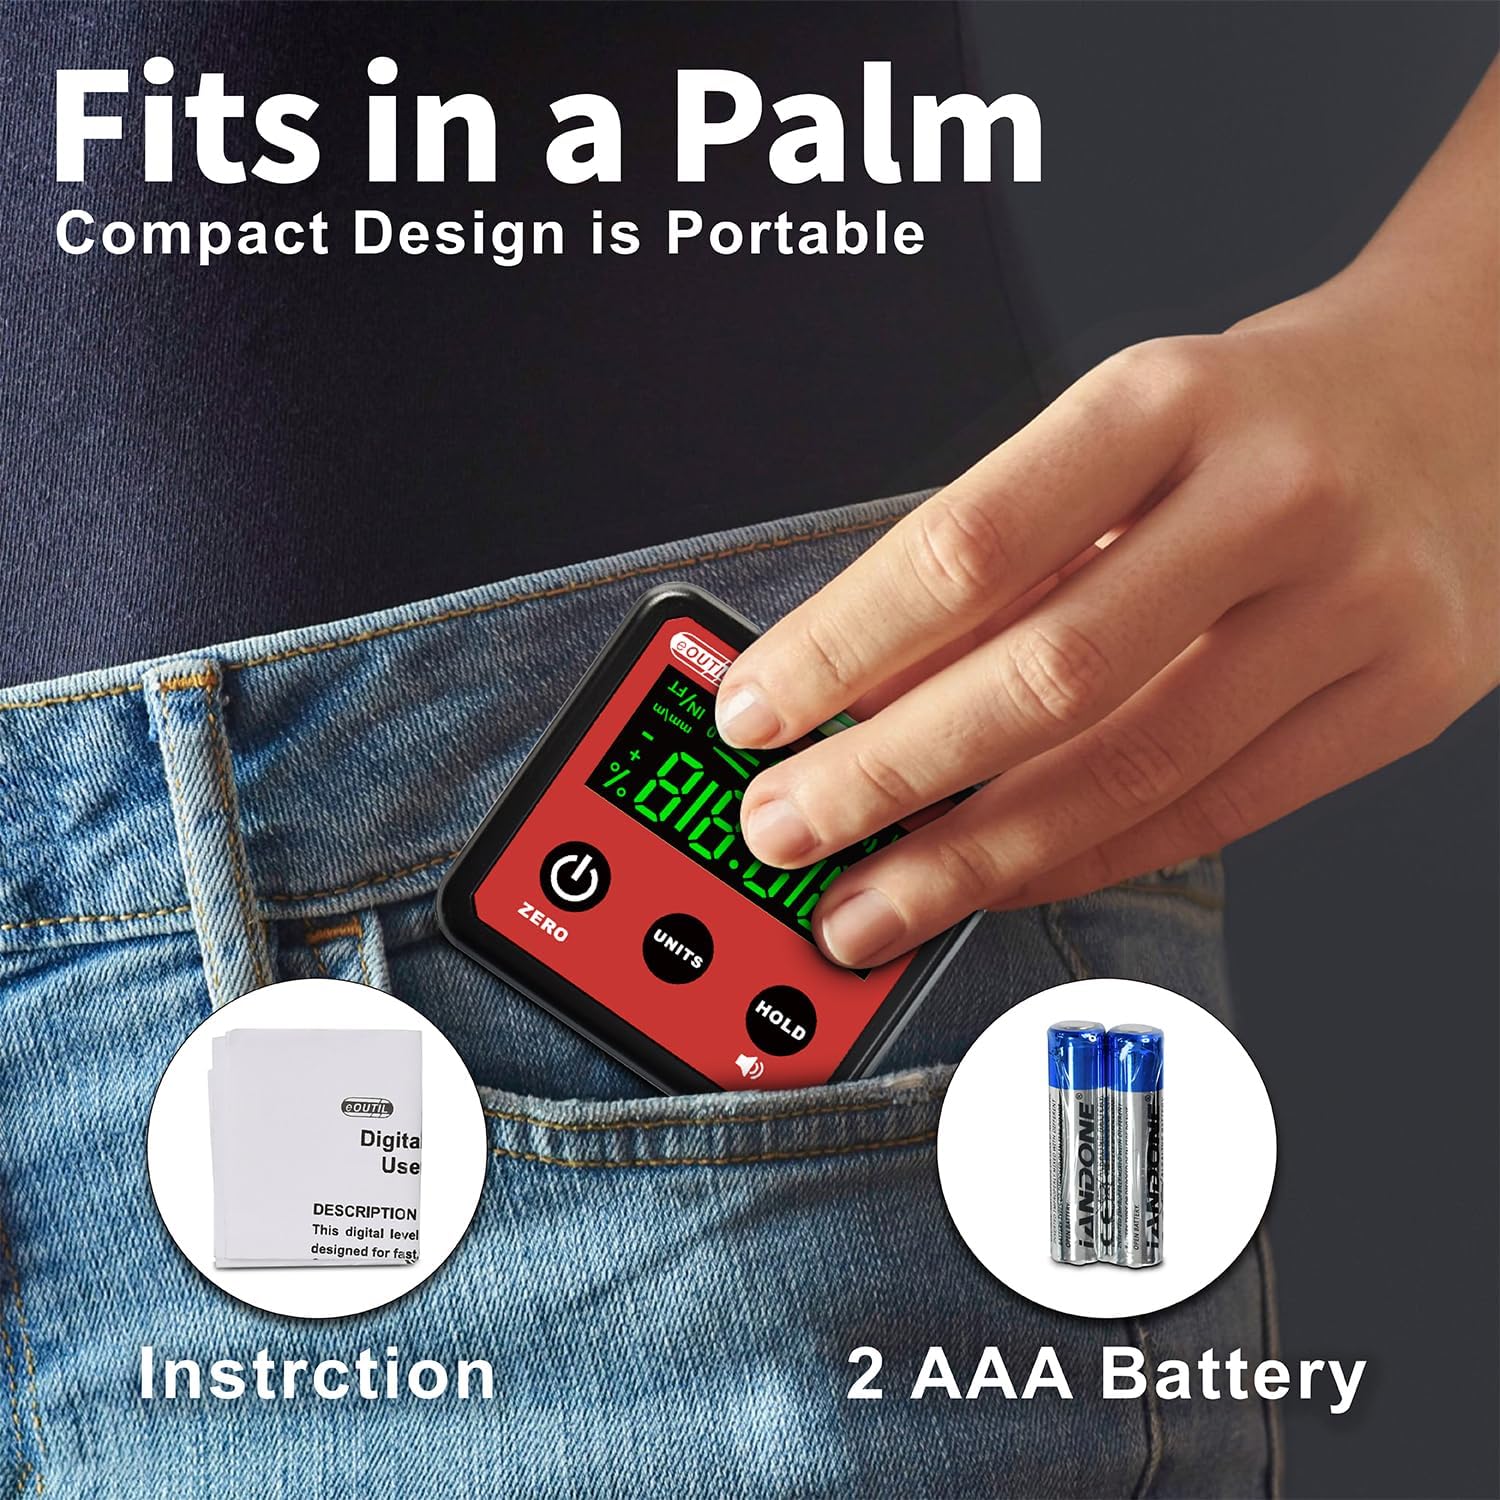
Figure 8: The device is designed to be water and dust resistant (IP54 standard).
7.2 Battery Replacement
When the battery indicator on the LCD display shows low power, replace both AAA batteries promptly to ensure accurate readings. Refer to Section 5.1 for battery installation instructions.
7.3 Storage
Store the device in a cool, dry place away from direct sunlight and extreme temperatures. If storing for an extended period, remove the batteries to prevent leakage.
8. Troubleshooting
| Problem | Possible Cause | Solution |
|---|---|---|
| Device does not power on. | Dead or incorrectly installed batteries. | Check battery polarity or replace batteries. |
| Inaccurate readings. | Device not properly calibrated (zeroed) or surface is unstable. | Ensure the device is zeroed on a stable, level surface. Recalibrate if necessary. |
| Display is dim or flickering. | Low battery power. | Replace batteries. |
| Magnetic base not holding. | Surface is not ferrous metal or is too thin/uneven. | Ensure attachment to a suitable metal surface. |
9. Warranty and Support
eOUTIL products are manufactured with high-quality standards. For warranty information or technical support, please refer to the contact details provided on the product packaging or visit the official eOUTIL store on Amazon:
Please have your model number (DL1916) and purchase date ready when contacting support.