
Introduction
This manual provides essential information for the safe and efficient operation, installation, and maintenance of your Empura EGM-13B 23-inch Reach-In Refrigerator. This commercial merchandiser is designed for displaying beverages and other refrigerated items in convenience stores and grocery environments, offering 13 cubic feet of storage with energy-efficient features.
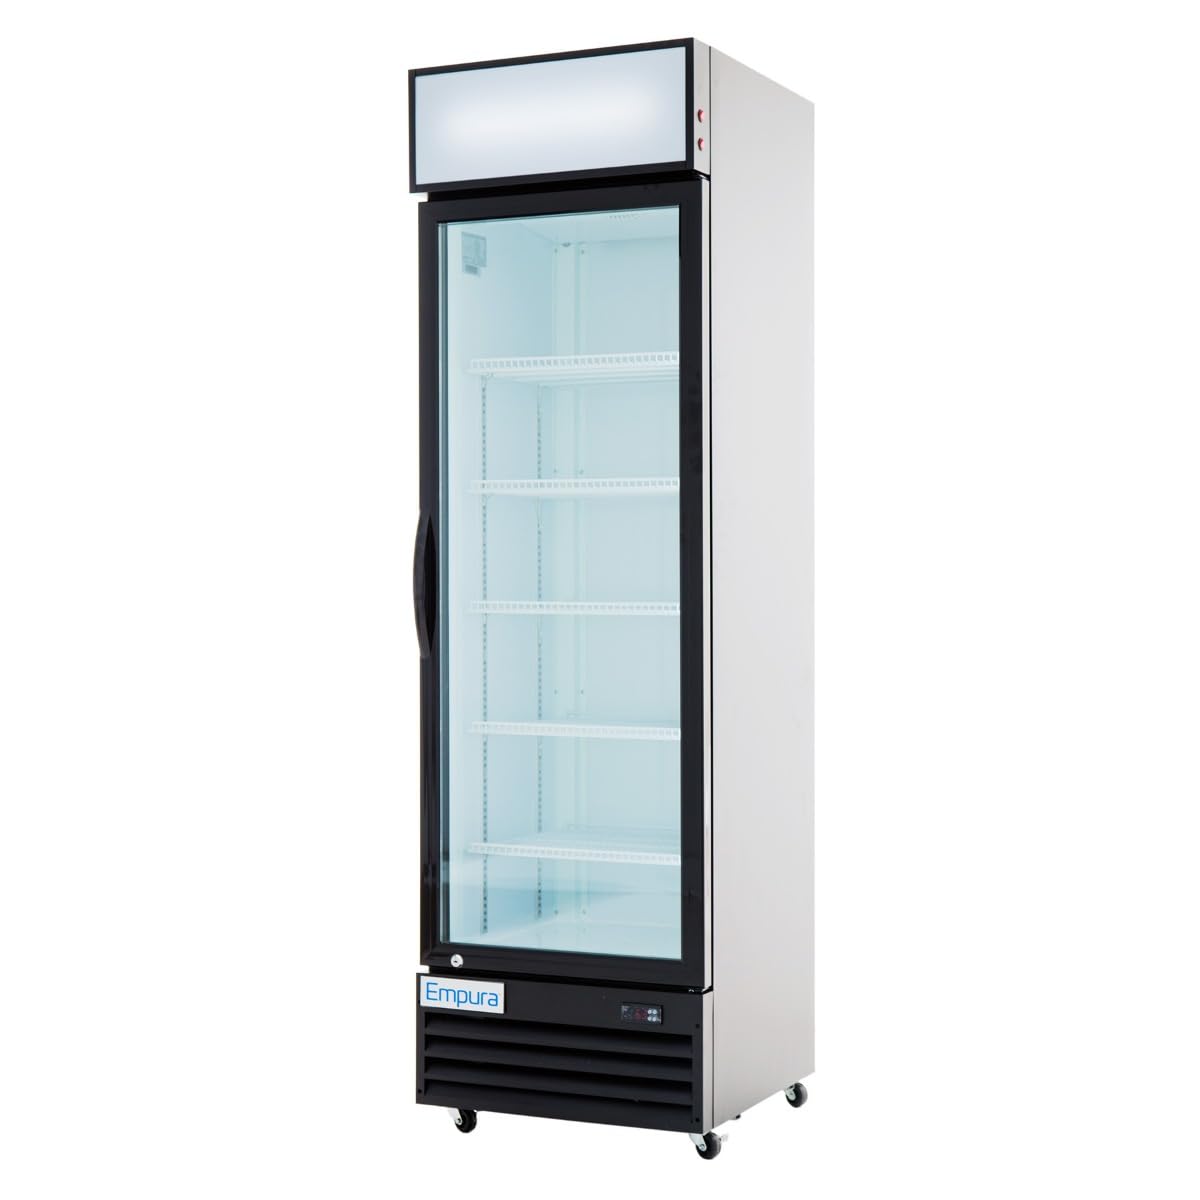
Figure 1: Angled view of the Empura EGM-13B Reach-In Refrigerator, showcasing its black exterior and glass door.
Safety Information
Please read all safety instructions carefully before operating the appliance. Failure to follow these instructions may result in property damage, injury, or death.
- Electrical Safety: Ensure the unit is connected to a grounded 115V, 60Hz power supply with a NEMA-5-15P plug. Do not use extension cords.
- Refrigerant: This unit uses R290a refrigerant. Servicing should only be performed by qualified personnel.
- Ventilation: Maintain adequate clearance around the unit for proper ventilation to prevent overheating.
- Placement: Place the unit on a level, stable surface capable of supporting its weight when fully loaded.
- Cleaning: Disconnect power before cleaning. Use mild, non-abrasive cleaners.
- Moving: Use caution when moving the unit, especially when loaded. Utilize the factory-installed casters.
Unpacking and Setup
1. Unpacking
Carefully remove all packaging materials, including foam insulation and protective films. Inspect the unit for any shipping damage. Report any damage to your supplier immediately.
2. Caster Installation
The unit comes with factory-installed casters for easy mobility. Two of the casters are equipped with locking mechanisms to secure the unit in place.
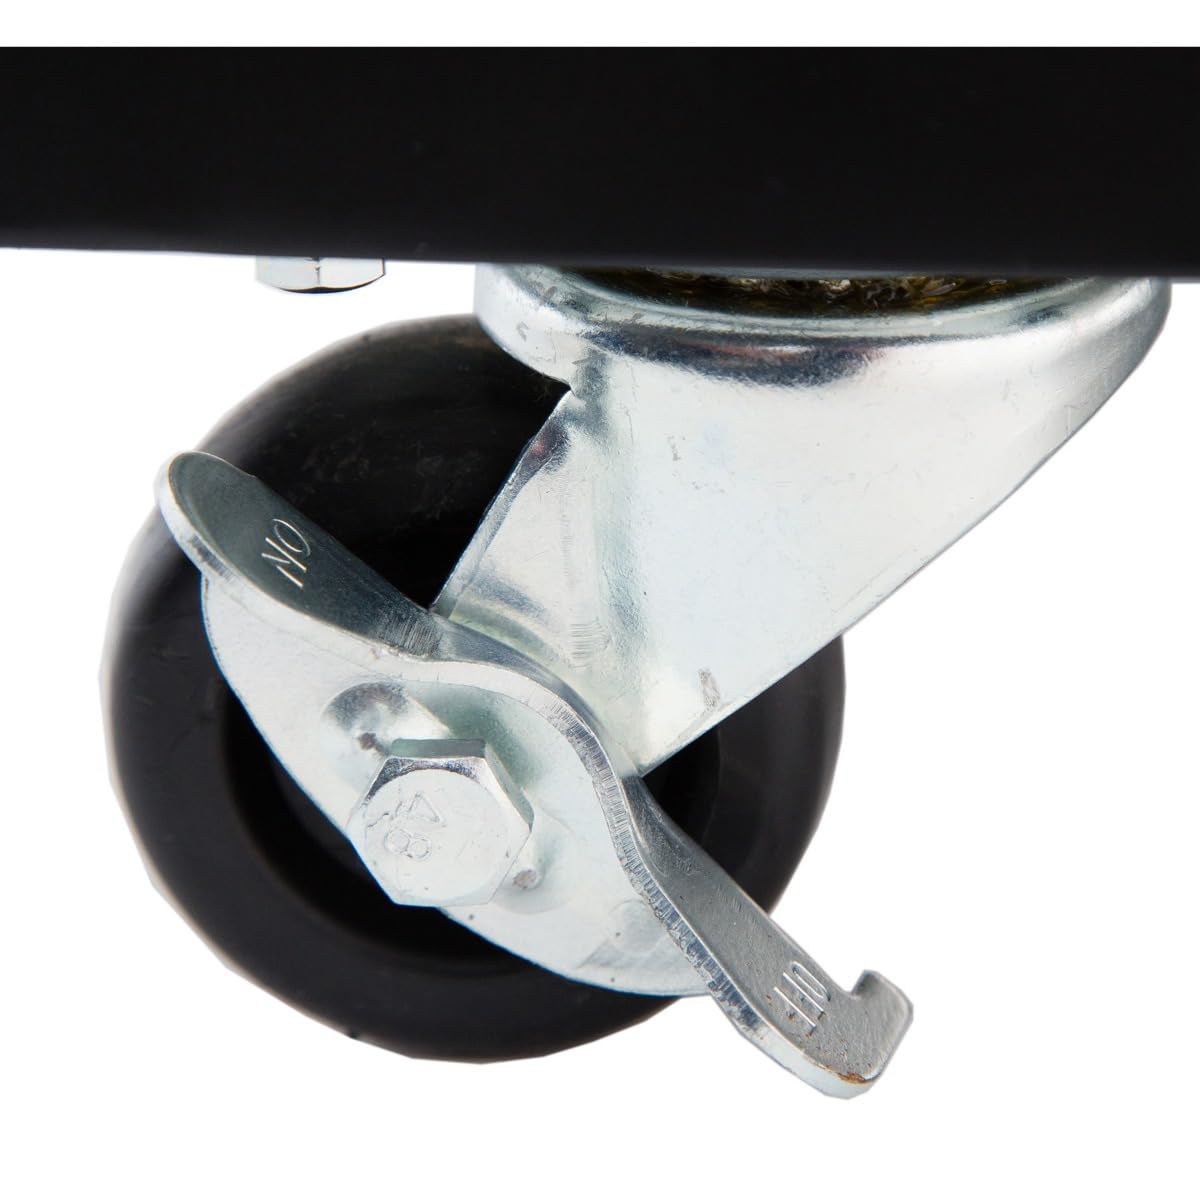
Figure 2: Detail of a locking caster. Engage the lever to lock the wheel and prevent movement.
3. Placement
Position the refrigerator in a location with adequate air circulation. Avoid direct sunlight or proximity to heat-generating appliances. Ensure the unit is level to allow for proper door sealing and drainage.
4. Initial Power-Up
After placement, allow the unit to stand upright for at least 2 hours before plugging it into a power outlet. This allows the refrigerant to settle. Connect the power cord to a dedicated 115V outlet.

Figure 3: The power cord connection point, located at the rear bottom of the unit.
Operation
1. Power Switches
The unit features main power and light switches, typically located near the bottom front of the unit. Turn on the main power switch to activate the refrigeration system and the light switch for interior illumination.

Figure 4: Red rocker switches for main power and interior lighting control.
2. Temperature Control
The refrigerator is equipped with a digital LED temperature display and an electronic thermostat for precise temperature management. The factory preset temperature range is 33°F to 41°F (0.5°C to 5°C).
- Viewing Temperature: The current internal temperature is displayed on the LED screen.
- Adjusting Temperature: Refer to the specific instructions for the electronic thermostat model (e.g., Dixell controller) for detailed temperature setting procedures. Generally, a "SET" button is used to enter programming mode, and arrow keys adjust the value.
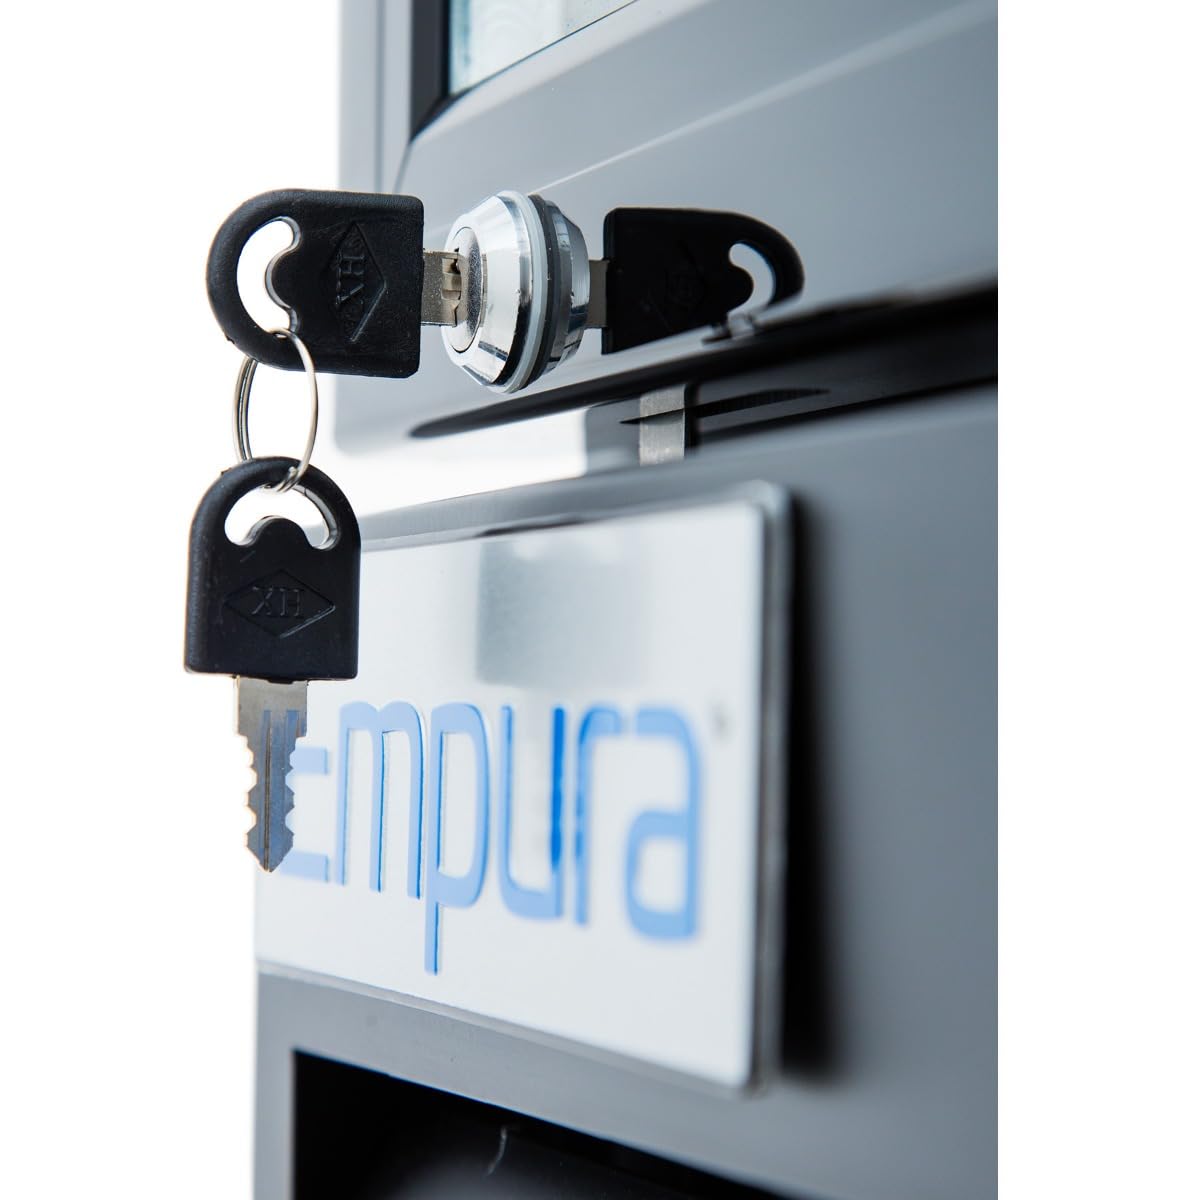
Figure 5: Digital control panel with LED display and control buttons for temperature adjustment.
3. Adjustable Shelving
The unit includes five heavy-duty, adjustable wire shelves with a polyethylene coating. These shelves can be repositioned to accommodate various product sizes.
- To Adjust: Empty the shelf, lift it slightly, and slide it out of its supports. Reinsert into desired slots.

Figure 6: Interior of the refrigerator showing the five adjustable wire shelves.
4. Door Operation and Lock
The unit features a self-closing glass door with a secure locking mechanism. The self-closing feature helps maintain internal temperature and energy efficiency.
- Locking: Use the provided keys to lock the door for added security.
Figure 7: The door lock mechanism with accompanying keys for securing the unit.
Maintenance
1. Cleaning
Regular cleaning ensures optimal performance and hygiene.
- Interior: Disconnect power. Remove shelves and clean with a mild detergent and warm water. Wipe dry. Clean the interior walls with a damp cloth and mild, non-abrasive cleaner.
- Exterior: Wipe the black baked-enamel steel exterior with a soft cloth and mild cleaner.
- Glass Door: Use a glass cleaner for streak-free results.
- Condenser Coil: The condenser coil should be cleaned regularly (monthly or quarterly depending on environment) to maintain efficiency. Disconnect power. Use a brush or vacuum cleaner to remove dust and debris from the coil located at the bottom rear of the unit.
2. Defrost System
This unit features an automatic timed defrost system. During defrost cycles, the evaporator fan may temporarily stop, and the temperature display might fluctuate slightly. This is normal operation.
3. Gasket Inspection
Regularly inspect the door gasket for cracks or tears. A damaged gasket can lead to air leaks and reduced cooling efficiency. Replace if necessary.
Troubleshooting
| Problem | Possible Cause | Solution |
|---|---|---|
| Unit not cooling | No power; thermostat set too high; condenser coil dirty; door not sealing properly. | Check power connection and circuit breaker; adjust thermostat; clean condenser coil; inspect and adjust door gasket. |
| Excessive noise | Unit not level; fan obstruction; loose components. | Ensure unit is level; check for obstructions around fan blades; contact service if noise persists. |
| Water on floor | Drain line clogged; unit not level. | Clear drain line; level the unit. |
| Door not closing fully | Unit not level; obstruction; damaged hinge or gasket. | Level the unit; remove obstructions; inspect and replace damaged parts. |
For issues not listed or if solutions do not resolve the problem, please contact qualified service personnel.
Specifications
| Feature | Detail |
|---|---|
| Model Number | EGM-13B |
| Brand | Empura |
| Capacity | 13 Cubic Feet |
| Dimensions (H x W x D) | 78" x 22.7" x 23.8" (198.1 cm x 57.7 cm x 60.5 cm) |
| Weight | 174 Pounds (78.9 kg) |
| Temperature Range | 33°F to 41°F (0.5°C to 5°C) |
| Refrigerant | R290a |
| Voltage | 115V / 1 Phase / 60Hz |
| Amps | 2.3 Amps |
| Plug Type | NEMA-5-15P |
| Defrost System | Automatic |
| Number of Doors | 1 (Self-closing glass door) |
| Shelves | 5, adjustable wire with polyethylene coating |
| Exterior Material | Black Baked-Enamel Steel |
| Interior Material | White Baked-Enamel Steel |
| Insulation | High-Density CFC-Free Polyurethane |
| Special Features | LED Interior Lighting, Backlit Sign Panel, Bottom Mount Self-Contained Refrigeration System, Factory-Installed Casters (2 locking) |

Figure 8: Visual representation of key specifications and dimensions for the Empura EGM-13B.
Warranty and Support
Empura products are manufactured to high-quality standards and come with a manufacturer's warranty. For specific warranty terms and conditions, please refer to the warranty card included with your product or visit the official Empura website.
For technical support, service inquiries, or to order replacement parts, please contact Empura customer service. Have your model number (EGM-13B) and serial number ready when contacting support.
You can find more information and contact details on the Empura Store on Amazon.


