1. Introduction
This manual provides comprehensive instructions for the safe and effective operation, setup, maintenance, and troubleshooting of your HITBOX HBT2000P Cold TIG Welder. The HBT2000P is an inverter-based arc welding power source designed for DC TIG welding and Stick (MMA) welding, featuring pulse control and 2T/4T modes. It supports both 110V and 220V power inputs.
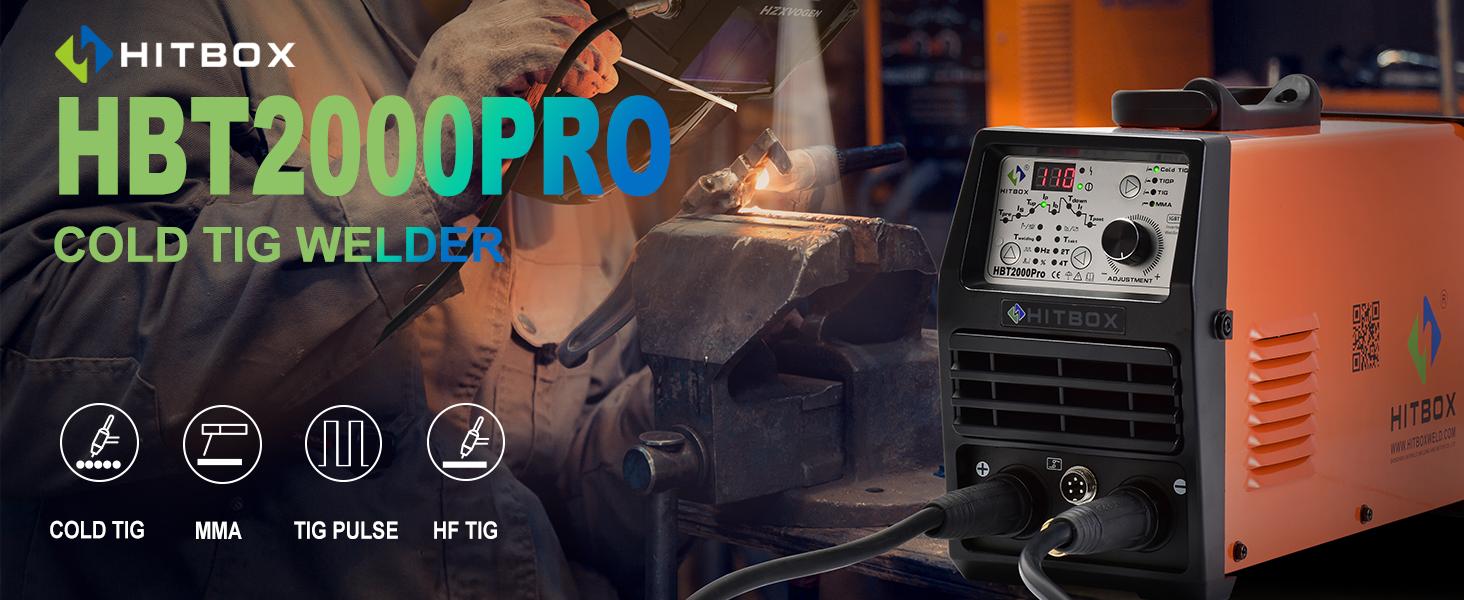
Image: Overview banner for the HITBOX HBT2000P Cold TIG Welder, highlighting its capabilities.
2. Safety Information
Welding operations involve significant risks. Always adhere to safety precautions to prevent injury or damage to equipment. Read and understand all safety warnings before operating the welder.
2.1 General Safety Precautions
- Electric Shock: Welding current can cause fatal electric shock. Ensure proper grounding, wear dry gloves, and insulate yourself from the workpiece and ground.
- Fumes and Gases: Welding fumes and gases can be hazardous to your health. Work in a well-ventilated area or use an exhaust system.
- Arc Rays: Arc rays can burn eyes and skin. Always wear a welding helmet with appropriate shade filter and protective clothing.
- Fire and Explosion: Welding sparks and hot metal can cause fires. Keep flammable materials away from the welding area. Have a fire extinguisher readily available.
- Burns: Hot metal and equipment can cause severe burns. Wear protective gloves and clothing.
- Moving Parts: Keep hands and body clear of moving parts if applicable.
3. Package Contents
Upon unpacking, verify that all items listed below are present and undamaged. If any items are missing or damaged, contact your supplier immediately.
- HITBOX HBT2000P Cold TIG Welder Unit
- TIG Torch
- Earth Clamp
- Electrode Holder
- Short/Long Crimp Caps
- Tube Locks
- Conductive Nozzle
- Gas Tube
- Ceramic Nozzles (various sizes)
- Cold Welding Cap Connecting Line
- Power Adapter (for 220V if applicable)
- Instruction Manual

Image: The HITBOX HBT2000P welder unit displayed with all its standard accessories, including the TIG torch, earth clamp, electrode holder, gas tube, and various consumables.

Image: A detailed layout of the HITBOX HBT2000P welder and its accessories, including the TIG torch, earth clamp, electrode holder, various caps, tube locks, conductive nozzle, gas tube, ceramic nozzles, and the instruction manual.
4. Product Features and Components Overview
The HBT2000P is equipped with an intuitive control panel and robust features for versatile welding applications.
4.1 Control Panel Introduction

Image: Close-up of the HITBOX HBT2000P control panel, indicating key adjustment areas.
- 200A Current Display: Digital display showing the welding current.
- MMA Adjustment: Controls for Stick welding parameters.
- TIG Adjustment: Controls for TIG welding parameters, including Down Slope and Post Gas.
- Adjustment Knob: Used to modify selected parameters.
- 110V/220V Indicator: Shows the detected input voltage.
4.2 Key Features
- Pulse TIG: Provides rhythmic current pulses for controlled heat input and improved weld appearance.
- Cold TIG: Specialized TIG mode for extremely low heat generation, minimizing workpiece deformation and stress.
- MMA (Stick) Welding: Supports traditional stick electrode welding.
- HF (High Frequency) Start: Non-contact arc ignition for TIG welding, reducing tungsten contamination.
- 2T/4T Mode: Trigger control options for TIG welding (2T for momentary, 4T for continuous operation).
- Digital Display: Clear indication of welding parameters.
- IGBT Inverter Technology: Ensures stable and efficient welding performance.

Image: Front view of the HITBOX HBT2000P welder, with a list of its key features including Pulse TIG, Cold TIG, MMA, HF, 2T/4T, and Digital display.
5. Setup Instructions
Proper setup is essential for safe and effective welding.
5.1 Power Connection
- The HBT2000P supports both 110V and 220V input voltages. The machine automatically detects the voltage.
- Connect the power cord to a suitable power outlet. Ensure the outlet is properly grounded and can supply the required amperage for your welding tasks.
- Use the provided adapter if connecting to a 220V outlet.
5.2 Gas Connection (for TIG Welding)
- For TIG welding, an inert shielding gas (typically Argon) is required.
- Connect one end of the gas tube to the gas inlet on the rear of the welder.
- Connect the other end of the gas tube to your Argon gas cylinder's regulator.
- Ensure all connections are secure to prevent gas leaks.
5.3 Welding Cable Connections

Image: A close-up showing the quick-connect ports for welding cables on the HITBOX HBT2000P, illustrating the secure connection mechanism.
- Earth Clamp: Connect the earth clamp cable to the negative (-) terminal on the welder. Securely attach the earth clamp to the workpiece or welding table, ensuring good electrical contact.
- TIG Torch: For TIG welding, connect the TIG torch cable to the positive (+) terminal. Connect the gas line from the torch to the gas outlet on the welder.
- Electrode Holder: For MMA (Stick) welding, connect the electrode holder cable to the positive (+) terminal.
- Ensure all connections are tight and secure.
6. Operating Instructions
The HBT2000P offers multiple welding modes. Select the appropriate mode and adjust parameters according to your welding requirements.
6.1 Mode Selection
- Use the mode selection buttons on the control panel to switch between TIG, Cold TIG, and MMA welding modes.
6.2 TIG Welding (DC)
- Select TIG mode.
- Adjust the welding current using the adjustment knob.
- Set Post Gas flow time to protect the weld puddle and tungsten electrode after the arc extinguishes.
- Choose between 2T (two-touch) or 4T (four-touch) trigger control based on your preference for continuous or momentary welding.
- Initiate the arc using the HF start by pressing the torch trigger.
6.3 Cold TIG Welding
Cold TIG welding is ideal for applications requiring minimal heat input, such as welding thin materials or near heat-sensitive components. This process significantly reduces deformation and discoloration of workpieces.

Image: A welder demonstrating low-temperature TIG welding, emphasizing reduced distortion and discoloration of workpieces.
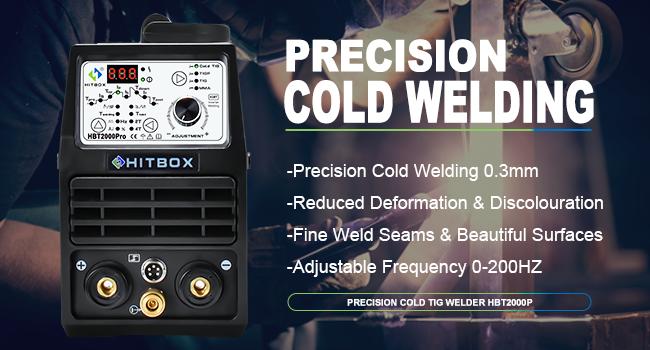
Image: A graphic illustrating the benefits of Precision Cold Welding, including welding thin materials (0.3mm), reduced deformation and discoloration, fine weld seams, and adjustable frequency (0-200Hz).
- Select Cold TIG mode.
- Adjust the pulse frequency and duration as needed for precise control over heat input.
- The low heat input minimizes material distortion and stress, resulting in high-quality, stable welds.
6.4 MMA (Stick) Welding

Image: A welder performing MMA (Stick) welding, highlighting features like smooth arc, hot start, anti-stick, and arc force for stable and excellent performance.
- Select MMA mode.
- Adjust the welding current according to the electrode type and thickness of the material.
- The machine features Hot Start for easy arc ignition, Anti-Stick to prevent electrode sticking, and Arc Force for improved arc stability.
6.5 Multi-Function Capabilities
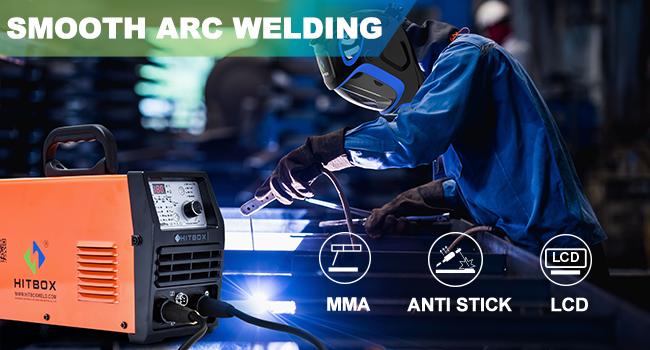
Image: A collage showing different welding processes: Precise Cold Welding, HF Hot Welding, Spot Welding, and Pulse TIG Welding, demonstrating the machine's versatility.
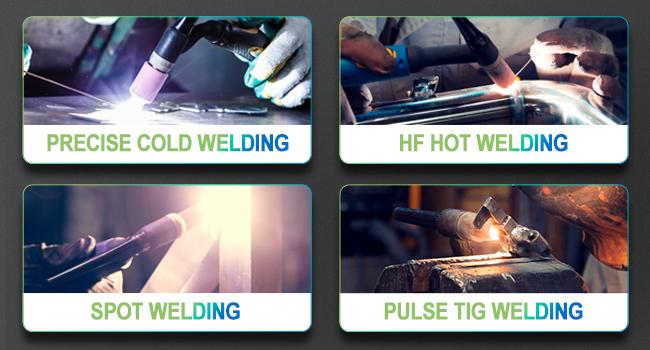
Image: A welder using a foot pedal for remote control, illustrating the multi-functionality and convenience for precise welding tasks.
7. Maintenance
Regular maintenance ensures the longevity and optimal performance of your welding machine.
- Cleaning: Periodically clean the internal components of the welder using dry compressed air to remove dust and debris. Ensure the power is disconnected before cleaning.
- Cable Inspection: Regularly inspect all welding cables, connections, and the power cord for damage, fraying, or loose connections. Replace damaged components immediately.
- Consumables: Check and replace TIG torch consumables (tungsten electrodes, collets, collet bodies, ceramic nozzles) as they wear out.
- Storage: Store the welder in a clean, dry environment when not in use.
8. Troubleshooting
Refer to this section for common issues and their potential solutions.
| Problem | Possible Cause | Solution |
|---|---|---|
| Welder does not power on | No power supply; Faulty power cord/plug; Internal fault | Check power outlet and circuit breaker; Inspect power cord; Contact service center |
| No arc in TIG mode | No gas flow; Incorrect gas pressure; Tungsten electrode not properly installed; Faulty torch; Workpiece not grounded | Check gas cylinder and regulator; Ensure gas flow; Reinstall tungsten; Inspect torch; Check earth clamp connection |
| Poor weld quality / Unstable arc | Incorrect parameters; Contaminated tungsten/electrode; Insufficient shielding gas; Dirty workpiece | Adjust current/pulse settings; Replace/clean tungsten/electrode; Check gas flow; Clean workpiece thoroughly |
| Electrode sticks in MMA mode | Low welding current; Incorrect electrode angle; Arc Force setting too low | Increase current; Adjust electrode angle; Increase Arc Force setting |
| Overheating indicator active | Exceeded duty cycle; Blocked ventilation; High ambient temperature | Allow machine to cool down; Clear ventilation openings; Operate in cooler environment |
9. Specifications
| Feature | Specification |
|---|---|
| Model Number | HBT2000P |
| Input Voltage | 110V/220V AC (Auto-sensing) |
| Max Output Current | 200 Amp |
| Welding Processes | DC TIG (Cold TIG, Pulse TIG), MMA (Stick) |
| Power Source | AC/DC Inverter |
| Item Weight | 19.71 pounds (approx. 8.94 kg) |
| Package Dimensions | 18.35 x 14.8 x 7.09 inches (approx. 46.6 x 37.6 x 18 cm) |
| Included Components | TIG Welder unit, TIG Torch, Earth Clamp, Electrode Holder, Accessories |
10. Warranty and Support
HITBOX provides a 5-year warranty for this product. For any quality problems or technical assistance, please contact HITBOX customer service. Refer to the warranty card included with your product or visit the official HITBOX website for detailed warranty terms and contact information.
For support, you may also refer to the seller's information on the platform where the product was purchased.