Introduction
This manual provides detailed instructions for the installation, operation, and maintenance of your NZXT N9 Z890 ATX Gaming Motherboard. Please read this manual thoroughly before proceeding with installation to ensure proper setup and optimal performance.

Image: The NZXT N9 Z890 motherboard shown alongside its retail packaging, highlighting its sleek design and white color scheme.
The NZXT N9 Z890 is a high-performance ATX gaming motherboard designed for Intel Core Ultra (Series 2) CPUs. It features a robust power delivery system, advanced cooling solutions, and extensive connectivity options to support demanding gaming and computing tasks.
What's in the Box
Verify that all components are present before beginning installation:
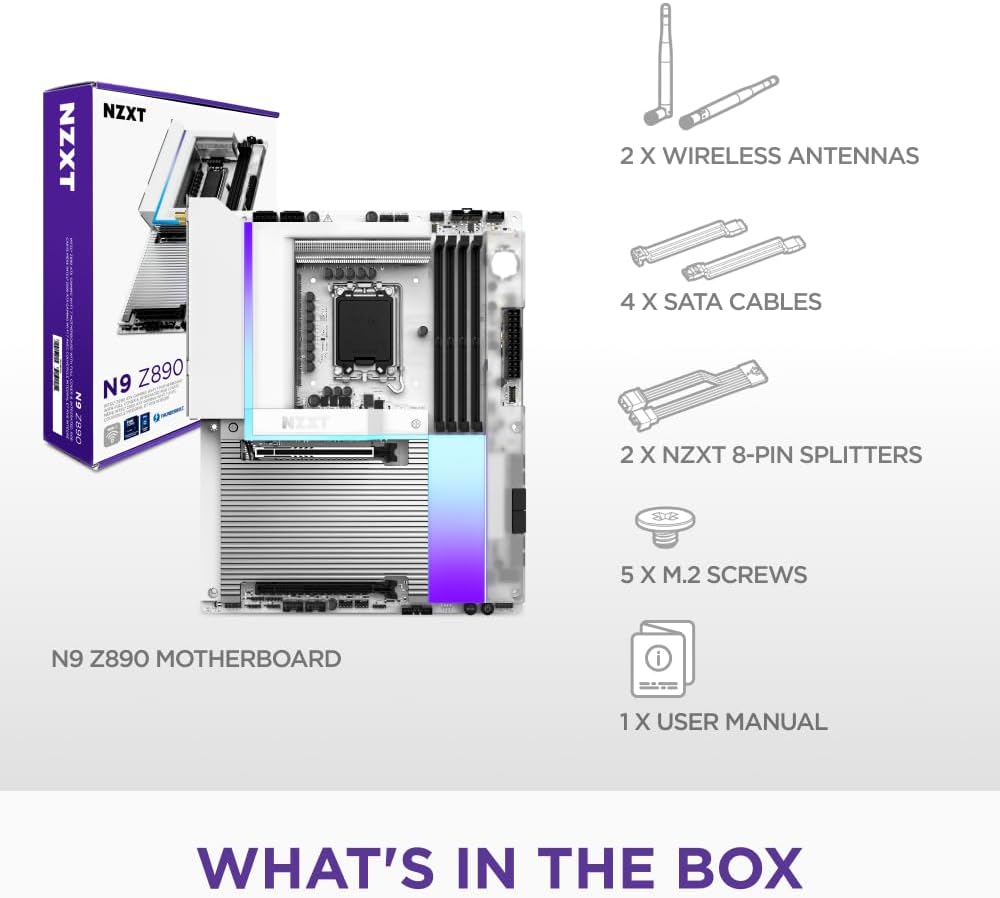
Image: A visual representation of the items included in the NZXT N9 Z890 motherboard package, including the motherboard, wireless antennas, SATA cables, NZXT 8-pin splitters, M.2 screws, and a user manual.
- NZXT N9 Z890 Motherboard
- 2 x Wireless Antennas
- 4 x SATA Cables
- 2 x NZXT 8-pin Splitters
- 5 x M.2 Screws
- 1 x User Manual (this document)
Setup and Installation
Follow these steps for proper installation of the motherboard and its components.
1. Motherboard Overview

Image: An annotated diagram of the NZXT N9 Z890 motherboard, pointing out the 20+1+1 power phases, LGA 1851 socket, 4 DDR5 DIMM slots, 5 M.2 slots (1x PCIe 5.0, 4x PCIe 4.0), and 2 expansion slots (1x PCIe 5.0 x16, 1x PCIe 4.0 x16).
- LGA 1851 Socket: Designed for Intel Core Ultra (Series 2) processors. Features an RL-ILM design for enhanced thermal contact.
- DDR5 DIMM Slots: Four dual-channel slots supporting DDR5 RAM speeds of 8000+ MT/s (OC).
- M.2 Slots: One PCIe 5.0 M.2 2280 slot and four PCIe 4.0 M.2 2280 slots for high-speed storage.
- PCIe Expansion Slots: One PCIe 5.0 x16 slot for graphics cards and one PCIe 4.0 x16 slot for additional expansion cards.
- Power Delivery: 20+1+1 power phase design with 110A Smart Power Stages.
2. Processor Installation
- Carefully open the LGA 1851 socket retention mechanism.
- Align the Intel Core Ultra (Series 2) processor with the socket, ensuring the notches on the CPU match the keys on the socket.
- Gently place the CPU into the socket without forcing it.
- Close the retention mechanism to secure the CPU.
3. Memory (RAM) Installation
- Open the clips on both ends of the DDR5 DIMM slots.
- Align the RAM module with the slot, ensuring the notch on the module matches the key in the slot.
- Press down firmly on both ends of the RAM module until the clips snap into place.
- For dual-channel operation, refer to your motherboard manual for recommended slot configurations.
4. Storage (M.2 SSDs) Installation
- Locate the M.2 slots on the motherboard. The NZXT N9 Z890 has one PCIe 5.0 and four PCIe 4.0 M.2 slots.
- Remove the M.2 heatsink cover if present.
- Insert the M.2 SSD into the slot at an angle.
- Gently push down the SSD and secure it with the provided M.2 screw.
- Reattach the M.2 heatsink cover to ensure optimal thermal performance.
5. Graphics Card (GPU) Installation
- Locate the PCIe 5.0 x16 slot.
- Remove the corresponding expansion slot cover from your PC case.
- Align your graphics card with the PCIe slot and press down firmly until it is fully seated and the retention clip engages.
- Secure the graphics card to the case with a screw.
6. Cooling System Installation

Image: An annotated diagram showing the advanced thermal design of the NZXT N9 Z890 motherboard, including the VRM heatsink array with heat pipe, thermal pads, and dual PWM fans, as well as the 5 M.2 heatsinks with thermal pads. Fan and AIO headers are also indicated.
- VRM Heatsink Array: The motherboard features an integrated VRM heatsink array with a heat pipe, thermal pads, and dual PWM fans for efficient power delivery cooling.
- M.2 Heatsinks: Dedicated heatsinks with thermal pads are provided for all M.2 slots to prevent thermal throttling of SSDs.
- Fan & AIO Headers: Connect your case fans and AIO liquid cooler pumps to the designated headers:
- 2 x NZXT 8-pin (PWM + RGB)
- 3 x 4-pin system fan
- 1 x CPU fan
- 1 x AIO pump
7. Connecting Peripherals and Power

Image: A detailed view of the rear input/output (I/O) panel of the NZXT N9 Z890 motherboard, showing ports for HDMI, Thunderbolt 4, USB 3.2 Gen 2, USB 3.2 Gen 1 Type-A, USB 3.2 Gen 2x2 Type-C, 5GbE LAN, Wi-Fi 7 (Dual-Band), Optical S/PDIF Out, and Audio Jacks. Also visible are the Clear CMOS and BIOS Flashback buttons.
- Connect the 24-pin ATX power connector and the 8-pin CPU power connectors from your power supply to the motherboard.
- Connect front panel headers (power button, reset button, USB ports, audio jacks) to their respective pins on the motherboard. Refer to your PC case manual for specific pin assignments.
- Attach the included wireless antennas to the Wi-Fi 7 ports on the rear I/O panel.
- Connect your display to the graphics card or the motherboard's HDMI port (if using an integrated GPU).
- Connect USB peripherals, Ethernet cable, and audio devices to the rear I/O ports as needed.
Operating Instructions
1. Initial Boot and BIOS Setup
- After completing all hardware installations, connect your monitor, keyboard, and mouse.
- Power on your system.
- During the boot process, repeatedly press the DEL or F2 key to enter the BIOS/UEFI setup utility.
- In the BIOS, you can configure boot order, enable XMP/EXPO for RAM, adjust fan curves, and monitor system status.
- Save changes and exit the BIOS to continue booting into your operating system installation media.
2. Connectivity Features

Image: A graphic displaying icons for the NZXT N9 Z890 motherboard's connectivity features: Thunderbolt 4 (40 Gbps), USB 3.2 Type-C (20 Gbps), Wi-Fi 7 (320 MHz), Realtek 5Gb Ethernet, Realtek ALC 4082 Audio, and Bluetooth 5.4.
- Thunderbolt 4: Provides up to 40 Gbps data transfer speeds and supports display output.
- USB 3.2 Type-C: Offers up to 20 Gbps data transfer.
- Wi-Fi 7 (320 MHz): For high-speed wireless networking.
- 5GbE Ethernet: For ultra-fast wired network connections.
- Bluetooth 5.4: For connecting wireless peripherals.
- Realtek ALC 4082 Audio: High-definition audio output.
3. RGB Lighting and Customization

Image: An annotated diagram of the NZXT N9 Z890 motherboard, showcasing its RGB headers (1x NZXT RGB LED, 2x 5V ARGB LED, 2x NZXT 8-pin RGB+PWM), onboard RGB lighting powered by NZXT CAM, a full-metal cover with matching PCB, and a digital debug LED.
The NZXT N9 Z890 features onboard customizable RGB lighting and multiple RGB headers for connecting additional lighting components.
- NZXT CAM Software: Download and install the NZXT CAM software from the official NZXT website to customize RGB lighting effects, monitor system performance, and control fan speeds.
- RGB Headers:
- 1 x NZXT RGB LED header
- 2 x 5V Addressable RGB (ARGB) LED headers
- 2 x NZXT 8-pin (RGB + PWM) headers
Maintenance
Regular maintenance helps ensure the longevity and optimal performance of your motherboard.
- Dust Removal: Periodically clean dust from your PC case and motherboard components using compressed air. Ensure the system is powered off and unplugged before cleaning.
- BIOS/UEFI Updates: Check the official NZXT support website for the latest BIOS/UEFI updates. Updating the BIOS can improve compatibility, stability, and performance. Follow the instructions provided by NZXT carefully when performing updates.
- Driver Updates: Keep your chipset, network, audio, and other drivers updated to ensure compatibility and optimal performance with your operating system and peripherals.
Troubleshooting
This section addresses common issues you might encounter.
- System Does Not Power On:
- Verify all power cables (24-pin ATX, 8-pin CPU) are securely connected to the motherboard and power supply.
- Ensure the power supply switch is in the ON position.
- Check front panel connections (power button) to the motherboard.
- No Display Output (No Post):
- Ensure your monitor is connected to the correct display output (graphics card or motherboard).
- Reseat your graphics card and RAM modules.
- Check the Digital Debug LED on the motherboard (refer to the "Sleek & Customizable" image for location). This LED displays codes that can help identify the component causing the boot failure (e.g., CPU, RAM, GPU, Boot Device). Consult the full manual or NZXT support for specific code meanings.
- BIOS Flashback Feature:
- The NZXT N9 Z890 motherboard includes a BIOS Flashback button on the rear I/O panel (visible in the "Rear I/O" image). This feature allows you to update the BIOS without a CPU, RAM, or graphics card installed. Refer to the official NZXT website for detailed instructions on how to use the BIOS Flashback function.
- System Instability or Crashes:
- Ensure all drivers are up to date.
- Check for proper cooling of the CPU, GPU, and VRM.
- Verify RAM stability, especially if XMP/EXPO profiles are enabled. Try running with default RAM settings.
- Network Connectivity Issues:
- For Wi-Fi, ensure antennas are securely attached.
- For Ethernet, check cable connections and router status.
- Update network drivers.
Specifications
| Feature | Detail |
|---|---|
| Brand | NZXT |
| Model Name | N9-Z89XT-W1 |
| CPU Socket | LGA 1851 |
| Compatible Processors | Intel Core Ultra (Series 2), Arrow Lake-S |
| Chipset Type | Intel Z890 |
| RAM Memory Technology | DDR5 |
| Memory Speed | 8600 MHz (Overclocked) |
| Compatible Devices | Personal Computer |
| Platform | Windows |
| Power Phase Design | 20+1+1 with 110A Smart Power Stages |
| PCIe Expansion | 1x PCIe 5.0 x16, 1x PCIe 4.0 x16 |
| M.2 Slots | 1x PCIe 5.0 x4, 4x PCIe 4.0 x4 |
| Networking | Wi-Fi 7 (320 MHz), 5GbE Ethernet |
| USB Connectivity | Thunderbolt 4, USB 3.2 Gen 2, USB 3.2 Gen 1, USB 3.2 Gen 2x2 Type-C |
| Audio | Realtek ALC 4082 |
| Bluetooth | 5.4 |
| Color | White |
Warranty and Support
NZXT is committed to providing reliable products and excellent customer service.
- Warranty Information: For detailed warranty terms and conditions, please visit the official NZXT website. Keep your proof of purchase for warranty claims.
- Technical Support: If you encounter any issues not covered in this manual or require further assistance, please contact NZXT customer support. You can find support resources, FAQs, and contact information on the official NZXT website: www.nzxt.com/support.


