
ECO-WORTHY ECO5000W(SR)
ECO-WORTHY 5000W 48V All-In-One Solar Hybrid Inverter User Manual
Model: ECO5000W(SR) | Brand: ECO-WORTHY
1. Introduction
This manual provides essential information for the installation, operation, and maintenance of your ECO-WORTHY 5000W 48V All-In-One Solar Hybrid Inverter. This device integrates a 5000W pure sine wave inverter, an 80A MPPT solar charge controller, and a battery charger into one unit. It is designed to provide uninterrupted power to your home, camper, or shed by combining solar, utility, and battery power sources. Please read this manual thoroughly before installation and use to ensure proper function and safety.
2. Safety Instructions
Please observe the following safety precautions to prevent injury and damage to the inverter:
- Read all instructions and cautionary markings on the unit and in this manual before operation.
- Do not disassemble the inverter. Refer servicing to qualified service personnel.
- Keep the inverter away from rain, water, or excessive moisture.
- Do not install the inverter in direct sunlight or near heat sources.
- Ensure proper ventilation around the inverter to prevent overheating.
- Connect the inverter to a 48V battery bank only. The unit requires a battery bank to operate.
- All wiring must be performed by a qualified electrician and comply with local electrical codes.
- Ensure all connections are tight to avoid loose connections that can cause overheating.
- Wear appropriate personal protective equipment, including safety glasses and insulated gloves, when working with batteries and electrical systems.
3. Product Overview
3.1 Key Features
- All-In-One Design: Integrates a 5000W pure sine wave inverter, an 80A MPPT solar charge controller, and a battery charger.
- High Efficiency: Over 95% efficiency for maximized energy usage.
- Comprehensive Protection: Protects against short circuit, overvoltage, undervoltage, overload, and reverse polarity.
- Remote Monitoring: Built-in WiFi module allows monitoring of the solar system status via mobile phone or laptop.
- Wide Battery Compatibility: Supports Lead-Acid, AGM, NCM, Flooded, and Lithium batteries.
- UPS Functionality: Features four charging modes and three output modes for uninterrupted power supply, automatically switching between mains and battery power.
- Versatile Power Input: Can draw electricity from 120-500V DC solar panel arrays, 50/60Hz generators, and 220/230V AC mains.
- High Output Capacity: Provides 5000W continuous power (10000VA peak) for various appliances.
3.2 Integrated Components

Figure 3.2.1: The ECO-WORTHY All-In-One Solar Hybrid Inverter integrates an 80A MPPT Solar Charge Controller and a 5000W Pure Sine Wave Inverter into a single unit, reducing wiring complexity. It provides 230V AC output and is 50/60Hz switchable.
3.3 Bottom Interface and Connections

Figure 3.3.1: Detailed view of the inverter's bottom interface, showing all connection ports and controls.
- On/Off Switch: Main power switch for the inverter.
- AC Input Port: Connects to the utility grid or AC generator.
- AC Output Port: Connects to your household loads.
- PV+ PV- Port: Connects to the solar panel array.
- Grounding Screw Hole: For connecting the system ground.
- RS485 Communication Port: For external communication devices.
- USB Communication Port: For data transfer and monitoring.
- Dry Node Port: For external control signals.
- Battery Port (BAT+ / BAT-): Connects to the 48V battery bank.
4. Setup and Installation
4.1 Unpacking and Inspection
Upon receiving the inverter, carefully unpack it and inspect for any shipping damage. Ensure all components listed in the packing list are present. If any damage or missing parts are found, contact your dealer immediately.
4.2 Mounting the Inverter
- Choose a suitable location that is dry, well-ventilated, and protected from direct sunlight and moisture.
- Ensure there is sufficient clearance around the inverter for proper airflow (at least 20 cm on all sides).
- Mount the inverter vertically on a sturdy wall using appropriate fasteners.
4.3 Wiring Connections
Important: All wiring must be performed by qualified personnel. Ensure the main AC breaker is OFF before making any connections. Use appropriate wire gauges for all connections as per local electrical codes and the inverter's specifications.
4.3.1 System Overview Diagram

Figure 4.3.1: This diagram shows how the inverter connects to solar panels, AC generator/mains, a 48V battery, and various household appliances.
4.3.2 Battery Connection
Connect the 48V battery bank to the BAT+ and BAT- terminals (9) on the bottom interface. Ensure correct polarity. The inverter will not function without a connected 48V battery bank.

Figure 4.3.2: The inverter is compatible with a wide range of 48V battery types, including Flooded (FLD), AGM/Sealed (SLA), GEL, NCM, LiFePO4 (LF4), and Li-ion (LF6) batteries. A 48V battery bank is essential for operation.
4.3.3 Solar Panel Connection
Connect your solar panel array (120-500V DC) to the PV+ and PV- terminals (4). Ensure the open-circuit voltage of the solar array does not exceed the maximum input voltage specified for the inverter.
4.3.4 AC Input Connection
Connect the utility grid or AC generator to the AC Input Port (2). Install an appropriate circuit breaker between the AC source and the inverter for protection.
4.3.5 AC Output Connection
Connect your AC loads to the AC Output Port (3). Ensure the total load does not exceed the inverter's rated output power of 5000W (10000VA peak).
4.3.6 Grounding Connection
Connect the grounding screw hole (5) to an earth ground using a suitable grounding wire.
5. Operating Instructions
5.1 Initial Power-On
- After all connections are securely made, switch on the battery breaker.
- Switch on the solar panel breaker (if applicable).
- Switch on the AC input breaker (if applicable).
- Finally, switch the On/Off switch (1) on the inverter to the "ON" position. The inverter will perform a self-test and then begin operation.
5.2 Display and Controls
The inverter features an LCD display and control buttons for monitoring and setting parameters.

Figure 5.2.1: The LCD display provides real-time information on input/output voltage, battery status, charging mode, and allows for configuration of various settings such as AC output frequency, battery type, and charging voltages. The LED indicators (AC/INV, CHARGE, FAULT) provide quick status updates.
Control Buttons:
- SET: Enter/Exit settings menu.
- UP: Navigate up or increase value.
- DOWN: Navigate down or decrease value.
- ENT: Confirm/Enter options under the settings menu.
LED Indicators:
- AC/INV (Yellow): Steady on for Mains output, Flashing for Inverter output.
- CHARGE (Green): Steady on for Charged complete, Flashing for Battery charging.
- FAULT (Red): Steady on for Fault state.
5.3 Setting Charging Modes
The inverter offers four battery charging modes to optimize energy usage based on your preferences and available power sources.

Figure 5.3.1: The four battery charging modes allow you to prioritize solar power, mains power, or combine both for optimal charging.
- Solar Priority: Prioritizes solar power for charging. Switches to grid when solar is insufficient.
- Solar Only: Charges exclusively from solar power.
- Mains Priority: Prioritizes mains power for charging. Switches to solar when grid is insufficient.
- Hybrid Charge: Utilizes both solar and mains power for the fastest charging.
Refer to the inverter's display menu to select your desired charging mode.
5.4 Setting Output Modes (UPS Function)
The inverter provides three output modes to manage power supply to your appliances, ensuring uninterrupted operation.
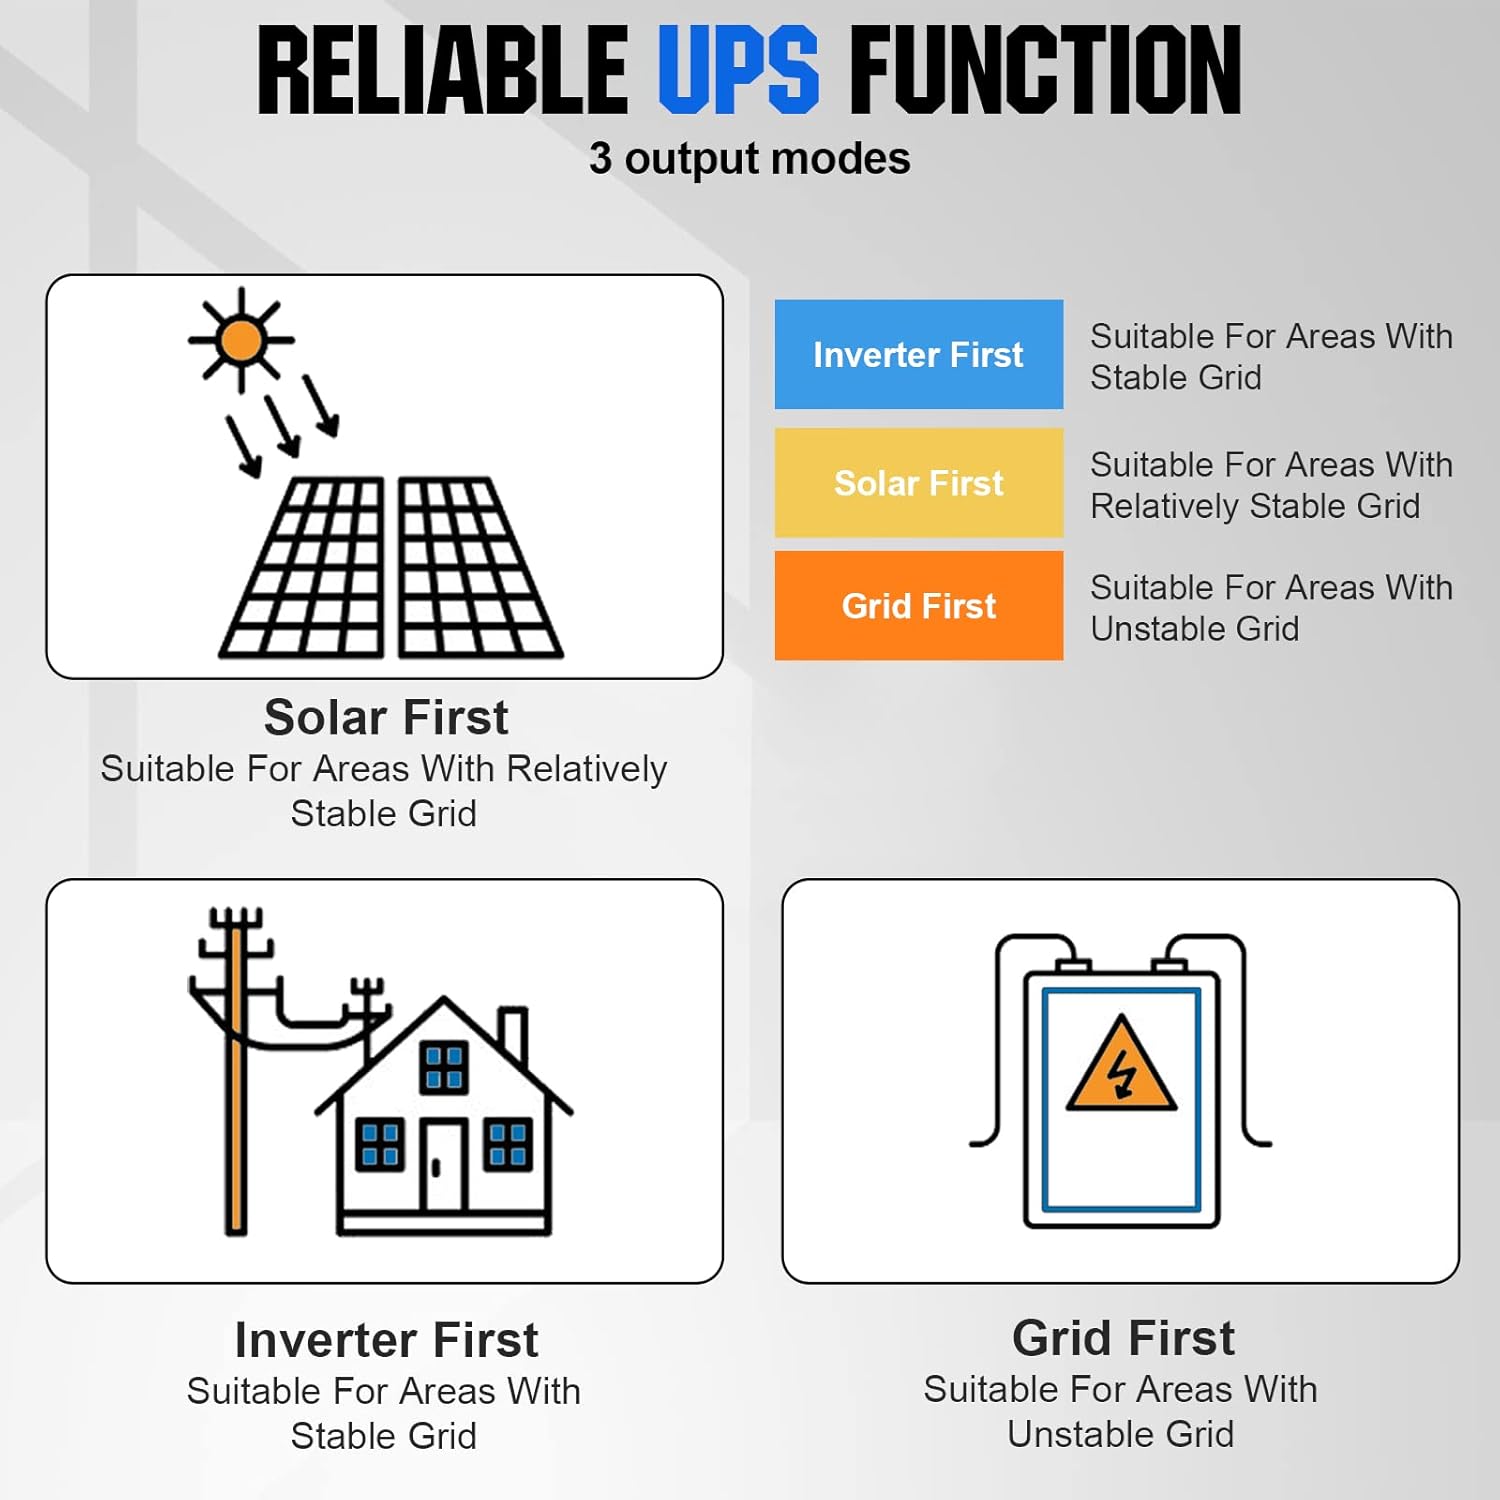
Figure 5.4.1: The three output modes determine the priority of power sources for your loads, suitable for different grid stability conditions.
- Inverter First: Prioritizes power from the inverter (battery/solar). Suitable for areas with stable grid.
- Solar First: Prioritizes power from solar. Suitable for areas with relatively stable grid.
- Grid First: Prioritizes power from the utility grid. Suitable for areas with unstable grid.
Select the appropriate output mode via the inverter's display menu based on your power source availability and grid stability.
5.5 Remote Monitoring
The integrated WiFi module allows for remote monitoring of your solar system. Install the ECO-WORTHY monitoring application on your mobile phone or access the web interface on your laptop to view real-time data and system status from anywhere.
6. Maintenance
Regular maintenance ensures the longevity and optimal performance of your inverter.
- Cleaning: Periodically clean the exterior of the inverter with a dry, soft cloth. Ensure ventilation openings are free from dust and debris. Do not use liquid cleaners.
- Connections: Annually check all electrical connections for tightness. Loose connections can cause overheating and damage.
- Battery Inspection: Regularly inspect the battery bank for any signs of corrosion, leaks, or damage. Ensure battery terminals are clean and tight.
- Environment: Verify that the installation environment remains dry, well-ventilated, and within the specified operating temperature range.
7. Troubleshooting
This section provides solutions to common issues. For problems not listed here, contact technical support.
| Problem | Possible Cause | Solution |
|---|---|---|
| Inverter does not power on. |
|
|
| No AC output. |
|
|
| Solar charging not working. |
|
|
| Inverter displays a fault code. | Specific error condition. | Refer to the detailed fault code list in the full product manual (if available) or contact technical support with the specific code. |
8. Specifications
| Parameter | Value |
|---|---|
| Brand | ECO-WORTHY |
| Model Number | ECO5000W(SR) |
| Input Voltage | 48V DC |
| Output Voltage | 230V AC |
| Continuous Output Power | 5000W |
| Peak Output Power | 10000VA |
| Electrical Output Waveform | Pure Sine Wave |
| Frequency | 50/60 Hz (Switchable) |
| MPPT Charge Controller Current | 80A |
| Solar Panel Array Voltage Range | 120-500V DC |
| Efficiency | >95% |
| Battery Compatibility | Lead-Acid, AGM, NCM, Flooded, Lithium |
| Communication | WiFi, RS485, USB |
| Recommended Uses | Home, Camper, Shed, Solar Panel System |
| UPC | 810127136564 |
| ASIN | B0DN67NP9Y |
9. Warranty and Support
For warranty information, technical support, or service inquiries, please contact ECO-WORTHY customer service. Keep your purchase receipt and product model number handy for faster assistance.
Visit the official ECO-WORTHY website for the latest support resources and contact details: www.eco-worthy.com
Related documentsECO5000W(SR)


Ask a question about this manual
Ask about setup, troubleshooting, compatibility, parts, safety, or missing instructions. Manuals+ will review the question and use this page’s manual context to help answer it.