
1. Introduction
The DEWENWILS Motion Sensor Light Switch (Model HMSW01B) is designed to provide automatic lighting control in various indoor spaces. This switch detects motion and heat sources, such as people entering a room, to automatically turn lights on or off. It offers both automatic and manual operation modes, along with adjustable settings for detection range, time delay, and ambient light sensitivity. This manual provides essential information for safe installation, operation, and maintenance of your motion sensor light switch.
2. Safety Information
- WARNING: Risk of Electric Shock. Installation should be performed by a qualified electrician or a person with a thorough understanding of electrical wiring and safety.
- Turn off power at the circuit breaker or fuse box before installation or servicing.
- This device requires a neutral wire for proper operation. Ensure your electrical box has a neutral wire (typically white) available.
- For indoor use only. Do not install in wet locations or outdoors.
- Do not exceed the maximum electrical load ratings: 1000W for Tungsten/CFL, 600W for LED, 1/4 HP for motors.
- Ensure all wire connections are secure and properly insulated.
- UL-certified for safety and performance.
3. Package Contents
Verify that all components are present before beginning installation:
- DEWENWILS Motion Sensor Light Switch
- Wall Plate
- Plate Mounting Screws
- Wire Connectors
4. Specifications
| Feature | Specification |
|---|---|
| Model | HMSW01B (BAG-001) |
| Operation Mode | ON-OFF (Automatic/Manual) |
| Current Rating | 5 A |
| Operating Voltage | 120 Volts |
| Switch Type | Push Button, Motion Sensor |
| Wiring | Single Pole, Neutral Wire Required |
| Detection Range | 180° up to 26 ft (8 meters) |
| Adjustable Time Delay | 5 seconds to 10 minutes |
| Adjustable Sensitivity | 30% to 100% |
| Adjustable Ambient Light (LUX) | Yes |
| Max Load (Tungsten/CFL) | 1000W |
| Max Load (LED) | 600W |
| Max Load (Motor) | 1/4 HP |
| Operating Temperature | 32°F to 104°F (0°C to 40°C) |
| Certifications | UL Listed |
| Dimensions (L x W x H) | 2.62 x 1.89 x 4.24 inches |

Image: Product components and detailed specifications.
5. Setup and Installation
Important: Before starting, ensure the power to the circuit is turned OFF at the circuit breaker or fuse box to prevent electrical shock.
- Turn Off Power: Locate the circuit breaker controlling the light switch you are replacing and turn it off. Verify power is off using a voltage tester.
- Remove Old Switch: Carefully remove the existing wall plate and unscrew the old switch from the wall box. Disconnect the wires from the old switch.
- Identify Wires: Identify the following wires in your wall box:
- Live Wire (Black): Carries power from the circuit breaker.
- Load Wire (Red/Black): Connects to the light fixture.
- Neutral Wire (White): Required for the motion sensor switch. If not present, consult an electrician.
- Ground Wire (Green/Bare Copper): For safety.
- Wire the New Switch: Connect the wires from the wall box to the DEWENWILS motion sensor switch using the provided wire connectors. Match the colors as follows:
- Connect the Live Wire from the wall box to the Black wire of the switch.
- Connect the Load Wire from the wall box to the Red wire of the switch.
- Connect the Neutral Wire from the wall box to the White wire of the switch.
- Connect the Ground Wire from the wall box to the Green wire of the switch.

Image: Wiring diagram for single-pole installation with neutral wire.
- Mount the Switch: Carefully push the wired switch into the wall box. Secure it with the mounting screws.
- Install Wall Plate: Attach the decorative wall plate over the switch.
- Restore Power: Turn the power back ON at the circuit breaker.
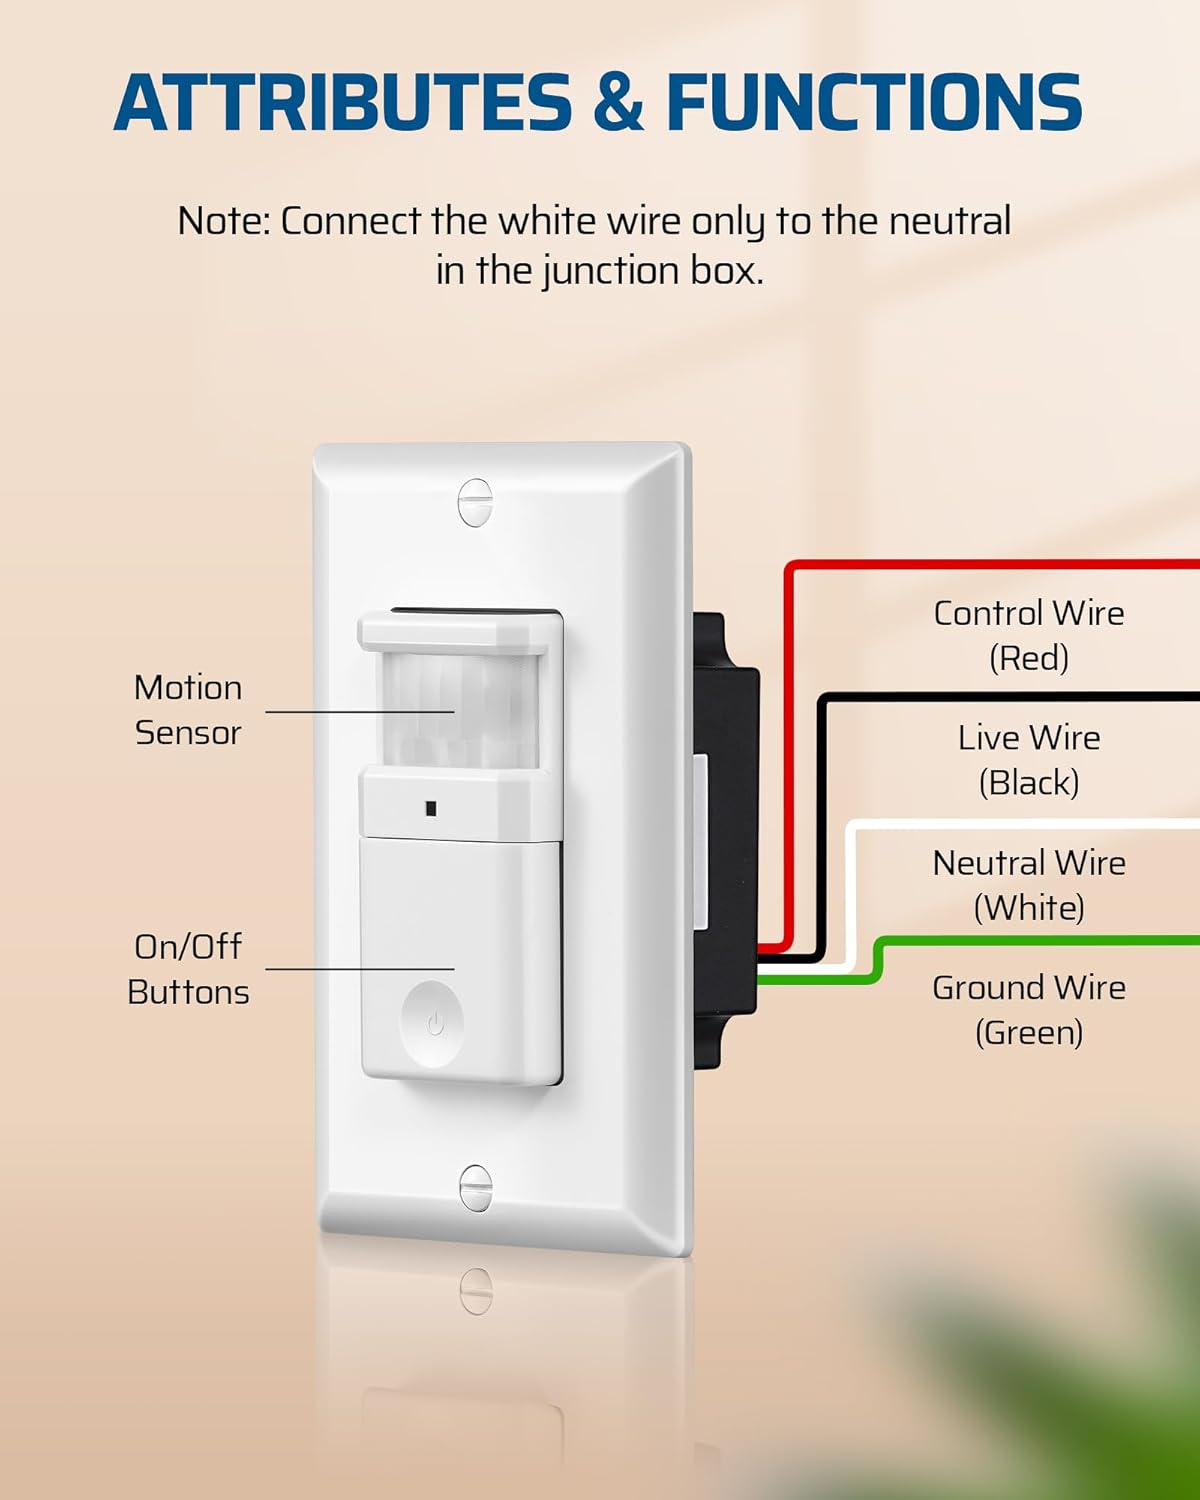
Image: Close-up of the motion sensor switch with control, live, neutral, and ground wires labeled.
6. Operating Instructions
The DEWENWILS Motion Sensor Light Switch offers two primary operating modes: Automatic (OCC) and Manual. It also features adjustable settings for optimal performance.
6.1 Operating Modes
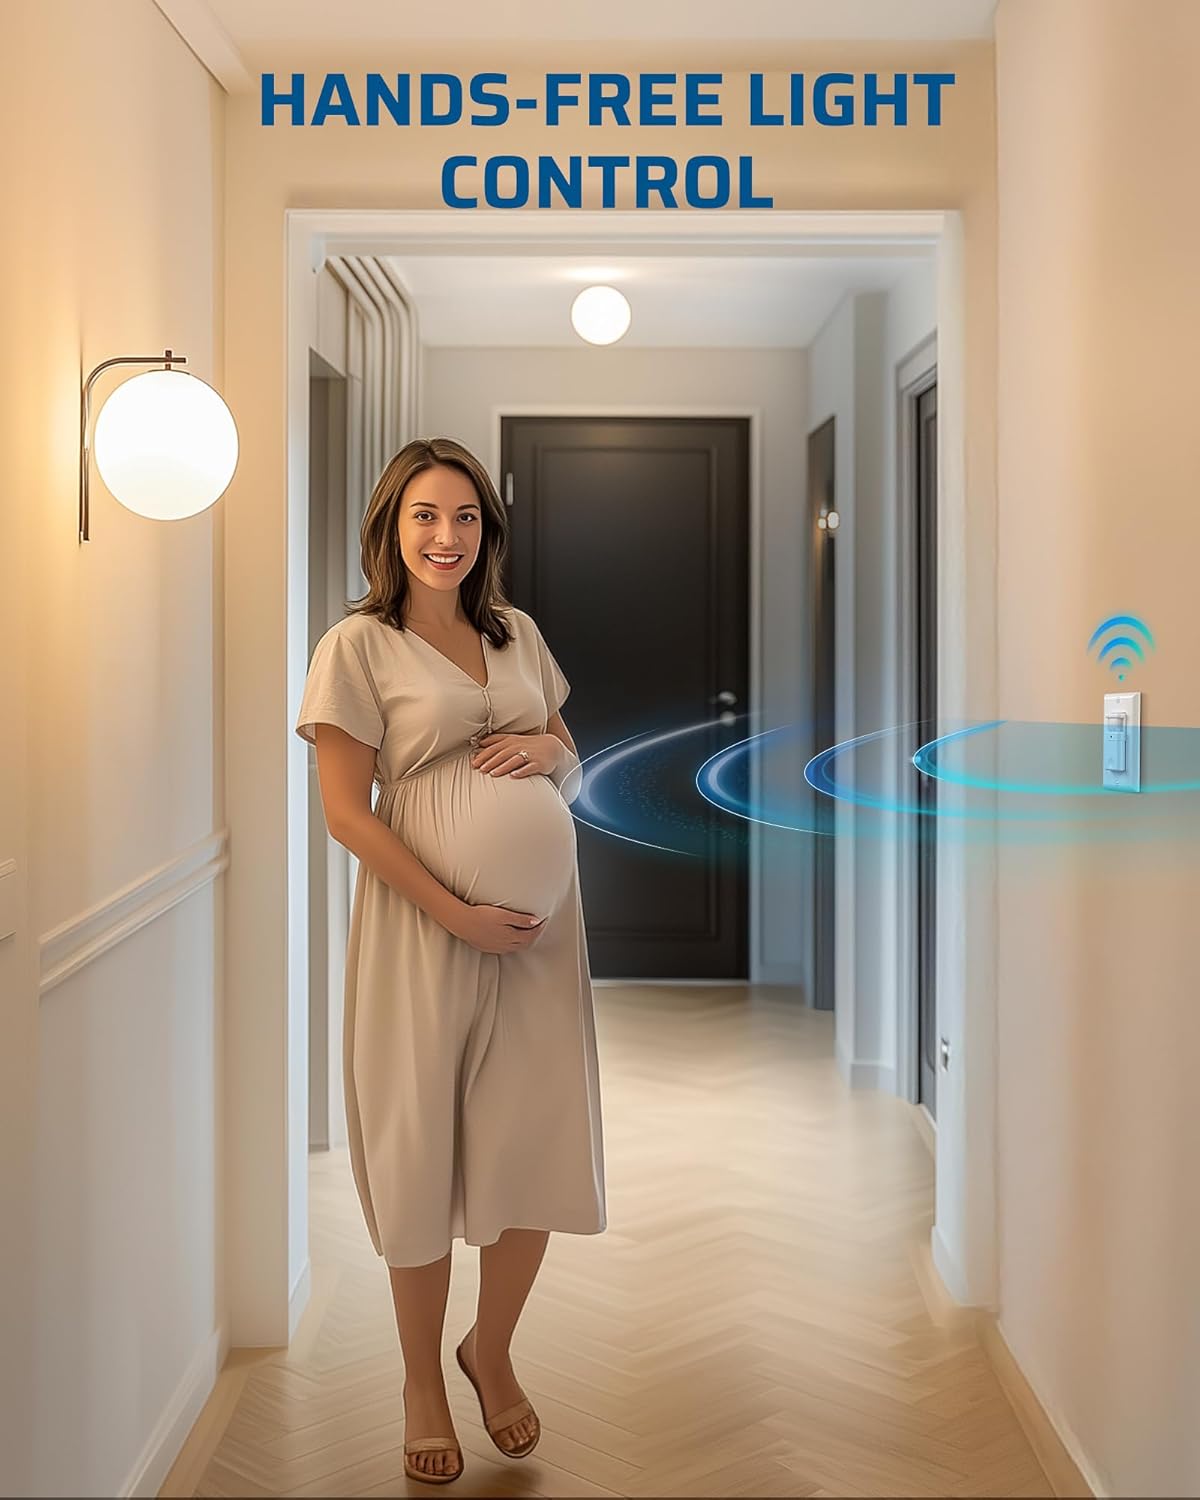
Image: Comparison of Auto Mode and Manual Mode operation.
- Automatic (OCC) Mode: In this mode, the lights automatically turn ON when motion is detected and turn OFF after a preset time delay when no motion is detected. This is ideal for high-traffic areas like hallways, bathrooms, and storage rooms.
- Manual Mode: In this mode, the lights can only be controlled manually using the ON/OFF button on the switch. This provides flexibility for situations where automatic control is not desired, such as during cleaning or when continuous light is needed regardless of motion.
6.2 Adjustable Settings
The switch features three adjustable knobs located behind the main button cover. Gently pry off the button cover to access these controls.
- Time Delay Knob (TIME): Adjusts how long the lights remain ON after the last detected motion. Settings range from 5 seconds (fully counter-clockwise) to 10 minutes (fully clockwise).

Image: Location and function of the Time Delay Knob.
- Sensor Sensitivity Range Knob (SENSE): Adjusts the motion detection range. The default position is typically 65%. Turn clockwise for a larger coverage area (up to 100%) and counter-clockwise for a smaller area (down to 30%).

Image: Location and function of the Sensor Sensitivity Range Knob.
- Ambient Light Level Knob (LUX): Determines the ambient light level at which the sensor will activate. Turn the knob counter-clockwise to enable ambient light detection (lights will only turn on if the room is dark enough). To override ambient light detection and have the sensor always activate regardless of light level, leave it at the maximum setting (+).

Image: Location and function of the Ambient Light Level Knob.
6.3 LED Indicator
The switch includes an LED indicator. When the load is OFF, the LED is OFF. When the load is ON, the LED is ON. If the switch is manually turned OFF while in auto mode, the LED will blink for 30 seconds, then disable auto-on functionality.

Image: Explanation of the LED indicator behavior.

Image: Diagram illustrating the 180-degree motion detection range up to 26 feet.
7. Maintenance
The DEWENWILS Motion Sensor Light Switch requires minimal maintenance.
- Cleaning: To clean the switch, wipe it with a soft, damp cloth. Do not use abrasive cleaners or solvents, as these can damage the finish or internal components.
- Inspection: Periodically check the switch and wall plate for any signs of damage or loose connections. If any issues are found, turn off power at the circuit breaker and address them promptly.
8. Troubleshooting
If you experience issues with your motion sensor light switch, refer to the following common problems and solutions:
| Problem | Possible Cause | Solution |
|---|---|---|
| Lights do not turn ON with motion. |
|
|
| Lights stay ON too long or turn OFF too quickly. |
|
|
| Lights turn ON/OFF unexpectedly. |
|
|
| Detection range is too small or inconsistent. |
|
|
9. Warranty and Support
DEWENWILS products are designed for reliability and performance. While specific warranty details are not provided in this manual, please retain your proof of purchase for any warranty claims.
For technical support, troubleshooting assistance, or product inquiries, please contact DEWENWILS customer service through the retailer where the product was purchased or visit the official DEWENWILS website for contact information.