
1. Introduction
Thank you for choosing the Hivento Smart Tower Fan AT-932. This intelligent tower fan is designed to provide efficient and comfortable air circulation with its WiFi connectivity, multiple speed and mode settings, oscillation, and convenient timer function. Please read this manual carefully before use to ensure proper operation and maintenance.
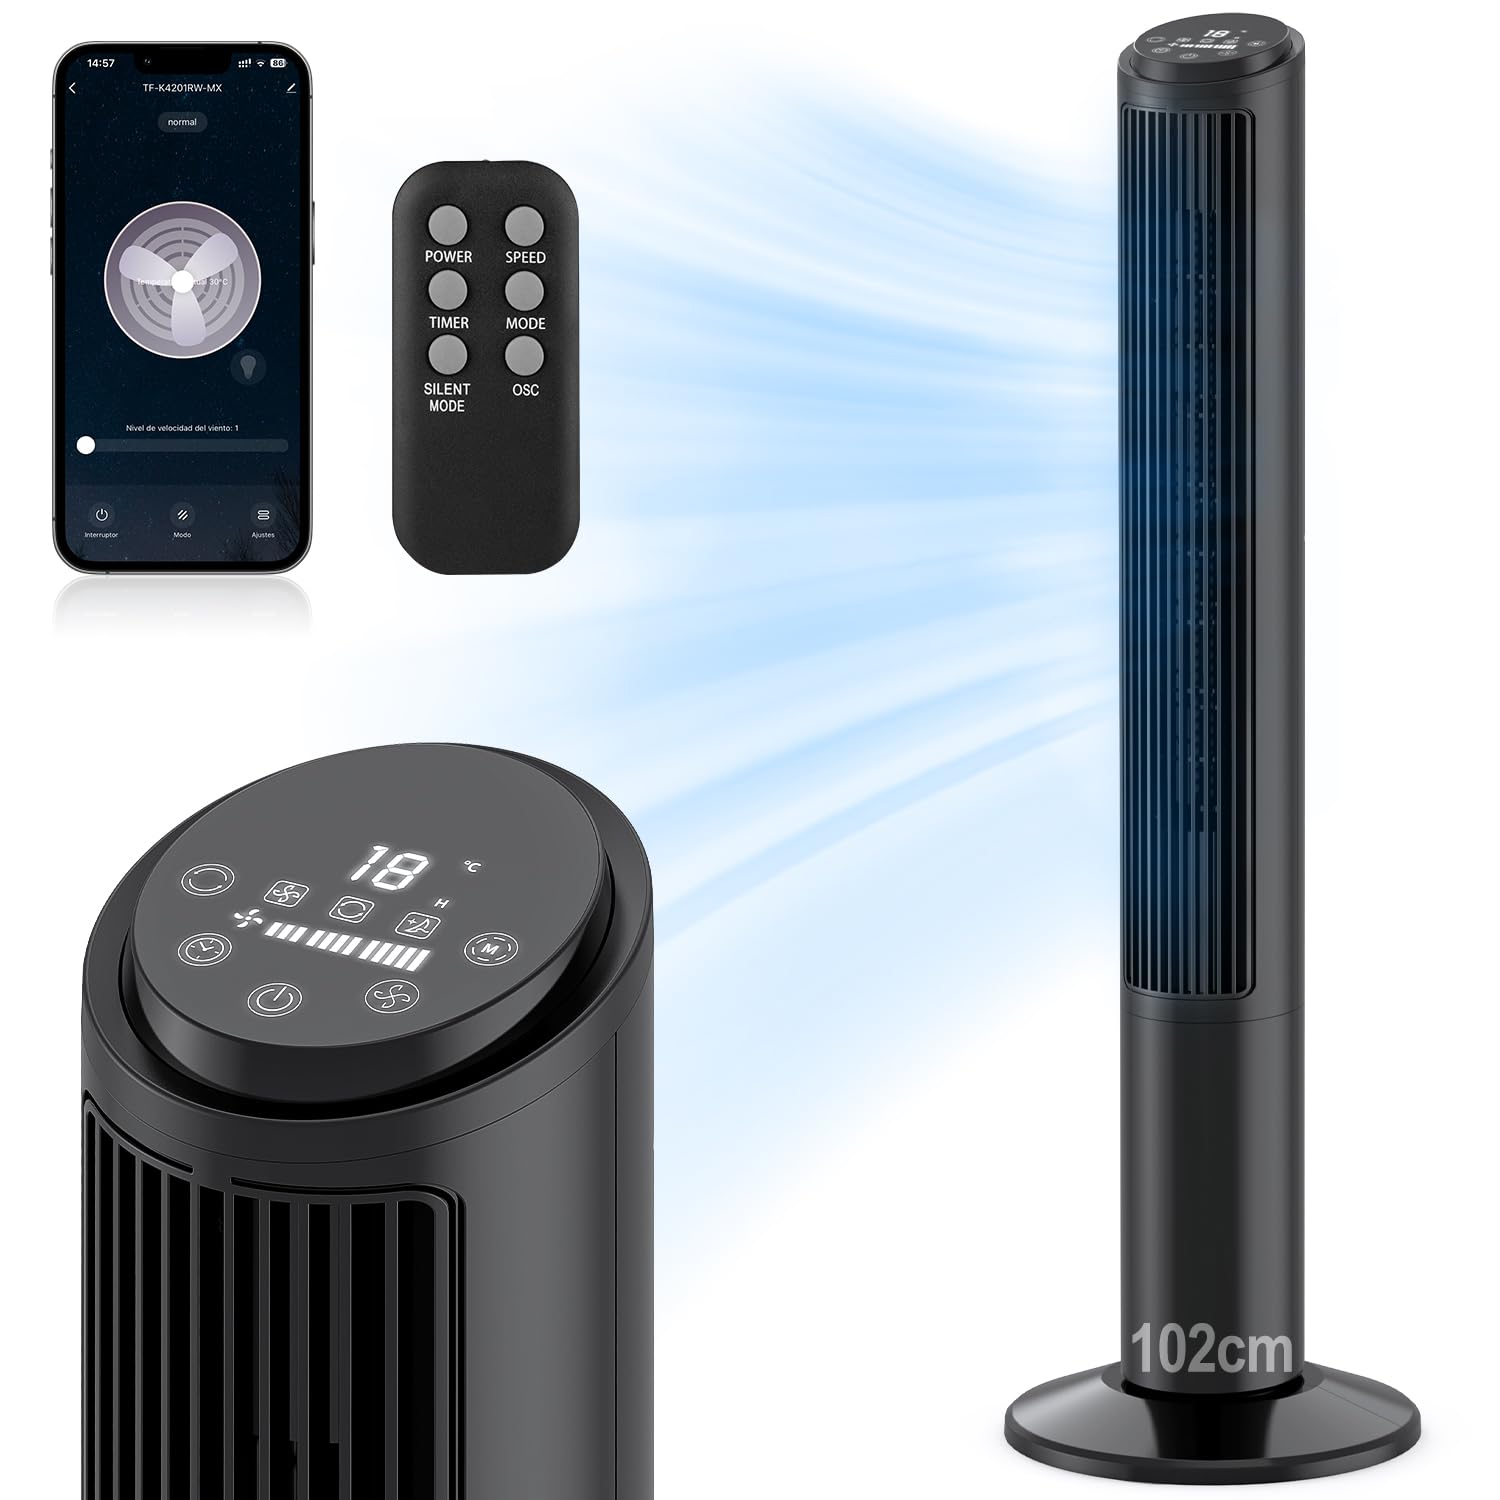
Image: Hivento Smart Tower Fan AT-932, showcasing its sleek black design.
2. Safety Instructions
To reduce the risk of fire, electric shock, or injury, please observe the following safety precautions:
- Always unplug the fan before cleaning or performing any maintenance.
- Do not operate the fan with a damaged cord or plug.
- Keep fingers and other objects away from the fan grille when in operation.
- Ensure the fan is placed on a stable, level surface to prevent tipping.
- Do not use the fan in wet or damp environments.
- This fan features a bladeless design for enhanced safety, especially around children and pets. It also includes a child lock function.

Image: Bladeless design of the fan, highlighting safety features like a safety plug and child lock, with a child nearby.
3. Package Contents
Please check the package for the following items:
- Hivento Tower Fan (x1)
- Installation Accessories (Base parts) (x1 set)
- Remote Control (x1)
- User Manual (x1)
4. Setup
4.1 Base Assembly
The tower fan requires minimal assembly. The base consists of two identical parts. Simply cross these two parts and attach them to the bottom of the fan unit. Ensure they are securely fastened.
4.2 Power Connection
Plug the power cord into a standard 120V AC electrical outlet.
4.3 Initial Power On
Press the power button on the control panel or remote control to turn on the fan. The LED display will illuminate.
4.4 WiFi Setup (App Control)
To use the smart features, download the Tuya Smart app on your smartphone. Follow the in-app instructions to pair your fan:
- Download and open the Tuya Smart app.
- Register or log in to your account.
- Tap 'Add Device' or the '+' icon.
- Select the fan from the device list or use auto-scan.
- Follow the app's prompts to connect the fan to your 2.4GHz WiFi network. This usually involves resetting the device by pressing and holding the power button until the indicator light flashes.
- Once connected, you can control the fan via the app.

Image: Step-by-step guide on a smartphone screen demonstrating how to pair the Hivento Smart Tower Fan with the Tuya Smart app.
5. Operating Instructions
5.1 Control Panel and LED Display
The fan features an intuitive LED display and touch controls on the top. The display shows ambient temperature, current speed, mode, and timer settings.
- Power Button: Turns the fan On/Off.
- Speed Button: Adjusts fan speed (Low, Medium, High).
- Mode Button: Cycles through operating modes (Normal, Natural, Sleep).
- Timer Button: Sets the auto-off timer.
- Oscillation Button: Activates/deactivates oscillation.

Image: Close-up of the fan's LED display and touch control panel, along with the remote control, indicating various functions.
5.2 Remote Control
The included remote control allows convenient operation from a distance. It duplicates all functions available on the control panel.
- POWER: Turns the fan On/Off.
- SPEED: Adjusts fan speed.
- TIMER: Sets the auto-off timer.
- MODE: Cycles through operating modes.
- SILENT MODE: Activates a quiet operation mode (often the Sleep mode).
- OSC: Activates/deactivates oscillation.

Image: The Hivento Smart Tower Fan oscillating, with a remote control shown in the foreground, illustrating remote operation.
5.3 Smart Control (WiFi & Voice)
After successful WiFi setup, you can control your fan from anywhere using the Tuya Smart app. The fan is also compatible with voice assistants like Amazon Alexa and Google Assistant for hands-free operation.
- App Control: Adjust settings, change modes, set timers, and monitor the fan remotely via your smartphone.
- Voice Control: Integrate with Alexa or Google Assistant to control the fan with voice commands (e.g., "Alexa, turn on the fan," "Hey Google, set fan speed to medium").
5.4 Modes and Speeds
The fan offers 3 speed settings and 2 operating modes:
- Speeds: Low, Medium, High. Select the desired airflow intensity.
- Natural Mode: Simulates a natural breeze by varying fan speed.
- Sleep Mode: Operates at a low, quiet speed for minimal disturbance during sleep, with a noise level of less than 30 dB.

Image: Graphic illustrating the fan's 2 modes (Natural, Sleep) and 3 speeds (Low, Medium, High), along with 70° oscillation and 6 m/s airflow.
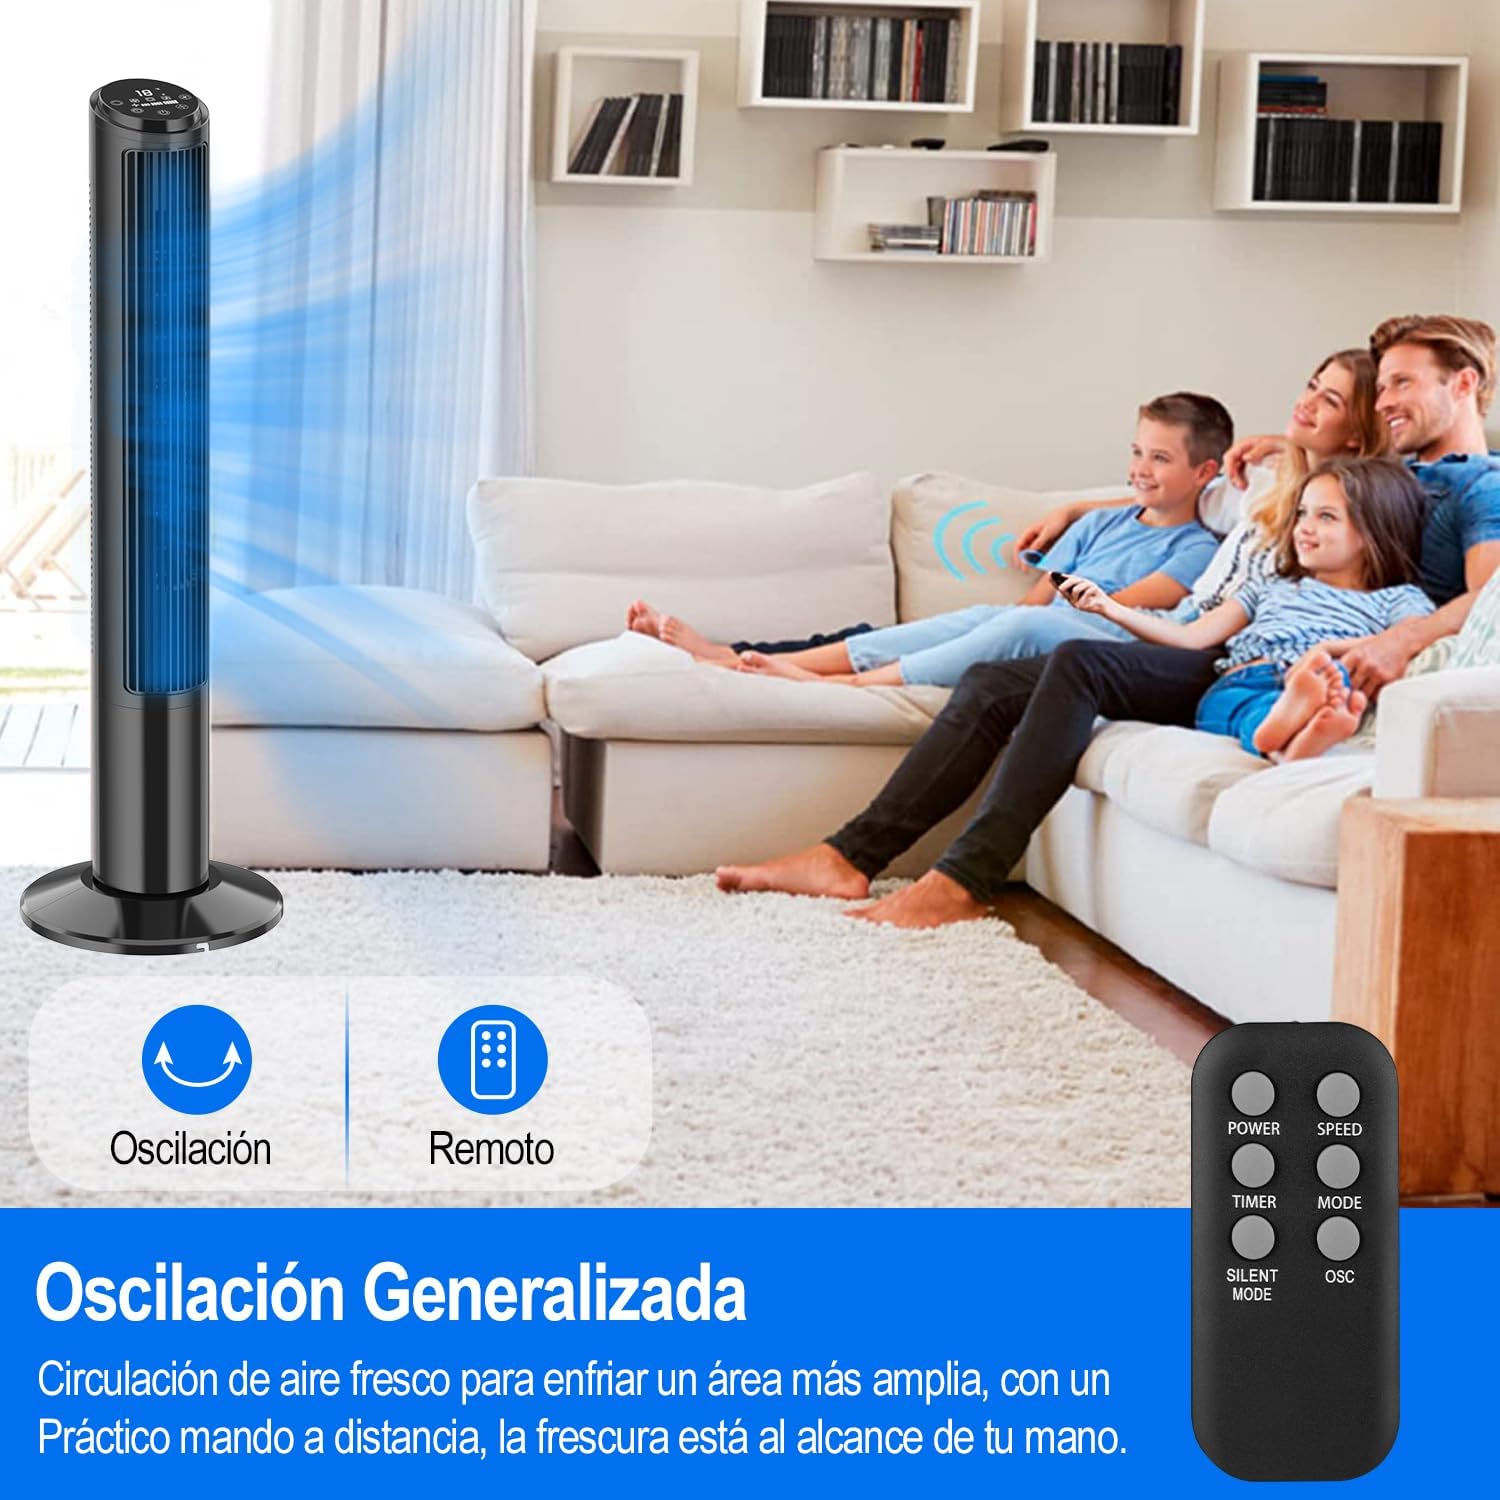
Image: A person sleeping peacefully with the Hivento Smart Tower Fan operating quietly in the background, demonstrating its low noise level for sleep.
5.5 Oscillation Function
Activate the oscillation function to distribute airflow across a wider area. The fan oscillates up to 70 degrees.
5.6 Timer Function
Set the fan to automatically turn off after a specified period, from 0 to 15 hours. This is useful for energy saving or for use during sleep.

Image: Graphic showing the fan's timer function, allowing settings from 0 to 15 hours.
6. Maintenance
Regular cleaning helps maintain the fan's performance and extends its lifespan.
- Cleaning the Exterior: Wipe the exterior surfaces with a soft, damp cloth. Do not use abrasive cleaners or solvents.
- Cleaning the Air Inlet/Outlet: Use a soft brush or vacuum cleaner with a brush attachment to remove dust from the air inlet and outlet grilles.
- Storage: When not in use for extended periods, unplug the fan and store it in a cool, dry place.
Caution: Do not immerse the fan in water or allow water to drip into the motor housing.
7. Troubleshooting
| Problem | Possible Cause | Solution |
|---|---|---|
| Fan does not turn on. | No power supply; Power cord not properly plugged in. | Ensure the fan is plugged into a working outlet; Check the power cord connection. |
| Fan stops unexpectedly. | Timer function activated; Overheating. | Check if the timer is set; Unplug and allow the fan to cool down before restarting. |
| Remote control not working. | Batteries are dead or incorrectly inserted; Obstruction between remote and fan. | Replace batteries; Ensure clear line of sight to the fan's receiver. |
| WiFi connection fails. | Incorrect WiFi password; Router too far; Only 5GHz WiFi available. | Verify WiFi password; Move fan closer to router; Ensure you are connecting to a 2.4GHz network. |
8. Specifications
| Feature | Detail |
|---|---|
| Brand | Hivento |
| Model Name | Hivento Tower Fan AT-932 |
| Model Number | AT-932 |
| Color | Black |
| Dimensions (DxWxH) | 20 x 20 x 102 cm (7.87 x 7.87 x 40.16 inches) |
| Power Source | AC (120 Volts) |
| Power Consumption | 50 Watts |
| Number of Speeds | 3 |
| Operating Modes | 2 (Natural, Sleep) |
| Oscillation | 70° |
| Timer | Up to 15 hours |
| Noise Level | Minimum 30 Decibels |
| Control Type | App Control, Remote Control, Touch |
| Special Features | WiFi Function, Bladeless Design, LED Display, Child Lock |
| Material | Plastic |

Image: The Hivento Smart Tower Fan with its dimensions (102cm height, 32cm base diameter) highlighted, demonstrating its compact and portable design.
9. Warranty and Support
Specific warranty information is not provided in the product data. For warranty details, technical support, or any product-related inquiries, please contact Hivento customer service through the retailer's platform or the official brand website.
You can visit the Hivento store for more information: Hivento Store


