1. Introduction
This manual provides detailed instructions for the installation, operation, and maintenance of your Qubo Car Dashcam Pro 2.7K Dual Channel. Please read this manual thoroughly before using the device to ensure proper functionality and safety. Keep this manual for future reference.

Image 1.1: Qubo Car Dashcam Pro 2.7K Dual Channel system.
2. What's in the Box
Carefully unpack the box and ensure all items are present:
- 1x 2.7K Front Camera
- 1x Rear Camera
- 1x Adapter
- 1x Power Cable for Front Camera (Length: 3.5m, Port: Type-C)
- 1x Power Cable for Rear Camera (Length: 7m)
- 1x Mount with double-sided adhesive tape
- 1x QR card (Digital User Manual + Warranty information)
- 1x Pry Tool
Video 2.1: Unboxing and initial setup guide for the Qubo Dashcam Pro 2.7K.
3. Product Overview
The Qubo Car Dashcam Pro 2.7K is a dual-channel recording system designed to capture high-quality video footage of your journeys. Key features include:
- Dual Channel Recording: 2.7K QHD+ (2560x1440) front camera and Full HD rear camera.
- Wide Field of View: 140° for the front camera and 120° for the rear camera.
- NightPulse Vision: Enhanced clarity for low-light and nighttime recording.
- Supercapacitor Power: Designed for durability and reliable operation in extreme temperatures (-20°C to 85°C).
- Built-in G-Sensor: Automatically detects collisions and locks footage to prevent overwriting.
- Integrated GPS & Wi-Fi: For tracking routes, speed, and easy footage access via the Qubo Pro App.
- 2-inch LCD Display: For live view and playback directly on the device.
- Microphone: Built-in for audio recording (can be disabled via app).
- Expandable Storage: Supports up to 1TB Micro SD card (not included).

Image 3.1: Key features of the Qubo Dashcam Pro 2.7K.
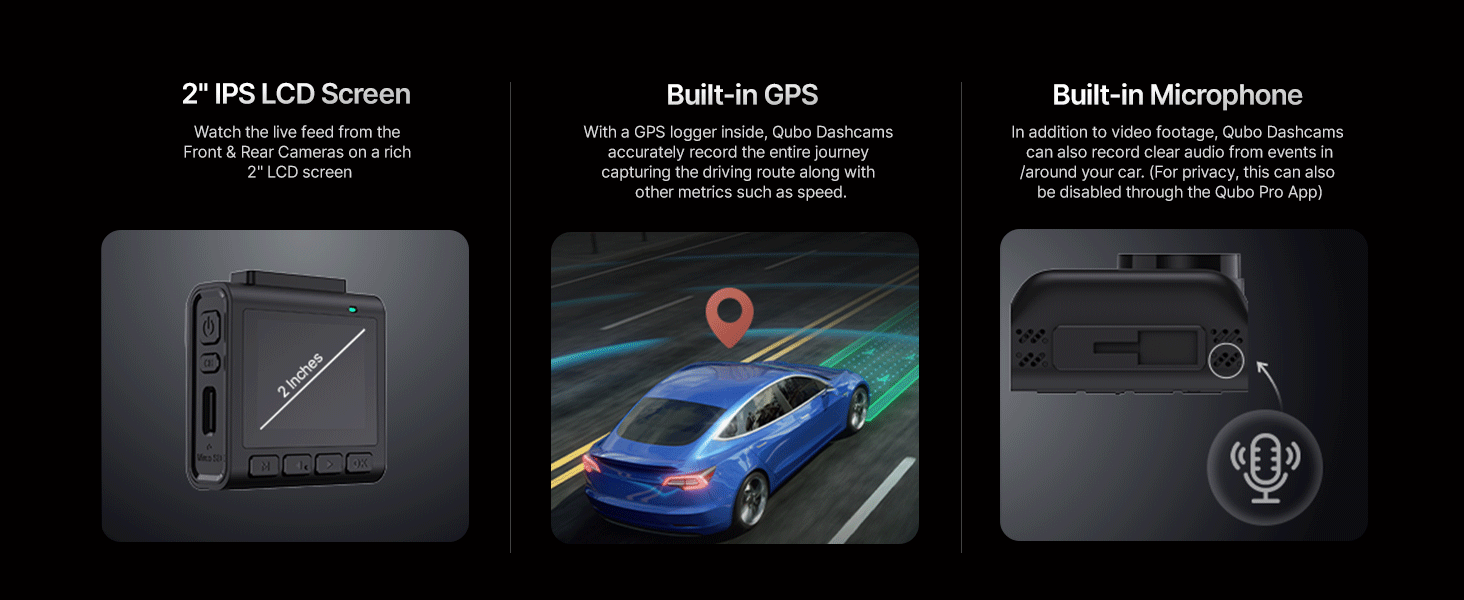
Image 3.2: Detailed view of the 2-inch LCD, GPS, and microphone.
Video 3.1: Overview of the Qubo Dashcam Pro 2.7K features and capabilities.
4. Setup and Installation
4.1 Preparing for Installation
- Clean the windshield thoroughly where the dashcam will be mounted.
- Apply the electrostatic film to the cleaned area on the windshield. This helps in easy removal and repositioning.
- Insert a compatible Micro SD card (Class 10 or higher, up to 1TB) into the front camera's Micro SD slot.
4.2 Mounting the Front Camera
- Attach the mount to the front camera.
- Peel off the protective film from the double-sided adhesive tape on the mount.
- Firmly press the mount onto the electrostatic film on your windshield, ensuring the camera has a clear view of the road.
- Adjust the camera angle as needed. The mount is adjustable and detachable for convenience.

Image 4.1: Adjustable and detachable mount for optimal positioning.
4.3 Installing the Rear Camera
- Choose a suitable location on your rear windshield for the rear camera, ensuring a clear view.
- Clean the area and apply the electrostatic film.
- Attach the rear camera to its mount and secure it to the electrostatic film using the double-sided adhesive.
- Connect the rear camera to the front camera using the provided rear camera power cable. Route the cable neatly along the car's interior trim using the pry tool.
4.4 Power Connection
- Connect the front camera's power cable (Type-C) to the dashcam.
- Plug the other end of the power cable into the provided car adapter.
- Insert the car adapter into your vehicle's 12V power outlet (cigarette lighter socket).
- The dashcam will power on automatically when the vehicle starts.
5. Operating Instructions
5.1 Basic Operation
- Power On/Off: The dashcam powers on automatically with the car ignition and powers off shortly after the ignition is turned off.
- Recording: Continuous recording begins automatically when the dashcam powers on.
- LCD Display: The 2-inch LCD shows a live view from the front and rear cameras. You can navigate menus and settings using the buttons below the screen.
5.2 Recording Modes

Image 5.1: Various recording modes of the Qubo Dashcam.
- Continuous Recording: Records continuously in short segments. When the SD card is full, the oldest unprotected footage is overwritten.
- Emergency Recording (G-Sensor): The built-in G-Sensor detects sudden impacts or collisions. When triggered, it automatically locks the current video segment, preventing it from being overwritten.
- Loop Recording: Ensures continuous recording by overwriting the oldest files when the memory card is full, except for locked emergency files.
- Clip & Snap: Allows you to manually capture video clips or still images.

Image 5.2: G-Sensor collision detection feature.
5.3 Qubo Pro App & Wi-Fi Connectivity
The Qubo Pro App (available on Android and iOS) allows you to connect to your dashcam via Wi-Fi for advanced control and access:
- View live footage from both cameras.
- Download recorded videos and images to your smartphone.
- Access trip video logs and organized video galleries.
- Adjust dashcam settings, including microphone on/off.
- Review GPS data (routes, speed).
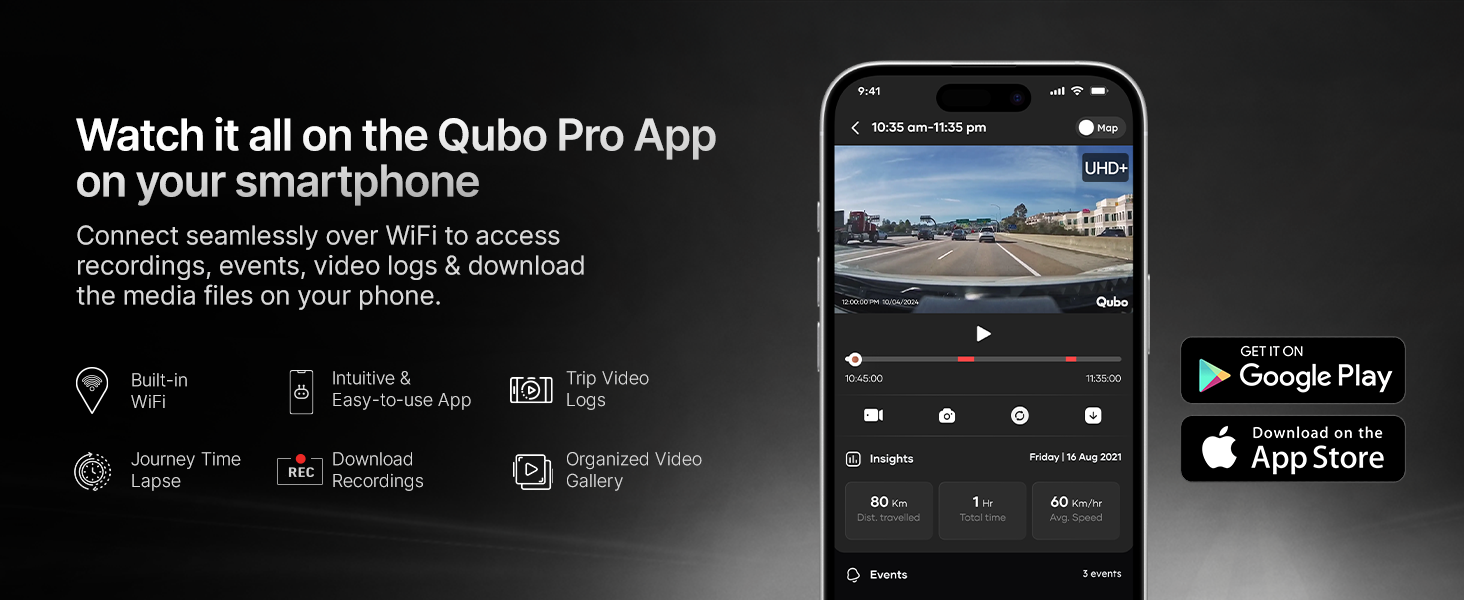
Image 5.3: Qubo Pro App interface for seamless connectivity.
6. Maintenance
6.1 SD Card Management
For optimal performance and to prevent data loss, it is recommended to:
- Use a high-speed (Class 10 or U3 recommended) Micro SD card from a reputable brand.
- Format the SD card regularly (e.g., once a month) using the dashcam's settings menu. This helps maintain card health and prevents fragmentation.
- Replace the SD card if you notice any recording errors or performance degradation.

Image 6.1: Compatible SD card types and storage capacity.
6.2 Cleaning
- Wipe the camera lenses periodically with a soft, lint-free cloth to ensure clear recording.
- Clean the dashcam body with a dry or slightly damp cloth. Avoid using harsh chemicals.
7. Troubleshooting
If you encounter issues with your Qubo Dashcam, refer to the following common solutions:
- Dashcam not powering on: Check the power cable connection to the dashcam and the car adapter. Ensure the car's 12V outlet is functioning.
- Recording errors: Format the Micro SD card. If the issue persists, try a different compatible SD card.
- Poor video quality: Ensure the lenses are clean and free from obstructions. Check that the electrostatic film is applied smoothly.
- App connectivity issues: Ensure Wi-Fi is enabled on your smartphone and you are connected to the dashcam's Wi-Fi network. Restart both the dashcam and the app.
- Dashcam restarting frequently: This could indicate an issue with the SD card. Try removing and reinserting the memory card, or replace it with a new, compatible one.
For further assistance, refer to the digital user manual via the QR card or contact Qubo customer support.
8. Specifications
| Feature | Description |
|---|---|
| Brand | Qubo |
| Model Name | Dash Cam Pro 2.7K |
| Front Camera Resolution | 2.7K QHD+ (2560x1440) |
| Rear Camera Resolution | Full HD |
| Front Camera FOV | 140 Degrees |
| Rear Camera FOV | 120 Degrees |
| Special Features | App Control, Built-In Display, Built-In GPS, G-Sensor, Night Vision |
| Connectivity Technology | Wi-Fi |
| Storage Support | Up to 1TB Micro SD Card |
| Power Source | Supercapacitor |
| Operating Temperature | -20°C to 85°C |
| Mounting Type | Windshield Mount or Dashboard Mount |
| Product Dimensions | 2.3 x 5.9 x 6.3 cm |
| Item Weight | 300 g |
| Manufacturer | Hero Electronix Pvt. Ltd. |
| Country of Origin | India |
9. Warranty and Support
Your Qubo Car Dashcam Pro 2.7K is backed by the Hero Group. For warranty information, please refer to the QR card included in your package or visit the official Qubo website. Qubo offers dedicated on-call and field support across India with trained technicians for installation and service.
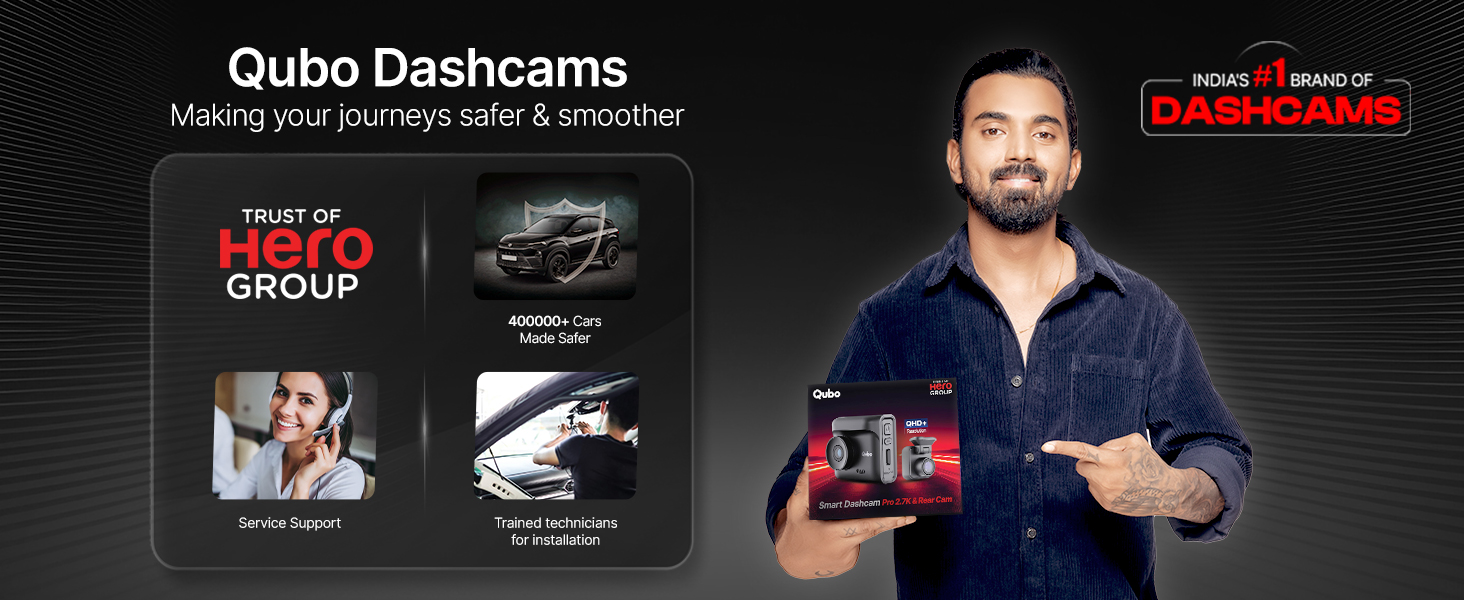
Image 9.1: Qubo's commitment to service and support.
For any queries or support, please contact Qubo customer service through the details provided on the QR card or their official channels.


