1. Important Safety Instructions
Please read and understand all instructions before installing or operating this product. Failure to follow these instructions may result in electric shock, fire, or other hazards that could cause property damage or personal injury.
- Electrical Safety: Always disconnect power at the fuse or circuit breaker before installation or servicing. Ensure all electrical connections comply with local codes and ordinances. If you are unsure about wiring, consult a qualified electrician.
- Grounding: This fixture must be properly grounded.
- Installation Location: Install the fixture in a location suitable for outdoor use, away from flammable materials.
- Heat: Do not touch the light fixture when it is operating or immediately after it has been turned off, as it may be hot.
- Light Source: Do not stare directly into the LED light source.
- Modifications: Do not alter the fixture in any way. Any modifications may void the warranty and create safety hazards.
2. Package Contents
Verify that all components are present before beginning installation:
- Philips LED Security Light (1 unit)
- Mounting Hardware (Screws, Wire Nuts, Mounting Plate, Rubber Plug, Gasket)
- Instruction Manual
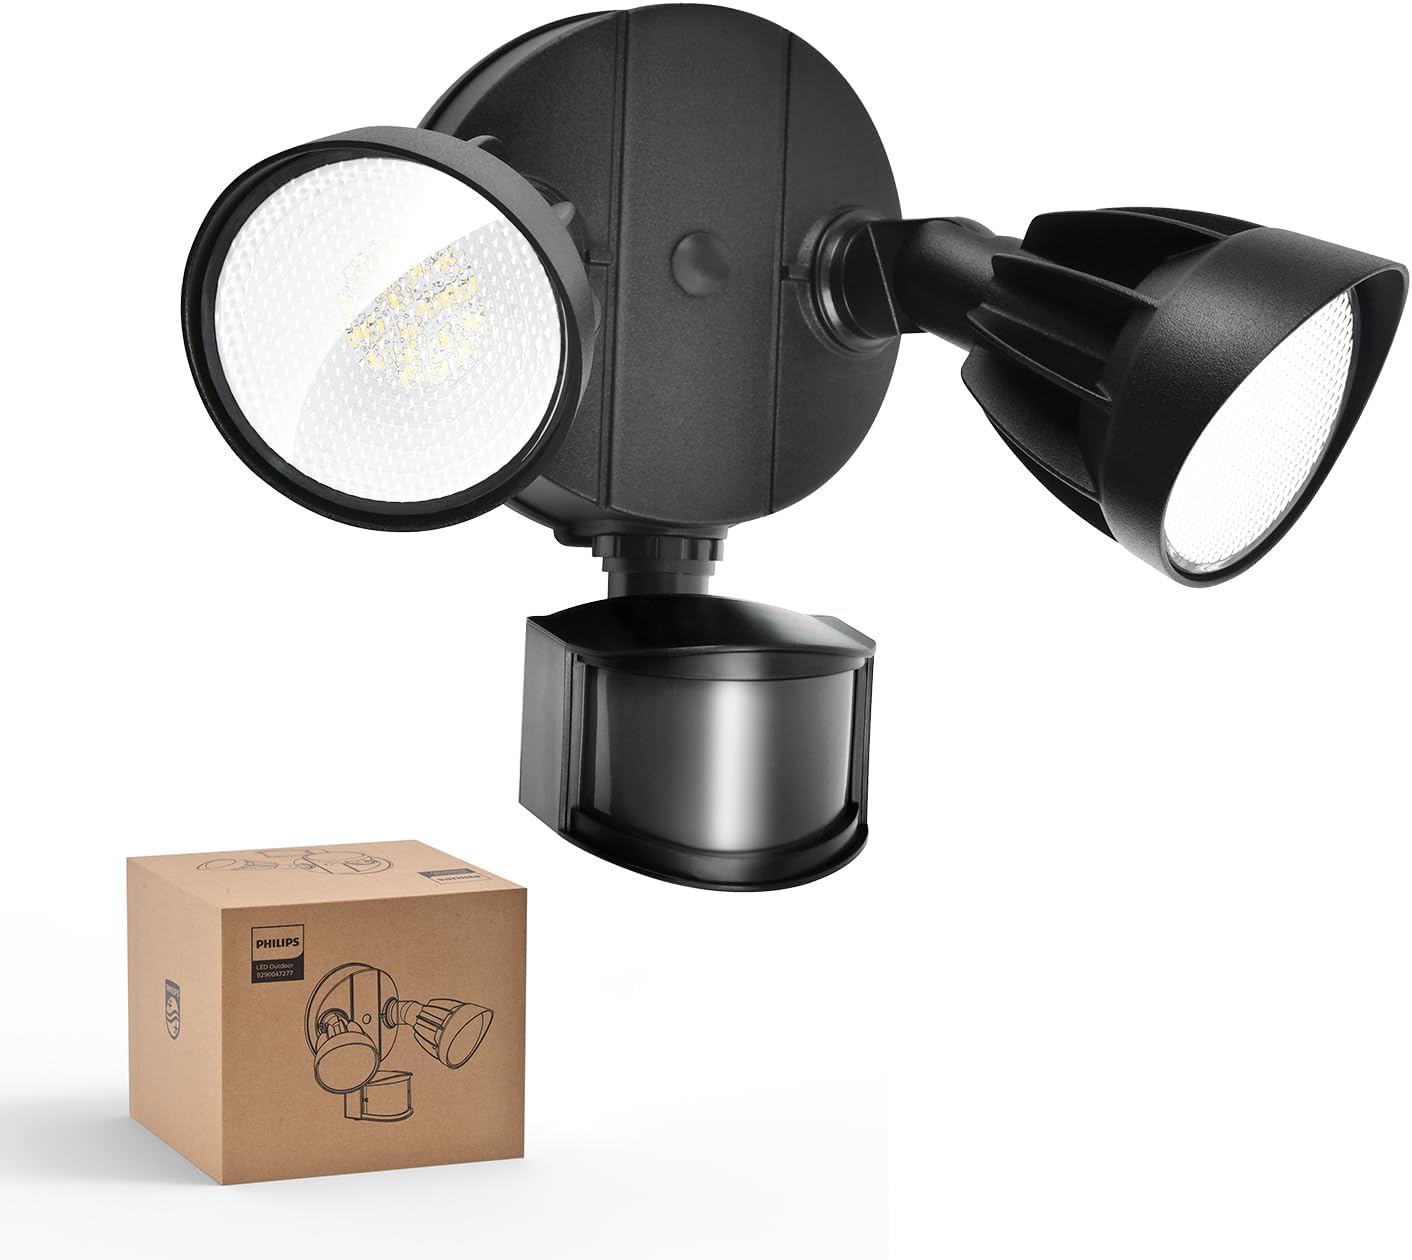
Image: The Philips LED Security Light, a black two-head floodlight with a motion sensor, is shown alongside its brown cardboard packaging box.
3. Product Overview
The Philips 44W 4200 lm LED Security Light is designed for outdoor use, featuring a motion sensor and adjustable light heads to provide efficient and customizable illumination.
Key Features:
- High Brightness: 4200 lumens with 5000K Daylight color temperature.
- Adjustable Heads: Two light heads can be independently adjusted for optimal coverage.
- PIR Motion Sensor: Detects motion with a 180° induction angle and up to 69ft sensing range.
- Multiple Lighting Modes: Test, Security, Dusk-to-Dawn, and Manual Override modes.
- Durable Construction: Aluminum lamp material for corrosion resistance and weatherproofing (IP65 rated).
- Energy Efficient: Integrated LED design, no bulbs to replace, reducing electricity costs.

Image: This diagram highlights the main features of the security light, including its durable body, bright LED light source, requirement for hardwiring, adjustable light heads, waterproof design, and corrosion resistance.

Image: The security light is shown with arrows indicating the 180-degree vertical and horizontal adjustment for the light heads and the 180-degree adjustment for the motion sensor, allowing for customized light direction.

Image: This image focuses on one of the light heads, emphasizing its aluminum construction for durability and advanced heat dissipation, contributing to long-lasting performance.
4. Installation Instructions
4.1. Before You Begin
- Tools Required: Screwdriver, wire strippers, drill (if needed), sealant.
- Power Disconnection: Turn off power at the circuit breaker or fuse box before starting installation.
- Junction Box: This fixture requires a standard outdoor junction box (not included).
- Recommended Installation Height: Approximately 8.2 feet (2.5 meters) for optimal motion sensor performance.
4.2. Mounting Options
The security light can be installed in two primary ways:
- Wall Mounted: Directly on a vertical wall surface.
- Eave Mounted: Under a horizontal eave or soffit. Note that eave installation may slightly reduce the sensing range.

Image: This image illustrates two common installation methods: mounting the light under an eave and mounting it directly on a wall. It also provides a tip to ensure a tight seal for water resistance.
4.3. Step-by-Step Installation
- Prepare Wiring: Ensure power is off. Pull the electrical wires from the junction box through the center hole of the mounting plate.
- Attach Mounting Plate: Secure the mounting plate to the junction box using the provided mounting screws. Ensure the gasket is properly seated between the mounting plate and the mounting surface for a watertight seal.
- Wire Connections: Connect the house wiring to the fixture wiring using the provided wire nuts. Connect the ground wire (green or bare copper) from the house to the ground wire from the fixture. Connect the white (neutral) wires together. Connect the black (hot) wires together.
- Mount Fixture: Align the fixture with the mounting plate and secure it with the central mounting screw. Ensure the fixture is flush against the mounting surface.
- Seal: Apply silicone sealant around the edges of the fixture where it meets the mounting surface to prevent water intrusion.
- Adjust Heads: Loosen the screws on the light heads and motion sensor to adjust their angles as desired. Tighten screws once adjusted.

Image: A visual guide demonstrating the four steps for installing the security light, including attaching the mounting plate, connecting wires, and securing the light fixture. Recommended installation height is 8.2 ft.
5. Operating Instructions
Your Philips LED Security Light offers various modes and adjustable settings for optimal performance.
5.1. Motion Sensor Adjustment
The motion sensor has two adjustable dials: one for sensing range (DISTANCE) and one for activated lighting time (TIME).

Image: This image shows the control dial on the motion sensor, allowing users to select the sensing range and the duration the light stays on, along with Test and Dusk-to-Dawn modes.
- Sensing Range (DISTANCE):
- L (Low): 0-20 feet
- M (Medium): 0-39 feet
- H (High): 0-69 feet
- Activated Lighting Time (TIME):
- 1 MIN: Light stays on for 1 minute after motion stops.
- 3 MIN: Light stays on for 3 minutes after motion stops.
- 10 MIN: Light stays on for 10 minutes after motion stops.
5.2. Lighting Modes
The fixture supports four distinct lighting modes, selectable via the TIME dial and power cycling:

Image: This graphic explains the functionality of each lighting mode: Test mode, Sensor mode, Dusk-to-Dawn mode, and Override mode.
- Test Mode:
- Activation: Set the TIME dial to 'TEST'.
- Function: The light will turn on for approximately 5 seconds when motion is detected. This mode operates in both daytime and nighttime, useful for testing sensor placement and sensitivity.
- Sensor Mode (Security Mode):
- Activation: Set the TIME dial to 1, 3, or 10 minutes.
- Function: The light will activate at 100% brightness when motion is detected in the nighttime and stay on for the selected duration. It will not activate during the day.
- Dusk-to-Dawn Mode:
- Activation: Set the TIME dial to 'DUSK TO DAWN'.
- Function: The light will automatically turn on at dusk at 20% brightness and turn off at dawn. If motion is detected during the nighttime, the light will temporarily switch to 100% brightness for the set duration (1, 3, or 10 minutes, depending on the TIME dial setting) before returning to 20%. This mode only operates in the nighttime.
- Manual Override Mode:
- Activation: Quickly switch the power OFF and ON twice (OFF-ON-OFF-ON) within 3 seconds.
- Function: The light will stay on continuously for 6 hours. For the first 12 minutes, it will operate at 100% brightness, then dim to 80% brightness for the remainder of the 6-hour period. This mode can be activated in both daytime and nighttime.
- Deactivation: To exit override mode, switch the power OFF for more than 3 seconds, then turn it back ON. The light will return to the previously selected sensor mode. Alternatively, the light will automatically revert to sensor mode after 6 hours.

Image: This image provides instructions for activating the 6-hour override mode by cycling the power switch twice within 3 seconds, and deactivating it by turning the power off for more than 3 seconds. It also notes the brightness dims from 100% to 80% after 12 minutes in override mode.
6. Maintenance
Proper maintenance ensures the longevity and optimal performance of your security light.
- Cleaning: Clean the fixture and motion sensor lens periodically with a soft, damp cloth. Do not use abrasive cleaners or solvents.
- Inspection: Regularly inspect the fixture for any signs of damage, loose wiring, or corrosion.
- No Bulb Replacement: This fixture uses integrated LED technology, meaning there are no bulbs to replace.
- Weather Resistance: The fixture is designed to be weatherproof (IP65 rated). However, ensure all seals and gaskets remain intact after installation.
7. Troubleshooting Guide
If you encounter issues with your security light, refer to the table below for common problems and solutions.
| Problem | Possible Cause | Solution |
|---|---|---|
| Light does not turn on at all. | No power, loose wiring, faulty sensor. | Check circuit breaker. Verify all wire connections are secure. Ensure power is supplied to the fixture. |
| Light stays on continuously. | Override mode activated, continuous motion, sensor malfunction. | Deactivate override mode (power OFF for >3s, then ON). Check for constant motion in sensor range. Adjust sensor sensitivity. |
| Light turns on during the day. | Test mode activated, faulty photocell. | Ensure TIME dial is not set to 'TEST'. If in Dusk-to-Dawn mode, ensure there is no obstruction blocking the photocell. |
| Motion sensor not detecting motion. | Incorrect sensitivity setting, obstruction, improper angle. | Adjust DISTANCE dial to 'H'. Clear any obstructions. Adjust sensor angle for optimal coverage. Ensure installation height is appropriate. |
| Light flickers or dims unexpectedly. | Loose wiring, power fluctuations, end of product life. | Check wiring connections. Consult an electrician for power issues. If persistent, contact customer support. |
8. Product Specifications
Detailed technical specifications for your Philips LED Security Light:
| Specification | Detail |
|---|---|
| Brand | Philips |
| Model Number | 7601905012 |
| Wattage | 44 Watts |
| Brightness | 4200 Lumens |
| Color Temperature | 5000 Kelvin (Daylight) |
| Light Source Type | LED |
| Material | Aluminum, Plastic |
| Product Dimensions | 6.69"L x 9.05"W x 9.45"H |
| Indoor/Outdoor Usage | Outdoor |
| Power Source | Corded Electric |
| Water Resistance Level | Waterproof (IP65 Rated) |
| Motion Sensor Angle | 180° |
| Motion Sensor Range | Up to 69 feet |
9. Warranty and Support
9.1. Manufacturer's Warranty
This Philips product is covered by a manufacturer's warranty. Please refer to the warranty card included with your product or visit the official Philips lighting website for detailed warranty terms and conditions.
9.2. Customer Support
For technical assistance, troubleshooting, or warranty claims, please contact Philips customer support. You can find contact information on the Philips website or by visiting the Philips Store on Amazon.


