1. Introduction
This manual provides detailed instructions for the safe installation, operation, and maintenance of your FELYL 56-60" W x 72" H Framed Single Sliding Shower Door. Please read all instructions carefully before beginning installation to ensure proper function and safety.
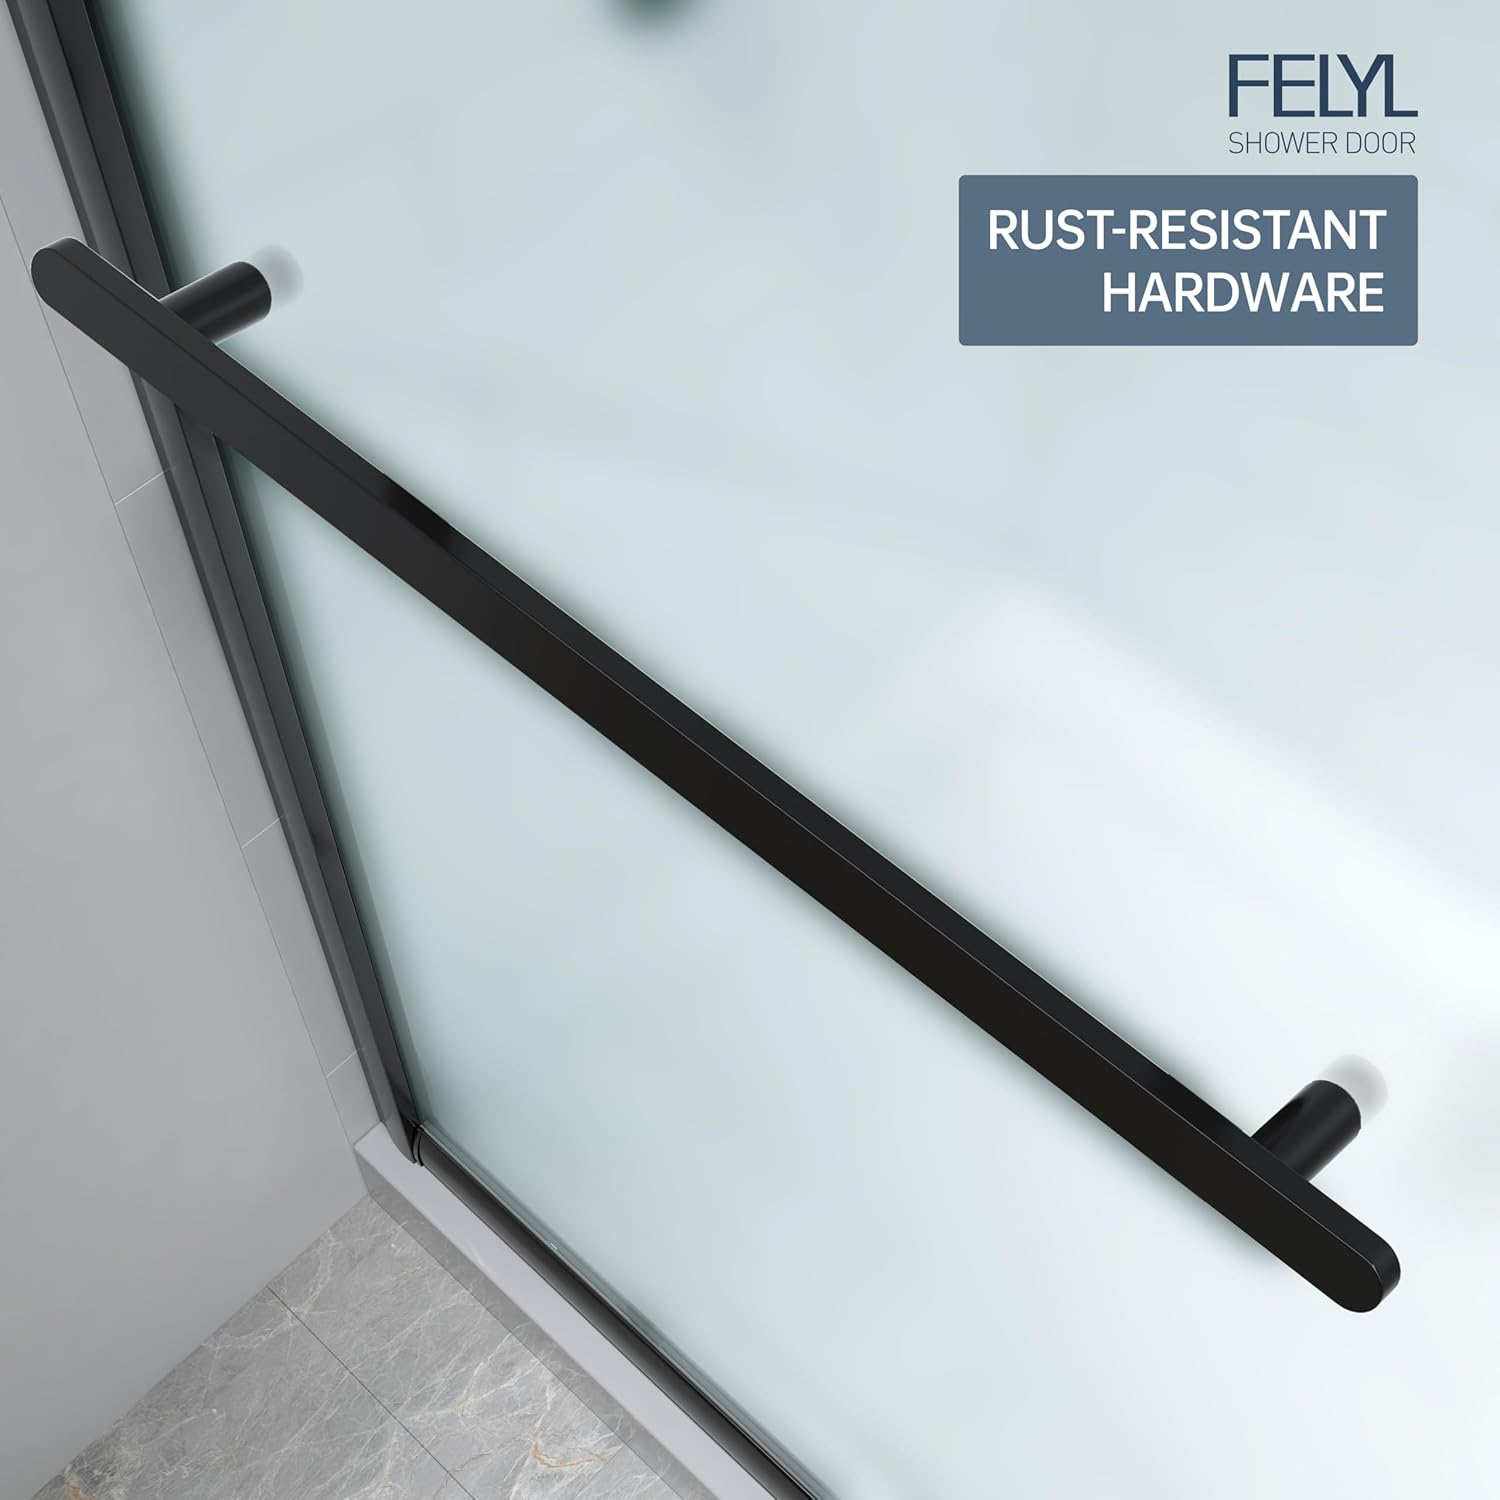
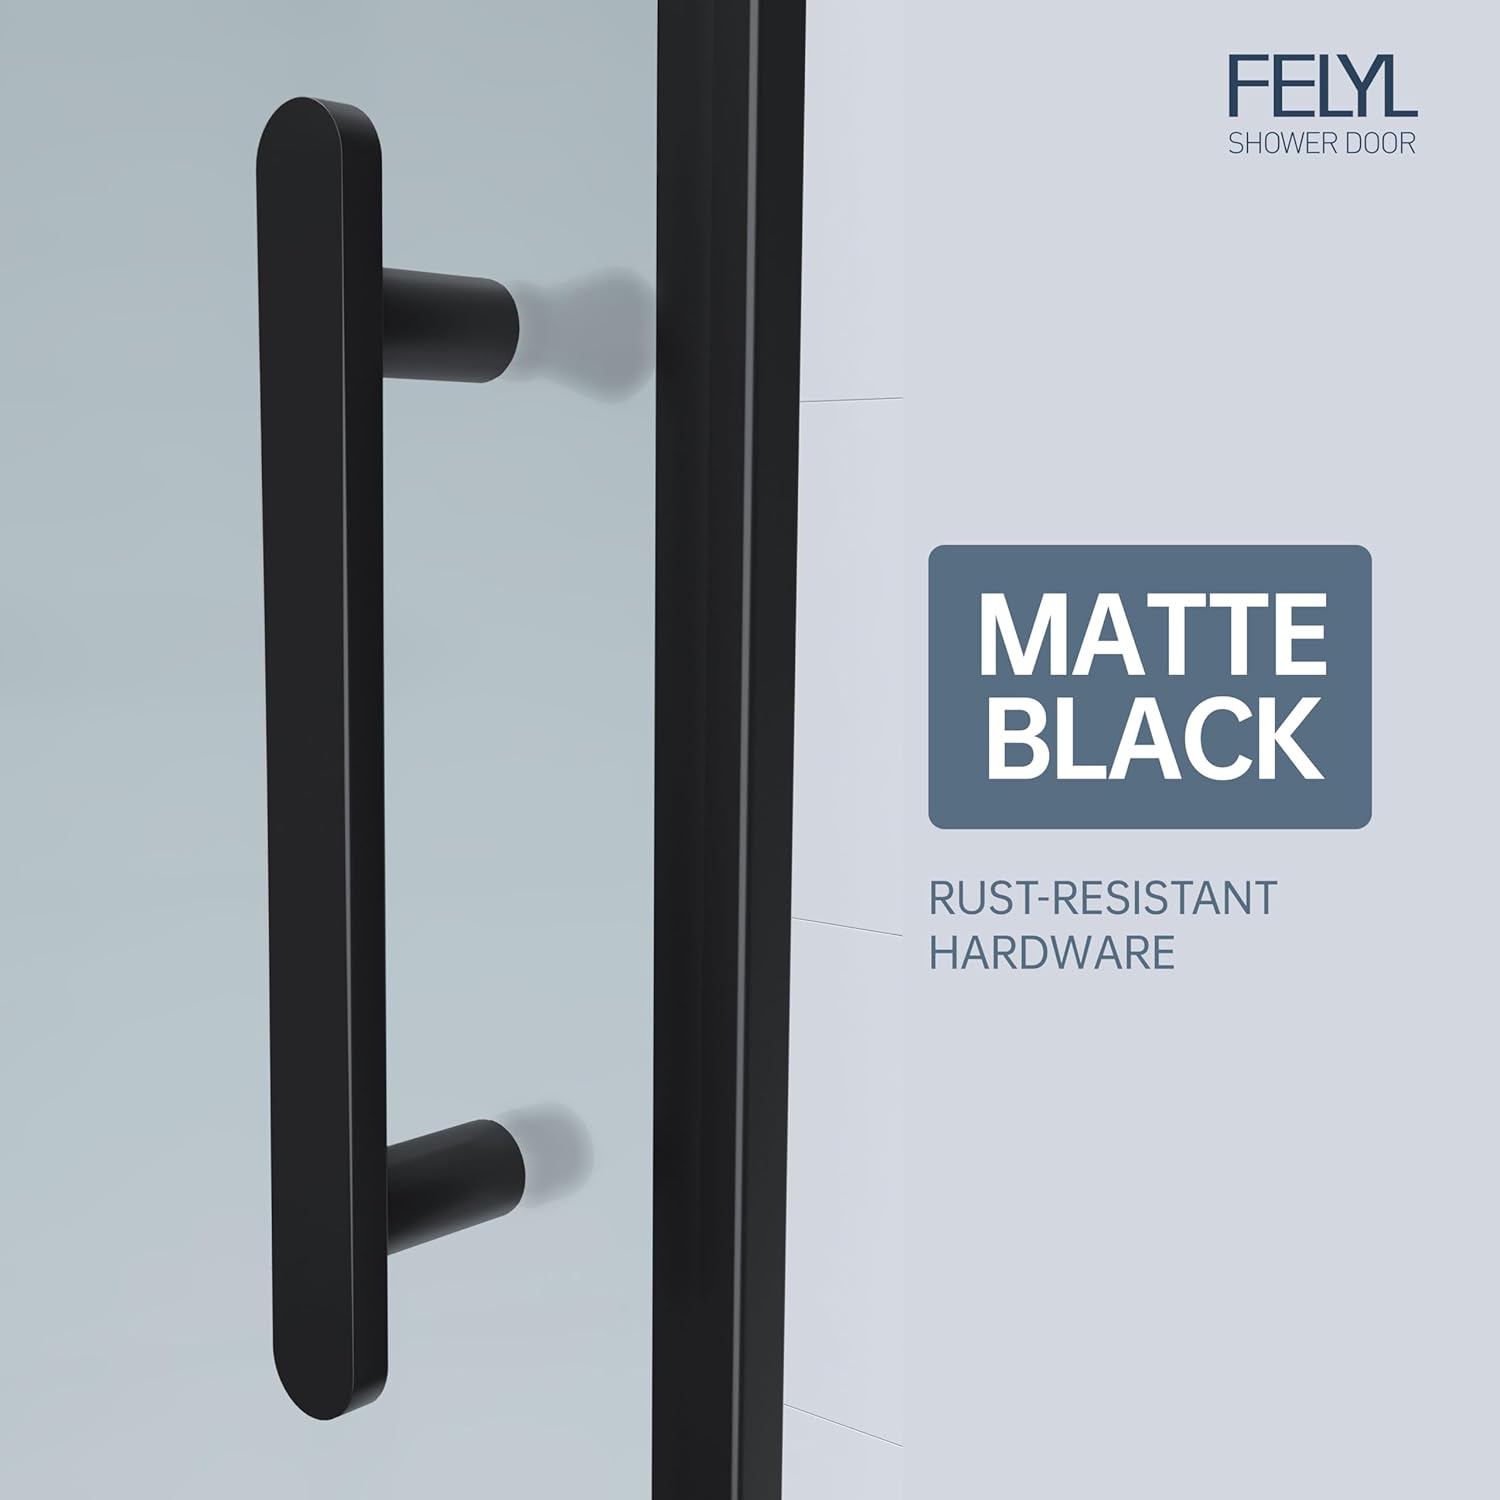
The shower door features a single sliding panel and a fixed panel, constructed with 1/4" (6mm) frosted SGCC tempered glass and a matte black aluminum frame. It is designed for reversible installation, allowing for left or right-side opening.
2. Safety Information
- Always wear safety glasses during installation.
- Handle glass panels with extreme care. Tempered glass, while strong, can shatter if struck at the edges or corners.
- Ensure the installation surface (walls, floor) is structurally sound and capable of supporting the weight of the shower door (approximately 111 pounds).
- Do not overtighten screws, as this can damage components or glass.
- Keep children and pets away from the installation area.
- If you are unsure about any step, consult a qualified professional.
3. Package Contents
Verify that all components are present and undamaged before beginning installation. If any parts are missing or damaged, contact FELYL customer support.
- Fixed Glass Panel (1/4" (6mm) Frosted Tempered Glass)
- Sliding Glass Panel (1/4" (6mm) Frosted Tempered Glass)
- Aluminum Frame Components (Top Track, Bottom Track, Wall Profiles)
- Sliding Door Handle
- Stationary Glass Towel Bar
- SUS304 Stainless Steel Rollers and Hardware
- Anti-collision Strip
- Water Deflector and Seals
- Fasteners and Installation Hardware
4. Specifications
| Feature | Detail |
|---|---|
| Brand | FELYL |
| Model | 56-60W72H Framed Single Sliding Shower Door |
| Dimensions (Adjustable) | 56" - 61" W x 72" H |
| Glass Type | 1/4" (6mm) Frosted SGCC Tempered Safety Glass |
| Frame Material | Aluminum |
| Hardware Material | SUS304 Stainless Steel (Rollers) |
| Finish | Matte Black |
| Item Weight | Approximately 111 Pounds |
| Assembly Required | Yes |
| Installation Type | Reversible (Left or Right Opening) |
For detailed configuration dimensions, refer to the diagram below:

5. Installation Instructions
Professional installation is recommended. If you choose to install it yourself, ensure you have the necessary tools and assistance.
5.1. Pre-Installation Checks
- Measure your shower opening to confirm it is within the 56" to 61" width range.
- Check walls for plumb and level. The door allows for 1/2" per side adjustment for non-vertical or uneven walls within the wall profile.
- Determine the desired opening direction (left or right) as the installation is reversible.


5.2. Assembly Steps (General Overview)
- Assemble the Frame: Attach the wall profiles to the top and bottom tracks according to the chosen opening direction.
- Mount the Frame: Secure the assembled frame to the shower walls and threshold, ensuring it is level and plumb. Use appropriate anchors for your wall type.
- Install Fixed Panel: Carefully place the fixed glass panel into its designated channel within the frame. Secure it with the provided seals and fasteners.
- Install Sliding Panel Hardware: Attach the SUS304 stainless steel rollers to the top of the sliding glass panel.
- Hang Sliding Panel: Carefully lift and place the sliding glass panel onto the top track rollers. Ensure the bottom of the panel engages with the bottom guide.
- Install Handles and Towel Bar: Attach the sliding door handle and the stationary glass towel bar.
- Apply Seals and Water Deflector: Install the anti-collision strip, water deflector, and any other seals to ensure a watertight enclosure.
For detailed step-by-step video instructions, please refer to the manufacturer's official resources.


6. Operation
To open or close the shower door, gently slide the moving panel along the top and bottom tracks using the handle. The SUS304 stainless steel rollers and aluminum bottom guide are designed for smooth and quiet operation.
The anti-collision strip reduces noise and wear when the door reaches its open or closed position. The anti-jump track design ensures the sliding door remains securely in place during operation.
7. Maintenance and Cleaning
7.1. Glass Cleaning
- For daily cleaning, wipe the frosted glass panels with a soft cloth and mild soap and water.
- Avoid abrasive cleaners, scouring pads, or harsh chemicals, as these can damage the glass surface or the frosted finish.
- Rinse thoroughly with clean water and dry with a soft, lint-free cloth to prevent water spots.
7.2. Hardware and Frame Cleaning
- Clean the matte black aluminum frame and stainless steel hardware with a soft cloth and mild, non-abrasive cleaner.
- Do not use cleaners containing ammonia, bleach, or acidic components, as these can corrode the finish.
- The quick-release bottom rollers allow for easy cleaning of the bottom track. Simply disengage the rollers to access the track for thorough cleaning.

7.3. Seal Maintenance
- Regularly inspect seals and gaskets for wear or damage. Replace them if necessary to maintain water tightness.
- The integrated water deflector helps direct water back into the shower area, preventing leaks. Ensure it is free from debris.
8. Troubleshooting
| Problem | Possible Cause | Solution |
|---|---|---|
| Door does not slide smoothly | Debris in tracks, damaged rollers, misaligned track. | Clean tracks thoroughly. Inspect rollers for damage and replace if needed. Check track alignment and adjust if necessary. |
| Water leakage from door | Damaged or improperly installed seals, misaligned panels, clogged water deflector. | Inspect and adjust or replace seals. Ensure panels are correctly aligned. Clear any obstructions from the water deflector. |
| Door feels loose or wobbly | Loose fasteners, improper frame installation. | Check all fasteners and tighten as needed. Re-evaluate frame installation for proper support and secure mounting. |
9. Warranty and Support
FELYL provides customer support for its products. For assistance with installation, parts, or troubleshooting, please contact FELYL customer service.
This product is eligible for 30-day easy returns through Amazon. For specific warranty details, please refer to the documentation provided with your purchase or contact FELYL directly.
For further inquiries, you may visit the FELYL Store on Amazon.


