
OiDiPi D9Pro
User Manual
OiDiPi Portable DAB+ Digital Radio
Model: D9Pro | Brand: OiDiPi
1. Introduction
Thank you for purchasing the OiDiPi Portable DAB+ Digital Radio. This device offers a versatile listening experience with DAB/DAB+ and FM radio capabilities, Bluetooth connectivity, and convenient features like a dual alarm clock and sleep timer. Its compact design and long-lasting battery make it ideal for use at home or on the go. Please read this manual carefully to ensure proper use and maintenance of your radio.
2. Safety Information
- Do not expose the device to water or excessive moisture. It is not waterproof.
- Avoid extreme temperatures, direct sunlight, or dusty environments.
- Do not disassemble or attempt to repair the device yourself. Refer all servicing to qualified personnel.
- Use only the provided USB charging cable.
- Keep out of reach of children.
- Ensure proper ventilation when operating the device.
3. Package Contents
Please check the package for the following items:
- 1 x OiDiPi Portable DAB Radio
- 1 x USB Charging Cable
- 1 x Quick Start Guide
- 1 x User Manual (this document)
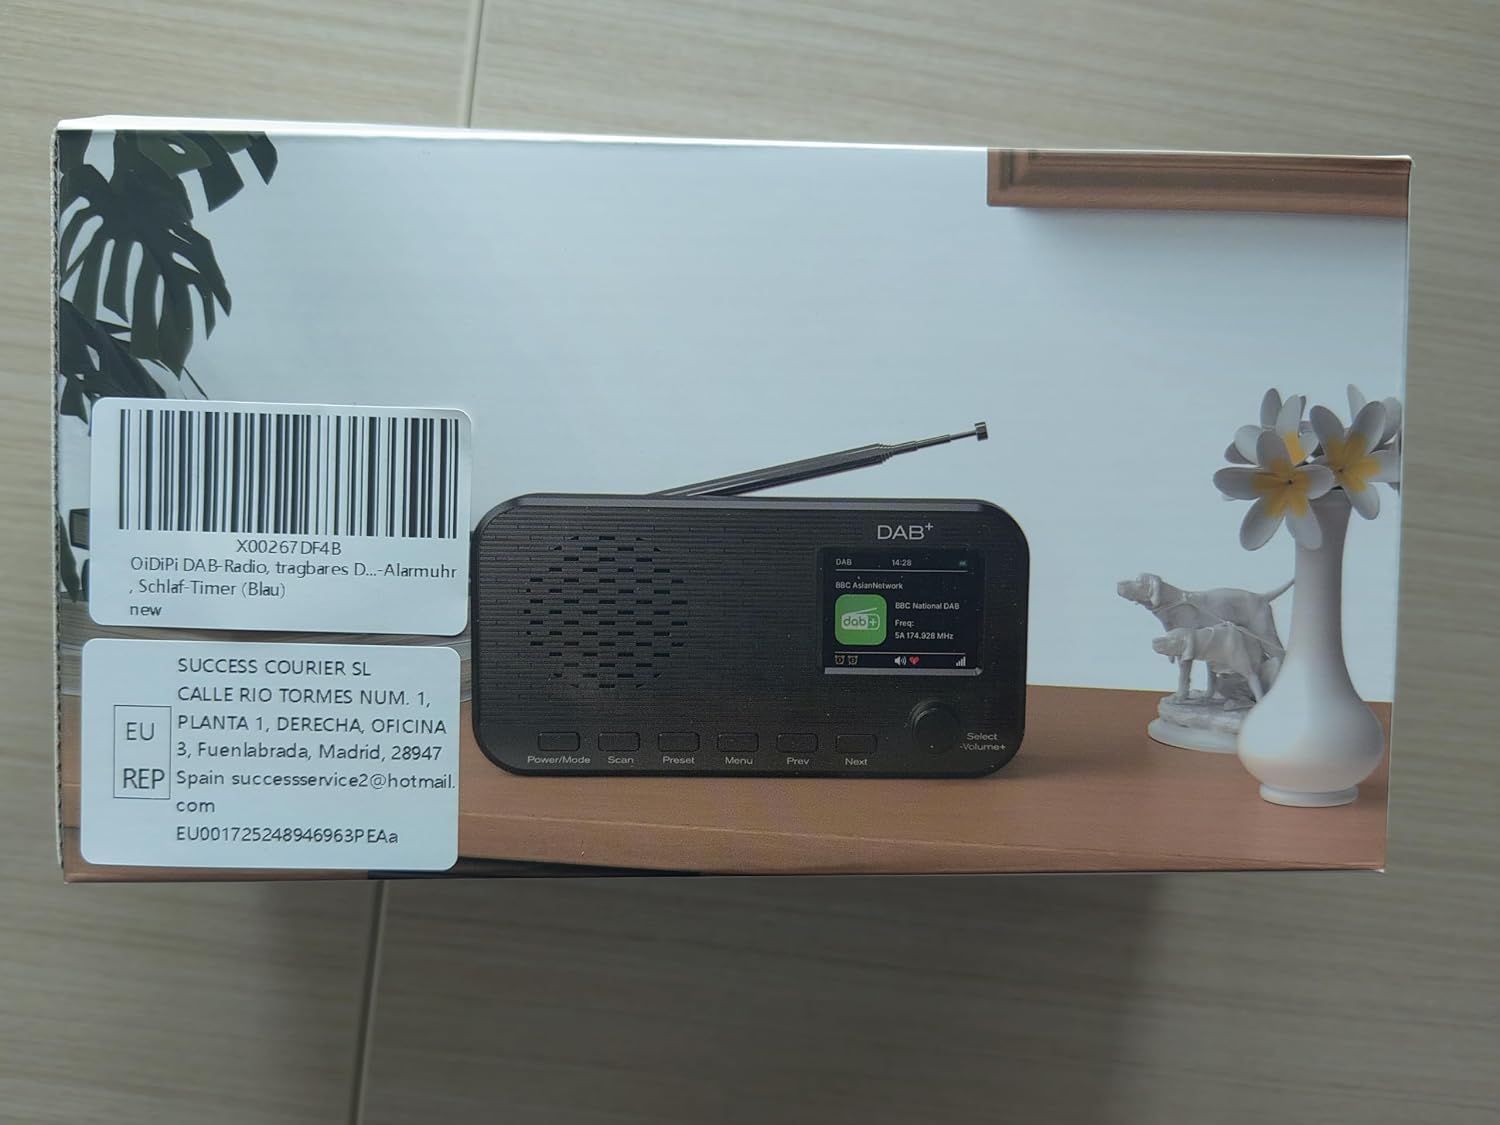
Image: The product packaging, showing the radio box with a barcode and shipping label.
4. Product Overview
Familiarize yourself with the main components and controls of your OiDiPi DAB+ Radio.

Image: Front view of the OiDiPi Portable DAB+ Digital Radio, showing the speaker grille, color display, control buttons (Power/Mode, Scan, Preset, Menu, Prev, Next), and a rotary knob for Select/Volume+.
Controls and Display:
- Power/Mode Button: Press and hold to power on/off. Short press to switch between DAB, FM, and Bluetooth modes.
- Scan Button: Initiates automatic station scanning in DAB or FM mode.
- Preset Button: Accesses preset stations.
- Menu Button: Enters the menu for settings and options.
- Prev/Next Buttons: Navigates through stations, menu options, or tracks.
- Select/Volume+ Rotary Knob: Rotates to adjust volume or navigate, press to confirm selection.
- 2.4-inch Color Display: Shows station information, time, menu options, and battery status.
- Telescopic Antenna: Extend for optimal radio reception.
- USB-C Charging Port: For charging the internal battery.
- Headphone Jack: For private listening (stereo output).
5. Setup
5.1 Initial Charging
Before first use, fully charge the radio. Connect the supplied USB charging cable to the USB-C port on the radio and the other end to a USB power adapter (not included) or a computer USB port. The battery indicator on the display will show charging status. A full charge takes approximately 3 hours and provides up to 15 hours of playback.

Image: The OiDiPi DAB+ Radio displaying a full battery icon and text indicating "Long Battery Life" and "15 Hours" of operation from its 2500mAh rechargeable battery.
5.2 Powering On/Off
Press and hold the Power/Mode button for 2-3 seconds to turn the radio on or off.
5.3 Automatic Station Scan (DAB/DAB+)
Upon first power-on, the radio will automatically perform a full scan for available DAB/DAB+ stations. This process may take a few minutes. Once complete, the radio will tune to the first available station. You can manually initiate a scan at any time by pressing the Scan button in DAB mode.
6. Operating Instructions
6.1 DAB/DAB+ Radio Mode
- Switching to DAB: If not already in DAB mode, short press the Power/Mode button until "DAB" appears on the display.
- Tuning Stations: Use the Prev and Next buttons to cycle through available DAB stations.
- Full Scan: Press the Scan button to perform a full scan for new DAB stations.
- Manual Tune: In the DAB menu, you may find an option for manual tune to scan specific frequencies.
6.2 FM Radio Mode
- Switching to FM: Short press the Power/Mode button until "FM" appears on the display.
- Auto Scan: Press the Scan button to automatically scan and store available FM stations.
- Manual Tune: Use the Prev and Next buttons to fine-tune the frequency.
6.3 Bluetooth Speaker Mode
The radio can function as a Bluetooth speaker, allowing you to stream audio from your smartphone or tablet.
- Switching to Bluetooth: Short press the Power/Mode button until "Bluetooth" appears on the display. The radio will enter pairing mode.
- Pairing: On your mobile device, enable Bluetooth and search for "D9Pro" (or similar name). Select it to pair. Once connected, the radio will confirm the connection.
- Playback: Play audio on your connected device. Use the radio's volume knob or your device's volume controls.

Image: The OiDiPi DAB+ Radio displaying a Bluetooth connection icon, next to a hand holding a smartphone showing its Bluetooth settings with "D9Pro" connected.
6.4 Presetting Stations (40 Presets)
You can store up to 40 favorite DAB or FM stations for quick access.
- Tune to the desired station.
- Press and hold the Preset button until "Preset Store" appears.
- Use the Prev/Next buttons or the rotary knob to select a preset number (1-40).
- Press the Select/Volume+ knob to confirm and save the station.
- To recall a preset, short press the Preset button, then use the Prev/Next buttons or rotary knob to select the desired preset, and press the Select/Volume+ knob to tune.
6.5 Dual Alarm Clock
Set up to two independent alarms with customizable wake-up sounds and snooze function.
- Press the Menu button.
- Navigate to "Alarm" using the Prev/Next buttons or rotary knob, then press Select/Volume+.
- Select "Alarm 1" or "Alarm 2" and configure settings such as:
- Time: Set the alarm time.
- Mode: Daily, Weekends, Workday, Once.
- Source: Buzzer, DAB, or FM.
- Volume: Adjust alarm volume (20 levels).
- Press Select/Volume+ to confirm each setting.
- When the alarm sounds, press any button (except Power) to snooze (5/10/15/30 minutes) or press Power/Mode to turn off.

Image: The OiDiPi DAB+ Radio screen showing alarm settings, including options for wake-up sounds, alarm volume levels, and snooze durations (5/10/15/30 Min).
6.6 Sleep Timer
The sleep timer allows the radio to automatically turn off after a set period.
- Press the Menu button.
- Navigate to "Sleep" using the Prev/Next buttons or rotary knob, then press Select/Volume+.
- Select the desired sleep duration (e.g., 15, 30, 45, 60 minutes, 1 hour 15 minutes, or Off).
- Press Select/Volume+ to confirm. The radio will automatically turn off after the selected time.

Image: The OiDiPi DAB+ Radio screen showing sleep timer options, allowing users to set a time for the radio to automatically turn off.
7. Maintenance
- Cleaning: Use a soft, dry cloth to clean the radio's surface. Do not use abrasive cleaners or solvents.
- Storage: When not in use for extended periods, store the radio in a cool, dry place.
- Battery Care: To prolong battery life, avoid fully discharging the battery frequently. Charge it regularly, even if not in use.
8. Troubleshooting
| Problem | Possible Cause / Solution |
|---|---|
| No power / Does not turn on | Battery is depleted. Charge the radio using the supplied USB cable. |
| Poor radio reception (DAB/FM) |
|
| Bluetooth not connecting |
|
| Sound distortion at high volume | Reduce the volume. The speaker may distort at maximum levels. |
9. Specifications
| Feature | Detail |
|---|---|
| Model Number | D9Pro |
| Brand | OiDiPi |
| Dimensions (L x W x H) | 17.8 x 4.5 x 9.1 cm |
| Weight | 322.05 grams |
| Battery | 2500mAh Rechargeable Lithium Battery (Built-in) |
| Battery Life | Up to 15 hours (approx.) |
| Charging Time | Approx. 3 hours |
| Display | 2.4-inch Color Screen |
| Radio Modes | DAB, DAB+, FM |
| Bluetooth Version | 5.2 |
| Presets | 40 (DAB/FM combined) |
| Connectivity | Auxiliary, FM, Bluetooth, DAB |
| Water Resistance | Not water resistant |
10. Warranty and Support
The OiDiPi Portable DAB+ Digital Radio comes with a 12-month hassle-free warranty. For any product-related inquiries, technical support, or warranty claims, please contact our customer service team via the retailer where you purchased the product or refer to the contact information provided in the quick start guide. Please have your model number (D9Pro) and purchase details ready when contacting support.
For returns, please refer to the easy return policy of your retailer.
This product complies with CE standards, ensuring guaranteed quality.
Ask a question about this manual
Ask about setup, troubleshooting, compatibility, parts, safety, or missing instructions. Manuals+ will review the question and use this page’s manual context to help answer it.