1. Introduction
This manual provides essential information for the safe and efficient operation, installation, and maintenance of your Midea MDRS710FGM46 Automatic Side-by-Side Inverter Quattro Refrigerator. Please read these instructions thoroughly before using your appliance and retain them for future reference.
The Midea MDRS710FGM46 features an Inverter Quattro Compressor for energy efficiency and stable temperatures, along with Wi-Fi connectivity for remote control and diagnostics.
2. Safety Information
Always follow basic safety precautions when using electrical appliances to reduce the risk of fire, electric shock, and injury. This includes:
- Ensure the refrigerator is properly grounded.
- Do not damage the refrigerant circuit.
- Keep ventilation openings clear of obstruction.
- Do not use mechanical devices or other means to accelerate the defrosting process, other than those recommended by the manufacturer.
- Unplug the appliance before cleaning or performing maintenance.
3. Setup and Installation
3.1 Unpacking
Carefully remove all packaging materials, including tape and protective films. Inspect the refrigerator for any damage during transit. Keep packaging materials out of reach of children.
3.2 Placement
Place the refrigerator on a flat, stable surface. Ensure adequate clearance around the appliance for proper ventilation. Avoid direct sunlight or heat sources. The refrigerator is a freestanding unit.

Image 3.2.1: Front view of the Midea MDRS710FGM46 refrigerator, illustrating its side-by-side design and control panel.
3.3 Leveling
Adjust the leveling feet at the bottom of the refrigerator to ensure it is stable and level. This helps prevent vibrations and ensures proper door sealing.
3.4 Power Connection
Connect the power cord to a dedicated 115 Volt grounded electrical outlet. Do not use extension cords or adapters. Allow the refrigerator to stand for at least 2-4 hours before plugging it in to allow refrigerants to settle.
4. Operating Instructions
4.1 Initial Operation and Temperature Control
After plugging in, the refrigerator will begin cooling. Use the control panel on the front door to set desired temperatures for the refrigerator and freezer compartments. The Inverter Quattro Compressor ensures stable and efficient cooling.
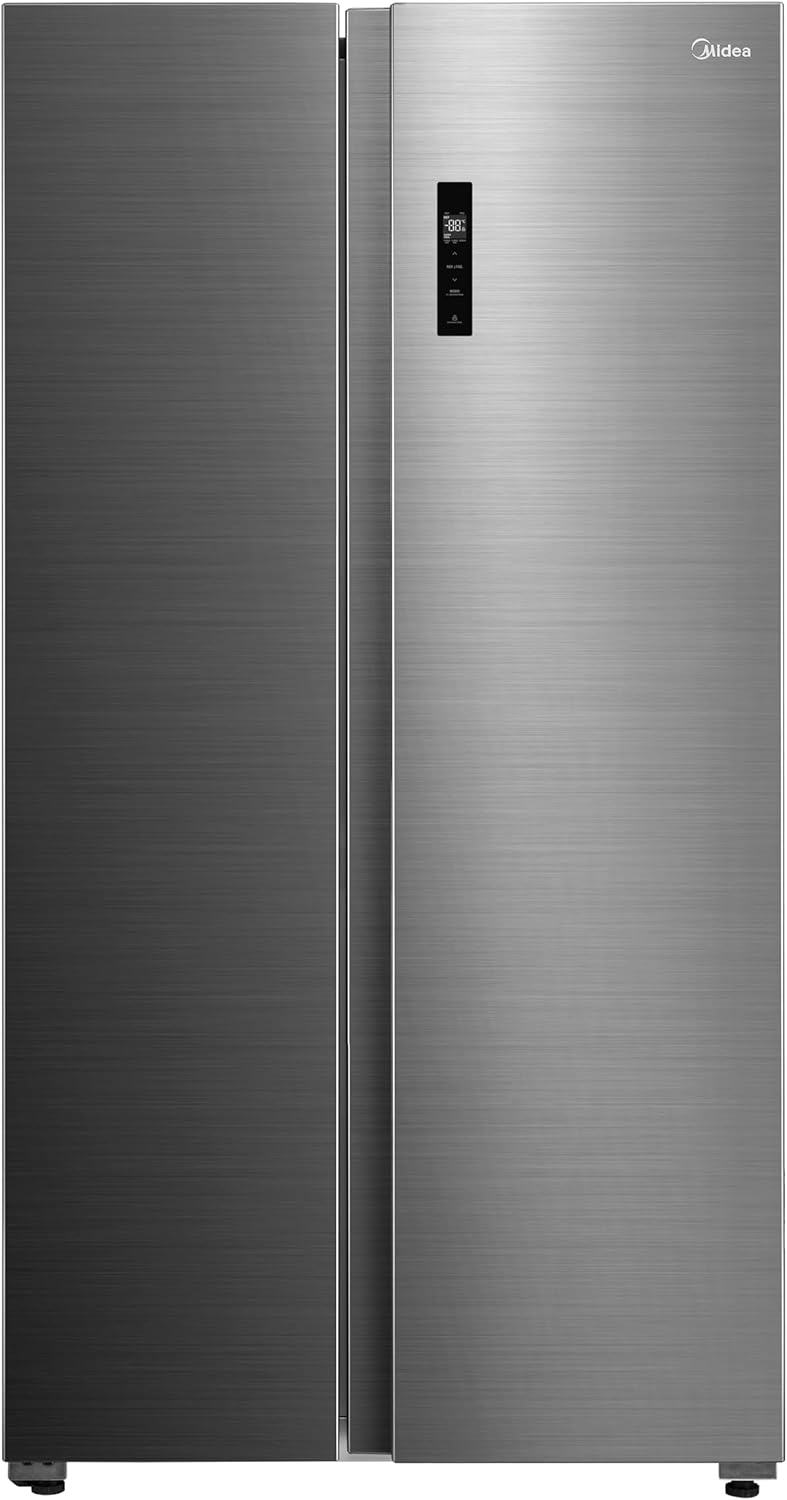
Image 4.1.1: Front view of the refrigerator, highlighting the integrated digital control panel for temperature adjustments.
4.2 Internal Organization
The refrigerator is designed for optimal food organization, featuring multiple shelves, door bins, and specialized drawers for fruits, vegetables, and frozen items.

Image 4.2.1: Interior view of the refrigerator and freezer compartments, showing various shelves, drawers, and door storage filled with food items.

Image 4.2.2: Empty interior view of the refrigerator, showcasing the adjustable shelves, clear drawers for produce and frozen goods, and door storage.
4.3 Ice Maker (if applicable)
If your model includes an ice maker, ensure the water supply is connected and turned on. The ice maker will automatically produce ice once the freezer reaches the appropriate temperature.
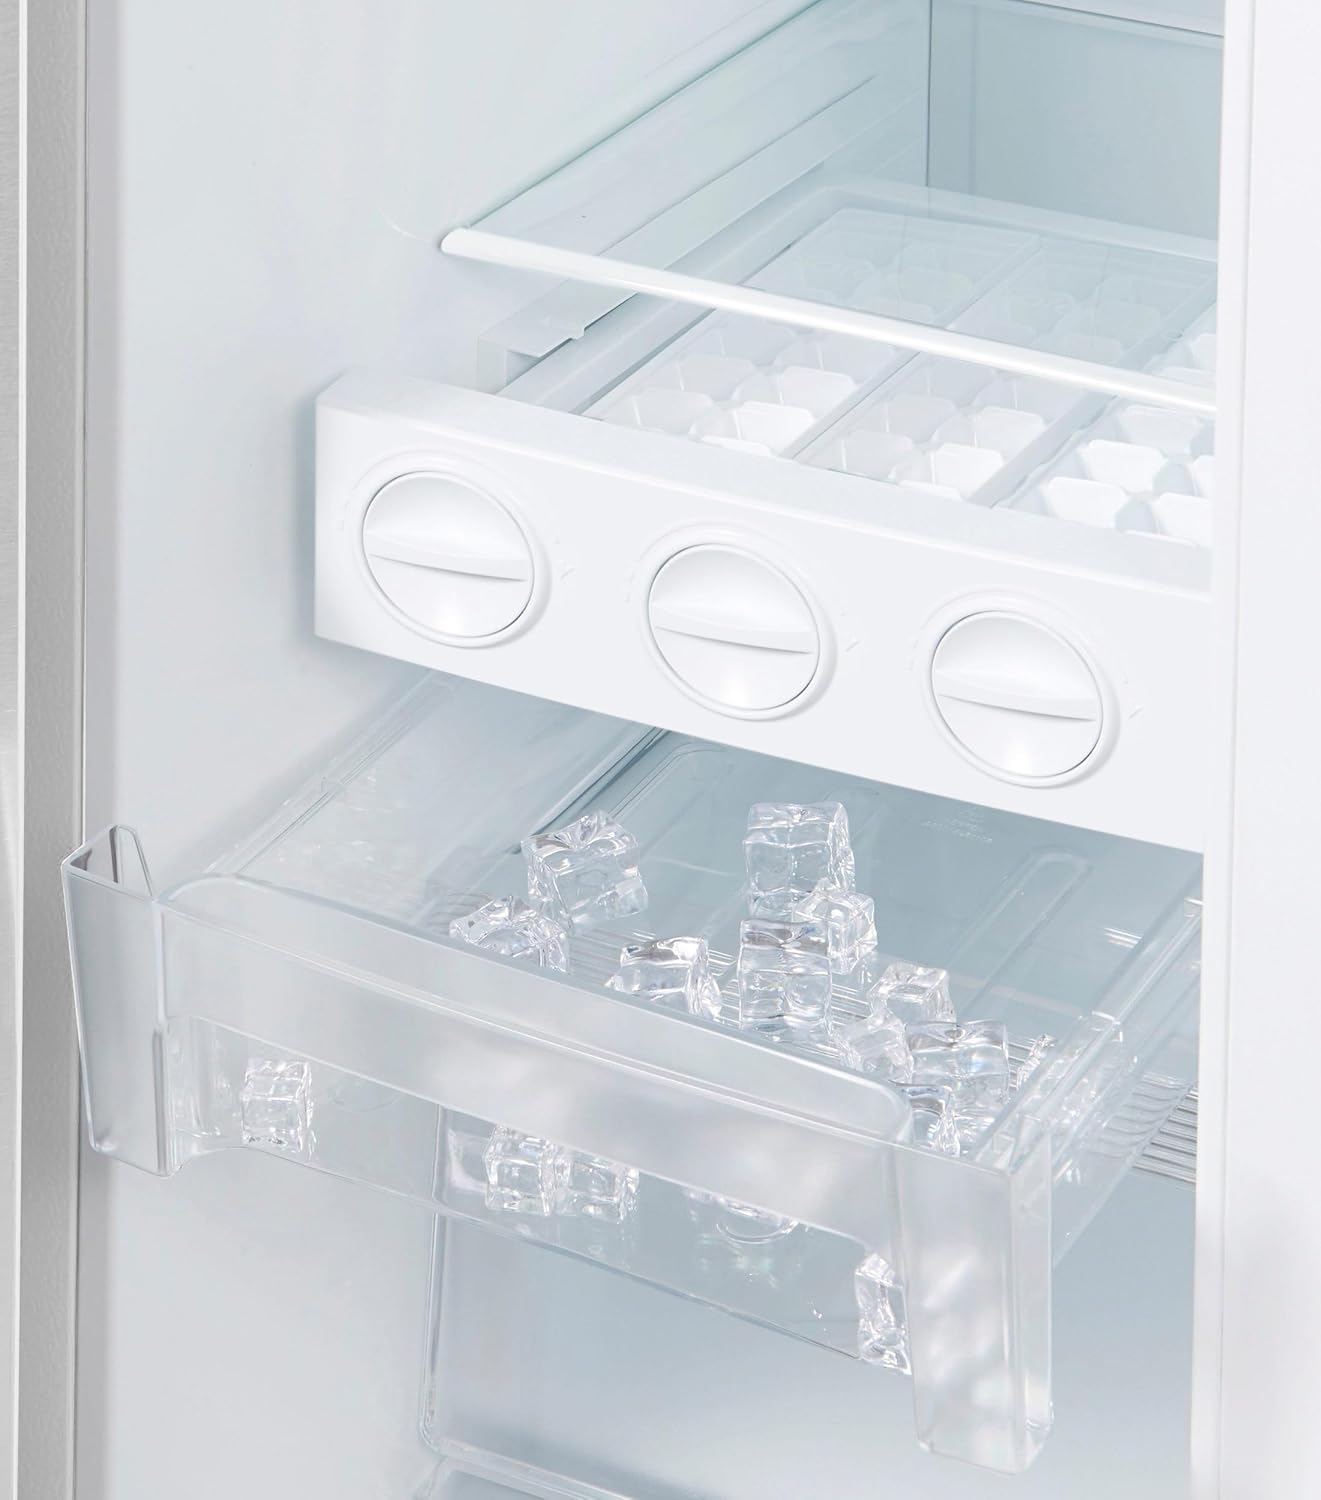
Image 4.3.1: Close-up view of the manual ice tray and ice storage bin within the freezer compartment.
4.4 Wi-Fi Connectivity (Midea Smart Home)
Your refrigerator supports IoT connectivity via Midea Smart Home. Download the Midea Smart Home app on your smartphone. Follow the in-app instructions to connect your refrigerator to your home Wi-Fi network. This enables remote temperature control, home care alerts, and self-diagnosis features.
- Remote Control: Adjust temperature settings from anywhere.
- Home Care Alerts: Receive notifications for open doors or power outages.
- Self-Diagnosis: The app can help identify potential issues.
5. Maintenance
5.1 Cleaning the Interior
Unplug the refrigerator before cleaning. Use a soft cloth with a mild detergent and warm water to clean interior surfaces, shelves, and drawers. Rinse with clean water and dry thoroughly. Avoid abrasive cleaners or harsh chemicals.
5.2 Cleaning the Exterior
Wipe the exterior surfaces with a soft, damp cloth. For stainless steel finishes, use a specialized stainless steel cleaner. Ensure the door seals are clean and free of debris to maintain efficiency.

Image 5.2.1: Close-up of a hand opening the refrigerator door, showing the integrated handle design and the brushed steel finish.
5.3 Defrosting
This refrigerator features an automatic defrost system, eliminating the need for manual defrosting. If excessive frost builds up, check that the door seals are intact and that doors are closing properly.
5.4 Power Outage
In case of a power outage, keep the refrigerator doors closed to maintain internal temperatures for as long as possible. Avoid opening the doors unnecessarily.
6. Troubleshooting
Before contacting service, review the following common issues and solutions:
- Refrigerator not cooling: Check if the power cord is securely plugged in. Ensure the temperature settings are correct. Verify that the door is fully closed.
- Unusual noises: Minor noises are normal during operation (e.g., refrigerant flow, compressor). If noises are loud or unusual, ensure the refrigerator is level and not touching a wall.
- Water on floor: Check the drain pan and drain tube for blockages. Ensure the refrigerator is level.
- Door not closing properly: Check for obstructions, ensure shelves and bins are correctly placed. Clean door gaskets.
- Wi-Fi connection issues: Ensure your home Wi-Fi is active and the refrigerator is within range. Re-attempt connection through the Midea Smart Home app.
For issues not resolved by these steps, please contact Midea customer support.
7. Specifications
| Brand | Midea |
| Model | MDRS710FGM46 |
| Product Dimensions (D x W x H) | 70.6 cm x 89.7 cm x 176.5 cm |
| Capacity | 20 Cubic Feet |
| Freezer Capacity | 206 Liters |
| Energy Efficiency Rating | 5 Star |
| Color | Silver |
| Installation Type | Freestanding |
| Number of Doors | 2 |
| Defrost System | Automatic |
| Voltage | 115 Volts |
| Special Features | Inverter Quattro Compressor, Wi-Fi Connectivity (Midea Smart Home) |
8. Warranty and Support
For warranty information and customer support, please refer to the warranty card included with your purchase or visit the official Midea website. Keep your proof of purchase for warranty claims.
Midea Official Website: www.midea.com


