Janome Skyline S6 Anniversary Edition Computerized Quilting Machine User Manual
Model: Skyline S6 Anniversary Edition (001SKS6AE)
Introduction
Welcome to your new Janome Skyline S6 Anniversary Edition Computerized Quilting Machine. This manual provides essential information for the safe and efficient operation, setup, maintenance, and troubleshooting of your machine. Please read this manual thoroughly before using the machine to ensure proper function and to maximize your sewing experience.

Figure 1: Front view of the Janome Skyline S6 Anniversary Edition Computerized Quilting Machine, showcasing its sleek design and integrated control panel.
Important Safety Instructions
When using an electrical appliance, basic safety precautions should always be followed, including the following:
- Read all instructions before using this sewing machine.
- Keep these instructions in a convenient place near the machine.
- To reduce the risk of electric shock, always unplug the machine from the electrical outlet immediately after using and before cleaning, removing covers, or making any user servicing adjustments.
- Do not allow children to play with the machine. Close supervision is necessary when the machine is used by or near children.
- Use this product only for its intended use as described in this manual. Use only accessories recommended by the manufacturer.
- Never operate this machine if it has a damaged cord or plug, if it is not working properly, if it has been dropped or damaged, or dropped into water.
- Keep fingers away from all moving parts. Special care is required around the sewing machine needle.
- Always use the proper needle plate. The wrong plate can cause the needle to break.
- Do not pull on the power cord to disconnect. Grasp the plug, not the cord.
Package Contents
Your Janome Skyline S6 Anniversary Edition Computerized Quilting Machine package includes the following items:
- Skyline S6AE Sewing Machine
- AcuFeed Dual Feed Foot and Holder
- Automatic Buttonhole foot
- Blind Hem Feet
- Button Sewing foot
- Extra Wide Table
- Bobbins
- Screwdriver
- Lint brush
- Needle Set
- Overcast foot
- Quilting Guide Bar
- Rolled Hem Foot 1mm
- Satin Stitch foot
- Seam ripper
- Spool Holders (large, small and special)
- Touch Panel Stylus
- ZigZag Foot
- Zipper Foot
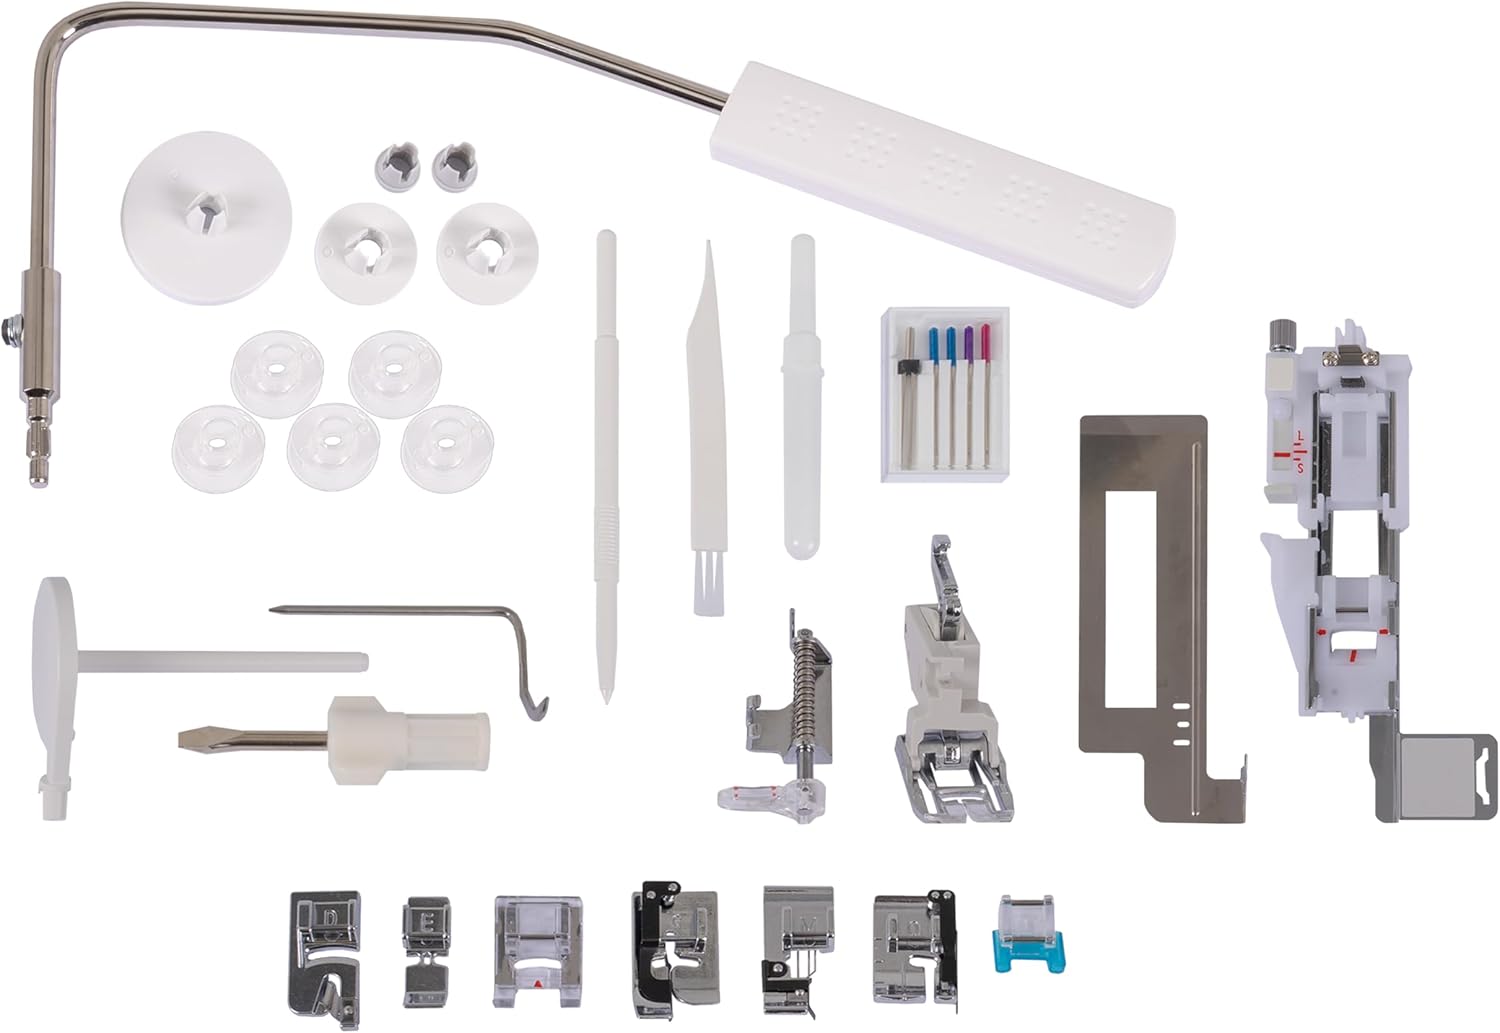
Figure 2: A selection of included accessories, such as various presser feet, bobbins, and tools, designed to enhance your sewing capabilities.
Setup
1. Unpacking and Placement
Carefully remove the machine from its packaging. Place the machine on a stable, level surface. Ensure there is adequate space around the machine for comfortable operation and fabric handling.
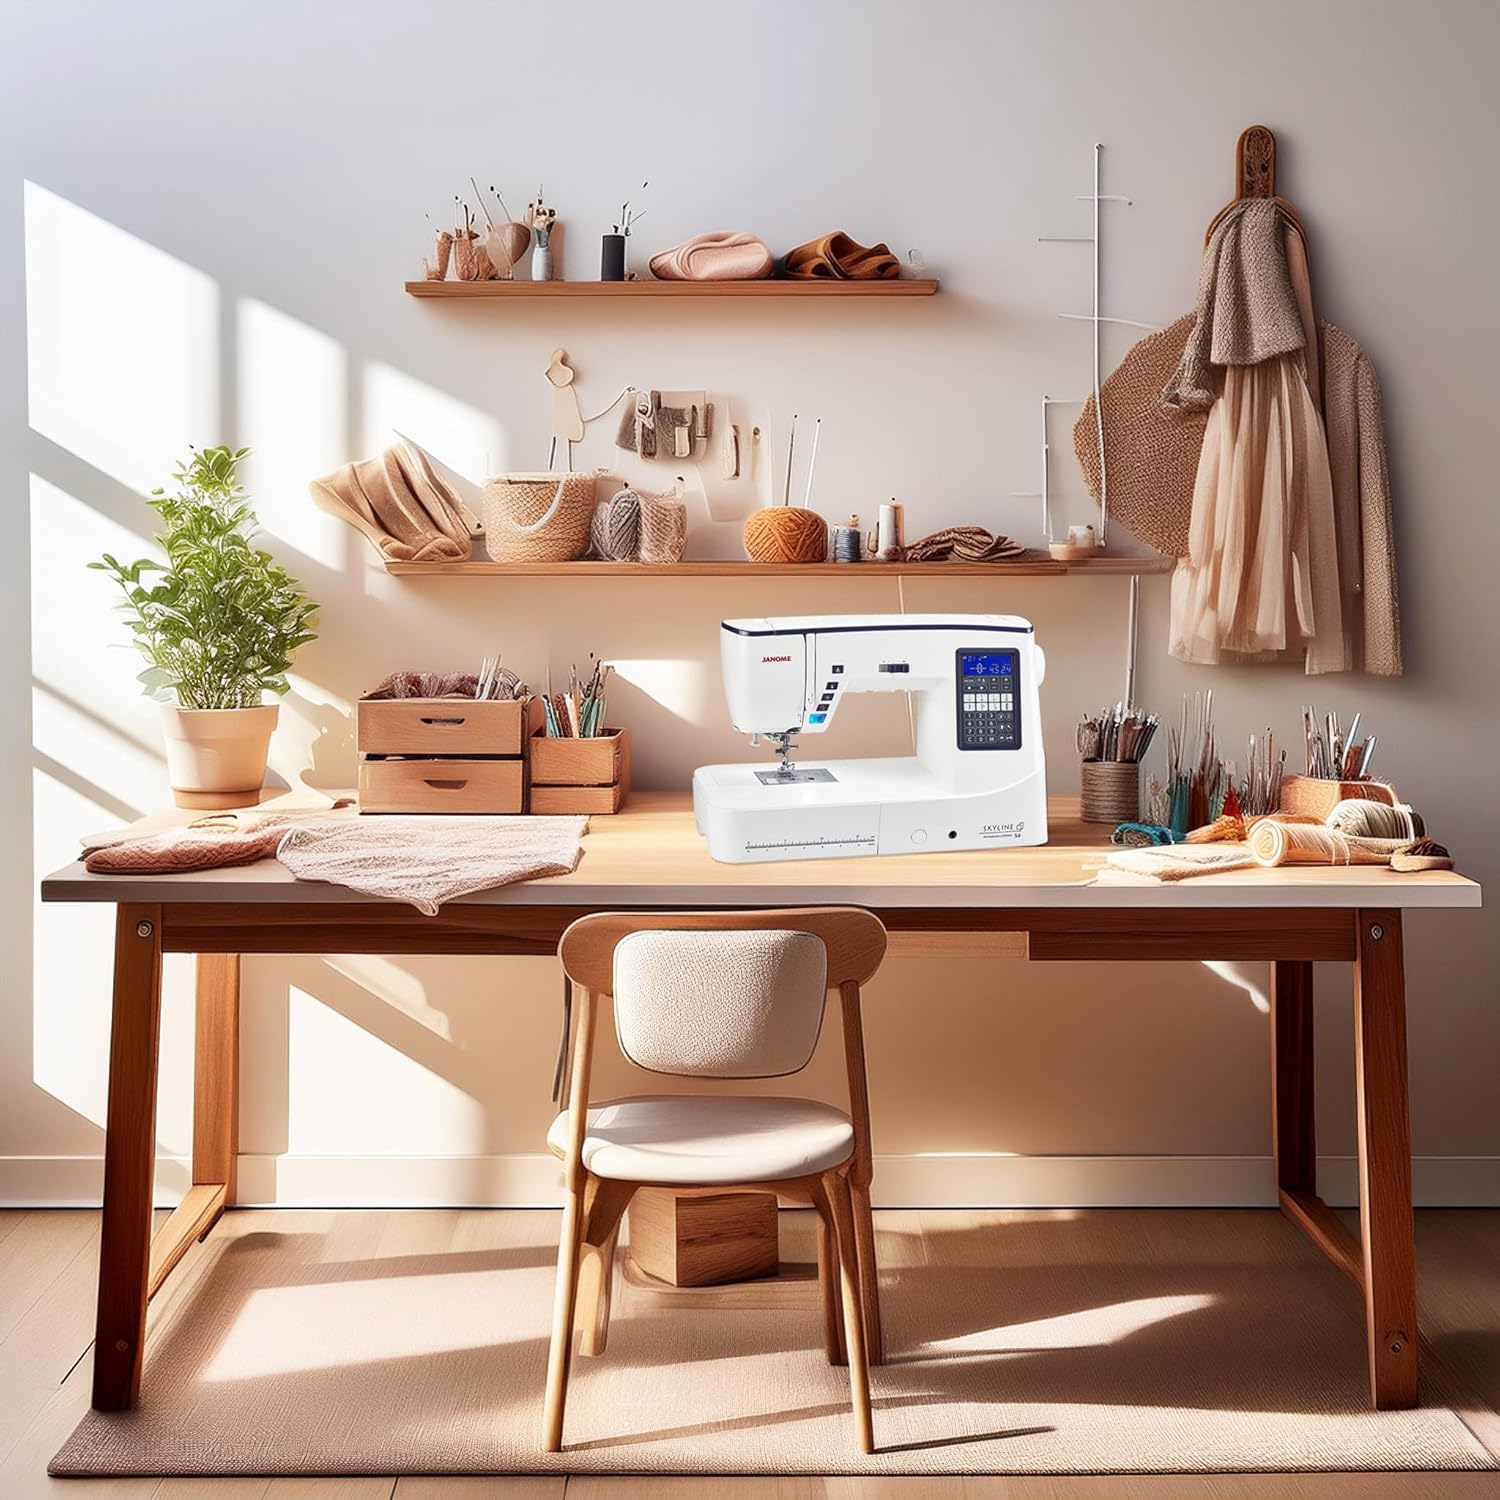
Figure 3: The Janome Skyline S6 machine positioned on a spacious desk, illustrating an ideal setup for sewing projects.
2. Power Connection
Connect the power cord to the machine's power input jack and then to a suitable electrical outlet. Ensure the power switch, located on the side of the machine, is in the 'OFF' position before connecting.
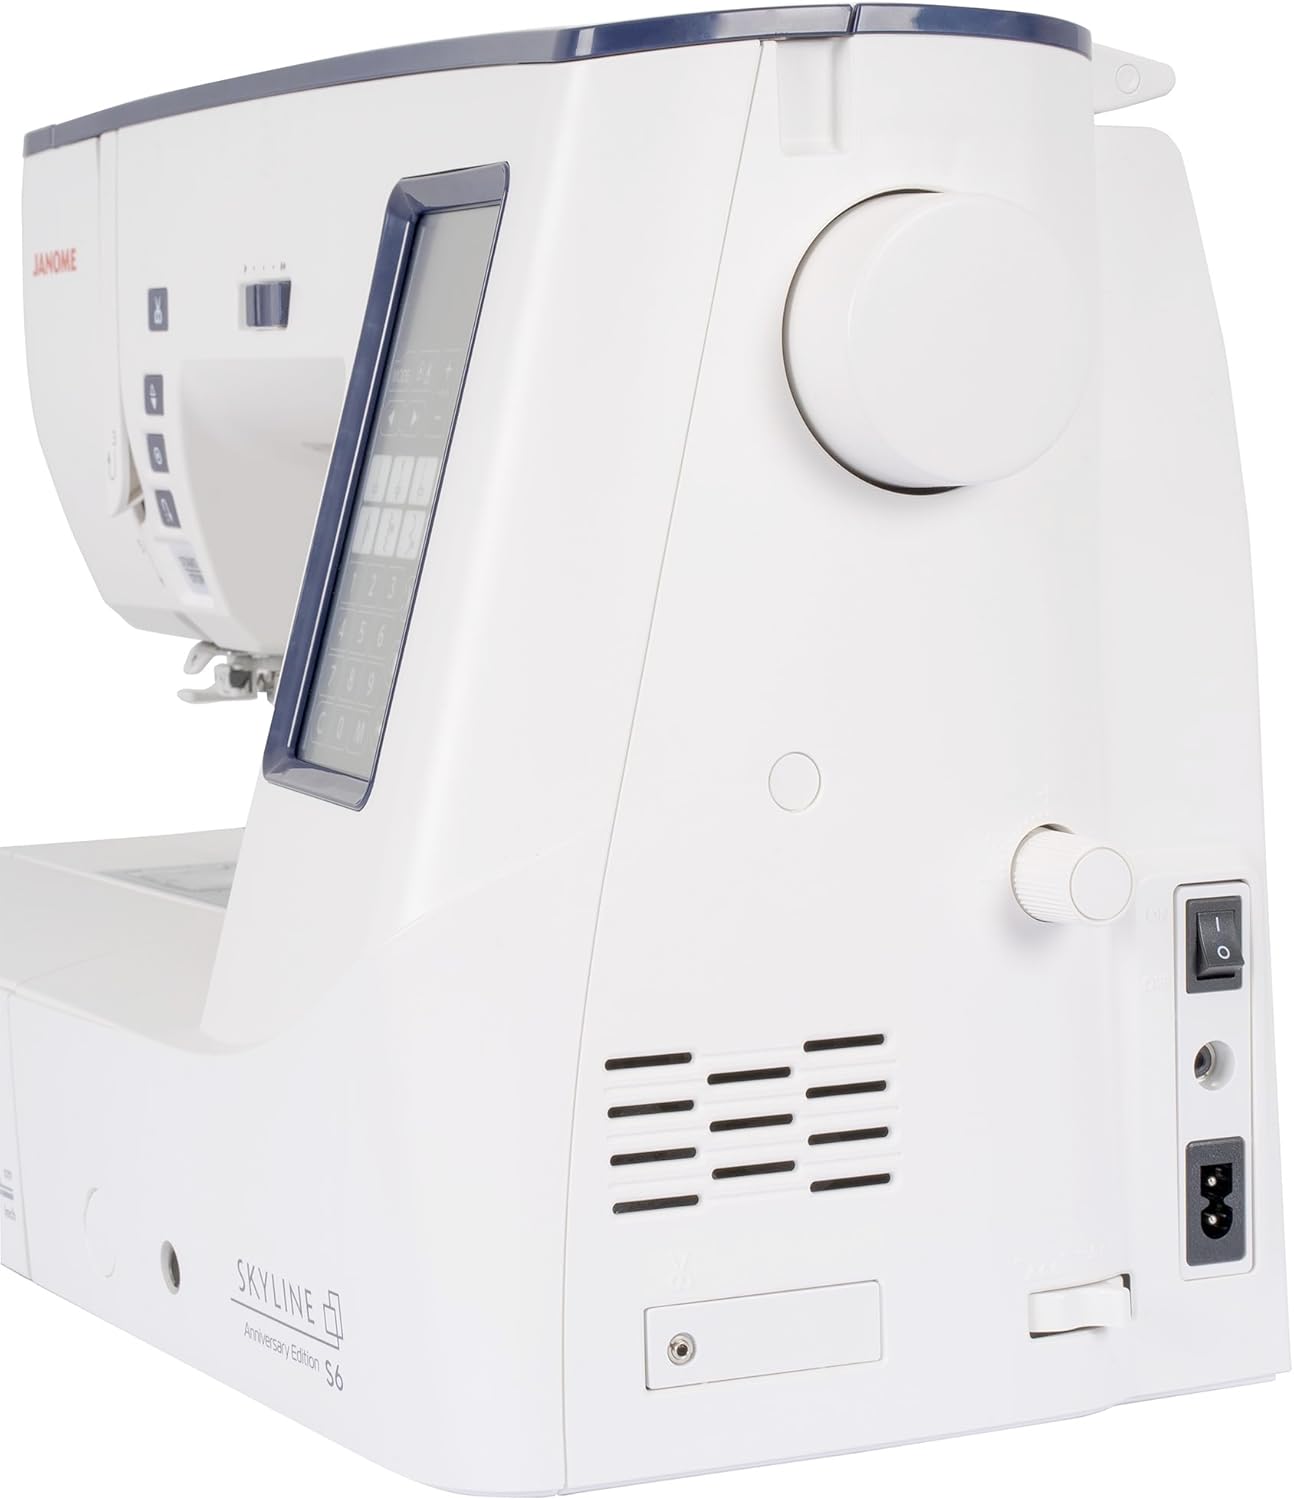
Figure 4: Rear view of the machine, highlighting the power input and the main on/off switch for safe connection.
3. Attaching the Extension Table
For larger projects like quilting, attach the included extra wide table. Slide the table onto the free arm of the machine until it clicks securely into place. This provides an expanded workspace for better fabric support.

Figure 5: The sewing machine with the extra wide table attached, demonstrating the increased work area for large projects.
4. Winding the Bobbin
Follow the winding path indicated on the machine. Place an empty bobbin onto the bobbin winder spindle and push it to the right. Guide the thread from the spool through the tension disc and around the bobbin several times. Start the machine; it will automatically stop when the bobbin is full.
5. Threading the Machine
Raise the presser foot and needle to their highest positions. Place a spool of thread on the spool pin. Follow the numbered threading path indicated on the machine, ensuring the thread passes through all guides and the take-up lever. Use the Superior Needle Threader 2 for easy needle threading.

Figure 6: Detailed view of the needle and presser foot area, illustrating the precise threading path and the needle threader mechanism.
6. Installing the Needle
Ensure the machine is turned off. Loosen the needle clamp screw. Insert a new needle with the flat side facing the back of the machine, pushing it up as far as it will go. Tighten the needle clamp screw securely.
Operating Instructions
1. Machine Overview and Controls
Familiarize yourself with the control panel, including the LCD screen, stitch selection buttons, and function keys. The Start/Stop button controls sewing without the foot pedal, while the speed slider adjusts sewing speed.
2. Stitch Selection
The Skyline S6 Anniversary Edition offers 196 built-in stitches, including 10 one-step buttonholes. Open the top lid to view the stitch chart. Use the touch panel stylus or buttons to select your desired stitch. The machine will display the recommended presser foot and tension settings.

Figure 7: The stitch chart located under the top lid, providing a visual guide to the machine's extensive stitch library.
3. Using the Superior Needle Threader 2
This feature simplifies needle threading. With the needle in its highest position, lower the needle threader lever. The hook will pass through the needle eye. Loop the thread under the hook and release the lever to pull the thread through the needle eye.
4. Automatic Thread Cutter
Press the thread cutter button to automatically trim both the upper and bobbin threads at the end of a seam. This feature saves time and thread.
5. Sewing with the AcuFeed Dual Feed Foot
The AcuFeed Dual Feed Foot system ensures even feeding of multiple layers of fabric, ideal for quilting and matching plaids. Attach the AcuFeed foot and engage the dual feed mechanism as per the on-screen instructions.
6. Memorized Needle Up/Down
Use the needle up/down button to set the needle to stop in either the up or down position when the machine stops. This is particularly useful for pivoting fabric at corners.
7. Basic Sewing Operations
Place your fabric under the presser foot. Lower the presser foot. Select your desired stitch and adjust settings if necessary. Begin sewing using the Start/Stop button or the foot pedal. Guide the fabric gently, allowing the machine to feed it.

Figure 8: The machine actively stitching on pink fabric, demonstrating precise stitch formation and fabric handling.
Maintenance
1. Cleaning the Machine
Regular cleaning helps maintain optimal performance. Turn off and unplug the machine. Remove the needle plate and bobbin case. Use the included lint brush to remove lint and dust from the feed dogs and bobbin area. Do not use compressed air, as it can push lint further into the machine.
2. Replacing the Needle
Replace the needle frequently, especially after 8-10 hours of sewing or if it becomes bent or dull. A fresh needle prevents skipped stitches and fabric damage. Refer to the 'Installing the Needle' section for detailed steps.
3. General Care
Keep your machine covered when not in use to protect it from dust. Avoid storing it in extreme temperatures or humid environments. Do not attempt to oil the machine yourself unless specifically instructed by the manufacturer's guidelines for your model.
Troubleshooting
This section addresses common issues you might encounter. For problems not listed here, please contact Janome customer support.
| Problem | Possible Cause | Solution |
|---|---|---|
| Skipped Stitches | Incorrect needle, bent needle, improper threading, wrong needle size for fabric. | Replace needle with a new, correct type/size. Re-thread the machine. Ensure needle is fully inserted. |
| Thread Breaking | Incorrect tension, poor quality thread, bent needle, improper threading, burr on needle plate. | Check tension settings. Use good quality thread. Replace needle. Re-thread machine. Check for burrs. |
| Machine Not Starting | Power cord not connected, power switch off, bobbin winder engaged, foot pedal not connected. | Ensure power cord is securely plugged in. Turn power switch on. Disengage bobbin winder. Connect foot pedal. |
| Uneven Stitches | Incorrect tension, improper fabric feeding, dull needle. | Adjust tension. Do not pull or push fabric excessively. Replace needle. |
Specifications
| Feature | Detail |
|---|---|
| Model Number | 001SKS6AE |
| Product Dimensions | 9.25"D x 19"W x 12.5"H (23.5 x 48.3 x 31.8 cm) |
| Item Weight | 32 pounds (14.5 kg) |
| Workspace | 8.25" x 4.7" (21 x 12 cm) to the right of the needle |
| Built-in Stitches | 196 (including 10 one-step buttonholes) |
| Material | Metal, Plastic |
| Power Source | DC Electric |
| UPC | 732212488184 |
| Included Components | Skyline S6AE Sewing Machine, AcuFeed Dual Feed Foot and Holder, Automatic Buttonhole foot, Blind Hem Feet, Button Sewing foot, Extra Wide Table, Bobbins, Screwdriver, Lint brush, Needle Set, Overcast foot, Quilting Guide Bar, Rolled Hem Foot 1mm, Satin Stitch foot, Seam ripper, Spool Holders (large, small and special), Touch Panel Stylus, ZigZag Foot, Zipper Foot |
Warranty and Support
For warranty information and customer support, please refer to the warranty card included with your product or visit the official Janome website. You can also contact Janome customer service directly for assistance with any operational questions or technical issues.
Janome Official Website: www.janome.com


