
1. Introduction
Thank you for choosing the Beatfoxx CDB-1016 Boombox. This versatile portable audio system combines a CD player, cassette player, and FM/MW radio, offering a wide range of classic music sources in one compact device. Enjoy your favorite music at home or on the go with flexible power options and convenient connectivity.
This manual provides detailed instructions for the proper setup, operation, maintenance, and troubleshooting of your device. Please read it thoroughly before use and keep it for future reference.
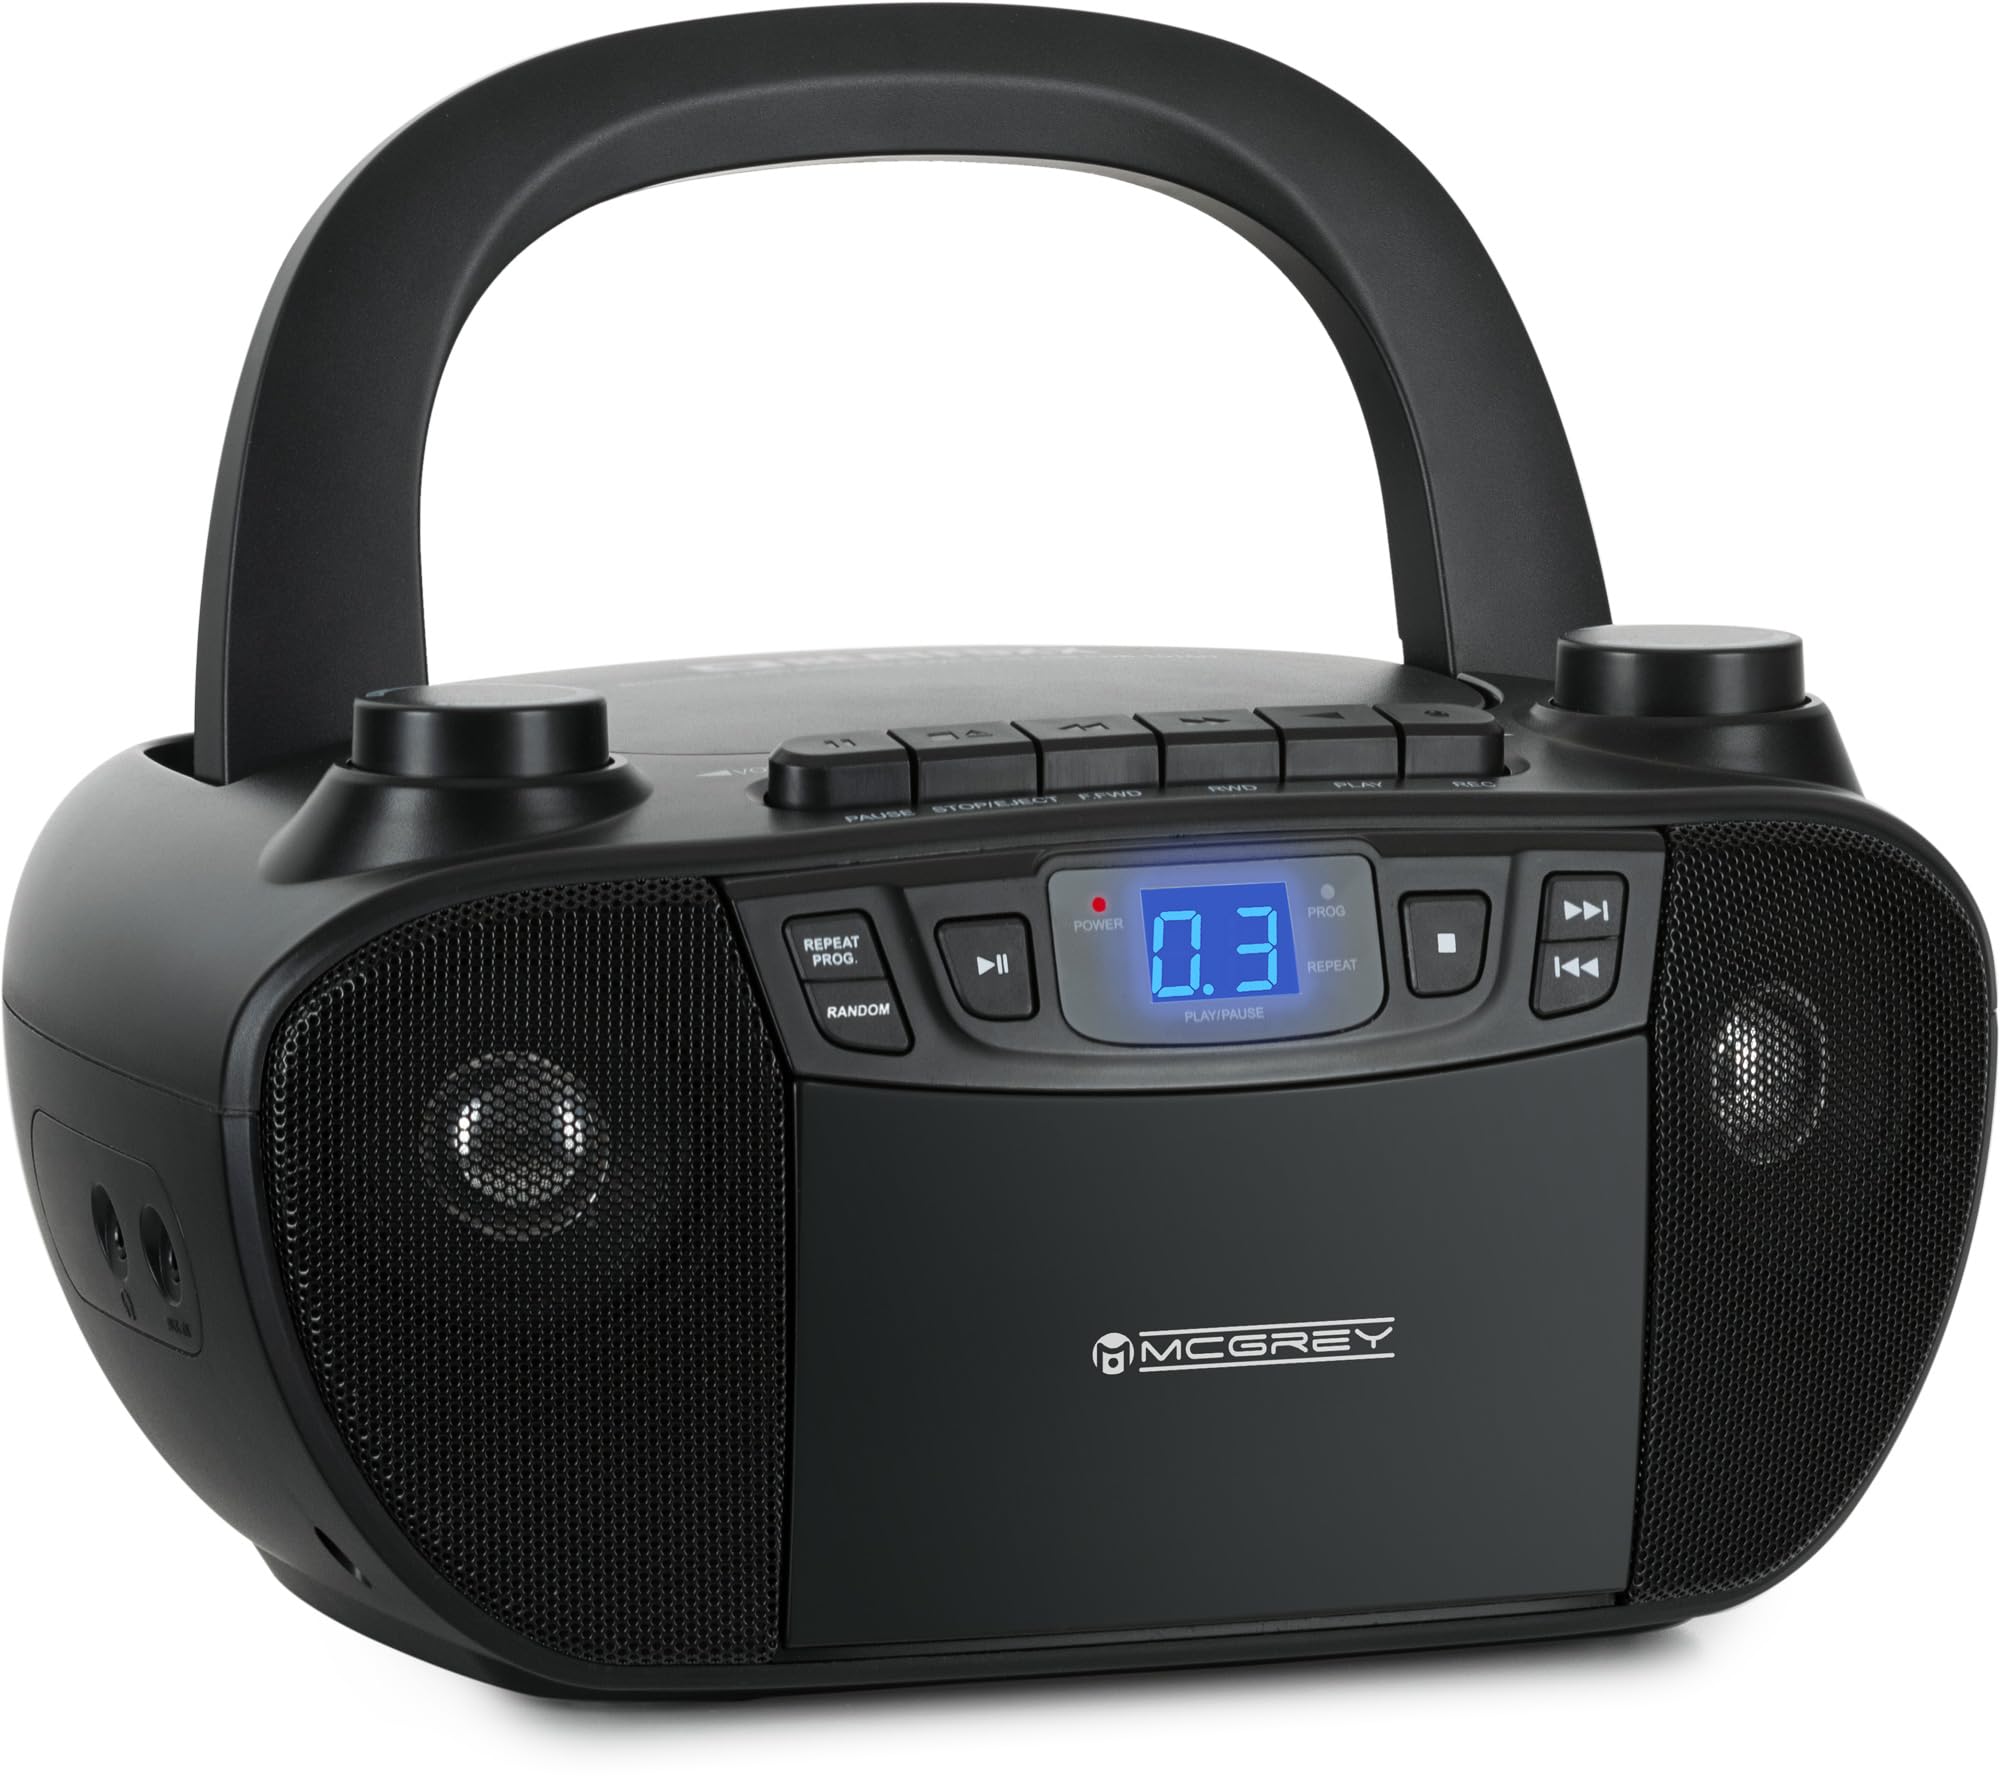
Image 1.1: The Beatfoxx CDB-1016 Boombox is suitable for various environments, from home to outdoor activities.
2. Product Overview and Controls
The Beatfoxx CDB-1016 features an intuitive design with a blue backlit LCD display and analog controls for volume and station selection, ensuring clear and comfortable daily operation.

Image 2.1: Key components and controls of the Boombox, including top buttons, cassette and CD compartments, and the integrated handle.
2.1 Key Features
- Versatile Playback: CD player (CD, CD-R, CD-RW), Cassette player/recorder, FM/MW Radio.
- Easy Operation: Blue backlit LCD display and analog controls.
- Flexible Connectivity: 3.5mm AUX input for external devices, Headphone output for private listening.
- Portability: Integrated handle, lightweight (approx. 1.6 kg), dual power options (AC or 6 C-type batteries).
- Audio Output: 2 x 1.2 W music power.
3. Setup
3.1 Powering the Device
The Beatfoxx CDB-1016 Boombox can be powered in two ways:
- AC Power: Connect the supplied power cable to the AC input on the back of the unit and then to a standard wall outlet.
- Battery Power: For mobile use, insert 6 C-type batteries (not included) into the battery compartment located on the bottom of the unit. Ensure correct polarity (+/-) when inserting batteries.
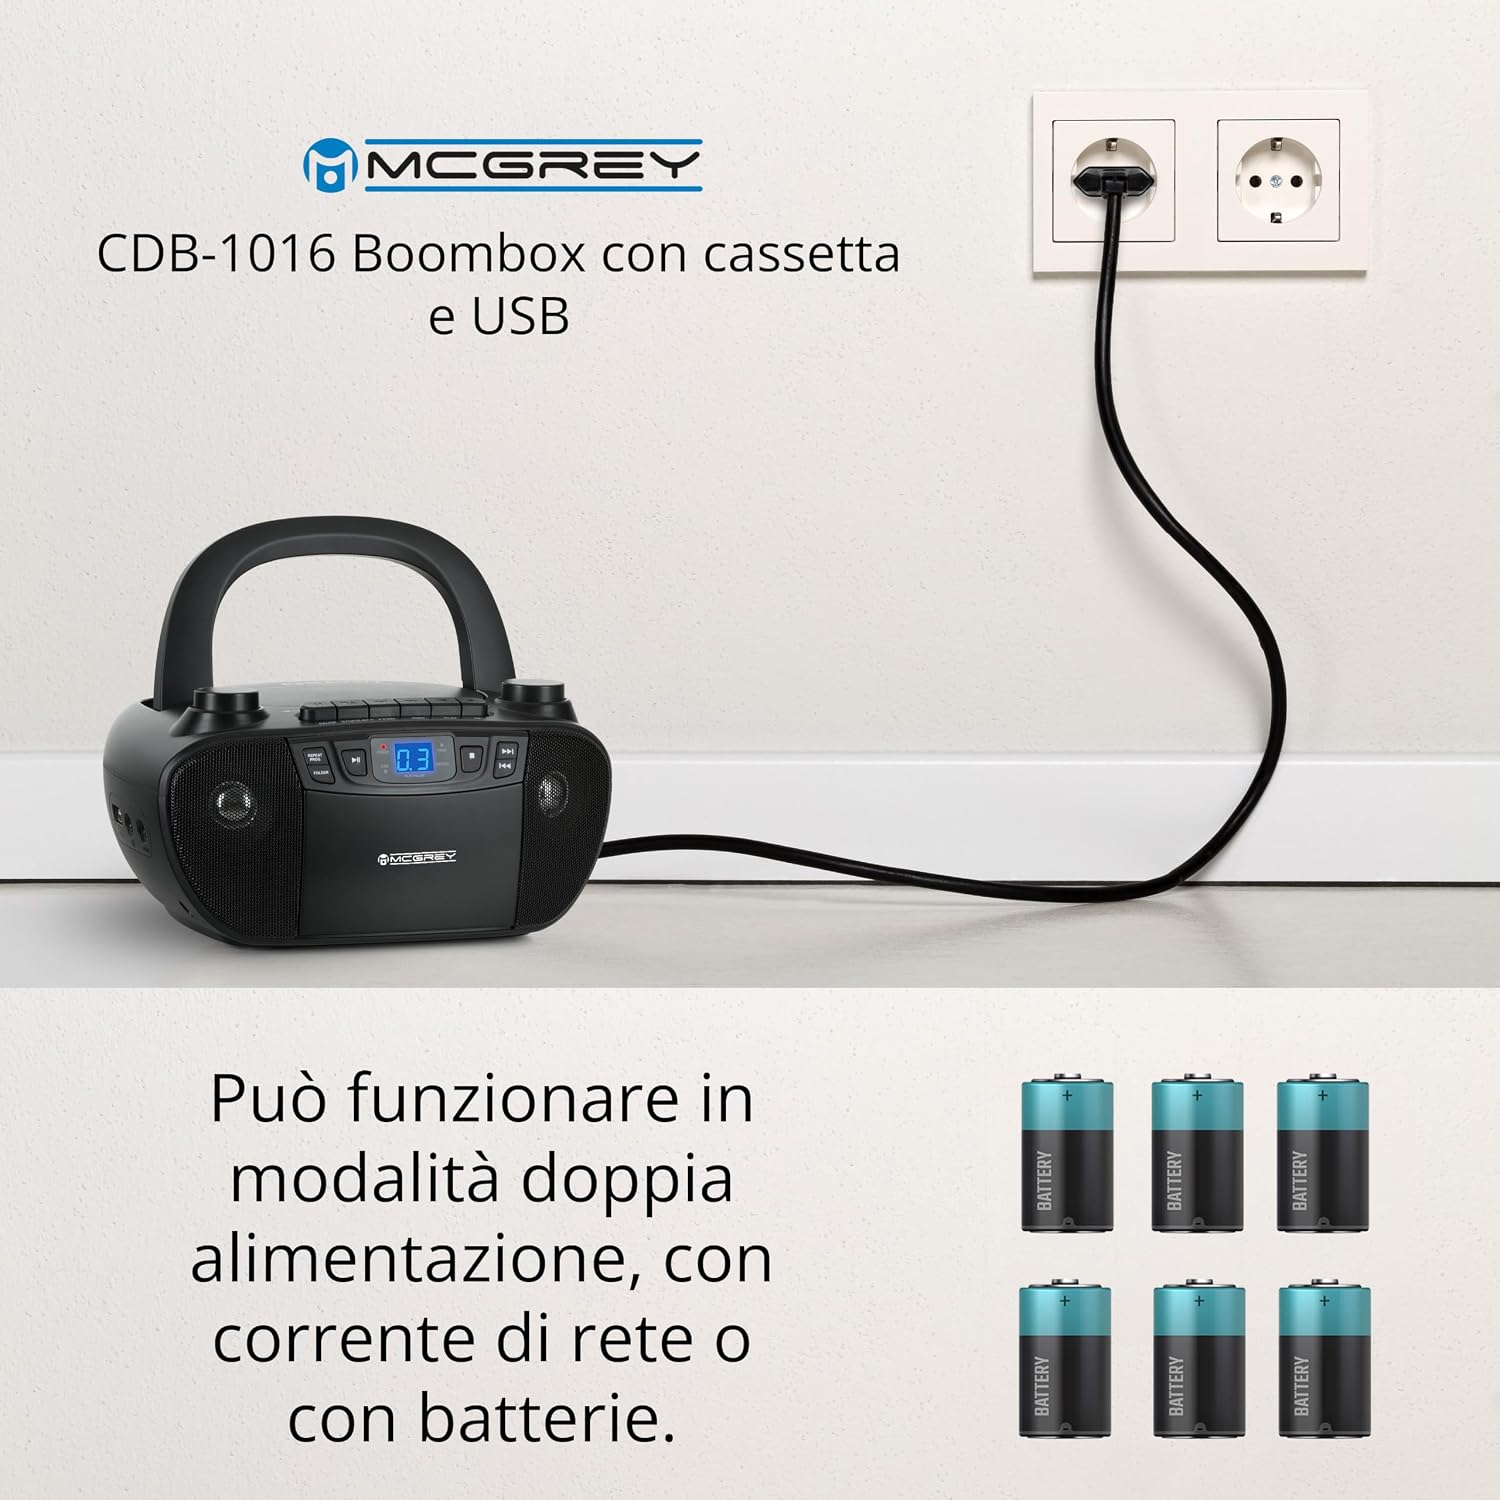
Image 3.1: The Boombox can be powered by the included AC cable or 6 C-type batteries for portability.
4. Operating Instructions
The Boombox offers multiple playback sources: CD, Cassette, Radio, and AUX input.
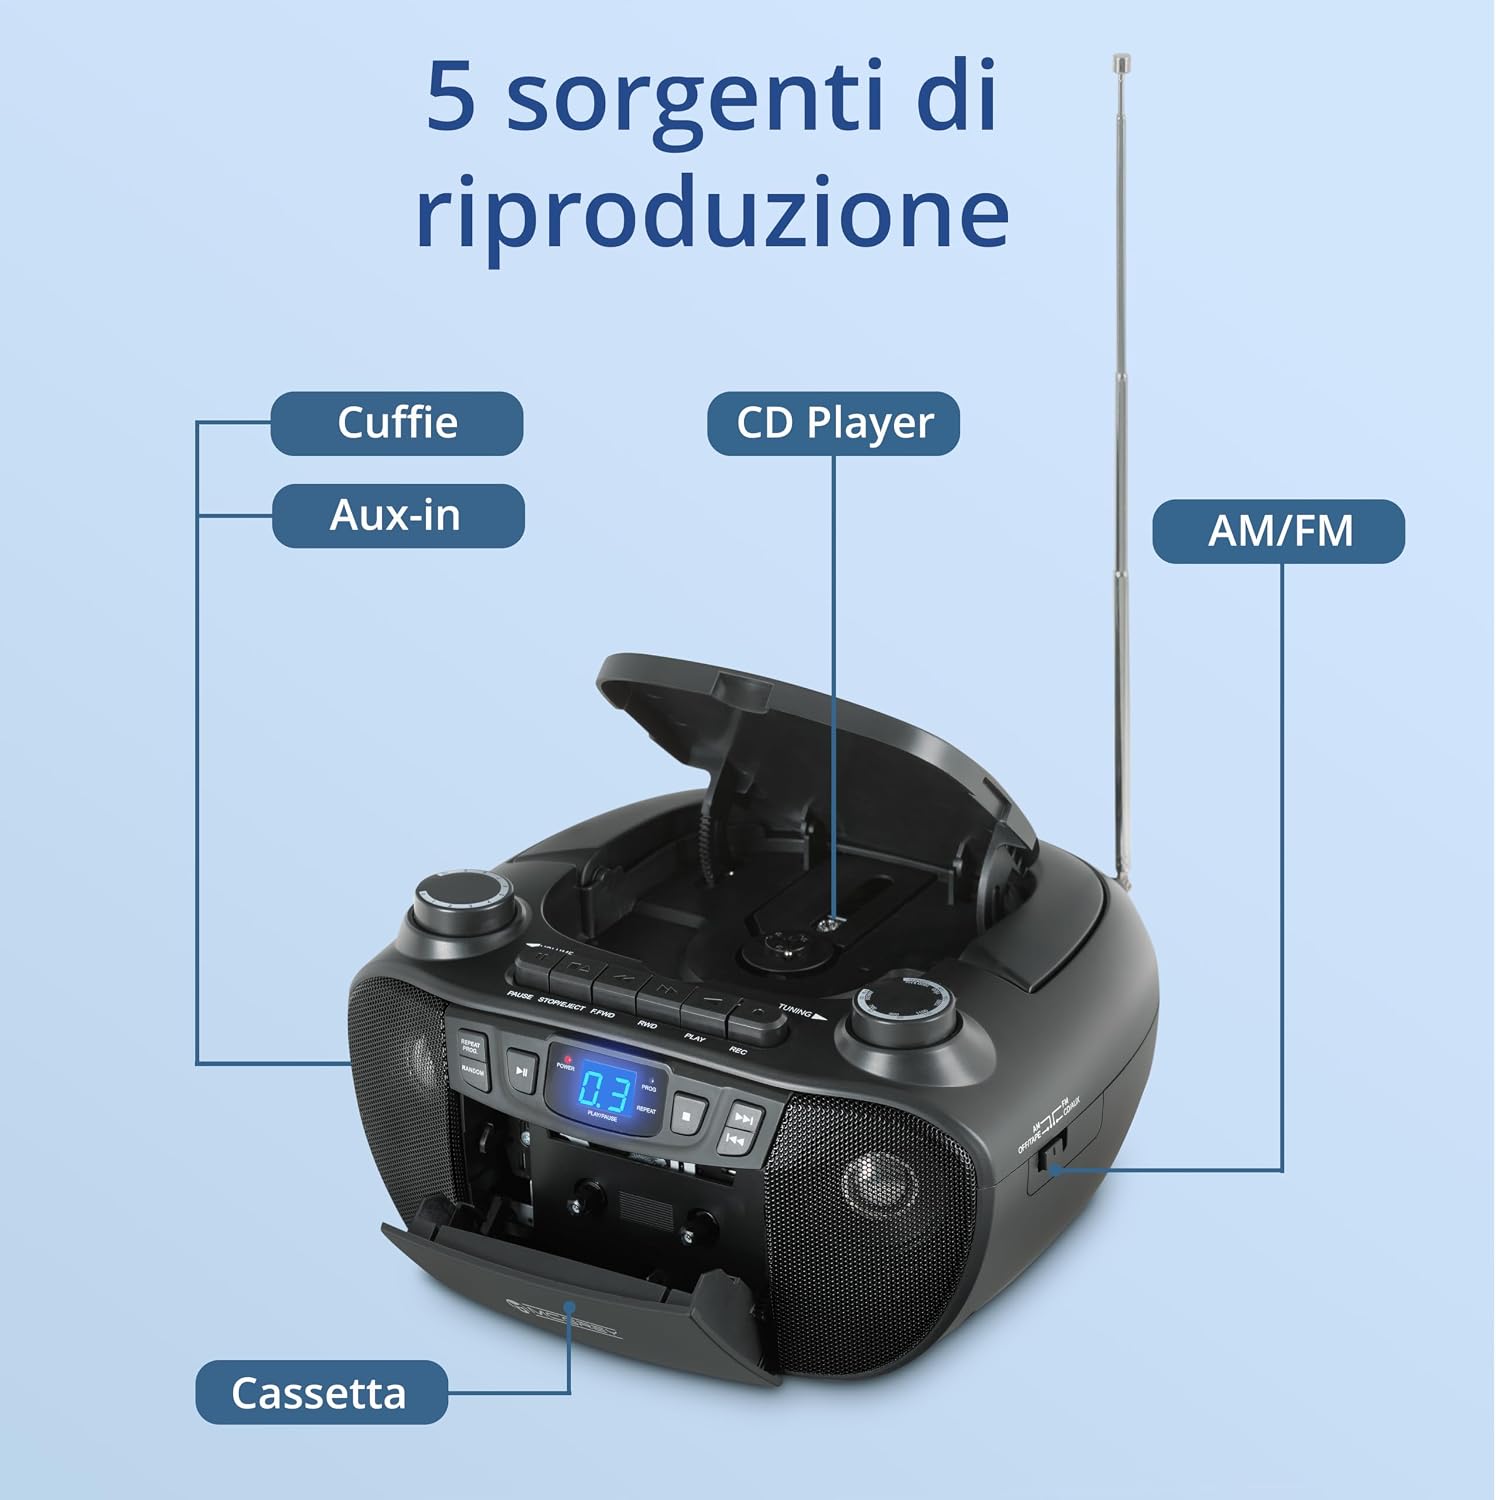
Image 4.1: Overview of the five available playback sources.
4.1 CD Player Operation
- Open the CD compartment lid located on the top of the unit.
- Place a CD (CD, CD-R, or CD-RW) onto the spindle with the label side facing up.
- Close the CD compartment lid securely.
- Press the MODE button to select CD mode.
- Press the PLAY/PAUSE button to start playback.
- Use the SKIP buttons (◀◀ / ▶▶) to navigate between tracks.
- Press the STOP button to stop playback.
- The REPEAT and RANDOM buttons allow for various playback options.
4.2 Cassette Player/Recorder Operation
- Press the STOP/EJECT button to open the cassette compartment.
- Insert a cassette tape with the open edge facing upwards.
- Close the cassette compartment.
- Press the MODE button to select TAPE mode.
- Press the PLAY button to start playback.
- Use the F.FWD and RWD buttons for fast forwarding and rewinding.
- Press the STOP/EJECT button to stop playback or eject the tape.

Image 4.2: Inserting a cassette tape into the compartment.
4.2.1 Recording to Cassette
The Boombox allows recording from CD, Radio, or AUX input to a cassette tape.
- Insert a blank cassette tape into the compartment.
- Select the desired source (CD, RADIO, or AUX) using the MODE button.
- Start playback on the source (e.g., play a CD, tune to a radio station, or play audio from an AUX device).
- Press the REC button on the Boombox. The PLAY button will automatically engage, and recording will begin.
- Press the STOP/EJECT button to stop recording.

Image 4.3: The recording function allows capturing audio from various sources onto a cassette.
4.3 Radio Operation
- Extend the telescopic antenna for optimal FM reception. For AM/MW, the internal antenna is usually sufficient.
- Press the MODE button to select RADIO mode.
- Use the BAND switch (if available) to select between FM and MW bands.
- Rotate the TUNING knob to search for desired radio stations.
- Adjust the volume using the VOLUME knob.
4.4 AUX Input
The 3.5mm AUX input allows you to connect external audio devices such as smartphones, MP3 players, or tablets.
- Connect one end of a 3.5mm audio cable (not included) to the AUX IN jack on the Boombox.
- Connect the other end of the cable to the headphone jack or audio output of your external device.
- Press the MODE button to select AUX mode.
- Start playback on your external device.
- Adjust the volume using the VOLUME knob on the Boombox and/or your external device.

Image 4.4: Connecting external devices via AUX input and headphones.
4.5 Headphone Output
For private listening, connect standard 3.5mm stereo headphones (not included) to the HEADPHONE jack on the Boombox. The built-in speakers will automatically mute when headphones are connected.
5. Maintenance
5.1 Cleaning
- Wipe the exterior of the unit with a soft, damp cloth. Do not use abrasive cleaners or solvents.
- For the CD lens, use a specialized CD lens cleaner.
- Regularly clean the cassette head and pinch roller with a cotton swab lightly dampened with isopropyl alcohol to ensure optimal sound quality and prevent tape damage.
5.2 Battery Care
- Remove batteries if the unit will not be used for an extended period to prevent leakage.
- Do not mix old and new batteries, or different types of batteries.
- Dispose of used batteries responsibly according to local regulations.
6. Troubleshooting
| Problem | Possible Cause | Solution |
|---|---|---|
| No power | Power cable not connected; Batteries depleted or incorrectly inserted. | Ensure power cable is securely connected. Replace batteries or check polarity. |
| No sound | Volume too low; Headphones connected; Incorrect source selected. | Increase volume. Disconnect headphones. Select correct mode (CD, TAPE, RADIO, AUX). |
| CD skips or does not play | CD is dirty or scratched; CD compartment not closed properly. | Clean CD with a soft cloth. Try another CD. Ensure compartment lid is fully closed. |
| Poor radio reception | Antenna not extended; Weak signal. | Fully extend the telescopic antenna (FM). Reposition the unit for better signal. |
| Cassette playback distorted | Cassette head dirty or magnetized. | Clean the cassette head and pinch roller. Use a demagnetizer if necessary. |
7. Specifications
- Brand: Beatfoxx
- Model: CDB-1016
- Connectivity Technology: AUX
- Color: Black
- Speaker Type: Stereo
- Power Source: AC (wired electric) or Battery (6 x C-type)
- Supported Media: CD, CD-R, CD-RW, Cassette Tape, FM/MW Radio, AUX Input
- Music Power: 2 x 1.2 W
- Dimensions (W x H x D): Approximately 24 x 13 x 22.5 cm
- Weight: Approximately 1.6 kg
8. Warranty and Support
For warranty information and technical support, please refer to the documentation provided with your purchase or visit the official Beatfoxx website. Keep your proof of purchase for any warranty claims.
If you encounter issues not covered in the troubleshooting section, please contact Beatfoxx customer service for assistance.


