1. Introduction
This manual provides detailed instructions for the proper use and maintenance of your Dooya DC2163 RF433 Remote Control. The DC2163 is a 2-channel single control emitter designed for convenient operation of various Dooya electric curtains, roller blinds, and sunshade tubular motors. It features a timing function and an LCD screen for enhanced control.
Please read this manual thoroughly before operating the device to ensure safe and efficient use.
2. Product Overview
The Dooya DC2163 remote control is designed for ease of use with its intuitive button layout and clear LCD screen.
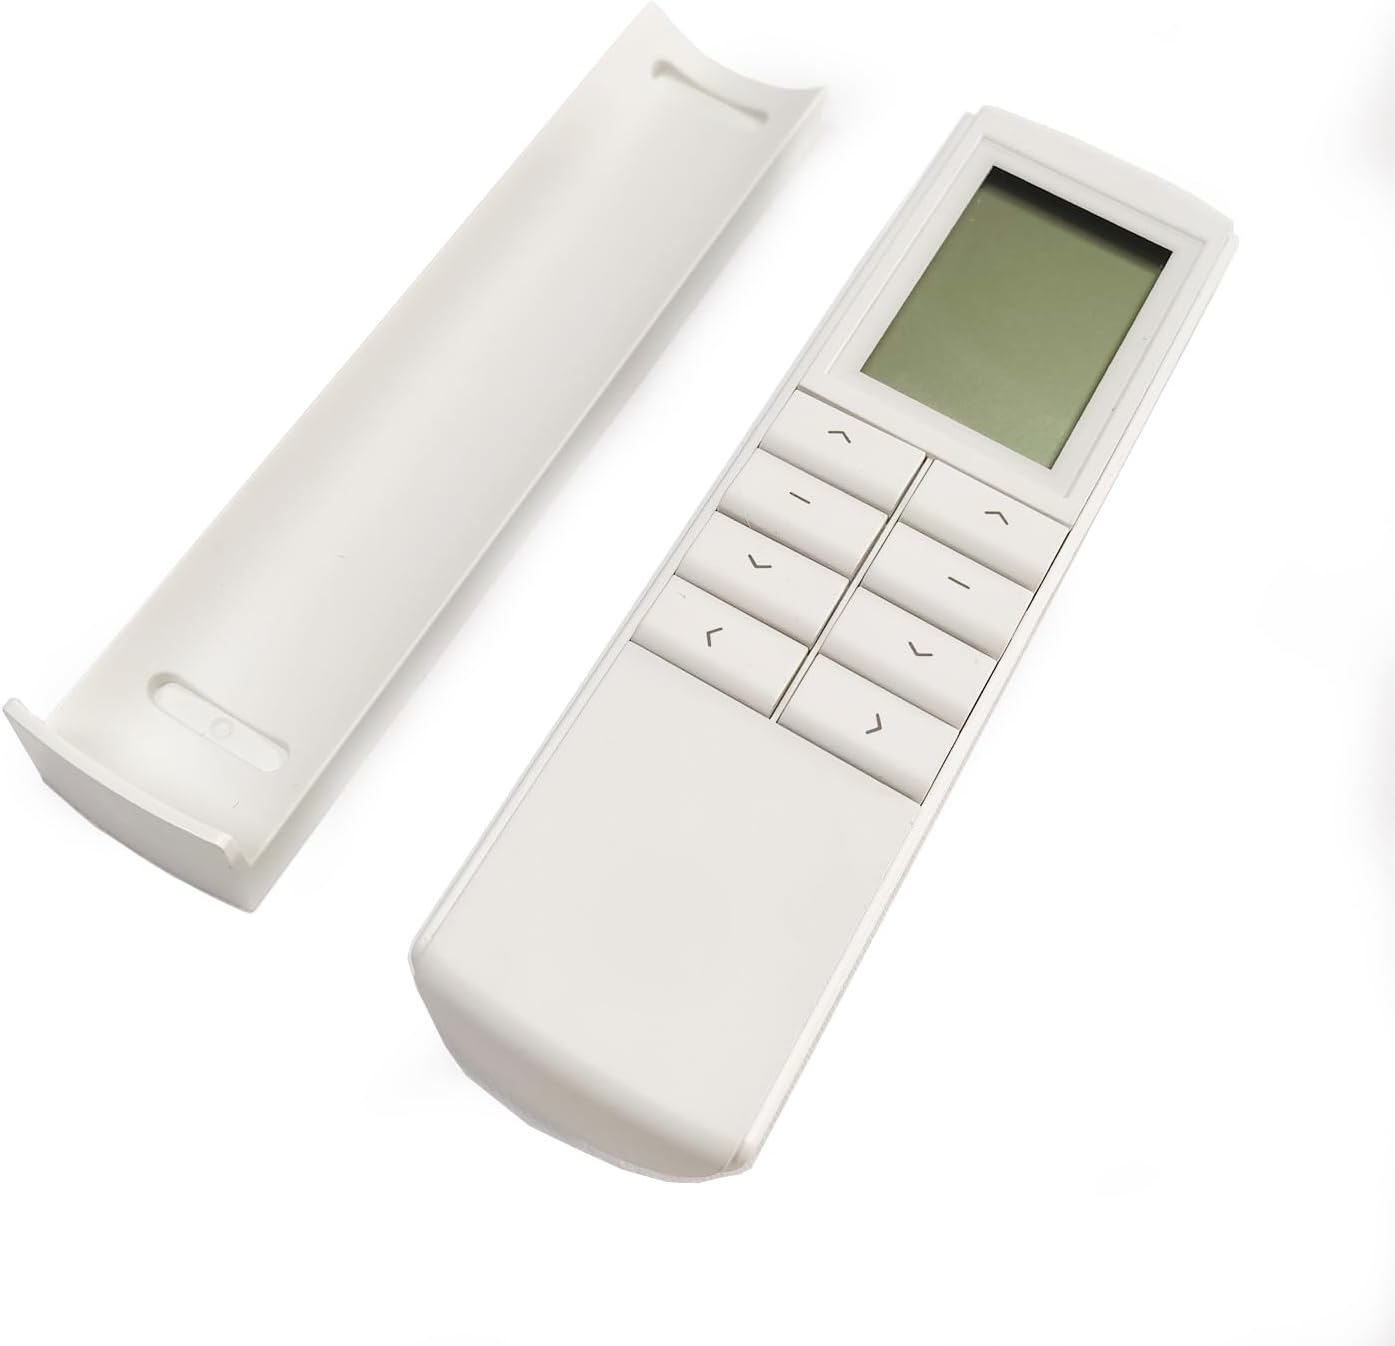
Figure 2.1: Front view of the DC2163 remote control with its battery compartment cover removed, showing the main body and the separate cover.
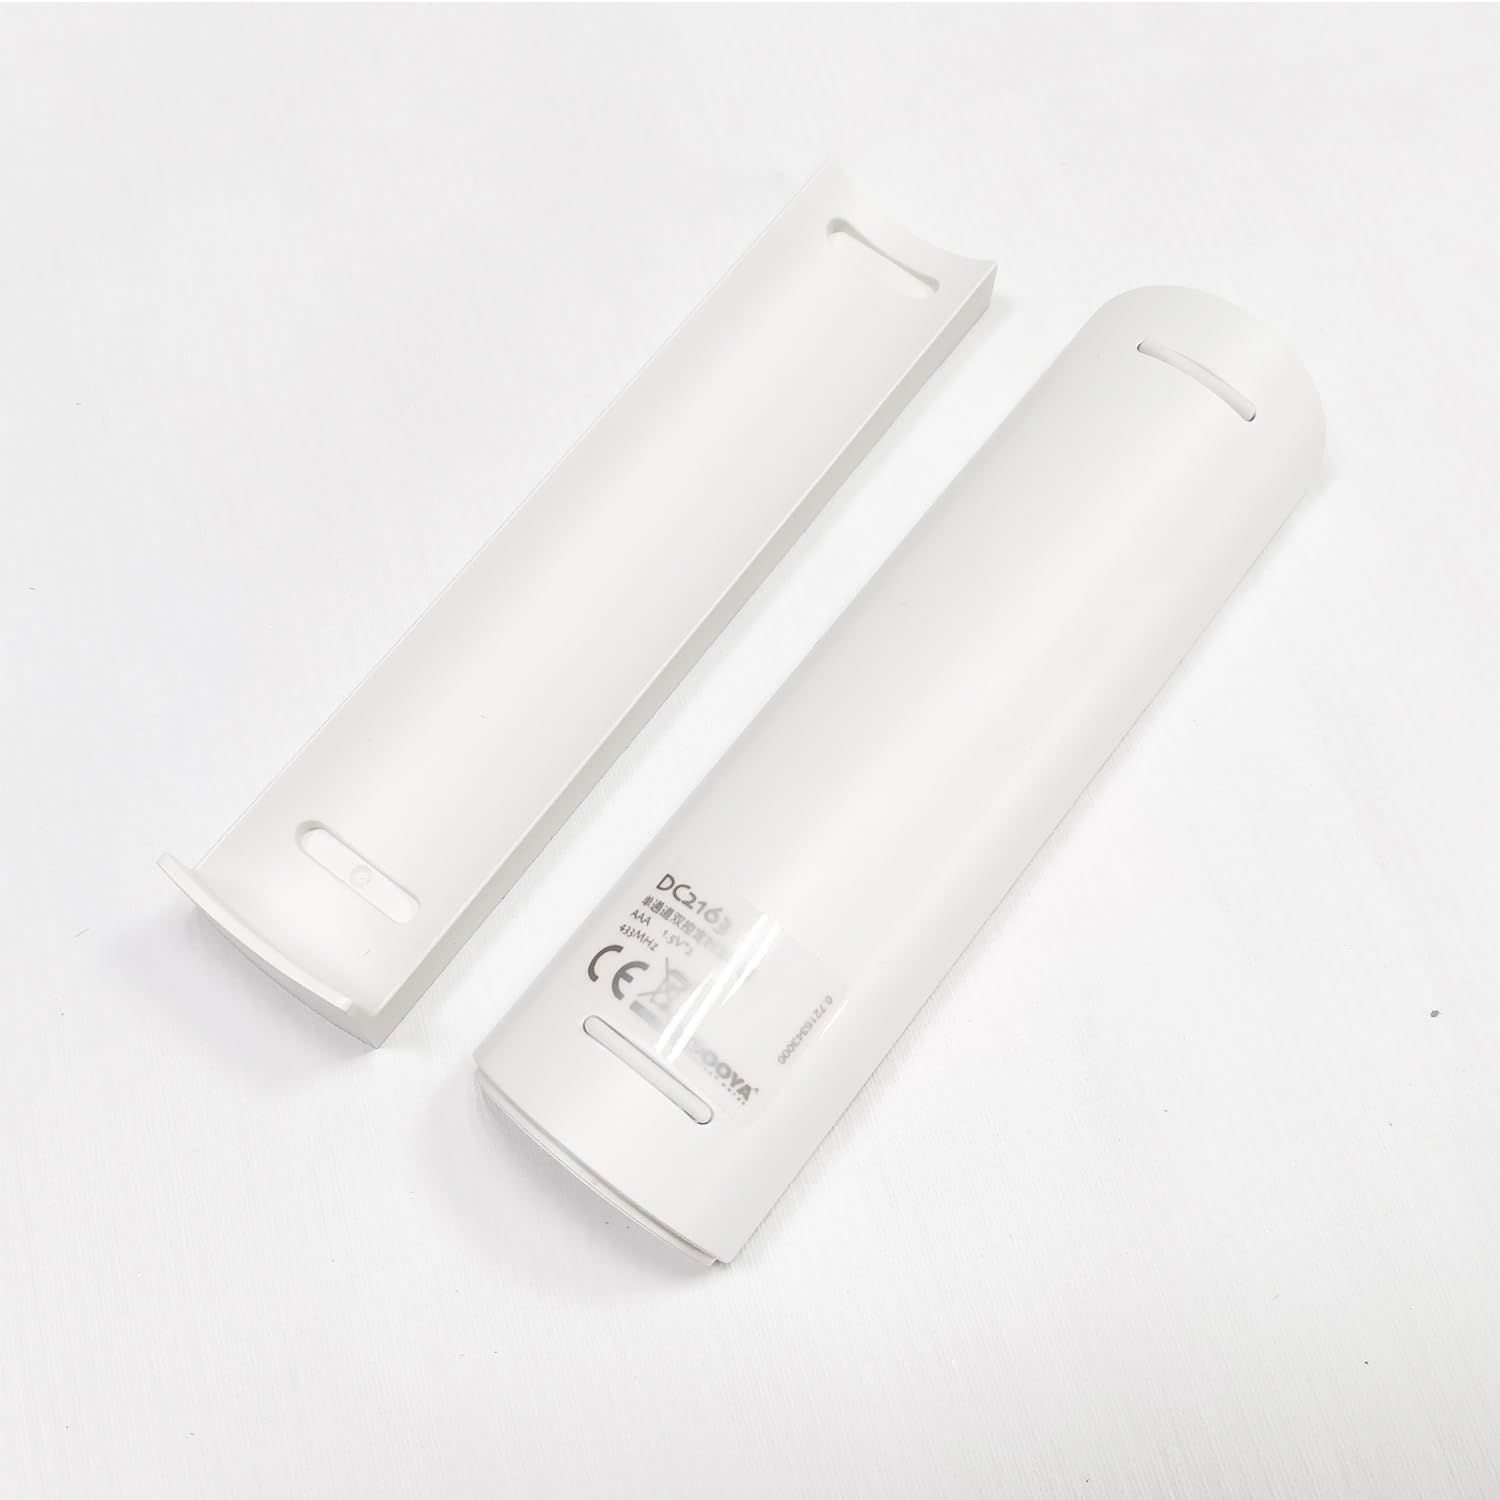
Figure 2.2: Rear view of the DC2163 remote control, displaying the model number (DC2163), battery type (AAA, 1.5V), frequency (433MHz), and CE marking.
2.1 Components and Buttons

Figure 2.3: Front and back button layout of the DC2163 remote control. The front features an LCD screen, Up, Stop, and Down buttons. The back includes the Setting button (P2), Mode button (M), and Time set button.
- LCD Screen: Displays current time, mode (Manual, Auto, Random), and timing settings.
- Up Button (⌃): Moves the curtain/blind upwards.
- Stop Button (■): Stops the curtain/blind movement.
- Down Button (⌄): Moves the curtain/blind downwards.
- Setting Button (P2): Used for pairing and advanced settings. Located on the back.
- Mode Button (M): Switches between Manual, Auto, and Random modes. Located on the back.
- Time Set Button (⌛): Used for setting the current time and timing functions. Located on the back.
3. Specifications

Figure 3.1: Dimensions of the DC2163 remote control, approximately 13.8 cm (5.43 inches) in length and 3.9 cm (1.54 inches) in width.
| Feature | Description |
|---|---|
| Model | DC2163 |
| Channels | 2-channel single control emitter |
| Input Voltage | 3V (2 x 1.5V AAA batteries) |
| Emission Frequency | 433.92MHz ± 100KHz |
| Emission Current | 6~15mA |
| Quiescent Current | <15uA |
| Operating Temperature | -10°C to 50°C |
| Transmission Distance | >35m (open area) |
| Special Feature | Timing Function with LCD Screen |
Note: Specifications are subject to change without prior notice.
4. Setup and Pairing
4.1 Battery Installation
The DC2163 remote control requires two 1.5V AAA batteries. To install:
- Remove the battery compartment cover on the back of the remote control (refer to Figure 2.1).
- Insert two AAA batteries, ensuring correct polarity (+ and -).
- Replace the battery compartment cover securely.
Important: Please dispose of used batteries responsibly according to local regulations.
4.2 Pairing with Dooya Motors
To control your Dooya motor, the DC2163 remote control must be paired with it. The pairing process may vary slightly depending on your specific motor model (e.g., DC1680, DC136). Refer to the motor's instruction manual for precise pairing steps. General steps are outlined below, based on the provided technical sheet:

Figure 4.1: Excerpt from the technical sheet illustrating the pairing process for DC2163 with DC1680 and DC136 motors.
General Pairing Steps (Example for Matchable DC1680 Setting Up):
- Ensure the motor is powered on.
- Press the "Up" button on the DC2163 remote control. The motor should make a sound.
- Press the "P2" (Setting) button on the back of the DC2163 remote control once. The indicator light on the motor should flash.
- Press the "Up" button again. The indicator light should flash rapidly.
- Press the "Stop" button. The indicator light should flash.
- Press the "Down" button. The indicator light should flash rapidly.
- Press the "P2" (Setting) button again. The indicator light should extinguish, indicating successful pairing.
Note: The exact sequence and timing for pressing buttons (e.g., long press, short press) are critical. Refer to your motor's specific manual for precise instructions.
5. Operation
5.1 Basic Control
- Press the Up button (⌃) to raise the curtain or blind.
- Press the Down button (⌄) to lower the curtain or blind.
- Press the Stop button (■) to halt the movement at any desired position.
5.2 Mode Switching
The DC2163 supports three operating modes: Manual, Auto, and Random. To switch between modes, press the Mode button (M) on the back of the remote control.

Figure 5.1: Visual guide for switching between Manual, Auto, and Random modes, and setting the current time and timing functions.
- Manual Mode: Allows direct control using the Up, Stop, and Down buttons. No timing functions are active.
- Auto Mode: Activates programmed timing functions, allowing the curtains/blinds to open or close automatically at set times.
- Random Mode: Operates timing functions with slight variations in time, providing a simulated occupancy for security purposes.
5.3 Setting Current Time
To set the current time on the LCD screen (only in Manual mode):
- Ensure the remote is in Manual mode.
- Long press the Time Set button (⌛) for 5 seconds. The hour display will blink.
- Use the Up (⌃) or Down (⌄) buttons to adjust the hour.
- Press the Time Set button (⌛) again to move to minute setting. The minute display will blink.
- Use the Up (⌃) or Down (⌄) buttons to adjust the minute.
- Long press the Time Set button (⌛) for 5 seconds to confirm and save the time. The display will stop blinking.
5.4 Setting Timing Functions (Auto/Random Mode)
The DC2163 allows you to program specific times for your curtains/blinds to open or close. This function is active in Auto and Random modes.
- Ensure the remote is in Auto or Random mode.
- Long press the Time Set button (⌛) for 5 seconds. The hour display for the first timing event will blink.
- Use the Up (⌃) or Down (⌄) buttons to set the desired hour for the event.
- Press the Time Set button (⌛) again to move to minute setting.
- Use the Up (⌃) or Down (⌄) buttons to set the desired minute for the event.
- Repeat for additional timing events if available (the DC2163 supports 2 channels, implying multiple timing events can be set).
- Long press the Time Set button (⌛) for 5 seconds to confirm and save all timing settings.
Note: The specific number of timing events and their configuration details (e.g., open/close action) are typically managed through the motor's programming or advanced settings not fully detailed in the remote's basic instructions. Refer to your motor's manual for comprehensive timing setup.
6. Compatibility
The Dooya DC2163 RF433 Remote Control is compatible with a wide range of Dooya 433MHz motor equipment. This includes, but is not limited to, the following types of motors:

Figure 6.1: The DC2163 remote control transmitting a 433MHz signal to various compatible Dooya motor types.
- Tubular Motor (DM series)
- DC Tubular Motor (DM series)
- Venetian Motor (DV series)
- Curtain Motor (DT series)
For specific motor model compatibility, please consult the documentation provided with your Dooya motor.
7. Troubleshooting
If you encounter issues with your DC2163 remote control, please refer to the following common troubleshooting steps:
- Remote not responding:
- Check if the batteries are correctly installed and have sufficient charge. Replace batteries if necessary.
- Ensure there are no obstructions between the remote control and the motor.
- Verify that the remote is within the effective transmission range (>35m in open area, less if through walls).
- Motor not responding to remote:
- Confirm that the remote control is properly paired with the motor (refer to Section 4.2). If unsure, try re-pairing.
- Check the motor's power supply.
- Timing function not working:
- Ensure the remote is in "Auto" or "Random" mode.
- Verify that the current time and timing events are set correctly (refer to Section 5.3 and 5.4).
- Check the motor's internal settings, as some timing functions might require motor-side configuration.
- LCD screen is blank or dim:
- Replace the batteries.
If the problem persists after trying these steps, please contact customer support for further assistance.
8. Care and Maintenance
- Keep the remote control dry. Moisture can damage electronic components.
- Avoid exposing the remote to extreme temperatures.
- Do not drop or subject the remote to strong impacts.
- Clean the remote control with a soft, dry cloth. Do not use abrasive cleaners or solvents.
- If the remote will not be used for an extended period, remove the batteries to prevent leakage.

