Introduction
The Thermalright Aqua Elite 240 ARGB V4 is an all-in-one liquid CPU cooler designed to provide efficient and quiet cooling for a wide range of Intel and AMD processors. This manual provides detailed instructions for installation, operation, and maintenance to ensure optimal performance and longevity of your cooler.
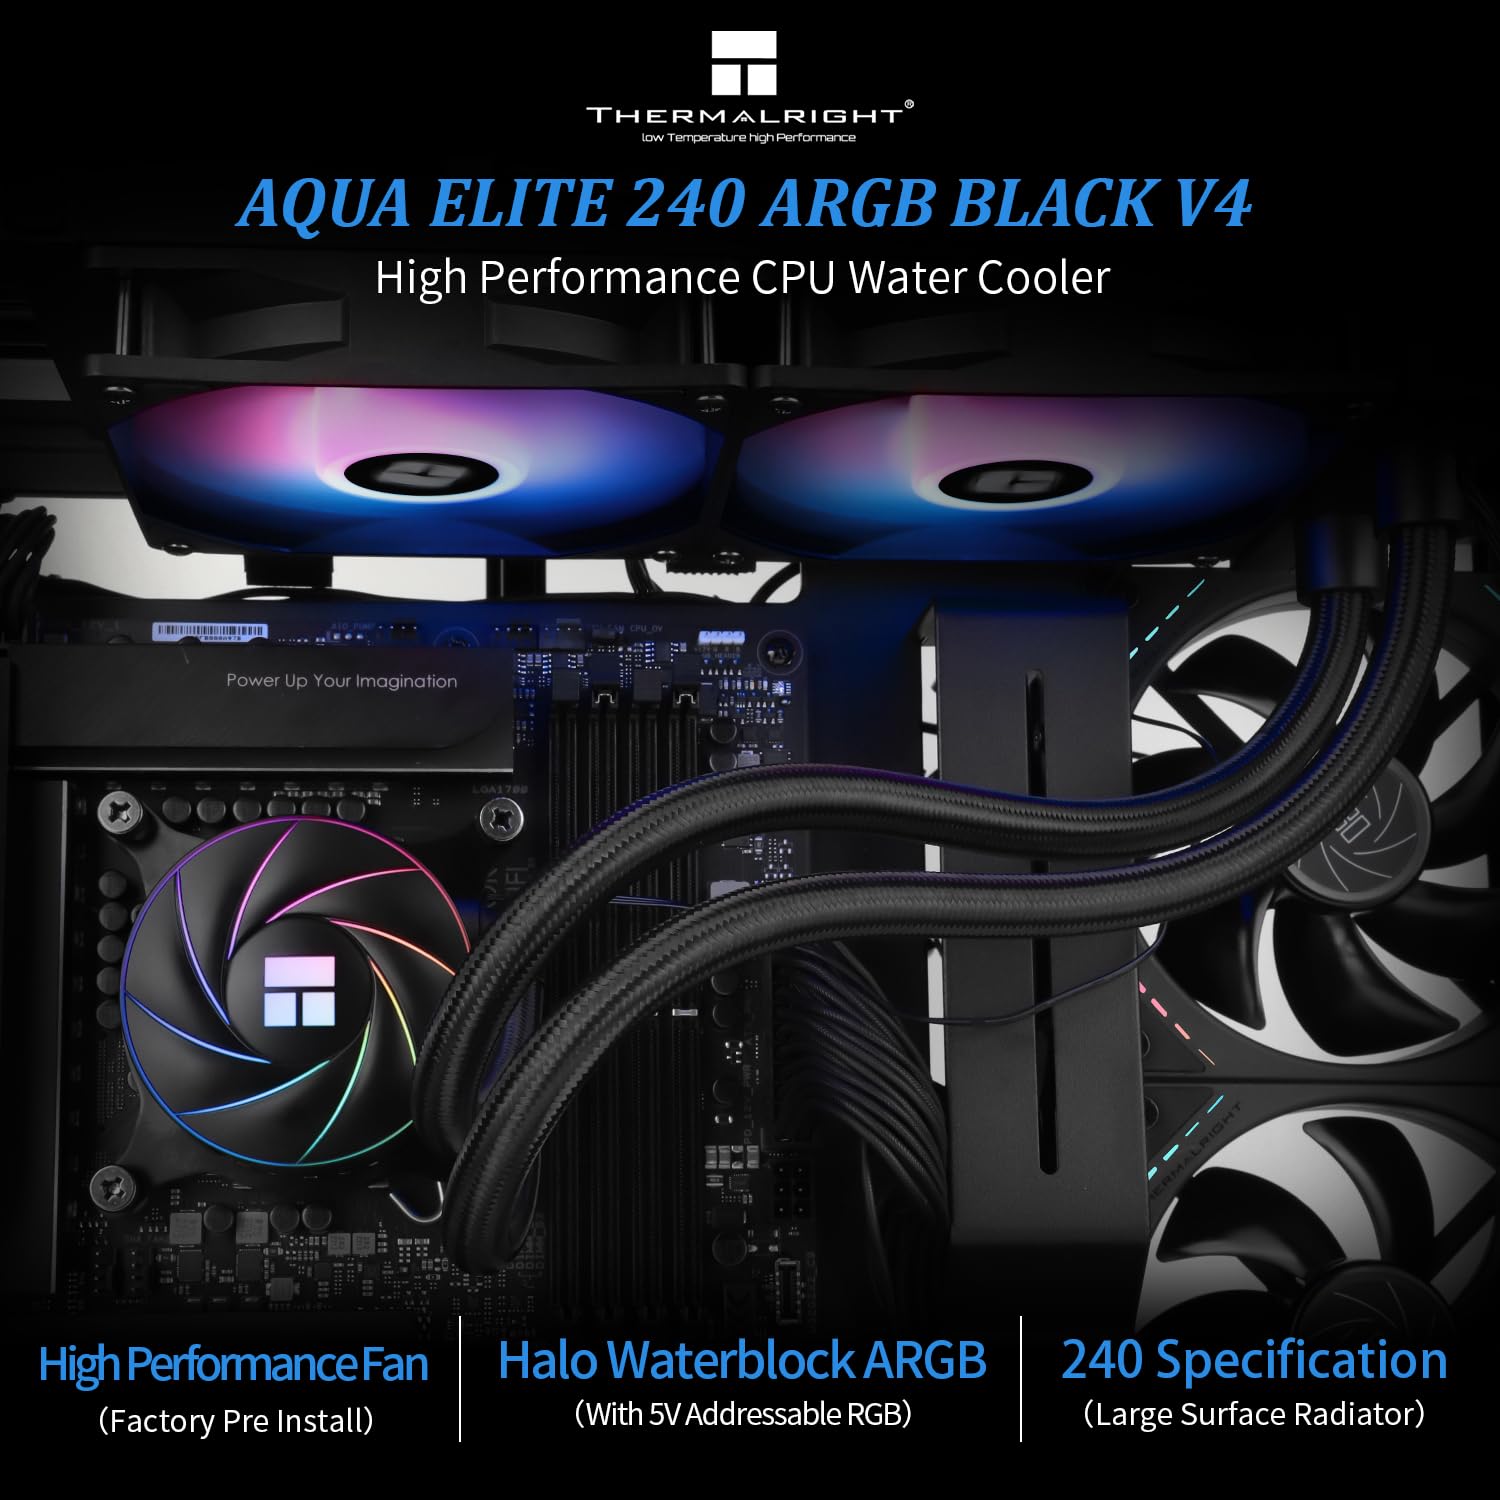
Image: The Thermalright Aqua Elite 240 ARGB V4 CPU AIO Cooler, showcasing its dual-fan radiator and illuminated water block.
Package Contents
Please verify that all components are present before beginning installation:
- AIO Water Cooler (Radiator with two 120mm ARGB fans, pump/water block, and tubing)
- Intel Mounting Brackets and Hardware (for LGA1851/1700/1150/1151/1155/1156/1200/2011/2066)
- AMD Mounting Brackets and Hardware (for AM4/AM5)
- Thermal Compound
- Fan Splitter Cable
- ARGB Lighting Cables
- User Manual

Image: Overview of the Thermalright Aqua Elite ARGB V4 CPU Cooler Series components, including the radiator, fans, pump, and various mounting hardware for Intel and AMD platforms.
Specifications
| Component | Specification |
|---|---|
| Water Block Dimensions | 72mm * 72mm * 48mm |
| Radiator Dimensions | 282mm * 120mm * 27mm |
| Pump Speed | 6400 RPM ±10% |
| Pump Connector | 4-Pin PWM |
| RGB Support | +5V Addressable RGB (3-Pin) |
| Fan Model | TL-C12C-S ARGB (x2) |
| Fan Dimensions | 120mm * 120mm * 25mm |
| Fan Rated Speed | 1550 RPM ±10% |
| Fan Noise Level | ≤25.6 dBA |
| Fan Air Flow | 66.17 CFM (MAX) |
| Fan Static Pressure | 1.53 mmH2O (MAX) |
| Fan Bearing Type | S-FDB Bearing |
| Compatible Sockets | Intel: LGA1851/1700/1150/1151/1155/1156/1200/2011/2066; AMD: AM4/AM5 |
Installation Guide
Follow these steps to properly install your Thermalright Aqua Elite 240 ARGB V4 CPU AIO Cooler. Refer to the video below for visual guidance.
Video: Detailed installation guide for the Thermalright Aqua Elite ARGB V4 CPU Cooler Series, covering both AMD and Intel platforms.
AMD AM4/AM5 Installation
- Prepare Water Block: Remove the protective sticker from the coldplate. Align the arrow on the AMD bracket with the water block and rotate to install it.
- Apply Thermal Compound: Apply an appropriate amount of thermal compound onto the CPU Integrated Heat Spreader (IHS).
- Mount Water Block: Place the water block onto the CPU, ensuring the buckles on the AMD bracket engage with the motherboard's stock retention module.
- Secure Water Block: Tighten both screws on the bracket with a screwdriver to apply even mounting pressure.
Intel LGA1700 Installation
- Prepare Backplate: Adjust the mounting hole position on the Intel backplate to 1700.
- Install Backplate: Install the backplate from the backside of the motherboard.
- Install Standoffs: Install the 1700 standoffs onto the backplate screws from the front side of the motherboard.
- Prepare Water Block: Remove the protective sticker from the coldplate. Align the arrow on the Intel bracket with the water block and rotate to lock it in place.
- Apply Thermal Compound: Apply an appropriate amount of thermal compound onto the CPU IHS.
- Mount Water Block: Align the mounting holes on the bracket to the standoffs and install the water block.
- Secure Water Block: Secure the metal brackets and water block with four nuts, applying appropriate mounting pressure.
Cable Connections (Common for all platforms)
- Pump Power: Connect the pump power cable to the CPU_OPT or AIO_PUMP header on your motherboard.
- Fan Power: Connect the fan PWM cables to the fan splitter cable. Then, connect the PWM splitter cable to the motherboard's CPU_FAN socket to power the fans.
- ARGB Lighting: Remove the protective caps from the ARGB 3-pin connectors. Connect the fan ARGB cables to sync the lighting signal. Connect the ARGB lighting cable to the motherboard's 3-pin +5V ARGB socket for lighting control. Note: This cooler supports 5V 3-pin ARGB only, NOT 12V 4-pin RGB.
Operation
The Thermalright Aqua Elite 240 ARGB V4 is designed for automatic and efficient operation. Once installed and connected, the cooler will manage CPU temperatures and fan speeds based on system load.
- PWM Fans: The included TL-C12C-S ARGB fans utilize PWM (Pulse Width Modulation) control, allowing their speed to automatically adjust according to the CPU temperature. This ensures optimal cooling performance while minimizing noise during lighter loads.
- ARGB Lighting: The addressable RGB lighting on both the water block and fans can be controlled and synchronized via compatible motherboard software (e.g., ASUS Aura Sync, MSI Mystic Light, Gigabyte RGB Fusion, ASRock Polychrome Sync). Ensure your motherboard has a 3-pin +5V ARGB header for this functionality.
- High Performance Pump: The pump operates at speeds up to 6400 RPM ±10%, ensuring consistent and effective liquid circulation for superior heat dissipation.

Image: Diagram showing the ARGB 5V 3-pin lighting interface and the +12V DC/4-pin water pump connection for the cooler.
Maintenance
Regular maintenance helps ensure the longevity and optimal performance of your AIO liquid cooler.
- Dust Cleaning: Periodically clean dust from the radiator fins and fan blades using compressed air. Ensure fans are not spinning during cleaning to prevent damage.
- Check Tubing: Inspect the tubing for any signs of kinks, leaks, or damage. While the polymer compilation protection water pipe is designed for durability, regular checks are recommended.
- Thermal Paste: If you ever need to remove and re-install the water block, it is recommended to clean off the old thermal paste and apply a fresh layer for optimal heat transfer.
- Software Updates: Keep your motherboard's BIOS and ARGB control software updated to ensure compatibility and access to the latest features and performance improvements.
Troubleshooting
If you encounter issues with your cooler, consider the following common troubleshooting steps:
- High CPU Temperatures:
- Ensure the water block is securely mounted and making full contact with the CPU.
- Verify that thermal paste was applied correctly and evenly.
- Check that the pump is running (listen for a faint hum or check monitoring software).
- Confirm that radiator fans are spinning and are not obstructed by dust or cables.
- Ensure proper airflow within your PC case.
- Fans Not Spinning/ARGB Not Lighting Up:
- Check all power and ARGB connections to the motherboard and between components.
- Verify that the motherboard's fan and ARGB headers are enabled in the BIOS/UEFI.
- Ensure you are using a 3-pin +5V ARGB header, not a 4-pin +12V RGB header.
- Update or reinstall your motherboard's ARGB control software.
- Unusual Noises:
- A slight gurgling sound initially is normal as air settles in the loop. If persistent, try gently tilting your PC case to help trapped air move to the radiator.
- Ensure fan cables are not hitting fan blades.
- If the pump is making excessive noise, ensure it is receiving adequate power and is not running dry (though unlikely in a sealed AIO).
If issues persist, please contact Thermalright customer support for further assistance.
Warranty and Support
For warranty information, technical support, or service inquiries, please refer to the official Thermalright website or contact their customer service department. Keep your proof of purchase for warranty claims.
The water cooling head has a life span of up to 40,000 hours, and the S-FDB bearings in the fans are designed for extended life.


