
Geevon 240275+TX19
Geevon Large Display Digital Thermometer Hygrometer
User Manual
Introduction
This manual provides detailed instructions for the setup, operation, and maintenance of your Geevon Large Display Digital Thermometer Hygrometer. This device is designed to accurately monitor indoor and outdoor temperature and humidity, offering valuable environmental data for your home or other spaces.
What's in the Box
- 1 x Main Display Unit (Host)
- 1 x Wireless Remote Sensor
- 1 x User Manual
- 1 x USB Cable

Image: Package contents including the main unit, sensor, user manual, and USB cable, with dimensions.
Setup
Powering the Device
The main display unit can be powered by 3 AAA batteries (not included) or continuously via the included USB cable. The remote sensor requires 2 AAA batteries (not included).
- Open the battery compartment on the back of the main display unit and insert 3 AAA batteries, observing polarity. Alternatively, connect the USB cable to the unit and a power source.
- Open the battery compartment on the remote sensor and insert 2 AAA batteries, observing polarity.
- The units will automatically attempt to pair. Ensure both are powered on.

Image: Power options for the main unit, showing both USB cable connection and the 3 AAA battery compartment.
Sensor Placement
Place the remote sensor in your desired outdoor or additional indoor location. The wireless range is up to 200ft/60m in open air. It is important to note that the remote sensor is not waterproof. For outdoor use, place it in a sheltered area protected from direct rain and moisture to ensure longevity and accurate readings.

Image: The main unit and remote sensor demonstrating wireless connectivity, with a note about supporting up to 3 sensors.
Mounting Options
The main display unit offers versatile placement options:
- Strong Magnet: For attachment to metallic surfaces.
- Hanging Hole: For wall mounting.
- Durable Stand: For tabletop placement.

Image: Visual representation of the three mounting options: strong magnet, hanging hole, and durable stand.
Operating Instructions
Display Overview
The large LCD display provides clear, easy-to-read digits for both indoor and outdoor temperature and humidity. It also shows weather forecast icons and other relevant data.
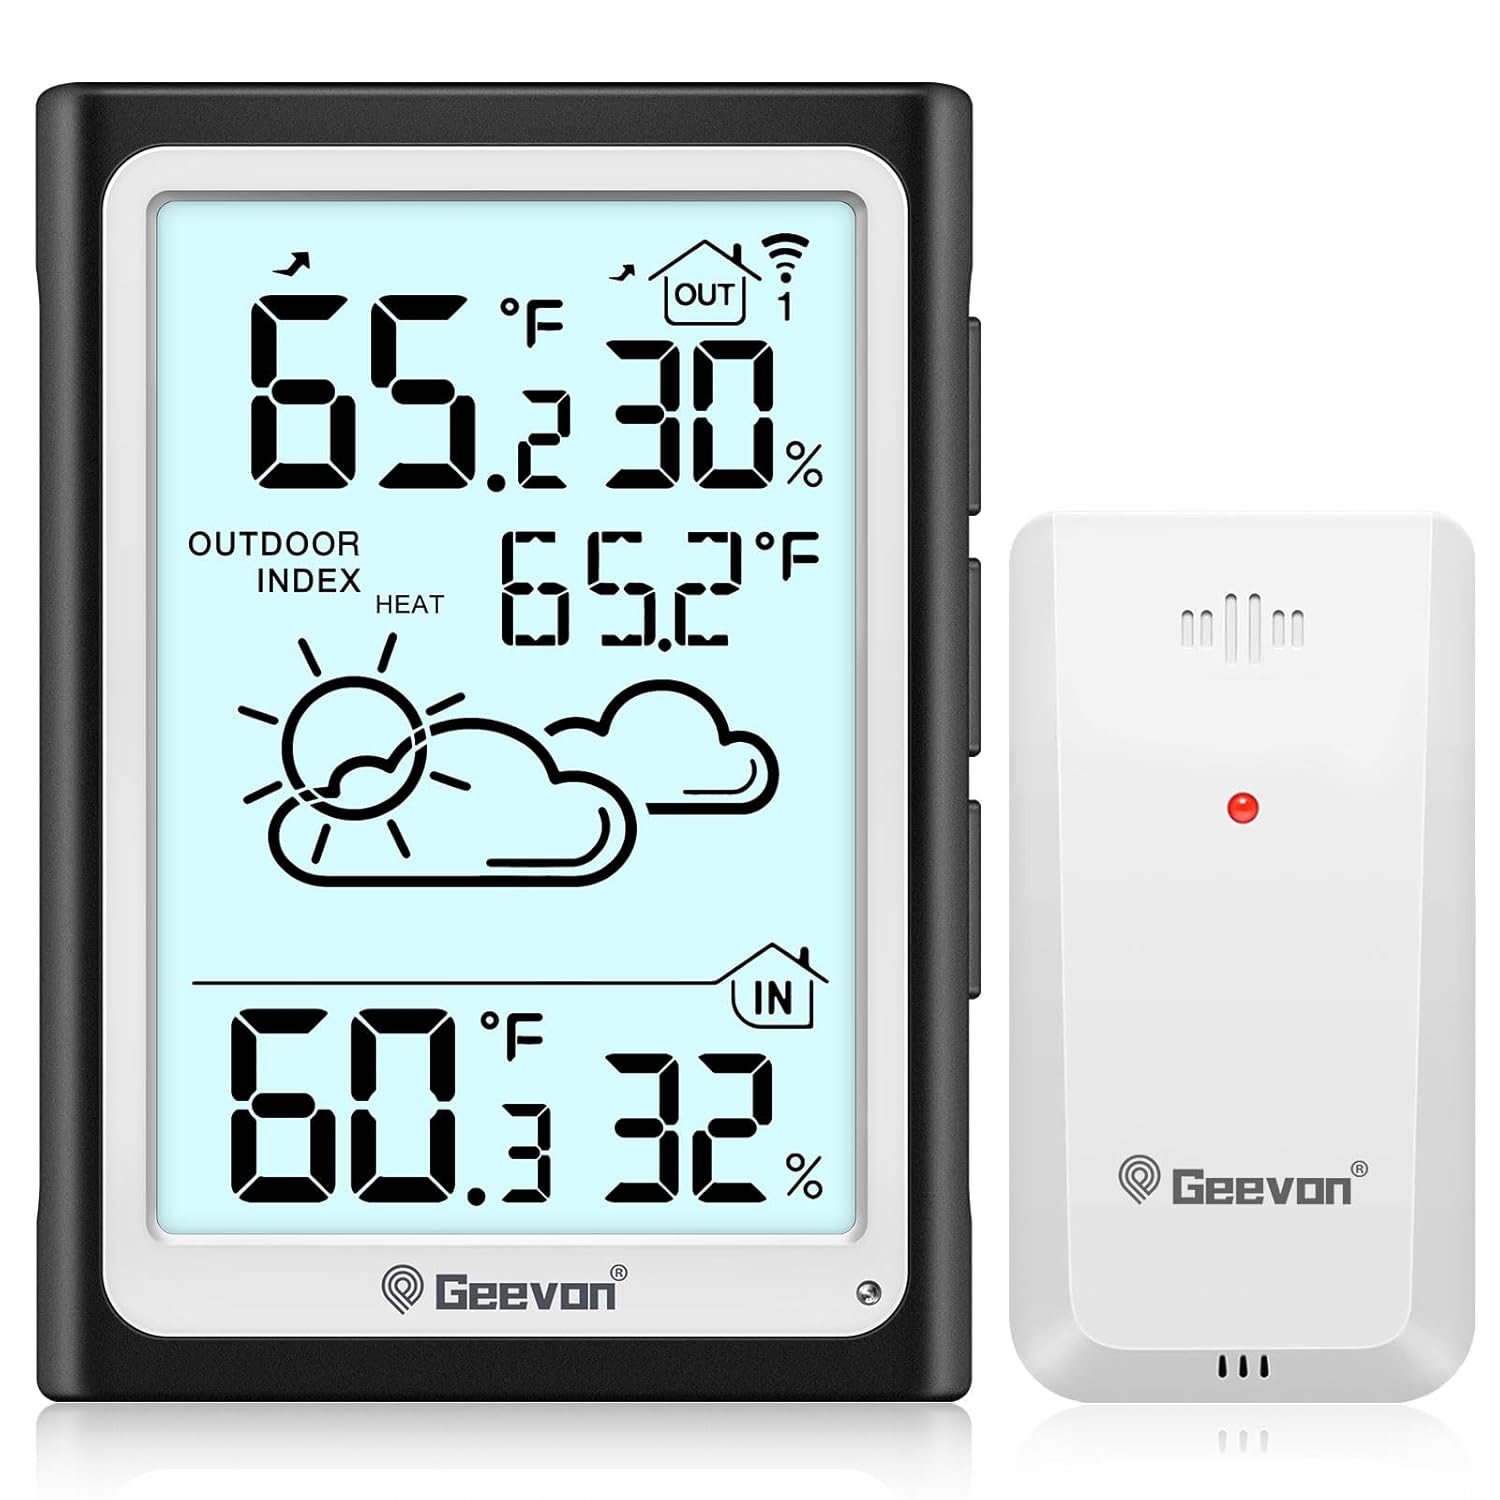
Image: The main display unit and remote sensor, highlighting the large, clear display.
Backlight Control
The display features an adjustable backlight with three brightness levels (low, medium, high). When powered by USB, the backlight can remain continuously on. It also has an automatic light-sensing function that adjusts brightness based on ambient light.
- Tap the "AUTO LIGHT" button to activate the backlight for 10 seconds.
- Hold the "AUTO LIGHT" button for 3 seconds to toggle the automatic light-sensing function on/off.
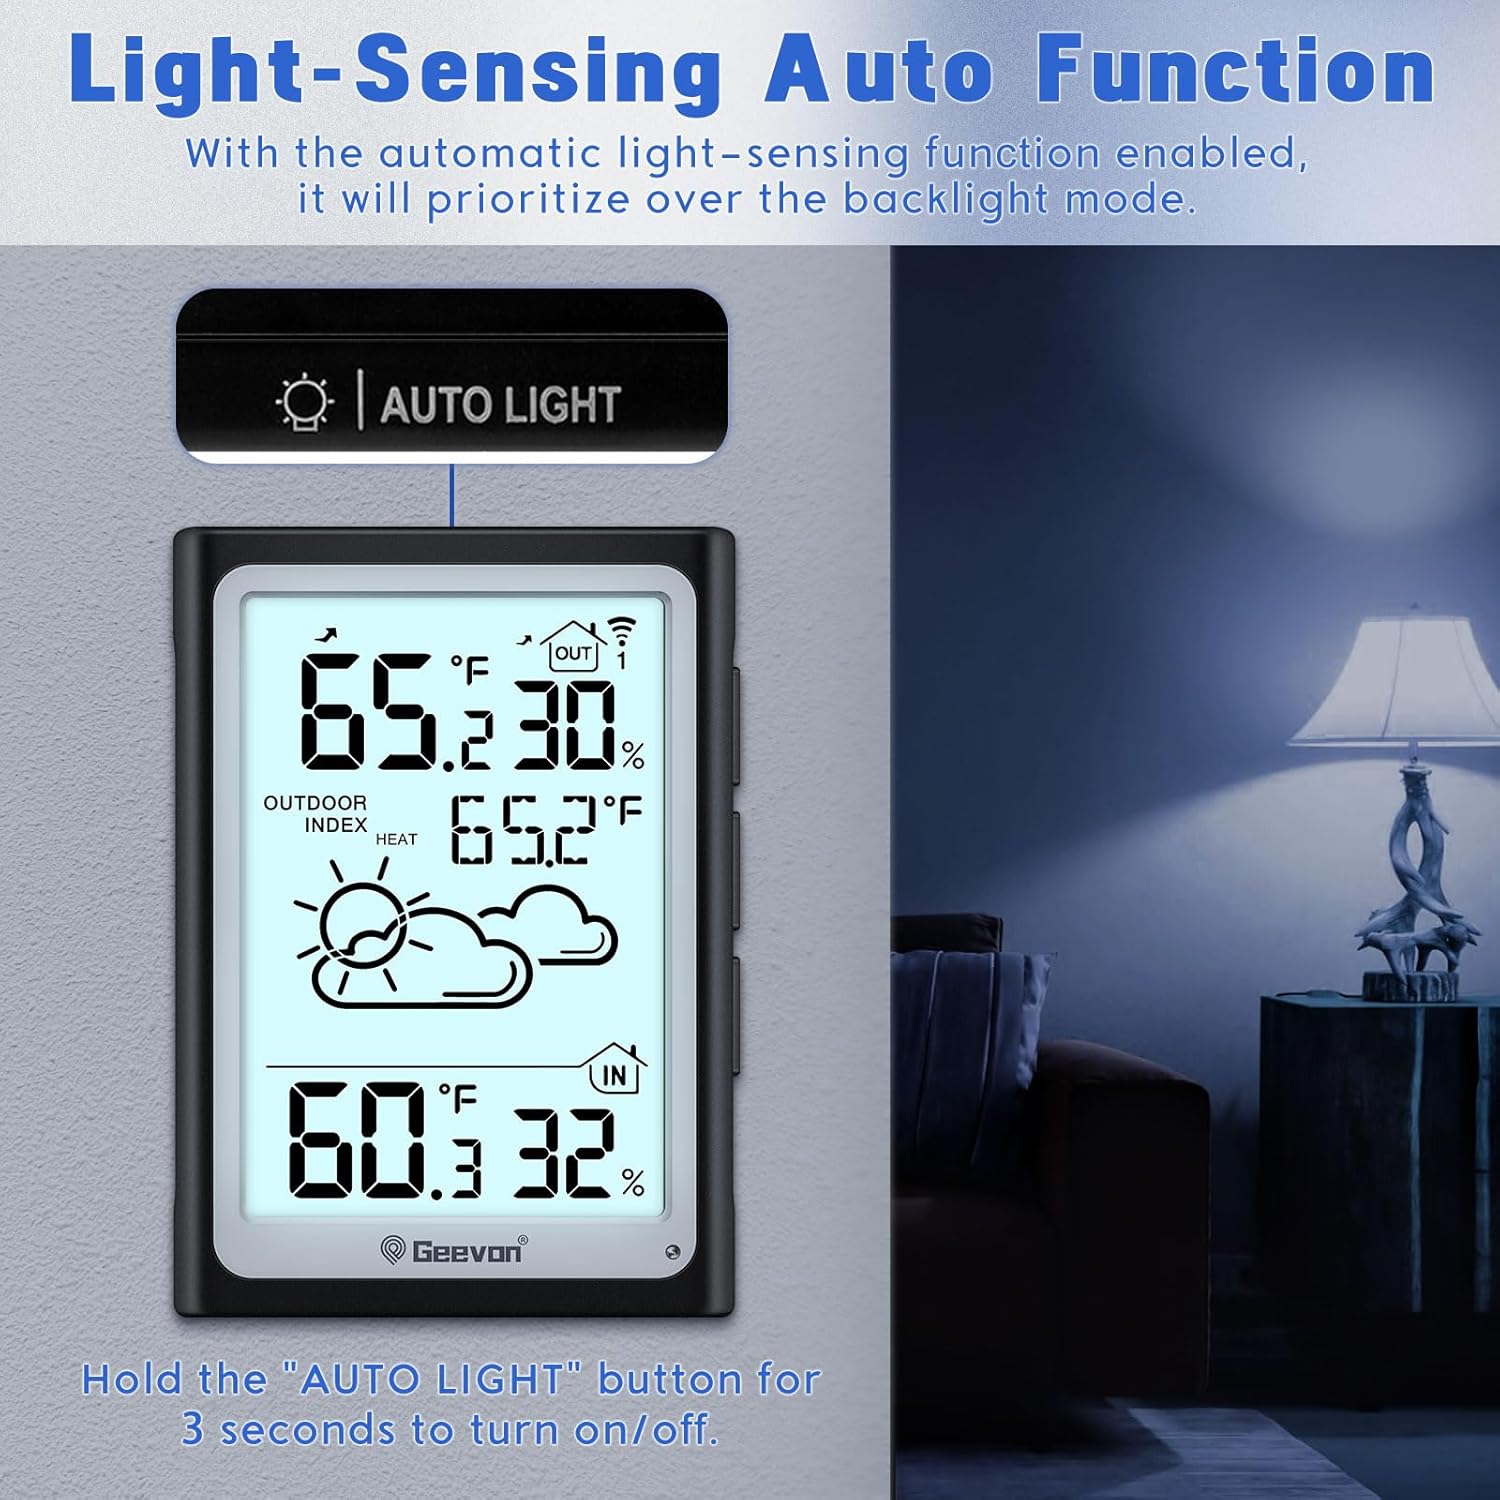
Image: The display unit showing the 'AUTO LIGHT' feature, which prioritizes over manual backlight settings.
Temperature and Humidity Monitoring
The device monitors both indoor and outdoor temperature and humidity. With 3-channel functionality, you can connect up to three remote sensors (one included) to monitor different locations simultaneously.
Video: A demonstration of the Geevon Indoor Outdoor Temperature and Humidity Meter, highlighting its features and ease of use.
Weather Forecasting
The thermometer provides a weather forecast for the next 12-24 hours based on changes in temperature and humidity data. Icons on the display indicate conditions such as sunny, partly cloudy, cloudy, rainy, heavy rainy, and snowy.

Image: The main unit and sensor illustrating digital indoor and outdoor temperature readings along with future weather forecasts.
Unit Switching (°C/°F)
To switch between Celsius and Fahrenheit temperature units:
- Press and hold the 'INDX' button for 3 seconds.
- Then, press the 'MEM' button to toggle the temperature unit.

Image: The display showing how to switch between Degree Celsius and Fahrenheit using the 'INDX' and 'MEM' buttons.
MAX/MIN Records
The device stores the past 24 hours' maximum and minimum temperature and humidity records. You can view these records and clear them as needed.
- Press the 'MEM' button to cycle through maximum and minimum records.
- Hold the 'MEM' button for 3 seconds to clear the stored records.

Image: The display unit showing a graphical representation of maximum and minimum temperature and humidity records over 24 hours.
Maintenance
To ensure the longevity and accuracy of your thermometer hygrometer, follow these simple maintenance guidelines:
- Cleaning: Wipe the unit clean with a soft, damp cloth. Do not use abrasive cleaners or immerse the unit in water.
- Battery Replacement: Replace batteries in both the main unit and the remote sensor when the low battery indicator appears on the display. Ensure correct polarity.
- Storage: If storing the device for an extended period, remove all batteries to prevent leakage.
Troubleshooting
| Problem | Possible Cause | Solution |
|---|---|---|
| No outdoor temperature/humidity reading. | Sensor out of range, low sensor battery, interference, or sensor malfunction. | Ensure sensor is within 200ft/60m of the main unit. Replace sensor batteries. Relocate units to avoid interference. If issue persists, sensor may be faulty. |
| Inaccurate humidity readings. | Unit not stabilized, poor ventilation, or sensor exposure to moisture. | Allow several hours for readings to stabilize after setup. Ensure proper air circulation around sensors. Protect outdoor sensor from direct rain. |
| Inaccurate temperature readings. | Unit not stabilized, direct sunlight exposure, or proximity to heat/cold sources. | Allow several hours for readings to stabilize. Place units away from direct sunlight, heating vents, or air conditioners. |
| Display is dim or blank. | Low main unit battery or USB power disconnected. | Replace main unit batteries or ensure USB cable is securely connected to a power source. |
Specifications
- Product Dimensions: 5.5 x 3.9 x 0.9 inches (Main Unit)
- Item Model Number: 240275+TX19
- Power Source (Main Unit): 3 AAA batteries (not included) or USB Cable (included)
- Power Source (Sensor): 2 AAA batteries (not included)
- Connectivity Technology: Wireless
- Wireless Range: Up to 200ft/60m (in open air)
- Display Type: Digital LCD
- Special Features: Auto Brightness Sensing, Dew Point, Mold Index, Heat Index, High Accuracy, Large Display
- Material: Acrylonitrile Butadiene Styrene (ABS)
Warranty & Support
For any questions, technical assistance, or warranty inquiries regarding your Geevon Thermometer Hygrometer, please contact the seller directly through your purchase platform. They are available to provide lifetime consulting services and support for all Geevon products.
For more information, you may visit the Geevon Store on Amazon.
Related documents240275+TX19


Ask a question about this manual
Ask about setup, troubleshooting, compatibility, parts, safety, or missing instructions. Manuals+ will review the question and use this page’s manual context to help answer it.