
ZZA Z27H1K280HZ
Contents
ZZA 27" Curved Gaming Monitor User Manual
Model: Z27H1K280HZ
1. Introduction
Thank you for choosing the ZZA 27" Curved Gaming Monitor. This manual provides essential information for setting up, operating, and maintaining your new monitor. Designed for an immersive gaming experience, this monitor boasts a 280Hz refresh rate, Full HD resolution, and a vibrant 1800R curved VA panel. Please read this manual thoroughly before use to ensure optimal performance and safety.
2. Important Safety Information
- Always disconnect the power cable from the wall outlet before cleaning or if the monitor will not be used for an extended period.
- Do not expose the monitor to rain or moisture to prevent fire or shock hazards.
- Do not open the monitor casing. There are no user-serviceable parts inside. Refer all servicing to qualified service personnel.
- Ensure proper ventilation. Do not block any ventilation openings.
- Use only the power adapter and cables provided or specified by the manufacturer.
- Place the monitor on a stable, flat surface to prevent it from falling.
3. Package Contents
Please check the package contents carefully. If any items are missing or damaged, contact your retailer.
- ZZA 27" Curved Gaming Monitor
- Monitor Stand (Base and Neck)
- Power Adapter and Power Cable
- DisplayPort (DP) Cable
- User Manual (this document)
4. Product Overview
Front View
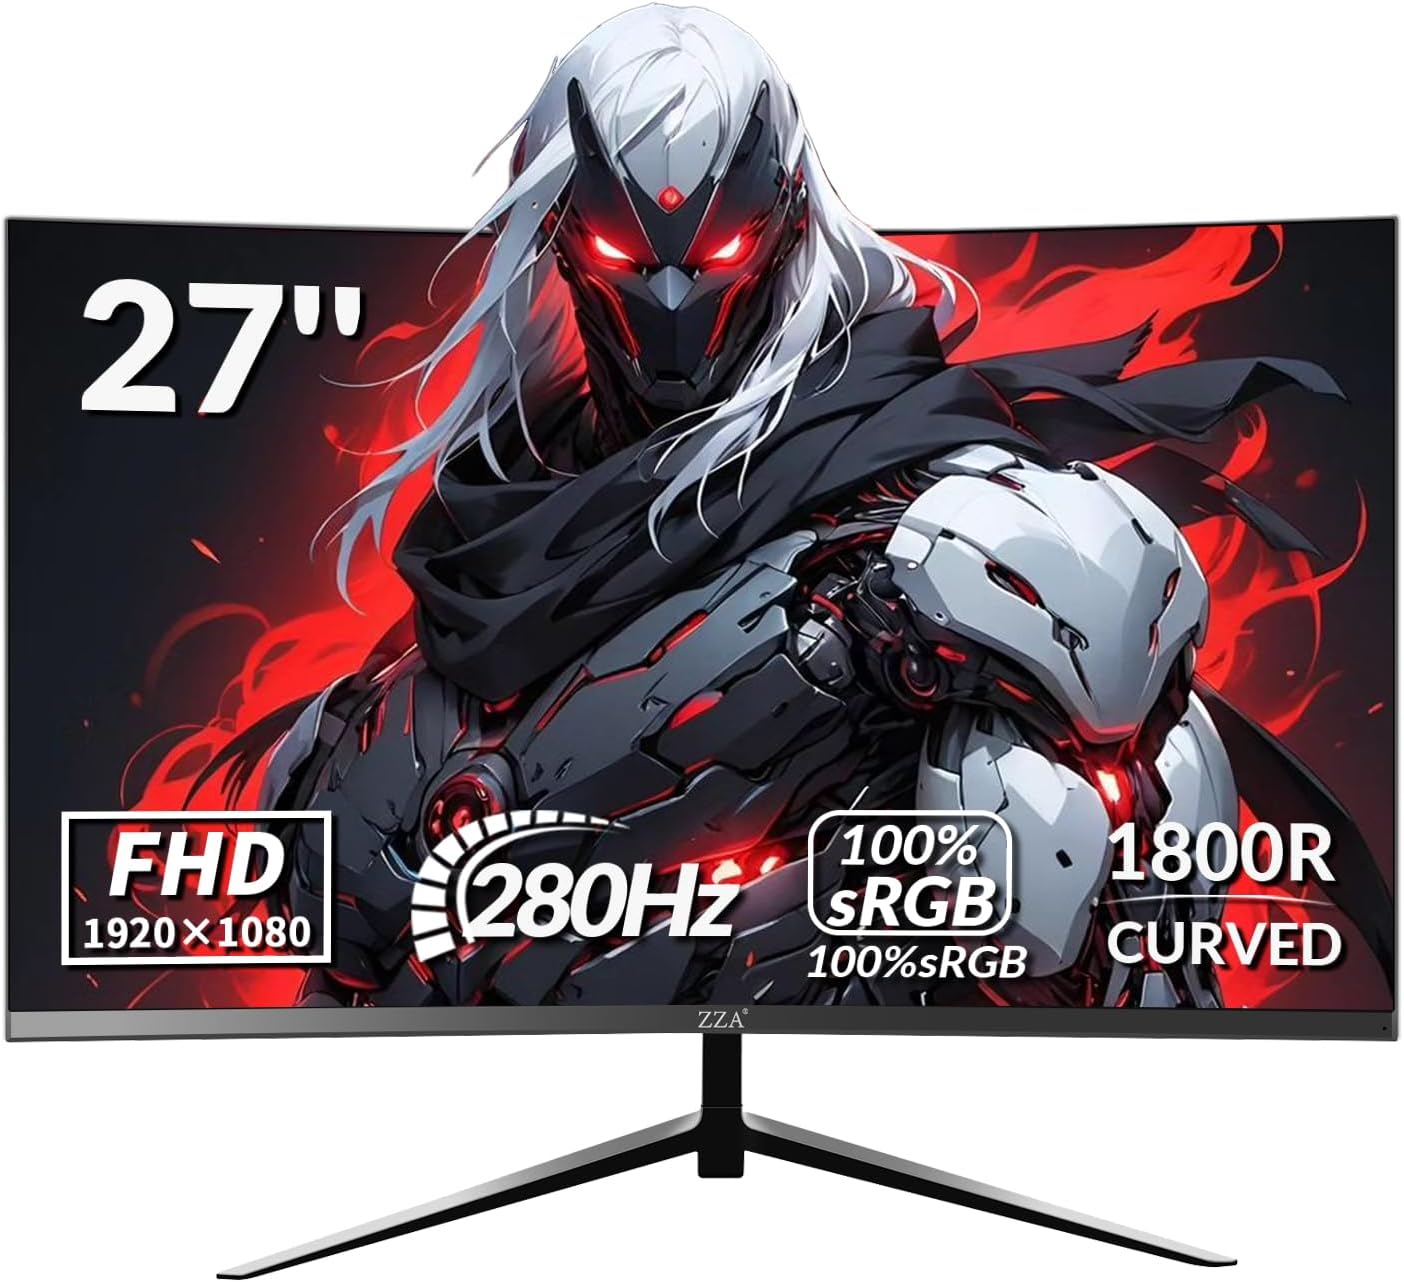
The ZZA 27" Curved Gaming Monitor features a sleek, frameless design with a prominent ZZA logo at the bottom center. The curved screen enhances immersion for gaming and multimedia.
Rear View and Ports

The rear of the monitor includes various input ports for versatile connectivity with different devices.
- HDMI 2.0 Ports: For connecting to PCs, gaming consoles (e.g., PS5, Xbox), and other HDMI-enabled devices.
- DisplayPort 1.4 (DP) Port: For high-refresh-rate connections to compatible graphics cards.
- Audio Out Port: For connecting external speakers or headphones (no built-in speakers).
- DC Power Input: For connecting the power adapter.
- VESA Mount Holes (100x100mm): For optional wall or arm mounting.
5. Setup Instructions
Assembling the Stand
- Carefully remove the monitor and stand components from the packaging.
- Attach the stand neck to the monitor's rear panel by aligning the tabs and pushing until it clicks into place.
- Secure the stand base to the stand neck using the provided screw, typically located at the bottom of the base.
- Place the assembled monitor on a stable, flat surface.
Connecting the Monitor
- Connect the power adapter to the monitor's DC power input, then plug the power cable into a wall outlet.
- Connect one end of the included DisplayPort (DP) cable to the DP port on your monitor and the other end to the DP port on your computer's graphics card. Alternatively, use an HDMI cable for HDMI connections.
- If desired, connect external speakers or headphones to the monitor's audio out port.
- Power on your computer and then press the power button on the monitor.
VESA Mounting (Optional)
The monitor is VESA 100x100mm compatible. To mount the monitor on a wall or an articulating arm, remove the stand and attach a compatible VESA mount (sold separately) using the appropriate screws. Ensure the mount can support the monitor's weight.
6. Operating Your Monitor
Power On/Off
Press the power button, usually located on the back or bottom right of the monitor, to turn it on or off. The power indicator light will illuminate when the monitor is on.
On-Screen Display (OSD) Menu
The OSD menu allows you to adjust various monitor settings. Use the navigation buttons (joystick or individual buttons) on the back or bottom of the monitor to access and navigate the OSD.
- Picture Settings: Adjust brightness, contrast, sharpness, color temperature.
- Color Settings: Fine-tune color accuracy, gamma, and sRGB modes.
- Display Settings: Change aspect ratio, input source.
- OSD Settings: Adjust OSD language, transparency, and timeout.
- Gaming Features: Enable/disable FreeSync, adjust response time (OD), and set game modes.
Key Features and Adjustments
- 280Hz Refresh Rate: Experience ultra-smooth motion. Ensure your graphics card and cable support this refresh rate.
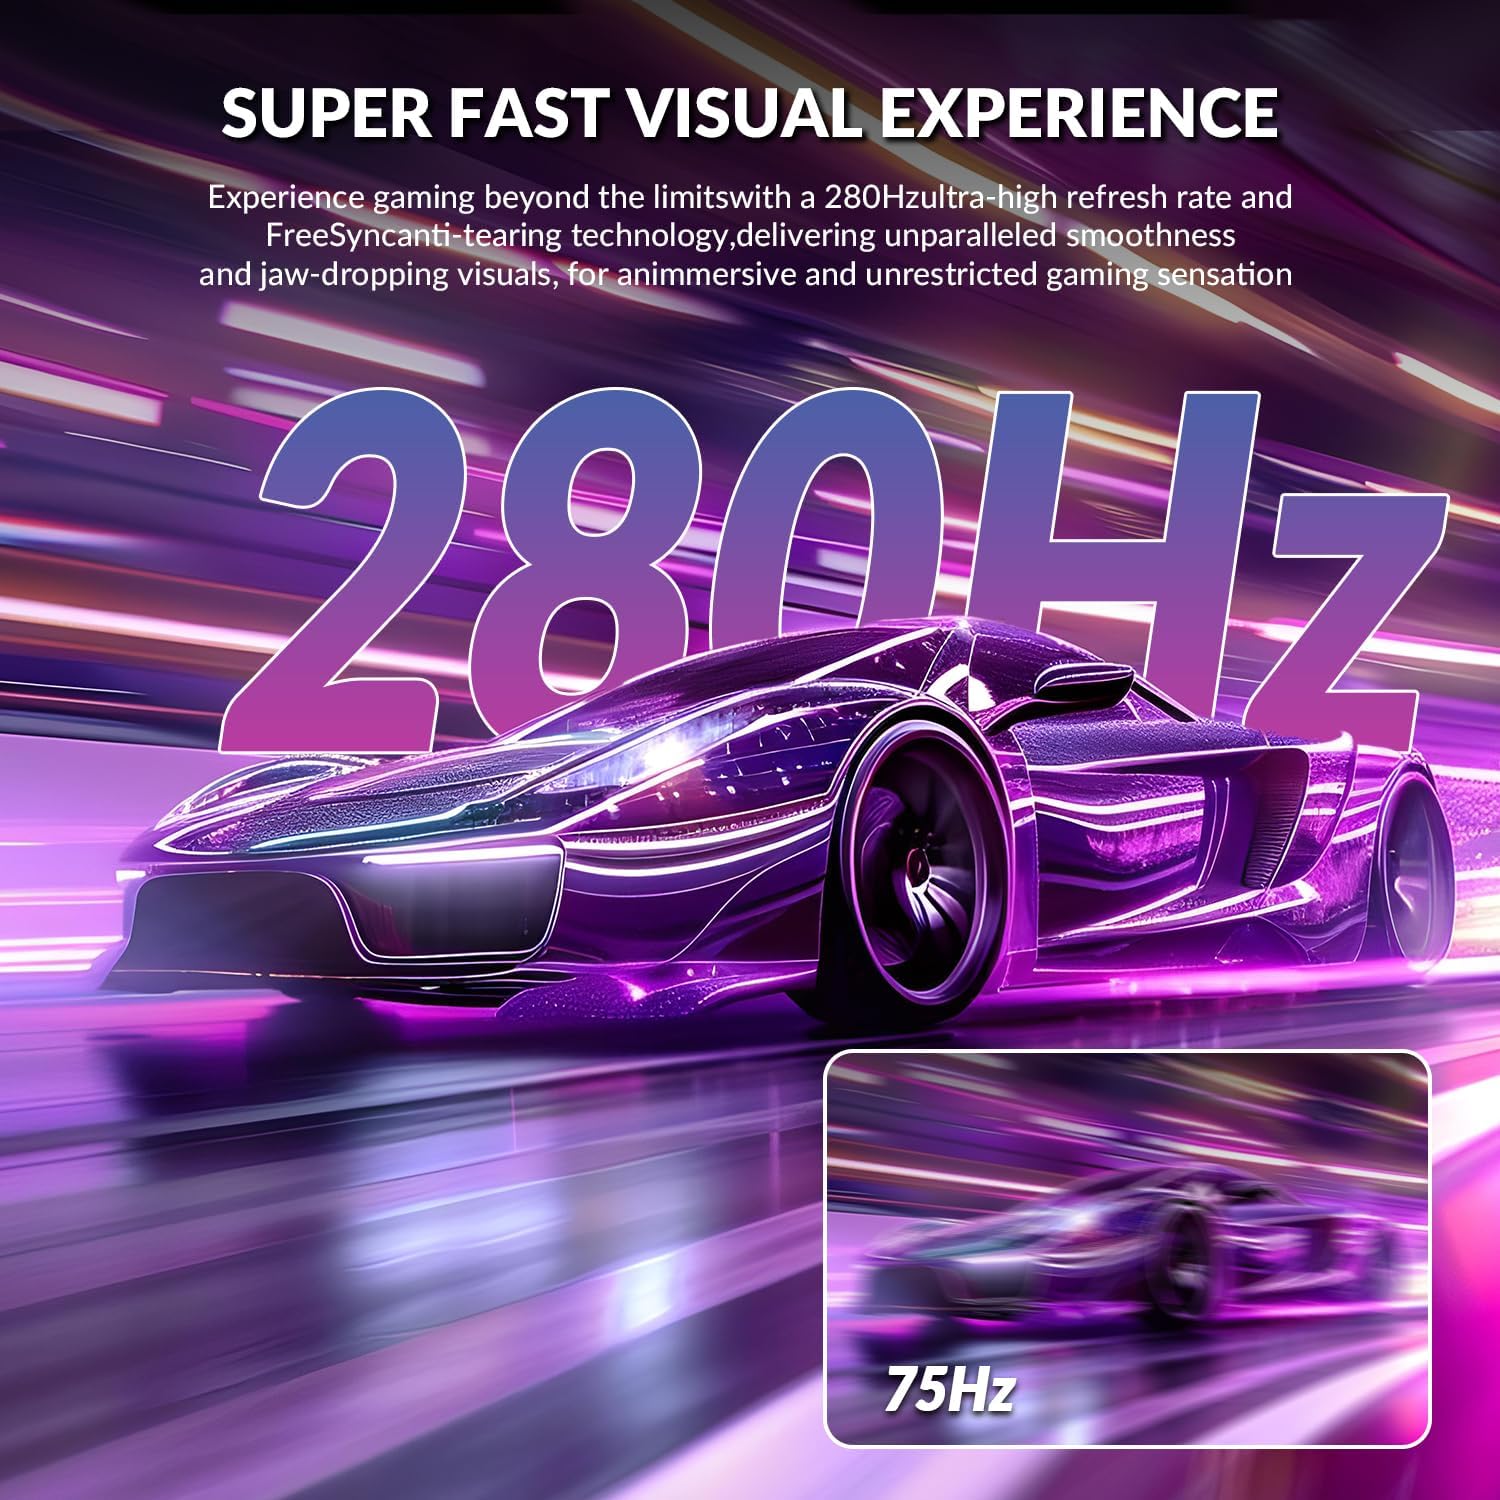
The 280Hz refresh rate provides an incredibly fluid visual experience, crucial for fast-paced gaming.
- 1ms Response Time (GTG): Minimizes motion blur and ghosting for crisp visuals during fast action.
- AMD FreeSync: Synchronizes the monitor's refresh rate with your AMD graphics card's frame rate to eliminate screen tearing and stuttering. Enable this feature in the OSD menu and your graphics card settings.
- 100% sRGB Color Accuracy: Delivers vibrant and precise colors for an immersive viewing experience.

Enjoy brilliant and accurate colors with 100% sRGB coverage and a high contrast ratio.
- 1800R Curved Panel: The curvature creates a wider field of view, enhancing depth perception and minimizing peripheral distractions for a more immersive experience.

The 1800R curvature draws you deeper into your content, providing a more engaging visual.
- Low Blue Light Mode: Reduces blue light emission to minimize eye strain during prolonged use. Activate this feature through the OSD menu.
- Tilt Adjustment: The monitor supports tilt adjustment from -5° to -15° (±2°), allowing you to find the optimum viewing angle for comfort and posture.
7. Maintenance and Care
- Cleaning the Screen: Gently wipe the screen with a soft, lint-free cloth. For stubborn marks, dampen the cloth with a small amount of non-ammonia, non-alcohol based glass cleaner. Do not spray cleaner directly onto the screen.
- Cleaning the Casing: Use a soft, dry cloth to wipe the monitor casing. Avoid using abrasive cleaners or solvents.
- Storage: If storing the monitor for an extended period, disconnect it from power, pack it in its original packaging, and store it in a cool, dry place.
- Avoid Direct Sunlight: Do not expose the monitor to direct sunlight or excessive heat, as this can damage the screen and internal components.
8. Troubleshooting
| Problem | Possible Cause | Solution |
|---|---|---|
| No image on screen | Power cable disconnected; Video cable disconnected; Incorrect input source selected. | Ensure power and video cables are securely connected. Press the input source button to select the correct input. |
| Image is blurry or distorted | Incorrect resolution; Cable issue. | Set the display resolution to 1920x1080p. Try a different video cable. |
| Screen flickering | Refresh rate mismatch; Cable issue; FreeSync conflict. | Ensure refresh rate is set correctly in PC settings. Try a different cable. If using FreeSync, ensure it's enabled on both monitor and GPU. |
| No sound from external speakers/headphones | Audio cable disconnected; Volume too low; Incorrect audio output selected on PC. | Check audio cable connection. Adjust volume. Ensure monitor is selected as audio output device on your PC. |
| Monitor does not turn on | Power cable disconnected; Power outlet issue. | Check power cable connection to monitor and wall. Try a different power outlet. |
9. Technical Specifications
| Feature | Specification |
|---|---|
| Screen Size | 27 Inches |
| Panel Type | VA |
| Curvature | 1800R |
| Resolution | 1920 x 1080 Pixels (FHD 1080p) |
| Refresh Rate | 280Hz |
| Response Time | 1ms (GTG) |
| Aspect Ratio | 16:9 |
| Color Gamut | 100% sRGB |
| Contrast Ratio | 4000:1 |
| Brightness | 250 cd/m² |
| Connectivity | HDMI 2.0, DisplayPort 1.4, Audio Out |
| VESA Compatibility | 100x100mm |
| Tilt Adjustment | -5° to -15° (±2°) |
| Product Dimensions (with stand) | 27.5 x 4.68 x 16.9 inches |
| Item Weight | 10.63 pounds |
10. Warranty and Support
ZZA products are manufactured to the highest quality standards. For specific warranty details, please refer to the warranty card included with your product or visit the official ZZA website. Keep your purchase receipt as proof of purchase.
For technical support, troubleshooting assistance, or service inquiries, please contact ZZA customer support through the contact information provided on our official website or your retailer's support channels. Please have your model number (Z27H1K280HZ) and purchase date ready when contacting support.
Ask a question about this manual
Ask about setup, troubleshooting, compatibility, parts, safety, or missing instructions. Manuals+ will review the question and use this page’s manual context to help answer it.