1. Introduction
The Arionyx GL100E is a 10.1-inch Human Machine Interface (HMI) touch screen designed for industrial applications. It features USB and Ethernet connectivity, providing a robust and reliable interface for controlling and monitoring industrial processes. This manual provides essential information for the proper installation, operation, and maintenance of your GL100E HMI.
Key Features:
- Durability and Ruggedness: Designed for extreme industrial conditions, featuring water resistance and protective characteristics.
- High-Resolution Display and Touchscreen: Equipped with a high-resolution touchscreen for clear images and responsive operation.
- Wide Range of Communication Interfaces and Protocol Support: Supports multiple communication interfaces for versatile integration.
- User-Friendly Programming and Configuration Tools: Offers intuitive programming software with drag-and-drop interfaces and extensive graphic libraries.
- Data Logging and Analysis: Includes data logging capabilities for storing production data and event logs.
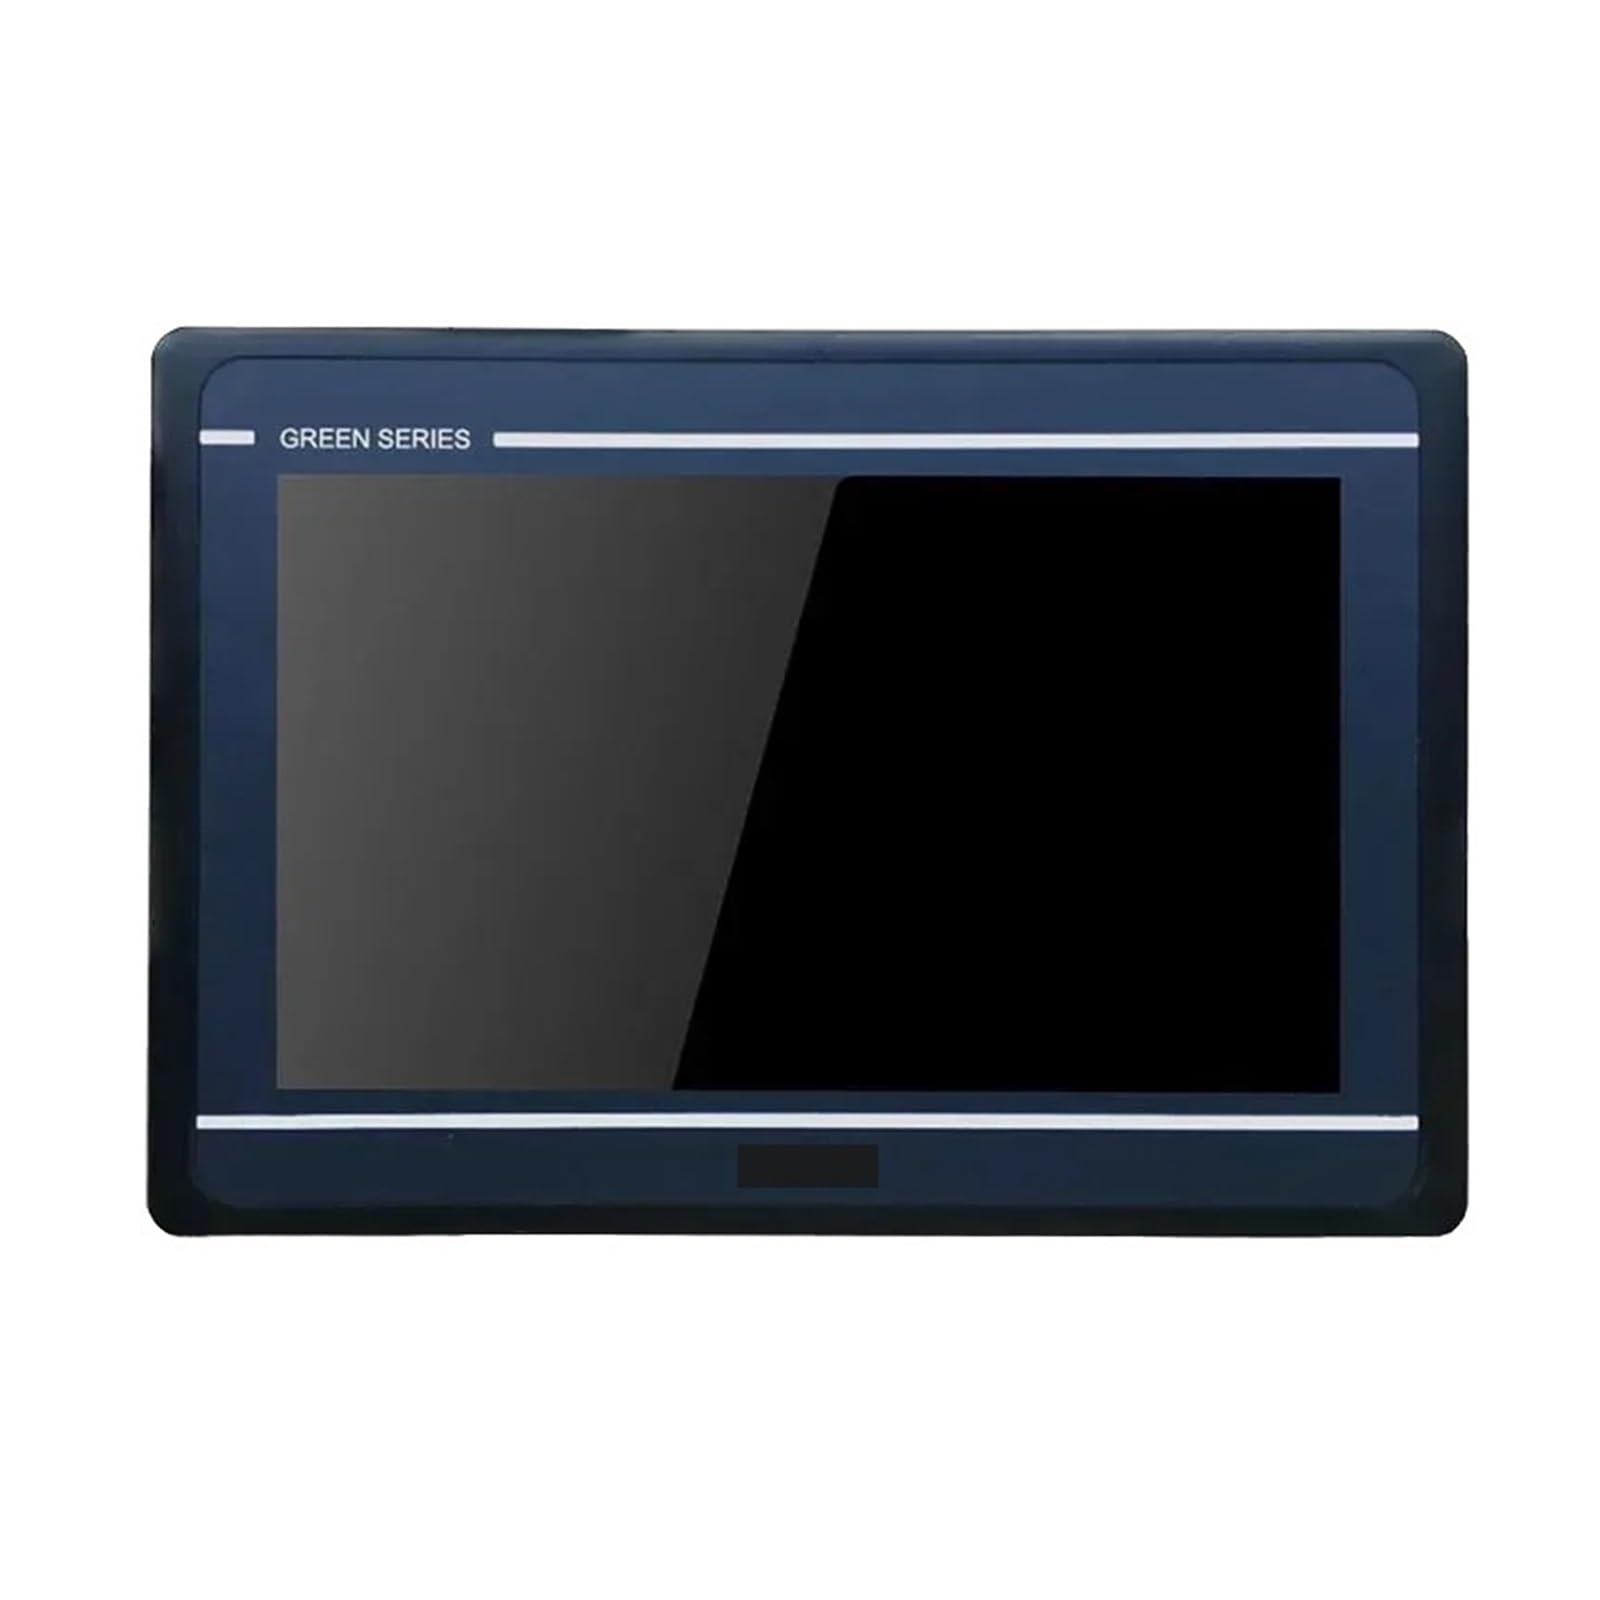
Figure 1: Front view of the Arionyx GL100E HMI Touch Screen. This image shows the display and overall form factor of the device.
2. Safety Information
Please read all safety instructions carefully before installing or operating the Arionyx GL100E HMI. Failure to follow these instructions may result in injury, damage to the device, or property damage.
- Ensure the power supply voltage matches the device's requirements.
- Do not expose the device to extreme temperatures, humidity, or corrosive environments.
- Avoid direct sunlight exposure for prolonged periods.
- Do not attempt to open or modify the device. Refer all servicing to qualified personnel.
- Disconnect power before performing any installation, maintenance, or cleaning.
- Use appropriate personal protective equipment (PPE) when working in industrial environments.
3. Package Contents
Verify that all items are present and undamaged upon unpacking. If any items are missing or damaged, contact your supplier immediately.
- Arionyx GL100E HMI Touch Screen Unit
- Mounting Hardware (e.g., clips, screws)
- Power Connector
- USB Cable (Type A to B)
- Quick Start Guide (if applicable)
4. Setup and Installation
Follow these steps for proper installation of your Arionyx GL100E HMI.
- Panel Cutout: Prepare a panel cutout according to the dimensions provided in the specifications section. Ensure sufficient space for ventilation and cable connections.
- Mounting: Insert the HMI unit into the panel cutout from the front. Secure it using the provided mounting clips or screws from the rear of the panel. Tighten fasteners evenly to ensure a snug fit without over-tightening.
- Power Connection: Connect the power supply cable to the HMI's power input terminal. Ensure correct polarity. The GL100E typically operates on a DC power source (e.g., 24V DC).
- USB Connection: Connect a USB cable from your programming PC to the HMI's USB port for project download and data transfer.
- Ethernet Connection: For network communication, connect an Ethernet cable from your network switch or PLC to the HMI's Ethernet port.
- Initial Power-Up: After all connections are secure, apply power to the HMI. The device should power on and display the boot screen.
5. Operating Instructions
The Arionyx GL100E HMI is operated primarily through its touch screen interface.
- Project Download: Use the dedicated programming software (e.g., Arionyx HMI Studio) on your PC to create and compile your HMI project. Connect the HMI via USB or Ethernet and download the project to the device.
- Touch Screen Interaction: Navigate through screens, activate buttons, input data, and monitor process variables by touching the corresponding elements on the display.
- System Settings: Access system settings (e.g., brightness, calibration, network settings) through a designated system menu or specific touch gestures, as defined in your HMI project.
- Data Logging: If configured, the HMI will log data according to your project settings. This data can typically be viewed on the HMI or exported via USB/Ethernet.
6. Maintenance
Regular maintenance ensures the longevity and optimal performance of your Arionyx GL100E HMI.
- Cleaning: Gently wipe the touch screen with a soft, lint-free cloth dampened with a mild, non-abrasive cleaner. Do not use harsh chemicals or abrasive materials. Ensure the device is powered off before cleaning.
- Firmware Updates: Periodically check the Arionyx website for firmware updates. Follow the provided instructions carefully for any update procedures.
- Environmental Checks: Ensure the operating environment remains within the specified temperature and humidity ranges.
- Cable Connections: Periodically inspect all cable connections for wear, damage, or looseness. Secure any loose connections.
7. Troubleshooting
This section provides solutions to common issues you might encounter with your GL100E HMI.
| Problem | Possible Cause | Solution |
|---|---|---|
| HMI does not power on. | No power supply, incorrect wiring, faulty power adapter. | Check power connections and voltage. Ensure power adapter is functional. |
| Touch screen unresponsive. | Screen calibration issue, software freeze, physical damage. | Restart the HMI. Recalibrate the touch screen if possible. Contact support if physical damage is suspected. |
| Communication error with PLC/device. | Incorrect communication settings, faulty cable, network issue. | Verify communication protocol and settings in the HMI project. Check cable integrity. Ensure network connectivity. |
| Display is dim or flickering. | Brightness settings, power supply issue, hardware fault. | Adjust brightness settings. Check power supply stability. If problem persists, contact support. |
If you encounter issues not listed here or if the suggested solutions do not resolve the problem, please contact Arionyx technical support.
8. Specifications
Technical specifications for the Arionyx GL100E HMI.
- Model: GL100E
- Display Size: 10.1 Inch
- Connectivity: USB, Ethernet
- Item Weight: 6.61 pounds
- Package Dimensions: 1.18 x 0.79 x 0.39 inches
- Manufacturer: Arionyx
- Assembly Required: No
- Number of Pieces: 1
9. Warranty and Support
For warranty information and technical support, please refer to the official Arionyx website or contact your authorized dealer. Keep your purchase receipt as proof of purchase.
Online Resources: Visit the Arionyx official website for product documentation, software downloads, and FAQs.
Customer Service: For direct assistance, contact Arionyx customer service through the contact information provided on their website.