1. Introduction
Thank you for choosing the Totnz Ice Maker Countertop. This manual provides important information regarding the safe operation, maintenance, and troubleshooting of your new ice maker. Please read it thoroughly before first use and retain it for future reference.
2. Important Safety Instructions
WARNING: To reduce the risk of fire, electric shock, or injury, always follow basic safety precautions when using electrical appliances.
- Read all instructions before use.
- Do not touch hot surfaces. Use handles or knobs.
- To protect against electrical shock, do not immerse cord, plugs, or appliance in water or other liquid.
- Close supervision is necessary when any appliance is used by or near children.
- Unplug from outlet when not in use and before cleaning. Allow to cool before putting on or taking off parts, and before cleaning the appliance.
- Do not operate any appliance with a damaged cord or plug or after the appliance malfunctions or has been damaged in any manner.
- The use of accessory attachments not recommended by the appliance manufacturer may cause injuries.
- Do not use outdoors.
- Do not let cord hang over edge of table or counter, or touch hot surfaces.
- Do not place on or near a hot gas or electric burner, or in a heated oven.
- Always attach plug to appliance first, then plug cord into the wall outlet. To disconnect, turn any control to "off", then remove plug from wall outlet.
- Do not use appliance for other than intended use.
- Only use potable water in this appliance.
- Ensure the protective film is removed from the surface before use.
3. What's in the Box
Upon unpacking, please ensure all items listed below are present and in good condition:
- Ice maker unit
- Ice Scoop
- Ice Basket
- User manual (this document)
4. Product Overview
Familiarize yourself with the components of your Totnz Ice Maker.

Figure 4.1: Totnz Ice Maker Countertop. This image shows the stainless steel ice maker unit, an ice scoop filled with bullet ice, and a glass of a red beverage with ice and a raspberry garnish, demonstrating the product in use.

Figure 4.2: Control Panel and Ice Basket. This image provides a top-down view of the ice maker, highlighting the control panel with buttons and indicator lights, and the transparent lid revealing the ice basket filled with bullet ice.
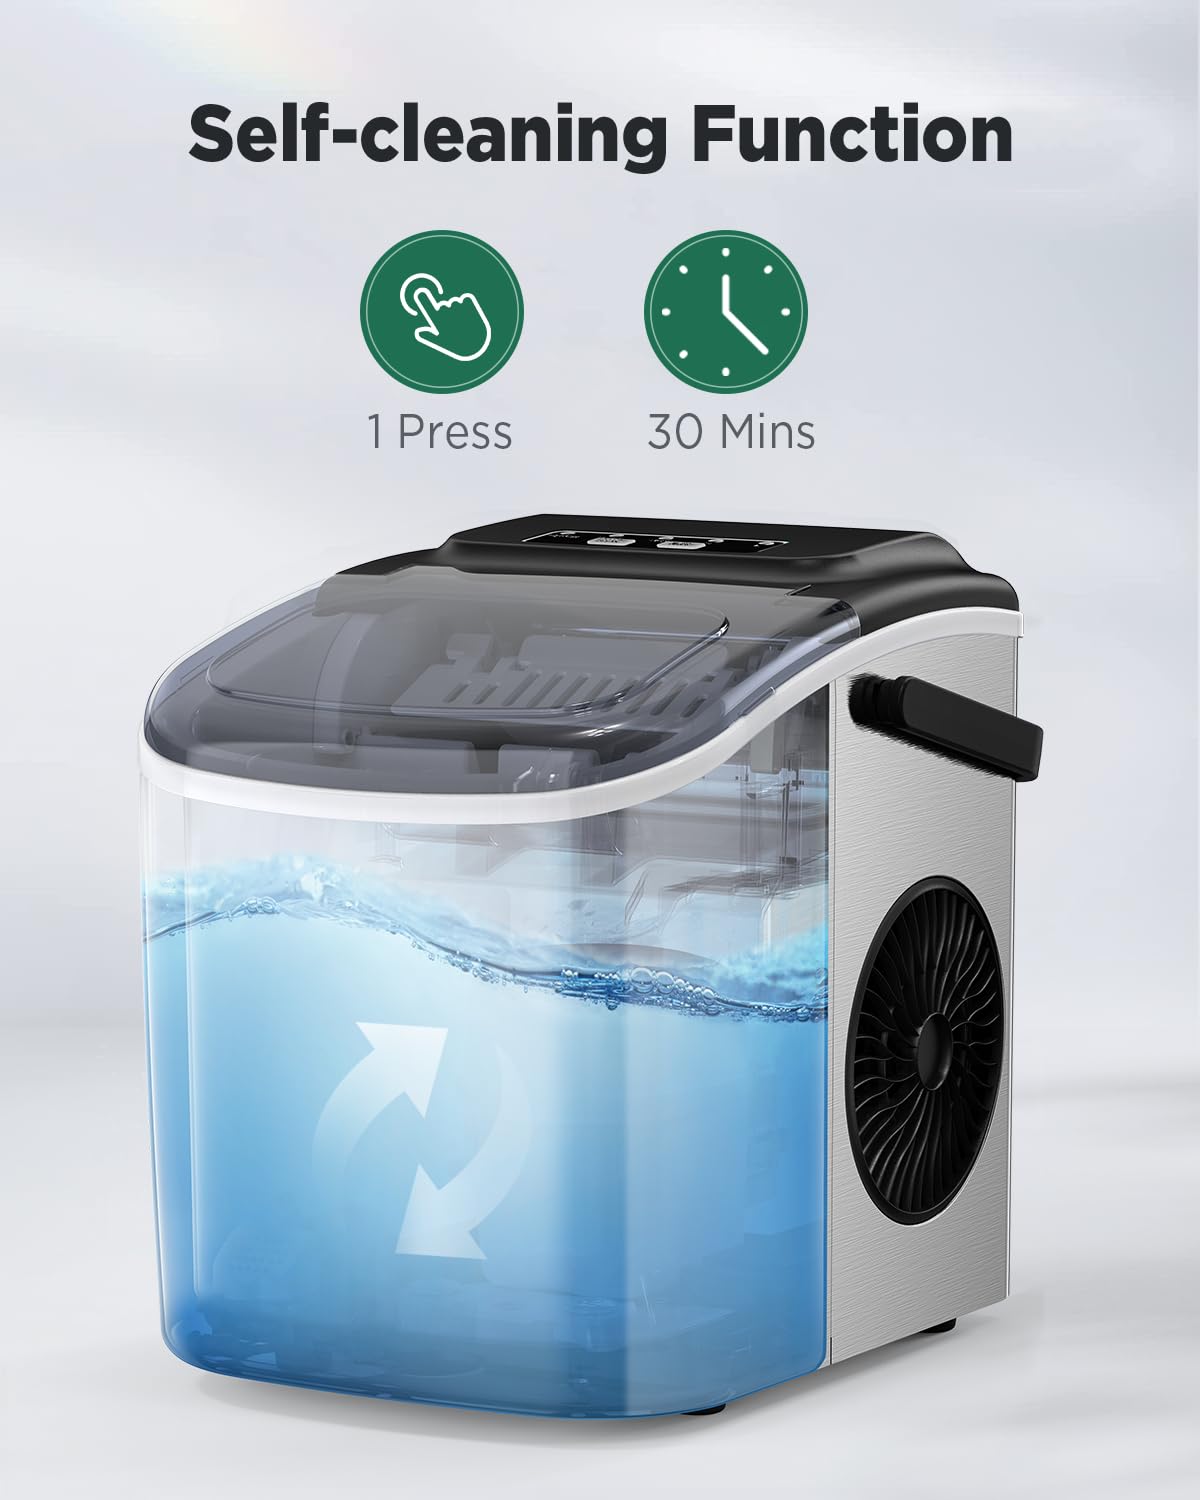
Figure 4.3: Self-Cleaning Function. This image illustrates the internal water circulation during the self-cleaning process, with water visibly moving within the transparent water reservoir.
5. Setup and First Use
- Unpacking: Carefully remove the ice maker from its packaging. Remove all packing materials, tapes, and protective films. Important: The blue-green color on the surface is a protective film; please remove it before use.
- Placement: Place the ice maker on a flat, stable surface away from direct sunlight and other heat sources (e.g., stoves, furnaces, radiators). Ensure there is at least 4 inches (10 cm) of space around the unit for proper ventilation.
- Initial Cleaning: Before first use, clean the interior of the ice maker.
- Open the drain plug at the bottom to drain any residual water.
- Clean the interior with a soft cloth and warm, soapy water. Rinse thoroughly.
- Run a self-cleaning cycle (refer to Section 7: Maintenance).
- Power Connection: Plug the ice maker into a grounded electrical outlet.
6. Operating Instructions
6.1 Adding Water

Figure 6.1: Adding Water. This image shows a hand pouring water from a pitcher into the water reservoir of the ice maker, indicating the fill point.
Open the lid and fill the water reservoir with potable water up to the "MAX" fill line. Do not overfill.
6.2 Making Ice

Figure 6.2: Starting Ice Production. This image shows a finger pressing the "ON/OFF" button on the control panel, initiating the ice making process.
- Ensure the water reservoir is filled.
- Press the ON/OFF button to start the ice making cycle. The "ICE" indicator light will illuminate.
- Select your desired ice cube size by pressing the SELECT button.
- S (Small): For chilling seafood and beer.
- L (Large): More suitable for beverages for rapid cooling.
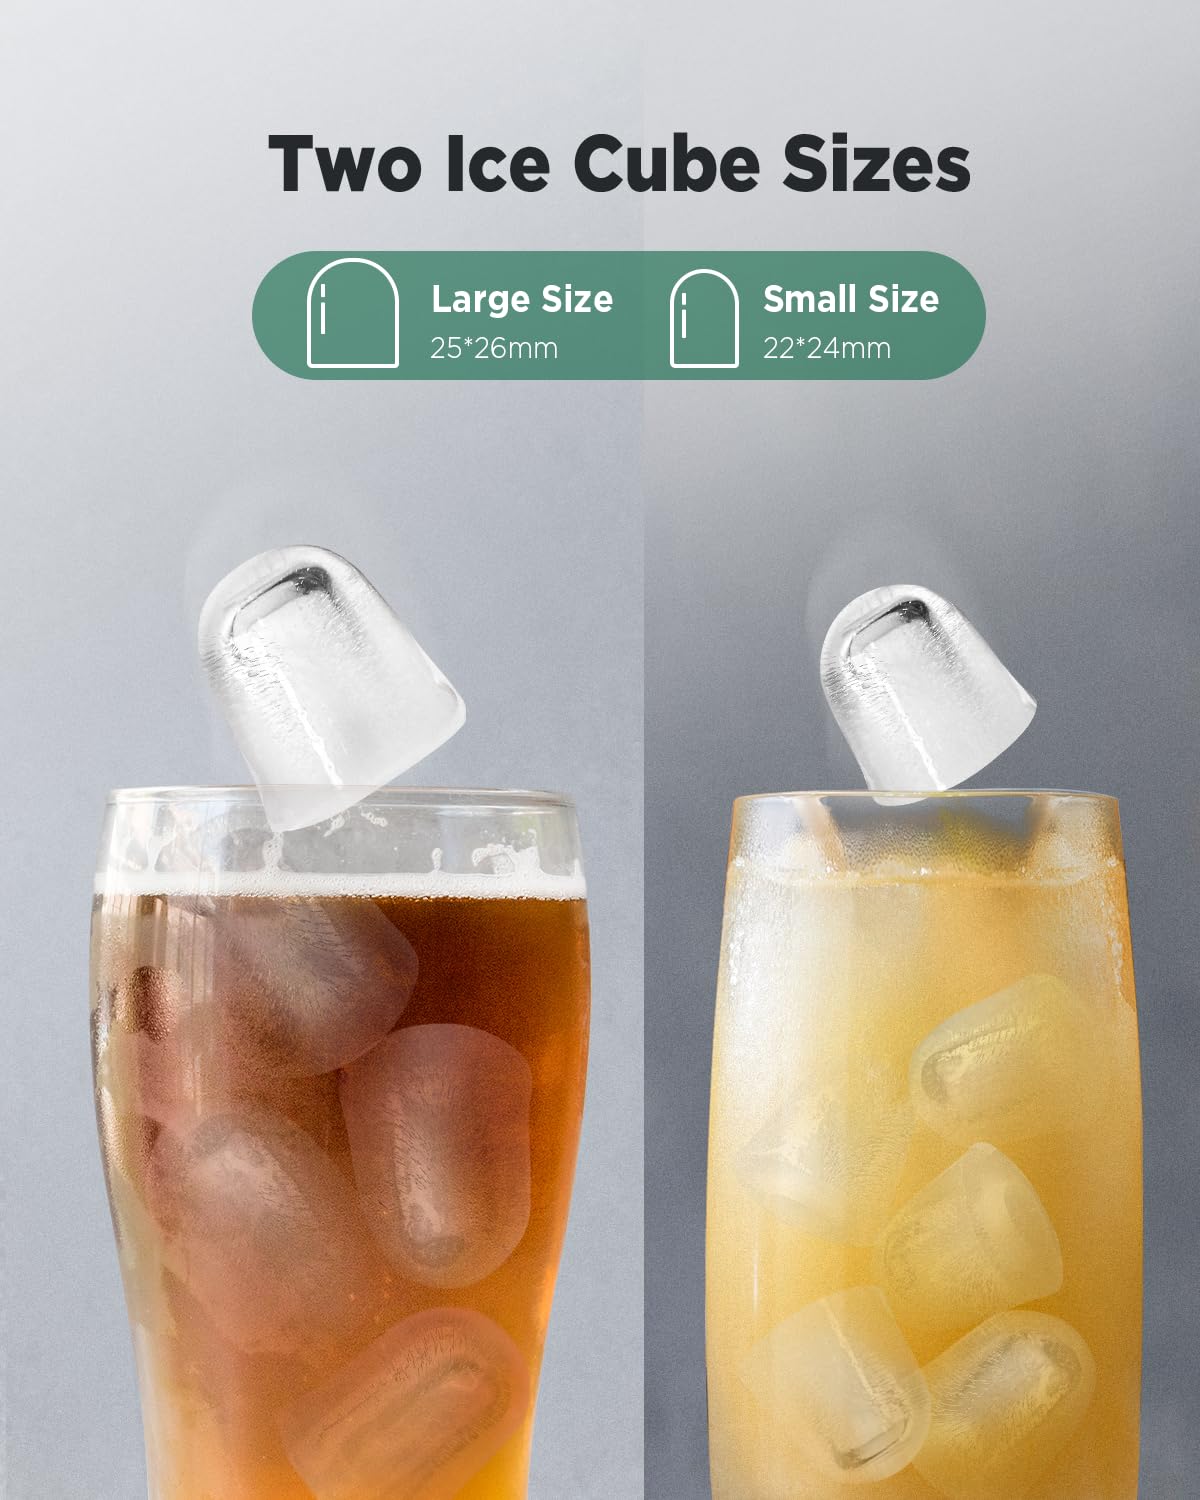
Figure 6.3: Two Ice Cube Sizes. This image visually compares the small (22x24mm) and large (25x26mm) bullet-shaped ice cubes produced by the machine, shown in different beverage glasses.
- The first batch of ice will be ready in approximately 6-8 minutes.
- The ice maker will automatically stop producing ice when the ice basket is full. The "ICE FULL" indicator light will illuminate.
- When the water level is low, the "ADD WATER" indicator light will illuminate, and the unit will stop making ice. Add more water to resume operation.
6.3 Noise Level
The Totnz Ice Maker operates at a low noise level, typically below 35dB, comparable to a working refrigerator. This ensures quiet operation in your home or office environment.
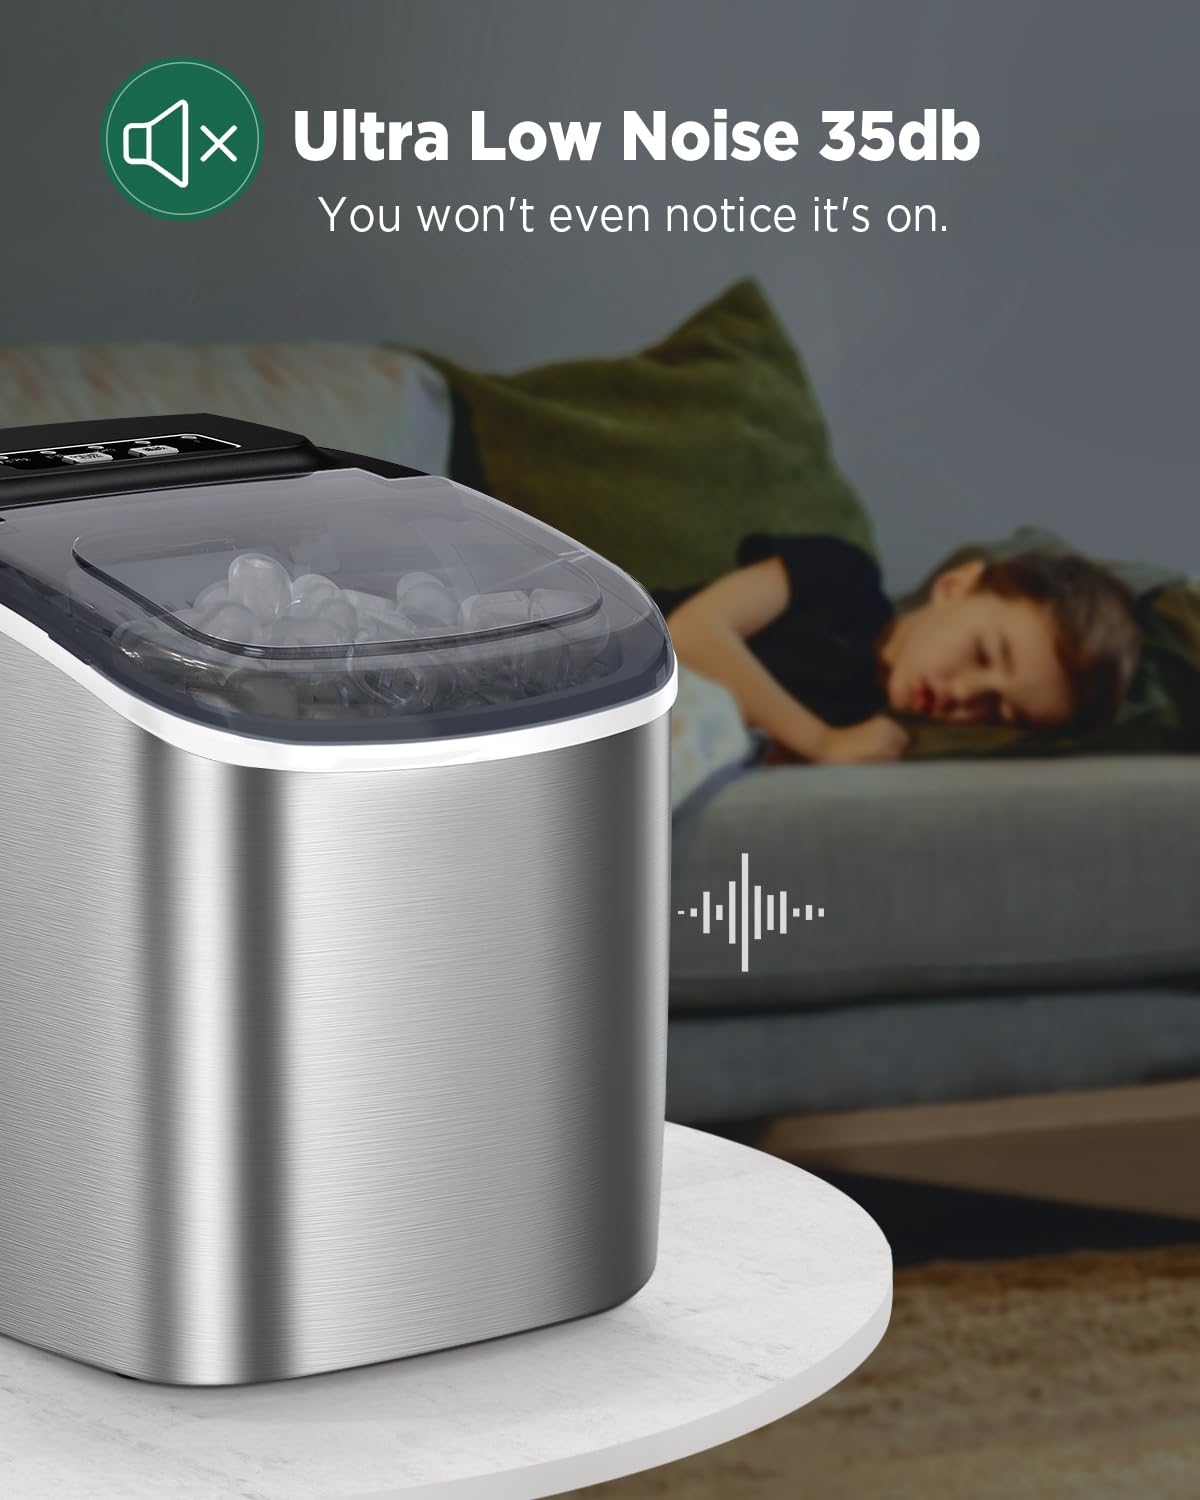
Figure 6.4: Ultra Low Noise Operation. This image depicts the ice maker in a living room setting, with a sleeping child in the background, emphasizing its quiet operation (below 35dB).
7. Maintenance and Cleaning
7.1 Self-Cleaning Function
The ice maker features a convenient self-cleaning function:
- Ensure the water reservoir is filled with clean water.
- Press and hold the ON/OFF button for 3 seconds to activate the self-cleaning mode. The "CLEAN" indicator light will illuminate.
- The cleaning cycle will run for approximately 30 minutes.
- Once the cycle is complete, drain the water by removing the drain plug at the bottom of the unit.
- Rinse the interior with fresh water and drain again.
7.2 Regular Cleaning
For optimal performance and hygiene, regular cleaning is recommended:
- Unplug the appliance before cleaning.
- Remove the ice basket and clean it with warm, soapy water. Rinse and dry.
- Wipe the exterior of the unit with a soft, damp cloth.
- Clean the interior water reservoir and ice chute with a soft cloth and a mild detergent solution. Rinse thoroughly with clean water.
- Ensure all parts are completely dry before reassembling and storing or using the unit.
8. Troubleshooting
If you encounter issues with your ice maker, please refer to the following table before contacting customer support.
| Problem | Possible Cause | Solution |
|---|---|---|
| Ice maker not working. | No power. | Check if the power cord is properly plugged into a working outlet. |
| "ADD WATER" indicator is on. | Water level is too low. | Add potable water to the reservoir up to the MAX fill line. |
| "ICE FULL" indicator is on. | Ice basket is full. | Remove ice from the basket. The unit will resume ice production automatically. |
| Ice cubes are too small or not forming properly. | Water temperature is too high; ambient temperature is too high. | Use colder water. Place the ice maker in a cooler environment. Ensure proper ventilation. |
| Unusual noise during operation. | Unit is not level; internal components are vibrating. | Ensure the unit is on a flat, stable surface. If noise persists, contact customer support. |
9. Product Specifications
| Feature | Detail |
|---|---|
| Model Number | TZIM109T |
| Product Dimensions | 11.4"D x 8.7"W x 11.5"H (29 x 22 x 29.2 cm) |
| Item Weight | 15.34 Pounds (6.96 kg) |
| Ice Production Capacity | Up to 26 Pounds (11.8 kg) per 24 hours |
| Ice Making Cycle | Approx. 6-8 minutes per 9 cubes |
| Water Tank Capacity | 1.2 Liters |
| Wattage | 160 watts |
| Noise Level | Below 35dB |
| Ice Cube Shape | Bullet |
| Ice Cube Sizes | Small (22x24mm), Large (25x26mm) |
| Manufacturer | Totnz |
10. Warranty and Customer Support
For information regarding warranty coverage, please refer to the warranty card included with your product or contact Totnz customer support directly. Keep your purchase receipt as proof of purchase for warranty claims.
For technical assistance, troubleshooting beyond this manual, or to inquire about parts, please visit the official Totnz website or contact their customer service department. Contact details are typically found on the product packaging or the brand's official website.
Online Resources:
- Totnz Store on Amazon: Visit the Totnz Store
11. Product Videos
No official product videos from the seller were found for this model at this time. Please refer to the instructions and images provided in this manual for guidance.


