Introduction
Thank you for choosing the Totnz Ice Maker Countertops, Model TZIM135B. This portable ice machine is designed to provide a convenient and efficient way to produce ice for your home, kitchen, office, RV, or for small gatherings. Please read this manual thoroughly before operating your new ice maker to ensure safe and proper use.
Important Safety Instructions
- Ensure the appliance is placed on a stable, level surface.
- Do not immerse the appliance, power cord, or plug in water or other liquids.
- Keep the appliance away from heat sources and direct sunlight.
- Do not operate the appliance with a damaged cord or plug.
- Unplug the appliance before cleaning or when not in use.
- Keep children away from the appliance during operation.
- Use only potable water in the water tank.
- Do not puncture refrigerant tubing.
Setup
- Unpacking: Carefully remove the ice maker from its packaging. Ensure all components, including the ice scoop and ice basket, are present.
- Initial Placement: Place the ice maker on a flat, stable countertop. Allow the unit to stand upright for at least 24 hours before plugging it in. This allows the refrigerant to settle after shipping.
- Power Connection: Plug the ice maker into a grounded electrical outlet.
- First Use Cleaning: Before first use, it is recommended to run the self-cleaning cycle (see Maintenance section) and discard the first few batches of ice to ensure cleanliness and remove any manufacturing residues.
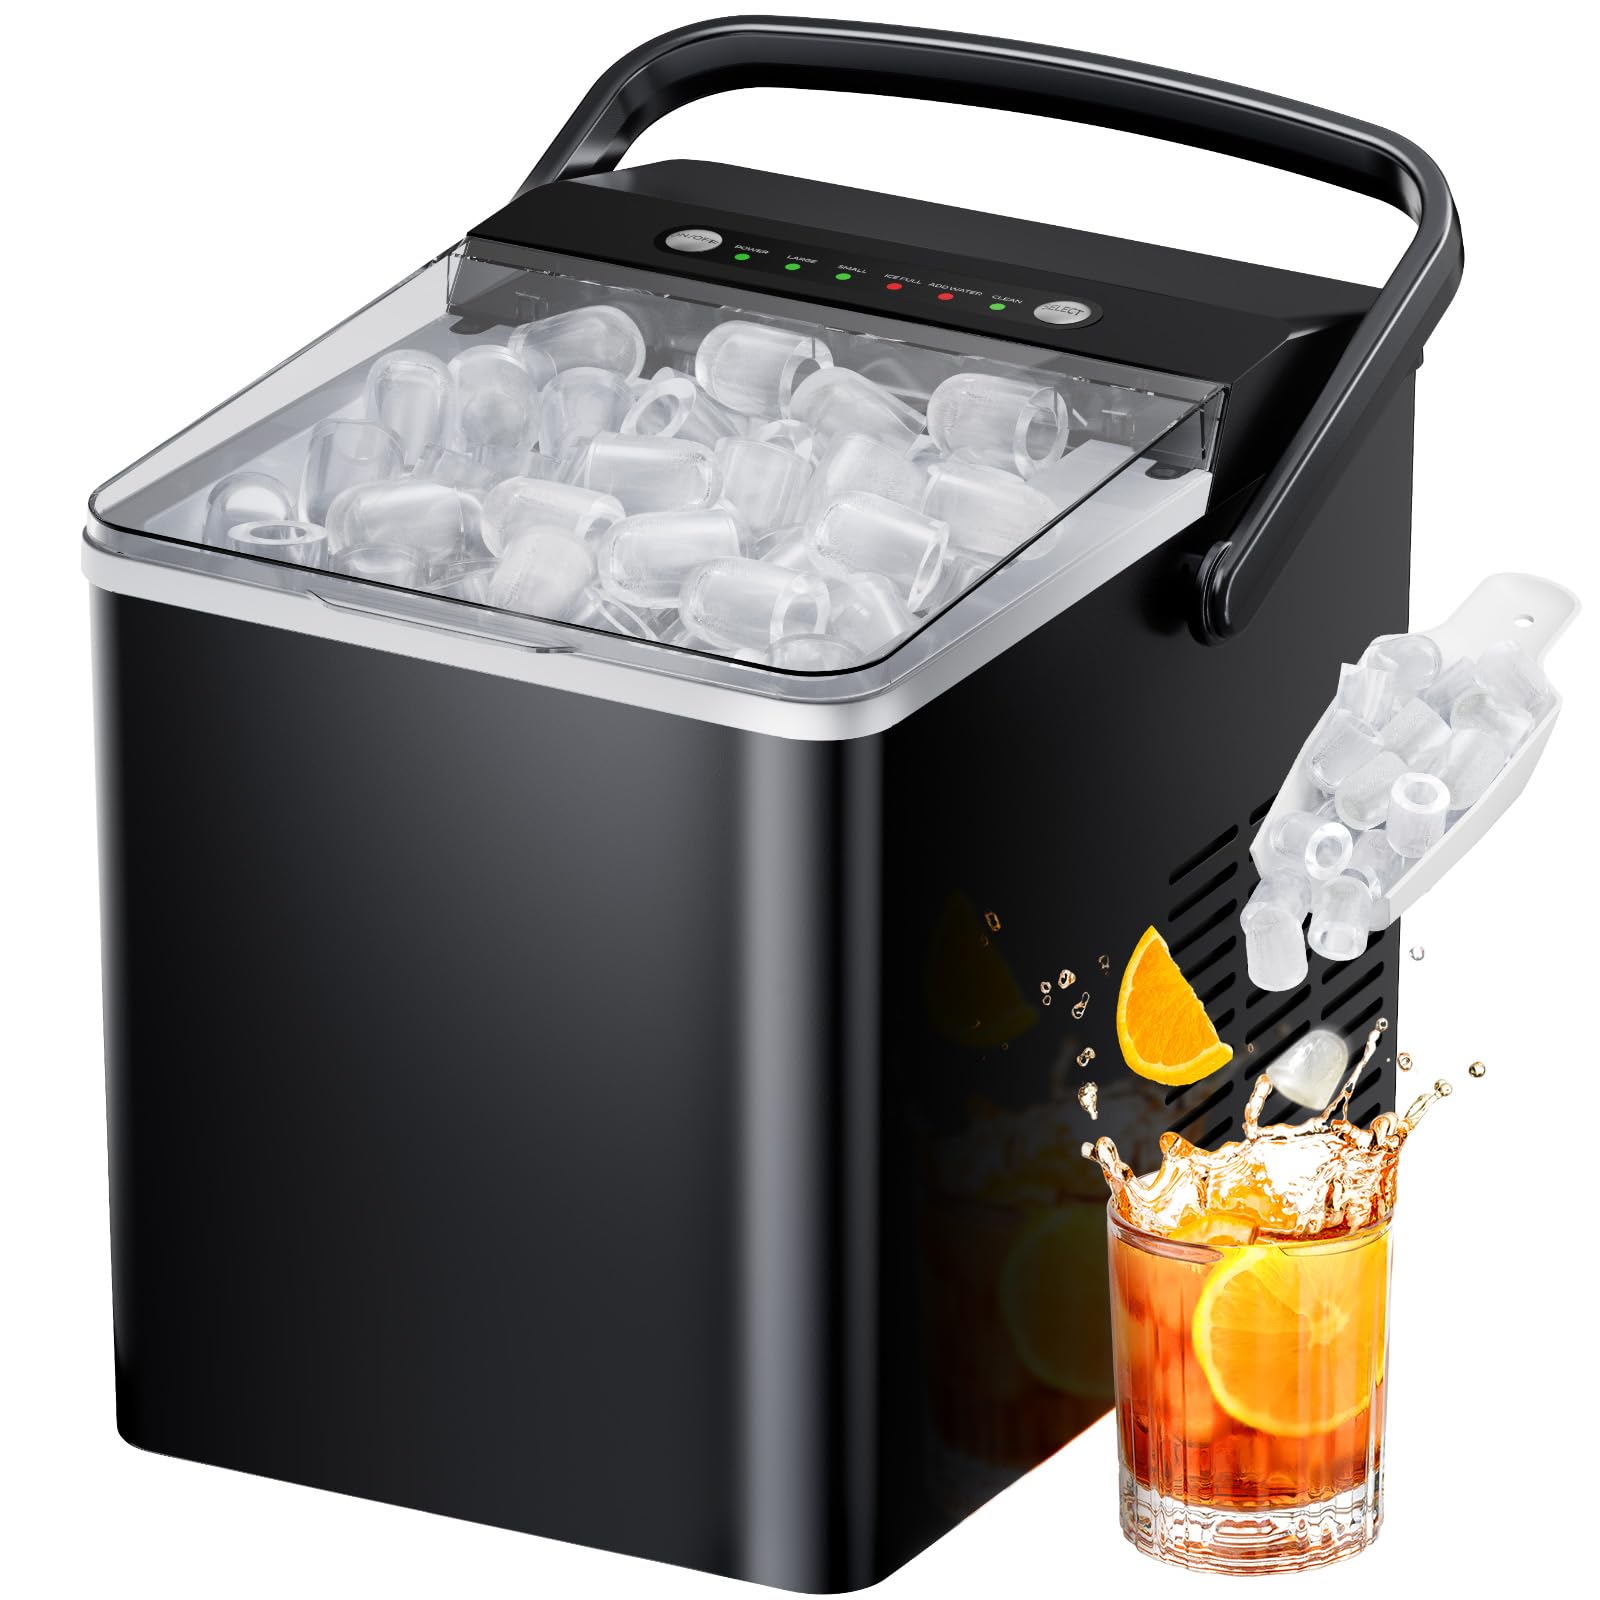
Image: The Totnz Ice Maker Countertops, Model TZIM135B, in its compact design, ready for use on a kitchen countertop.
Operating Instructions
- Add Water: Open the lid and fill the water reservoir with potable water up to the MAX fill line. The reservoir has a generous 1.8L capacity. If the "ADD WATER" indicator lights up, it means the water level is low and needs refilling.
- Power On: Press the ON/OFF button to turn on the ice maker. The "POWER" indicator will illuminate.
- Select Ice Size: Press the SELECT button to choose between small (S) or large (L) ice cubes. The corresponding indicator light will illuminate. Small cubes are ideal for juice, coffee, or tea, while large cubes are suitable for whiskey, chilling food, or ice packs.
- Ice Production: The ice maker will begin producing ice. It can deliver 9 bullet-shaped ice cubes in approximately 6 minutes.
- Ice Collection: Ice cubes will drop into the removable ice basket. The "ICE FULL" indicator will light up when the basket is full, and the machine will pause production until ice is removed.
- Continuous Operation: The ice maker is designed to recycle melted ice water from the basket back into the reservoir for continuous ice production.
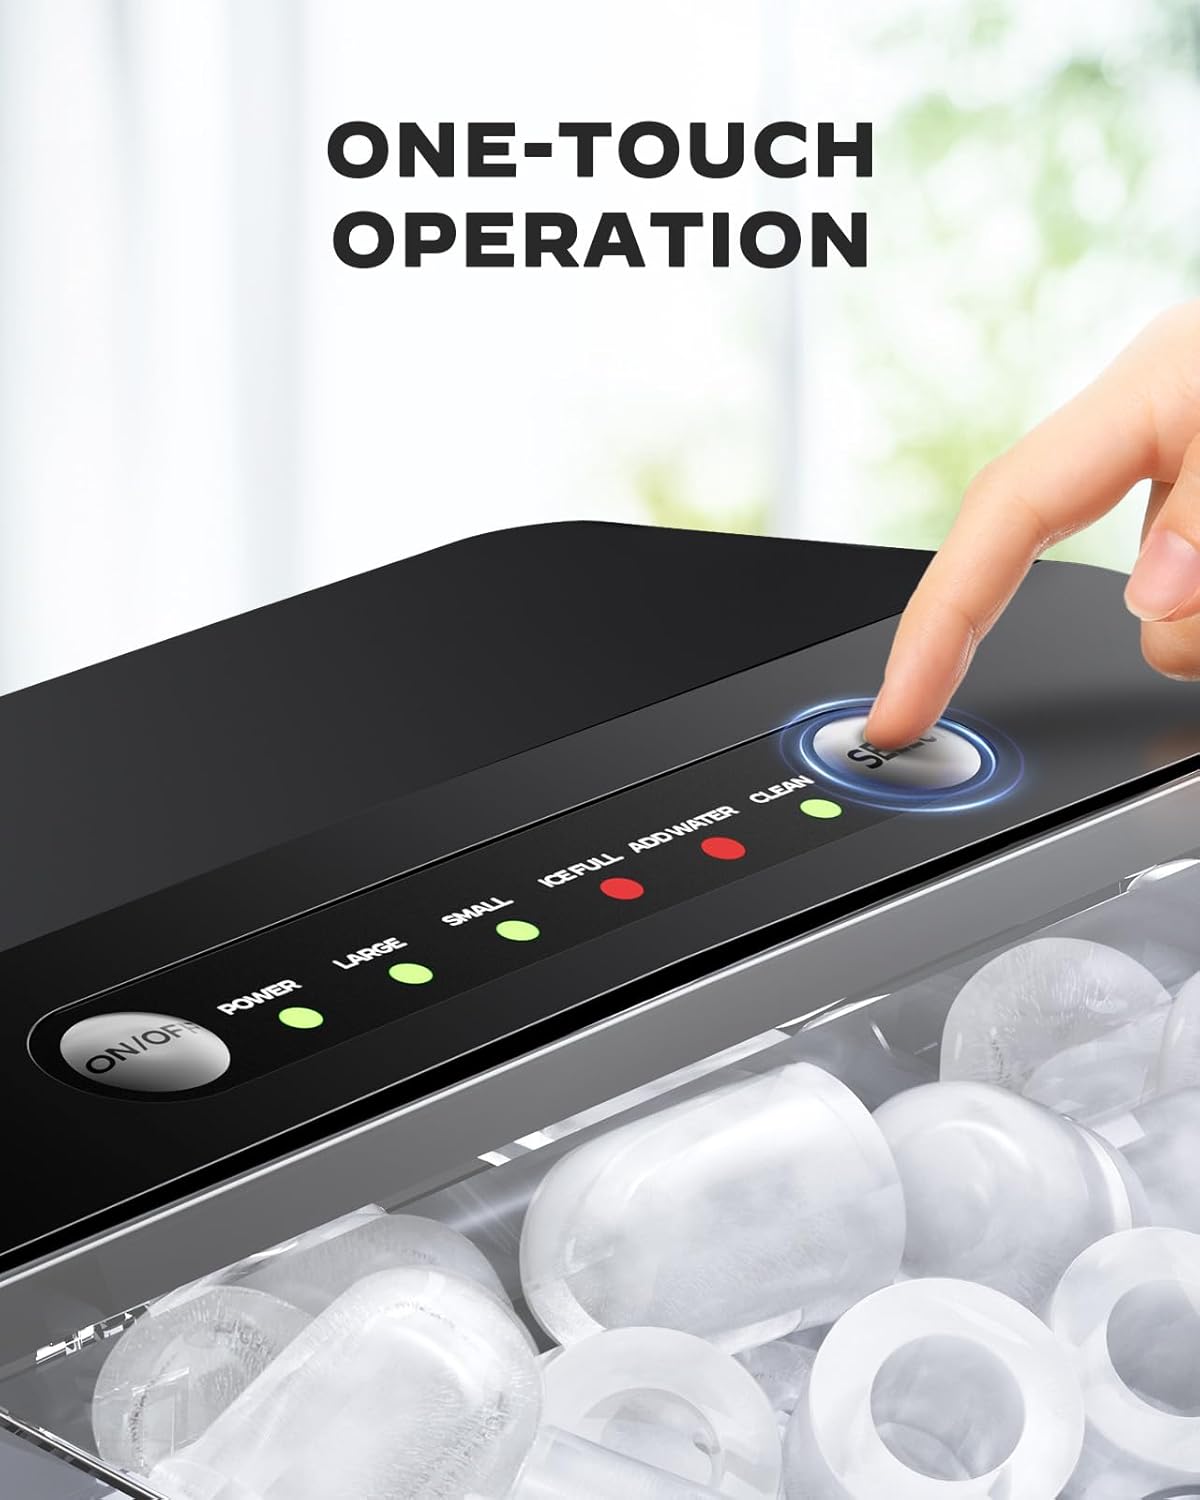
Image: Close-up of the control panel with LED indicators for "ADD WATER", "ICE FULL", "POWER", and ice size selection (S/L).
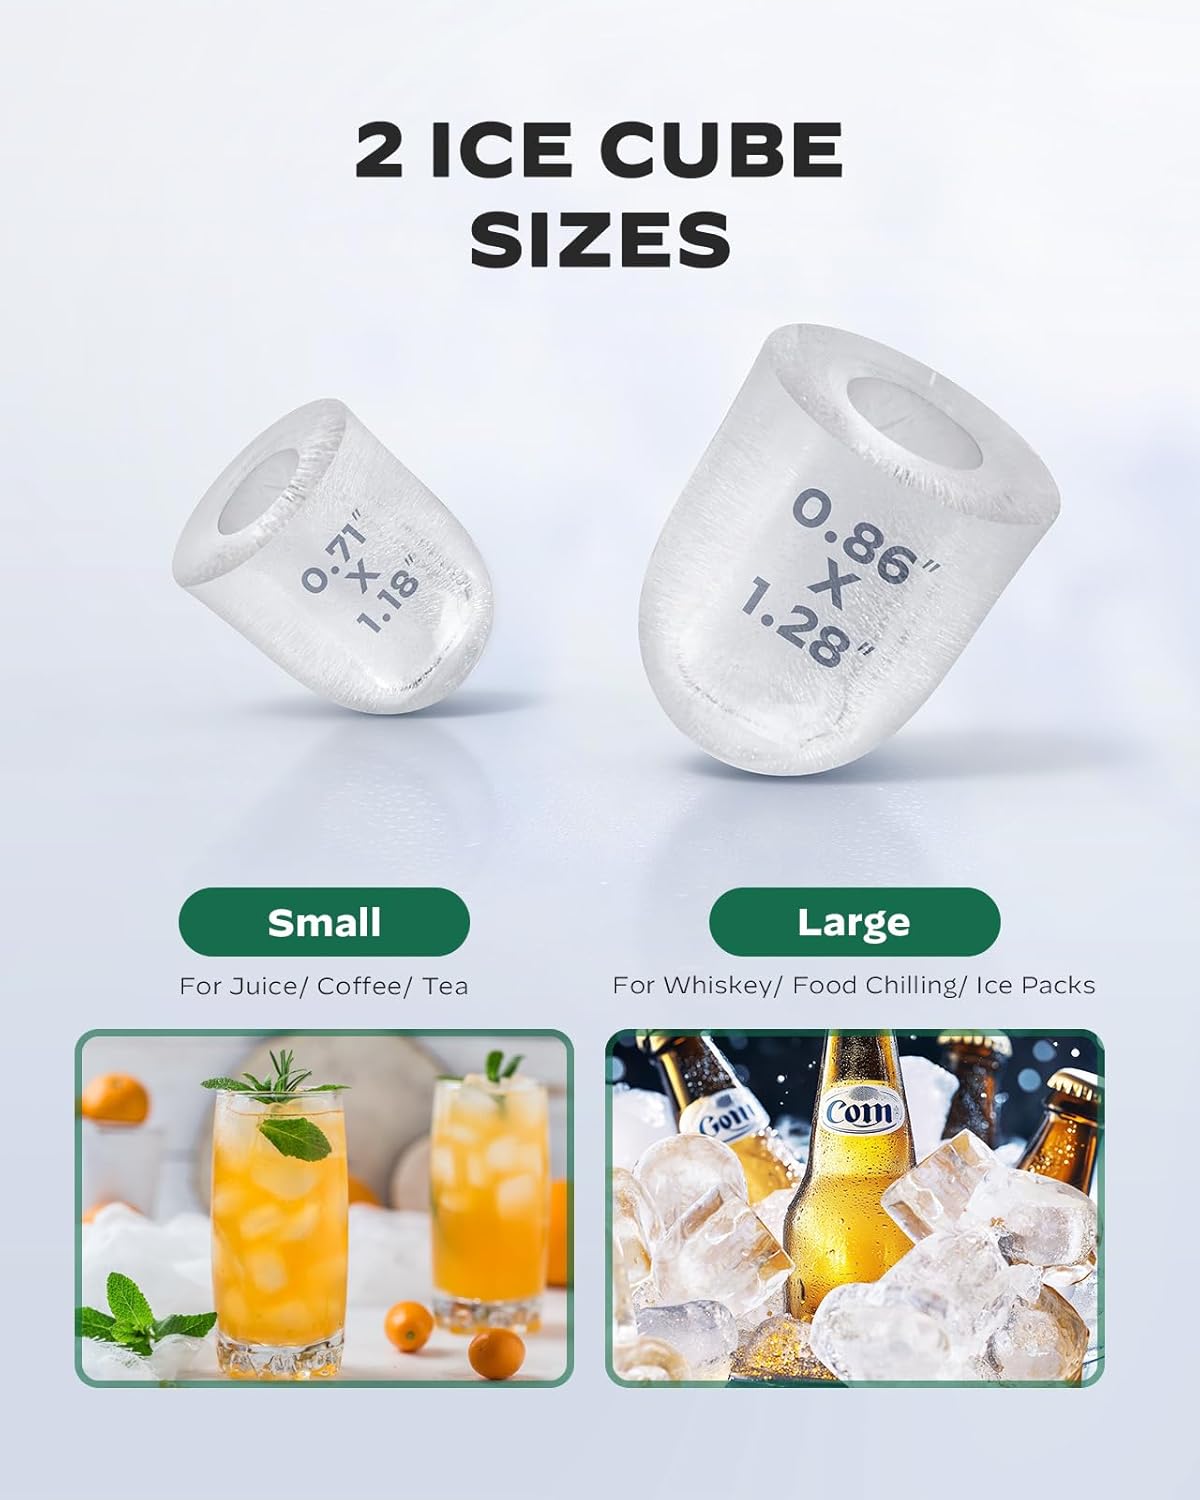
Image: Illustration showing the two available ice cube sizes, small and large, and their recommended uses.

Image: Visual comparison highlighting the 1.8L water tank capacity of the Totnz ice maker compared to standard 1.2L models.
Understanding Ice Characteristics
The ice cubes produced by this machine are bullet-shaped with a hollow center. This design allows for rapid ice production. Due to the increased surface area, these ice cubes may melt slightly faster than traditional solid ice cubes. They are ideal for immediate chilling of beverages.
Noise and Power Consumption
During operation, the ice maker's compressor and condenser will generate some noise. This is normal for refrigeration appliances. The unit is also designed for efficient ice production, which may result in higher power consumption compared to a full-size refrigerator's ice maker. For optimal energy use, it is recommended to operate the ice maker sporadically when a large quantity of ice is needed, rather than continuously 24/7.
Video: A detailed overview of the ice maker's operation, including internal mechanisms, ice formation, and considerations for noise and power consumption.
Maintenance
Self-Cleaning Function
The Totnz ice maker features an effortless self-cleaning mode to maintain hygiene. To activate, ensure the water reservoir is filled, then press and hold the ON/OFF CLEAN button for a few seconds until the cleaning cycle begins. The machine will circulate water to clean internal components. Once complete, drain the water as described below.

Image: An internal view of the ice maker, illustrating the water circulation during the self-cleaning process.
Video: Demonstrates the self-cleaning process and how to remove the ice basket and drain plug for cleaning.
Draining Water
To drain water from the reservoir, locate the drain plug at the bottom of the unit. Remove the plug to allow water to flow out. Ensure the unit is placed over a sink or a container to collect the water. Reinsert the drain plug firmly after draining.
Cleaning the Ice Basket and Scoop
The ice basket is removable for easy cleaning. Simply lift it out of the unit and wash it with mild soap and water. The included ice scoop should also be cleaned regularly. Ensure all parts are dry before reassembling.
Water Quality
For best results and to prevent mineral buildup, it is recommended to use distilled water. Regular tap water can lead to scale buildup, which may affect the taste of the ice and the operational efficiency of the machine.
Troubleshooting
| Problem | Possible Cause | Solution |
|---|---|---|
| "ADD WATER" indicator is lit. | Water reservoir is empty or low. | Fill the water reservoir with potable water up to the MAX line. |
| "ICE FULL" indicator is lit. | Ice basket is full. | Remove ice from the basket. The machine will resume production. |
| Ice melts quickly or sticks together. | Ice cubes are not fully frozen or have a hollow center. | This is a characteristic of bullet ice. For longer storage, transfer ice to a freezer. |
| Machine is noisy during operation. | Normal operation of compressor and fan. | Ensure proper ventilation around the unit. Noise is expected during ice production. |
| Ice production is slow. | High ambient temperature or poor ventilation. | Place the unit in a cooler environment and ensure adequate space around it for air circulation. |
Specifications
- Brand: Totnz
- Model Name: TZIM135B
- Product Dimensions: 13.15"D x 8.98"W x 11.14"H
- Capacity: 1.8 Liters (water tank)
- Daily Ice Output: Up to 22 lbs
- Ice Basket Capacity: Up to 1.8 lbs
- Ice Production Time: 9 cubes in 6 minutes
- Wattage: 192 watts
- Voltage: 115 Volts
- Refrigerant: R600a
- Material: Plastic
- Item Weight: 16.27 pounds
- Included Components: Ice maker, Ice Scoop, Ice Basket, User manual
Warranty and Support
For warranty information or technical support, please refer to the warranty card included with your product or contact Totnz customer service directly. Keep your purchase receipt as proof of purchase for any warranty claims.
You may also visit the official Totnz Store on Amazon for more product information and support resources.


