
1. Introduction
This manual provides detailed instructions for the installation, operation, and maintenance of your SODOLA 5 Port 10G Easy Web Managed Switch. This device is designed to provide high-speed 10 Gigabit Ethernet connectivity with comprehensive management features for demanding network environments.
The switch features 5x10G RJ45 ports, compliant with IEEE 802.3, IEEE 802.3u, IEEE 802.3ab, IEEE 802.3bz, and IEEE 802.3ae standards. Its adaptive RJ45 ports support 100M/1G/2.5G/5G/10G speeds for versatile device integration.

Figure 1: SODOLA 5 Port 10G Easy Web Managed Switch (SL510S-5T)
2. Package Contents
Verify that your package contains the following items:
- User Manual
- 1x SODOLA 5 Port 10G Managed Ethernet Switch
- 1x Power Cord
- 4x Footrests
- 1x Product Manual
- 1x Certificate of Inspection

Figure 2: Included components: User Manual, 5 Port 10G Managed Ethernet Switch, Power Adapter, Footrests, Product Manual, and Certificate of Inspection.
3. Physical Description
The SODOLA 5 Port 10G Easy Web Managed Switch features a durable metal casing and is equipped with essential indicators and ports for network operation.
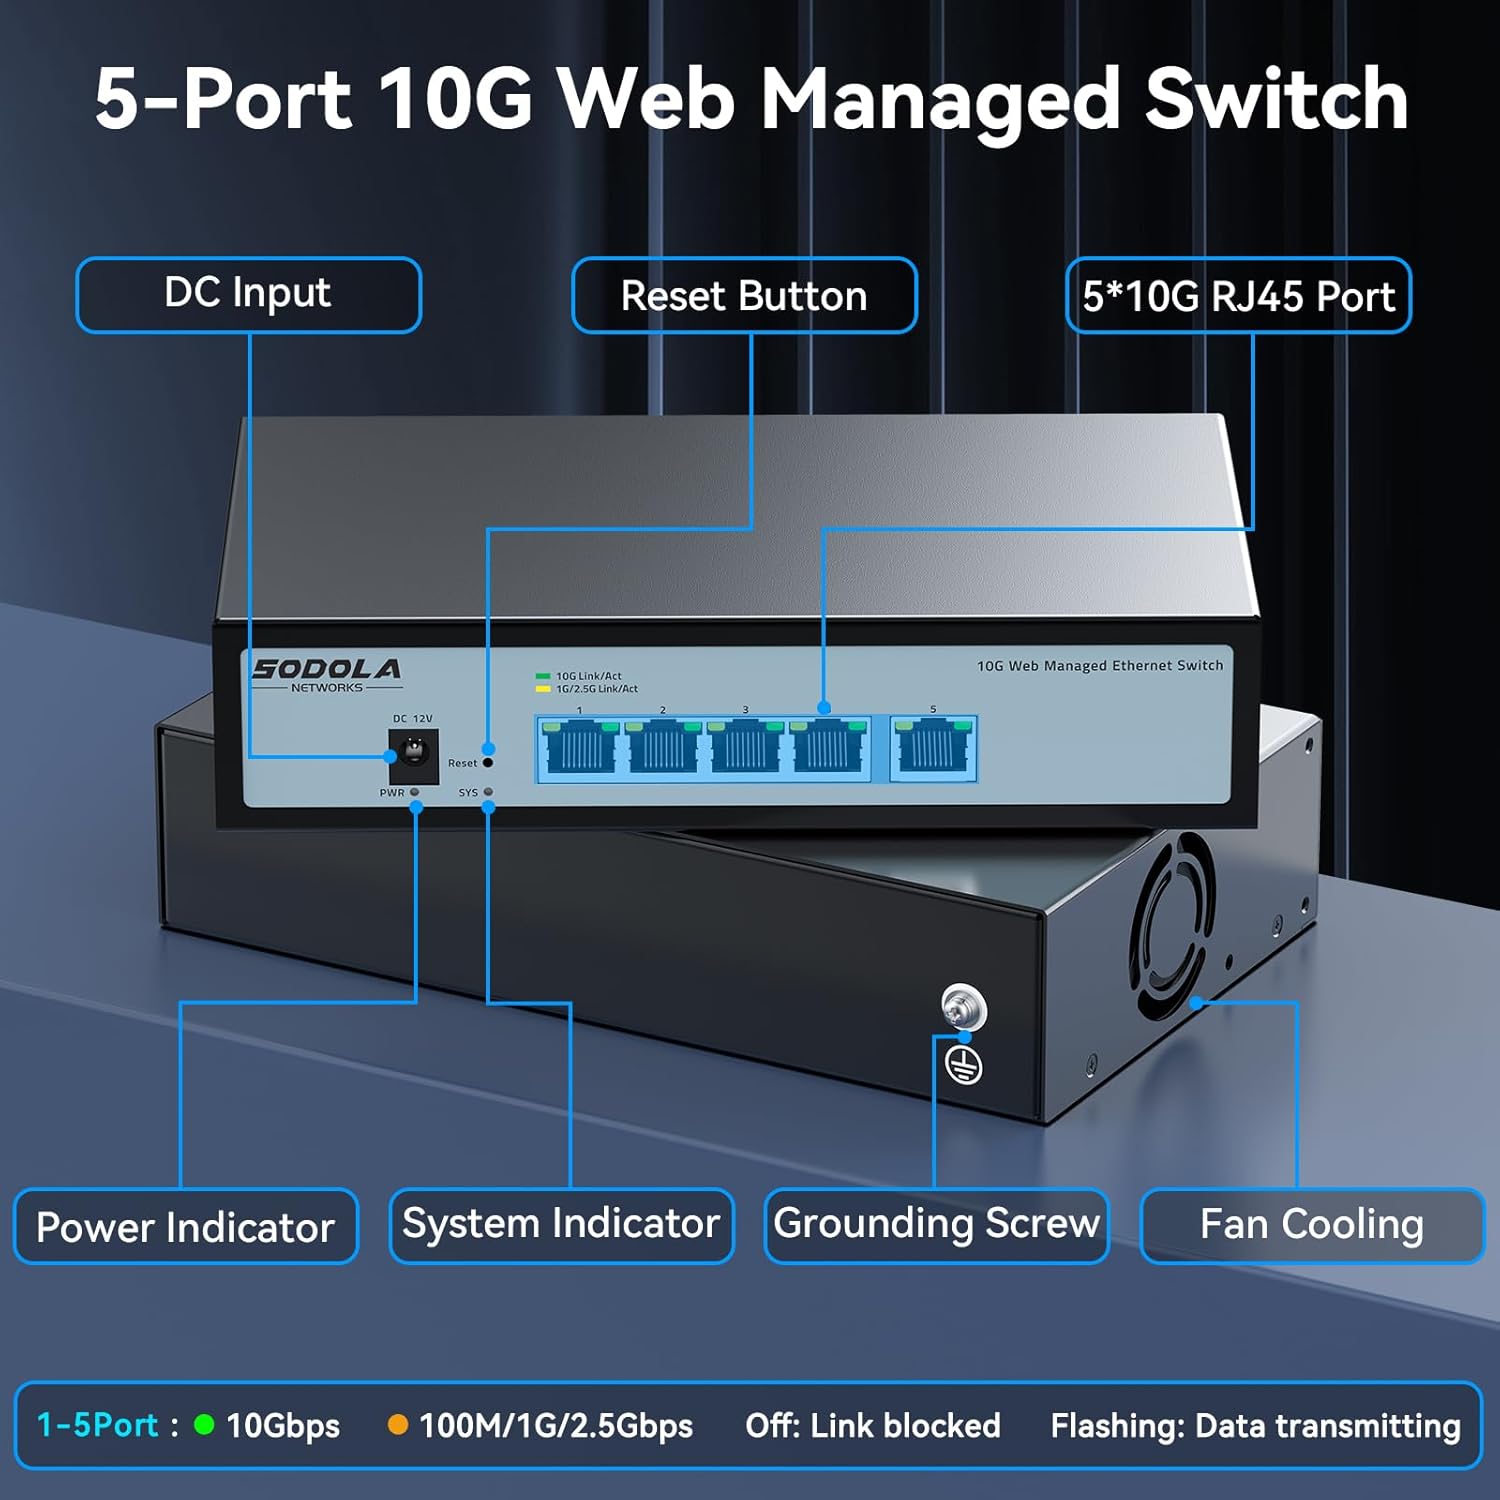
Figure 3: Front panel features include DC Input, Reset Button, 5x10G RJ45 Ports, Power Indicator, and System Indicator. The rear panel includes a Grounding Screw and Fan Cooling.
LED Indicators:
- Power Indicator (PWR): Indicates power status.
- System Indicator (SYS): Indicates system operational status.
- Link/Act (1-5 Ports):
- Green: 10Gbps link speed.
- Yellow: 100M/1G/2.5Gbps link speed.
- Off: Link blocked.
- Flashing: Data transmitting.
4. Setup
4.1 Physical Installation
The switch supports both desktop placement and wall mounting. Choose a location that allows for proper ventilation and easy access to ports.

Figure 4: The switch can be placed on a desktop or mounted on a wall for flexible installation.
4.2 Connecting Devices
Connect your network devices (e.g., computers, NAS, routers, access points) to the RJ45 ports on the switch using appropriate Ethernet cables. The ports are adaptive and will automatically negotiate the speed (100M/1G/2.5G/5G/10G).
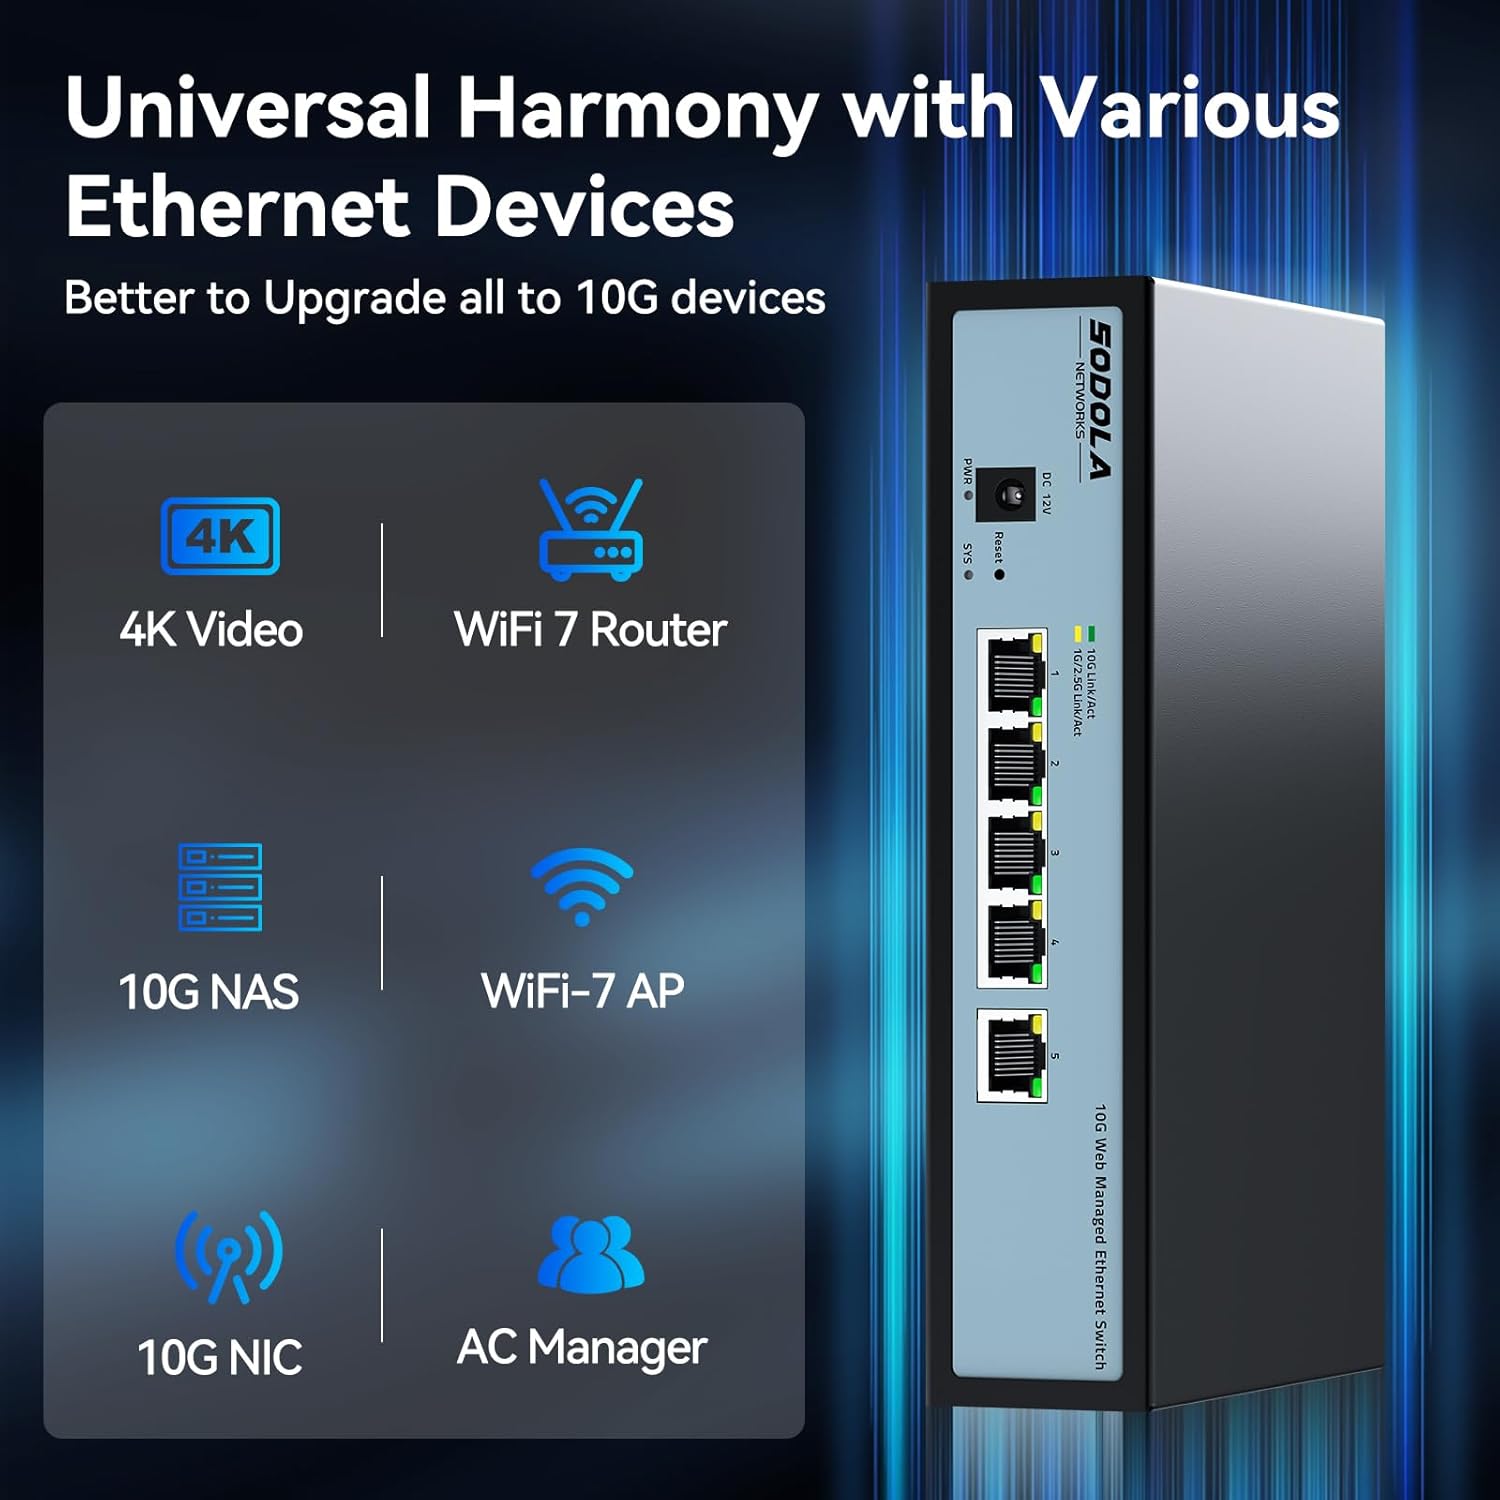
Figure 5: Example of connecting devices like 4K Video devices, WiFi 7 Routers, 10G NAS, WiFi-7 APs, 10G NICs, and AC Managers to the switch.
4.3 Initial Web Management Access
To access the web management interface:
- Ensure your PC's IP address is in the same subnet as the switch's default IP (e.g., 192.168.2.x).
- Open a web browser and navigate to the default IP address: 192.168.2.1.
- The default User Name is admin. There is no default password; leave it blank.
- Click "Login" to access the dashboard.
Note: Please set an IP address via IPv4 first before logging in to this switch.

Figure 6: Steps for Easy Web Managed Method, including adjusting network settings and logging in to 192.168.2.1 with username 'admin' and no password.
Video 1: This video demonstrates the web management interface login process and basic configuration steps for a similar managed switch. It shows how to access the dashboard using the default credentials and navigate through the settings.
5. Operating the Switch
5.1 Port Configuration
The switch ports support auto-negotiation for speed and duplex settings. It is generally recommended to leave ports in auto-negotiation mode for optimal compatibility.
For specific scenarios, such as connecting to 2.5G or 1G SFP+ devices, you may need to manually set the port speed within the web interface. Navigate to the "Switching" section, then "Port Link Config" to adjust settings for individual ports. Select the desired port, choose the appropriate speed (e.g., 2.5G Full, 1G Full), and click "Apply".

Figure 7: Steps to manually switch SFP port speeds (10G/2.5G or 10G/1000M) by logging into the UI and changing parameters.
5.2 Managed Features
The SODOLA switch offers a range of managed features accessible through its web interface:
- VLAN Management: Create and manage Virtual Local Area Networks to segment network traffic.
- Link Aggregation (LACP): Combine multiple physical links into a single logical link for increased bandwidth and redundancy.
- Quality of Service (QoS): Prioritize network traffic to ensure critical applications receive sufficient bandwidth.
- IGMP Snooping: Optimize multicast traffic delivery to relevant devices.
- DHCP Snooping: Enhance network security by filtering untrusted DHCP messages.
- SNMP: Monitor network devices and manage network performance.
- Spanning Tree Protocol (RSTP): Prevent network loops and ensure network stability.
- Port Mirroring: Monitor network traffic by sending a copy of packets from one port to another.
- Storm Control: Prevent network disruptions caused by excessive broadcast, multicast, or unknown unicast traffic.
- MAC Address Filtering: Control network access based on MAC addresses.

Figure 8: Overview of managed features including VLAN, Link Aggregation, SNMP, DHCP, Port Mirroring, Loopback, ERPS, Multicast, and QoS.
5.3 Saving Configuration
After making any changes to the switch configuration, it is crucial to save them to ensure they persist after a reboot. Navigate to the "Maintenance" section, then "Save Configuration". Check the box and click "Apply" to save your settings.

Figure 9: The web interface showing the "Save Config" option under Maintenance, emphasizing the need to save changes after adjusting parameters.
6. Maintenance
6.1 Cooling System
The switch is equipped with an internal cooling fan to manage heat dissipation, especially during high-power operation. Ensure adequate airflow around the device. If fan noise is a concern, the fan can be removed by opening the casing, though this may affect thermal performance.
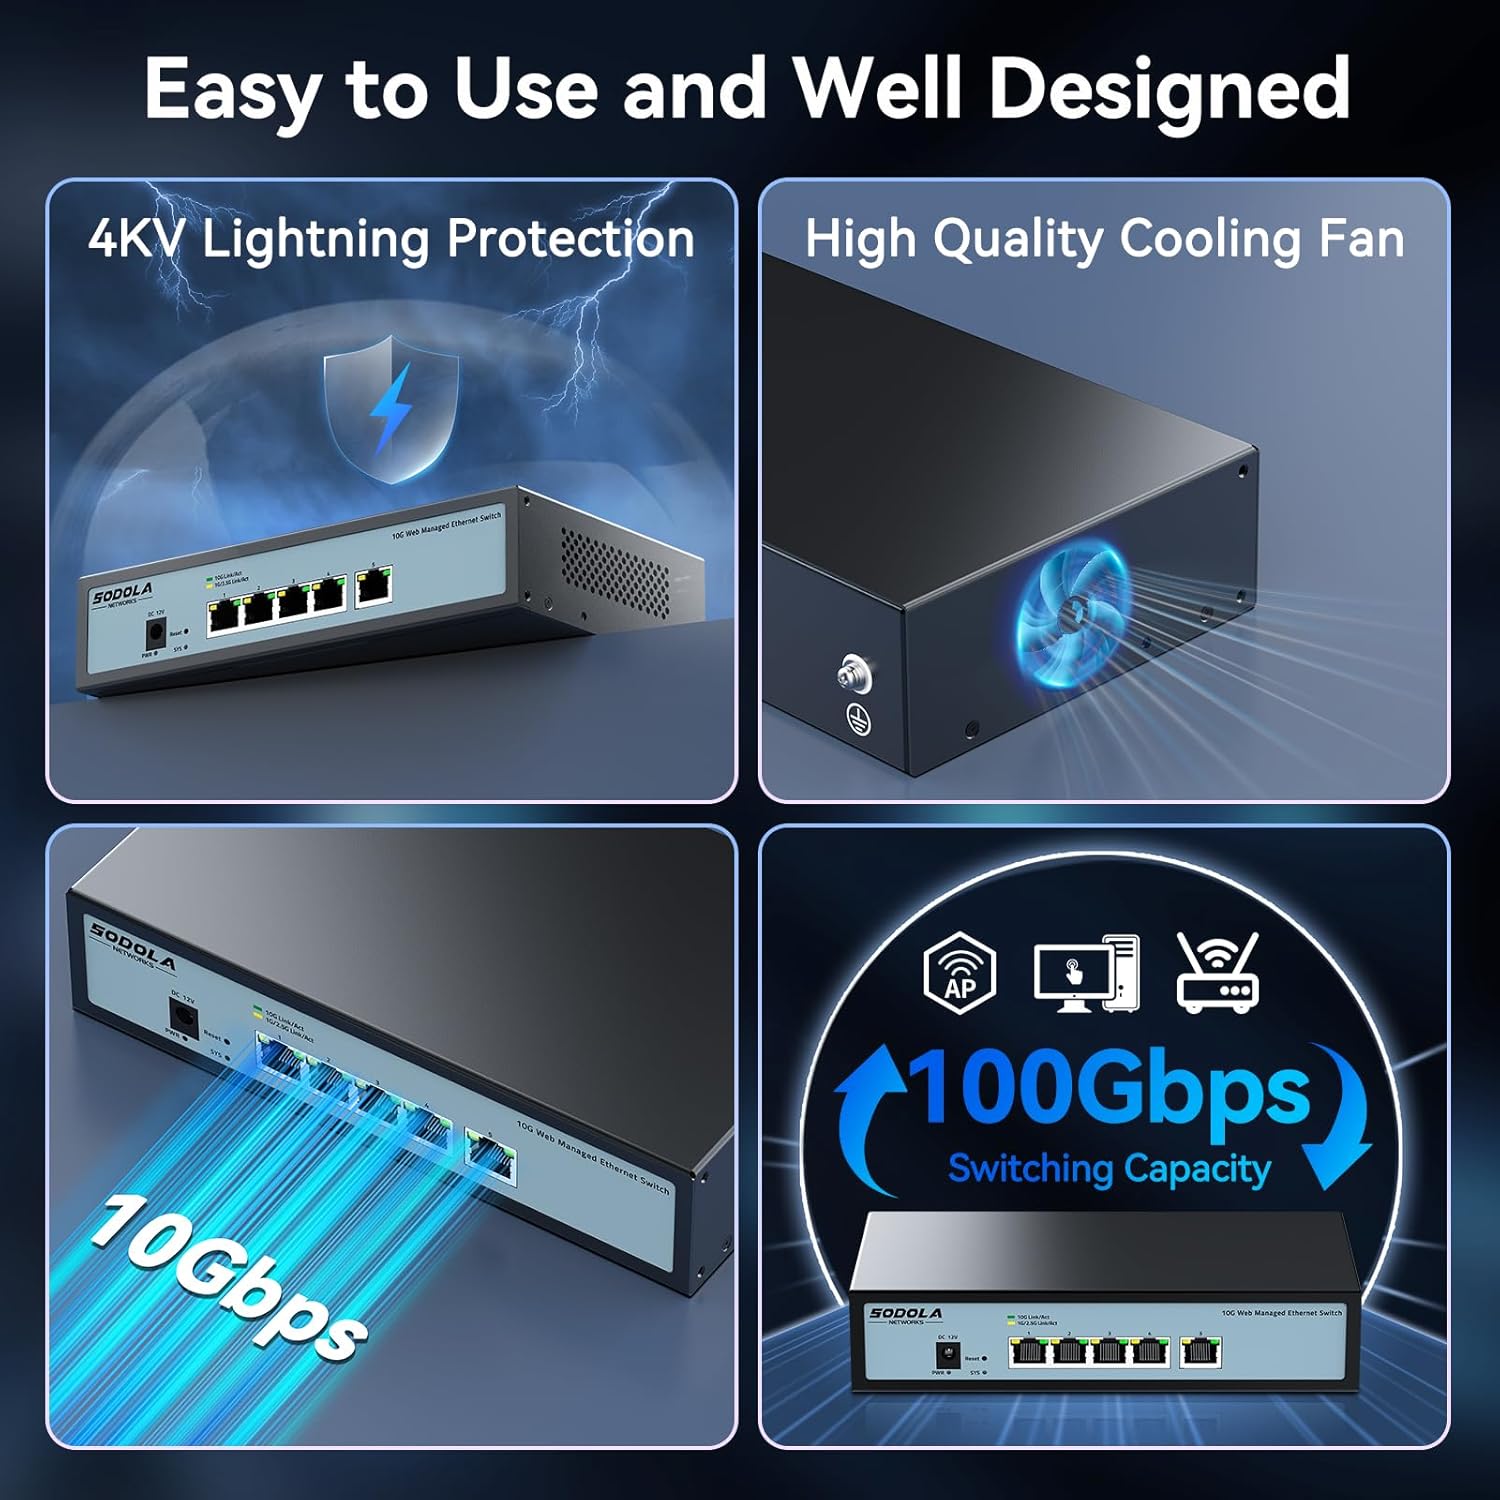
Figure 10: The switch features a high-quality cooling fan for efficient heat dissipation and 4KV lightning protection.
6.2 Reset Options
The web management interface provides options to reset the device:
- Device Reboot: Restarts the switch.
- Factory Default: Resets all configuration settings to their original factory defaults.
- Password Reset: Resets the management password.
These options are typically found under the "Maintenance" section of the web interface.
7. Troubleshooting
- No Link/Connectivity:
- Check if the Ethernet cables are securely connected to both the switch and the connected device.
- Verify the LED indicators for the port. If off, the link is blocked or inactive.
- Ensure the connected device is powered on and functioning correctly.
- If manually configured, ensure the port speed setting matches the connected device's capability. Forcing speed on RJ45 ports is not recommended and can cause issues.
- Cannot Access Web Interface:
- Confirm your computer's IP address is in the same subnet as the switch (default: 192.168.2.x).
- Verify the switch's IP address has not been changed from the default 192.168.2.1.
- Try clearing your browser's cache.
- Reboot the switch and try again.
- Slow Network Speed:
- Ensure all connected devices and cables support 10G speeds for optimal performance.
- Check the Link/Act LED indicators to confirm the negotiated speed (Green for 10Gbps).
- Verify that auto-negotiation is enabled on ports unless a specific manual speed setting is required for SFP+ connections.
- Fan Noise:
- The internal fan operates to dissipate heat. If noise is excessive, ensure the switch is in a well-ventilated area.
- The fan can be removed by opening the casing, but this is not recommended as it may lead to overheating and reduced device lifespan.
8. Specifications
| Brand | Sodola |
| Model Number | 5x10G RJ45(Managed) |
| Number of Ports | 5 |
| Interface Type | RJ45 |
| Data Transfer Rate | 10 Gigabits Per Second |
| Case Material | Metal |
| Color | Black |
| Item Weight | 2.03 pounds |
| Package Dimensions | 11.97 x 7.68 x 2.44 inches |
| Compatible Devices | Desktop, Laptop, Router |
| Manufacturer | Shenzhen hongyavision Technology Co.,Ltd. |
| Date First Available | December 1, 2024 |
9. Warranty and Support
SODOLA offers a one-year free replacement for any non-human-induced quality issues from the date of purchase. Additionally, lifetime technical support is provided to ensure a positive user experience.
For technical assistance or warranty claims, please contact Sodola Networks customer service through the official channels.
