Introduction
This user manual provides comprehensive instructions for the operation, maintenance, and troubleshooting of your Bewinner Video Camera Camcorder. Please read this manual carefully before using the device to ensure proper functionality and to maximize your user experience.
The Bewinner Video Camera Camcorder is designed for capturing high-quality video and still images, featuring 2.7K QHD video resolution, 50MP photo capability, 16X digital zoom, and a 2.8-inch 270-degree rotatable screen. It is suitable for various applications including vlogging, live streaming, and general travel recording.
Package Contents
Upon opening the package, please verify that all the following items are included:
- 1 x Bewinner Video Camera Camcorder
- 1 x 1500mAh Li-ion Battery (NP-40 type)
- 1 x USB Cable
- 1 x Carrying Bag
- 1 x Instruction Manual (this document)

Image: All items included in the Bewinner Video Camera Camcorder package.
Product Overview
Familiarize yourself with the various parts and controls of your camcorder.
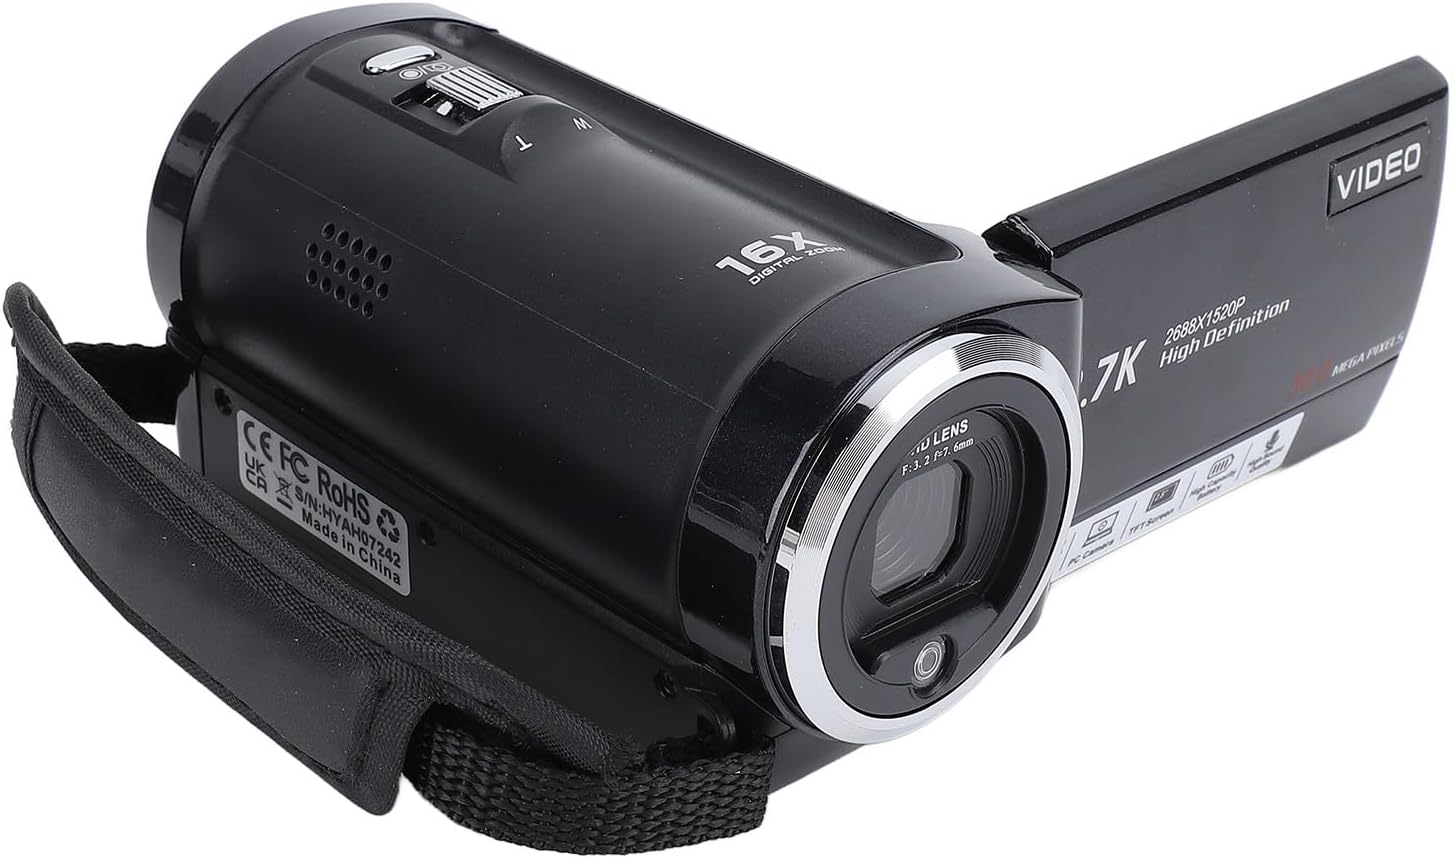
Image: Front and side view of the camcorder, highlighting the lens and general form factor.

Image: Rear view of the camcorder with the screen rotated, showing the control panel, USB port, and external microphone input.

Image: Top view of the camcorder, illustrating the zoom control and other top-mounted buttons.
Key Components:
- Lens: Captures video and still images.
- 2.8-inch Rotatable Screen: For viewing live feed, playback, and menu navigation. Can rotate 270 degrees.
- Zoom Lever (W/T): Controls the 16X digital zoom. 'W' for wide, 'T' for telephoto.
- Power Button: Turns the camcorder on/off.
- Mode Button: Switches between video, photo, and playback modes.
- USB Port: For connecting to a computer (webcam function, data transfer) or for charging.
- MIC IN Port: For connecting an external microphone (not included).
- LED Light: Built-in light for low-light conditions.
- Battery Compartment: Houses the NP-40 Li-ion battery.
- SD Card Slot: Supports Storage Card/SDHC Card up to 128GB (not included).
Setup
1. Charging the Battery
The camcorder comes with a rechargeable NP-40 Li-ion battery. Before first use, fully charge the battery.
- Open the battery compartment cover on the bottom of the camcorder.
- Insert the NP-40 battery, ensuring the correct polarity.
- Close the battery compartment cover.
- Connect the camcorder to a power source (e.g., computer USB port or USB wall adapter) using the provided USB cable. The charging indicator will illuminate.
- Charging is complete when the indicator light turns off or changes color (refer to the camcorder's display for battery status). A full charge provides approximately 140 minutes of recording time.
The camcorder supports simultaneous charging and recording, allowing for extended use without interruption.
2. Inserting a Memory Card
A memory card (Storage Card/SDHC Card, up to 128GB) is required to save photos and videos. The card is not included.
- Locate the SD card slot, typically on the side or bottom of the camcorder.
- Insert the memory card with the metal contacts facing down (or as indicated by the diagram near the slot) until it clicks into place.
- To remove the card, gently push it in until it clicks, then release, and it will eject.
Note: Ensure the camcorder is powered off before inserting or removing the memory card to prevent data corruption.
Operating Instructions
1. Powering On/Off
- To power on, press and hold the Power button.
- To power off, press and hold the Power button again.
- The camcorder also features an auto power-off function (Off, 1 minute, 3 minutes, 5 minutes) which can be configured in the settings.
2. Basic Recording and Photography
The camcorder supports 2.7K QHD video recording and 50MP still image capture.
- Select Mode: Press the Mode button to switch between Video Recording mode (indicated by a video camera icon) and Photo Capture mode (indicated by a camera icon).
- Framing Your Shot: Use the 2.8-inch rotatable screen to compose your shot. The screen can be rotated 270 degrees for various viewing angles, including self-recording.
- Zoom: Use the Zoom Lever (W/T) to adjust the 16X digital zoom. Push towards 'T' for telephoto (zoom in) and 'W' for wide (zoom out).
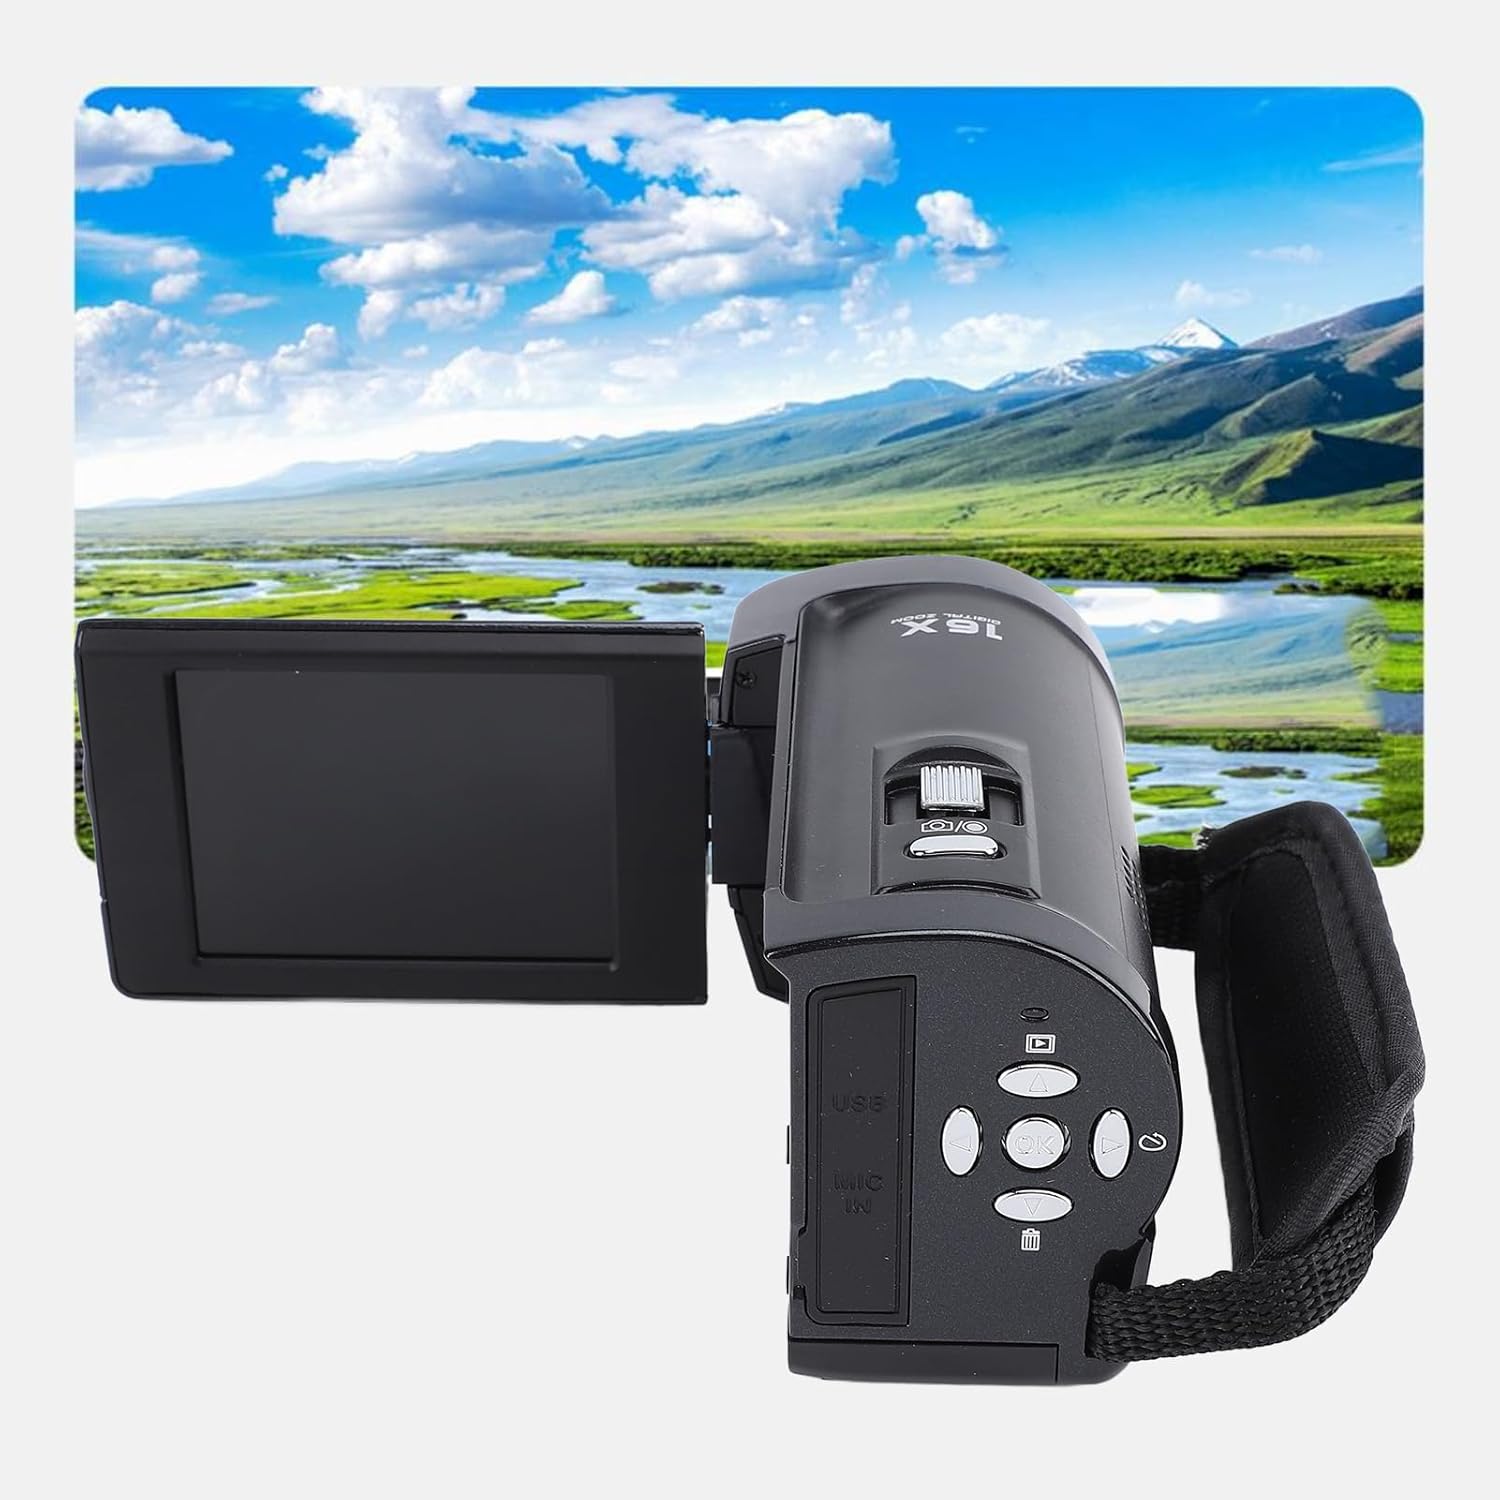
Image: Illustration of the 16X digital zoom function, showing how it can capture details from a distance.
- Recording Video: In Video Recording mode, press the Record/OK button (usually marked with a red dot or 'OK') to start recording. Press it again to stop recording.
- Taking Photos: In Photo Capture mode, press the Shutter/OK button to take a picture.
3. Advanced Features and Settings
Access the camcorder's menu to configure various settings and utilize advanced functions.
- Menu Navigation: Use the directional buttons (Up, Down, Left, Right) to navigate through menu options and the OK button to confirm selections.
- Built-in LED Light: Activate the LED light for improved visibility in low-light environments. Refer to the manual for specific button or menu option.
- Webcam Function: Connect the camcorder to a computer via the USB cable. Select "Webcam" mode on the camcorder's screen (if prompted). This allows the camcorder to function as a webcam for live streaming (e.g., YouTube, Skype, TikTok, Facebook) or video calls.
- External Microphone Support: For clearer audio, connect an external microphone (not included) to the MIC IN port. Ensure the external microphone has its own power source if required.
- Anti-Shake: Enable the electronic anti-shake feature in the settings to reduce blur from camera movement.
- Face Detection & Smile Capture: These features can be enabled in the settings to optimize focus and capture for human faces.
- Self-Timer: Set a delay (2, 5, or 10 seconds) before a photo is taken.
- Continuous Shooting: Capture multiple photos in quick succession.
- Date Stamp: Overlay the date and time onto your photos and videos.
- White Balance: Adjust color temperature based on lighting conditions (Auto, Sunlight, Cloudy, Fluorescent Lamp, Incandescent).
- Exposure Compensation: Adjust the brightness of your images from -3.0EV to +3.0EV.
Maintenance
Proper care and maintenance will extend the life of your camcorder.
- Cleaning the Lens: Use a soft, lint-free cloth specifically designed for camera lenses. Avoid using harsh chemicals or abrasive materials.
- Cleaning the Screen: Gently wipe the screen with a microfiber cloth. For stubborn smudges, use a screen cleaning solution applied to the cloth, not directly to the screen.
- General Cleaning: Wipe the camcorder body with a soft, dry cloth. Do not expose the camcorder to excessive dust, dirt, or moisture.
- Storage: When not in use for extended periods, remove the battery and store the camcorder in a cool, dry place, preferably in its carrying bag to protect it from dust and scratches.
- Battery Care: Do not expose batteries to extreme temperatures. If storing for a long time, charge the battery to about 50% capacity.
Troubleshooting
If you encounter issues with your camcorder, refer to the following common problems and solutions:
| Problem | Possible Cause | Solution |
|---|---|---|
| Camcorder does not power on. | Battery is depleted or not inserted correctly. | Ensure battery is fully charged and correctly inserted. Try charging the battery. |
| Cannot record video or take photos. | No memory card inserted, memory card full, or card error. | Insert a compatible memory card. Check available space. Format the card (this will erase all data). |
| Poor image/video quality. | Lens is dirty, insufficient lighting, or incorrect settings. | Clean the lens. Use the built-in LED light in dim conditions. Adjust White Balance or Exposure Compensation. |
| Camcorder freezes or becomes unresponsive. | Software glitch or temporary error. | Remove the battery for a few seconds, then reinsert it and power on again. |
| External microphone not working. | Microphone not connected properly or requires separate power. | Ensure the microphone is securely plugged into the MIC IN port. Verify if the microphone needs its own power source and if it's turned on. |
If the problem persists after trying these solutions, please contact customer support.
Specifications
| Feature | Detail |
|---|---|
| Image Sensor | CMOS Sensor, Up to 50MP |
| Sensitivity | Auto, ISO100, ISO200, ISO400 |
| Storage Media | Support Storage Card/SDHC Card, Up to 128GB (Not Included) |
| Lens | Fixed Lens, F/2.6, f7.0mm |
| Focus Range | 1.2M to Endless far |
| Still Image Resolution | JPEG, Resolution: 50M, 48M, 36M, 30M, 24M, 20M, 16M, 12M, 8M, 5M |
| Video Resolution | AVI, Resolution: 2.7K(2688*1520), FHD(1920*1080), HD(1280X720), VGA |
| Zoom | 16X Digital Zoom |
| Anti Shaking | Electronic Anti Shake |
| Face Detection | Supported |
| Video Sound | Supported |
| White Balance | Auto/Sunlight/Cloudy/Fluorescent Lamp/Incandescent |
| Exposure Compensation | -3.0EV to +3.0EV |
| Self Timer | Off, 2 seconds, 5 seconds, 10 seconds |
| Auto Power off | Off, 1 minute, 3 minutes, 5 minutes |
| Battery | 1 x 1500mAh Li-ion Battery (NP-40) |
| Screen Size | 2.8 Inches, 270 Degree Rotation |
| Connectivity | USB (for data transfer and webcam function) |
| Item Weight | 13.4 ounces |
| Package Dimensions | 5.71 x 4.13 x 3.19 inches |
| Country of Origin | China |
Warranty and Support
For warranty information and technical support, please refer to the official Bewinner website or contact their customer service directly. Keep your purchase receipt as proof of purchase for any warranty claims.
Contact Information:
- Brand: Bewinner
- Model: Bewinnerfyhp90zwmg
- Amazon Store: Visit the Bewinner Store on Amazon
