1. Introduction
The QUI Presentation Clicker is a versatile wireless remote designed for seamless presentations. This device allows you to control your slides, use a laser pointer, and manage volume from a distance, enhancing your interaction with the audience. Its plug-and-play functionality ensures quick setup and broad compatibility with various operating systems and presentation software.

Image: The QUI Presentation Clicker, showing its sleek black design, the battery compartment with a yellow AAA battery inserted, and the detachable USB-C receiver.
2. Package Contents
Please check the package for the following items:
- QUI Presentation Clicker (1 unit)
- 2.4 GHz USB/USB-C Receiver (1 unit)
- User Manual (this document)
Note: 1 AAA battery is required for operation and is not included in the package.
3. Product Overview
Familiarize yourself with the buttons and features of your QUI Presentation Clicker:

Image: Detailed diagram of the QUI Presentation Clicker, highlighting the LED indicator, Tab key, Page Up/Down buttons, Laser Key, and Power On/Off switch, along with the receiver.
| Button/Feature | Function |
|---|---|
| LED Indicator | Indicates connection status and battery level. |
| Tab Key (Double Press) | Navigates between hyperlinks or elements. |
| Alt-Tab (Press and Hold) | Switches between open applications. |
| Page Up (Single Click) | Moves to the previous slide. |
| Page Down (Single Click) | Moves to the next slide. |
| Full Screen (Long Press) | Enters full screen mode for presentations. |
| Black Screen (Long Press) | Blanks the screen during a presentation. |
| Laser Key | Activates the red laser pointer. |
| Volume Up | Increases system volume. |
| Volume Down | Decreases system volume. |
| Power On/Off Switch | Turns the presenter on or off. |
| Receiver | 2.4 GHz USB/USB-C dongle for wireless connection. |
4. Setup
4.1. Battery Installation
- Open the battery compartment cover on the back of the presenter.
- Insert one AAA battery, ensuring correct polarity (+/-).
- Close the battery compartment cover securely.
4.2. Connecting the Receiver
The QUI Presentation Clicker features a magnetic design for the receiver, which is stored conveniently within the presenter itself. It supports both USB and USB-C connections.

Image: The QUI Presentation Clicker with its magnetic USB receiver being inserted into a laptop's USB port, illustrating the plug-and-play functionality.

Image: Close-up of the 2-in-1 USB Type-C receiver, showing its dual-head design for compatibility with both standard USB and USB-C ports on a laptop.
- Gently pull out the USB/USB-C receiver from the bottom of the presenter.
- Plug the receiver into an available USB or USB-C port on your computer.
- Turn on the presenter using the Power On/Off switch. The LED indicator will light up, signifying a successful connection.
No software or additional drivers are required for installation. The device is ready for use immediately after connecting the receiver.
5. Operating Instructions
5.1. Basic Presentation Control
- Next Slide: Press the Page Down button (down arrow).
- Previous Slide: Press the Page Up button (up arrow).
- Full Screen/Black Screen: Long press the Full Screen/Black Screen button (rectangle icon).
5.2. Laser Pointer
Activate the bright red laser pointer to highlight key areas of your presentation.
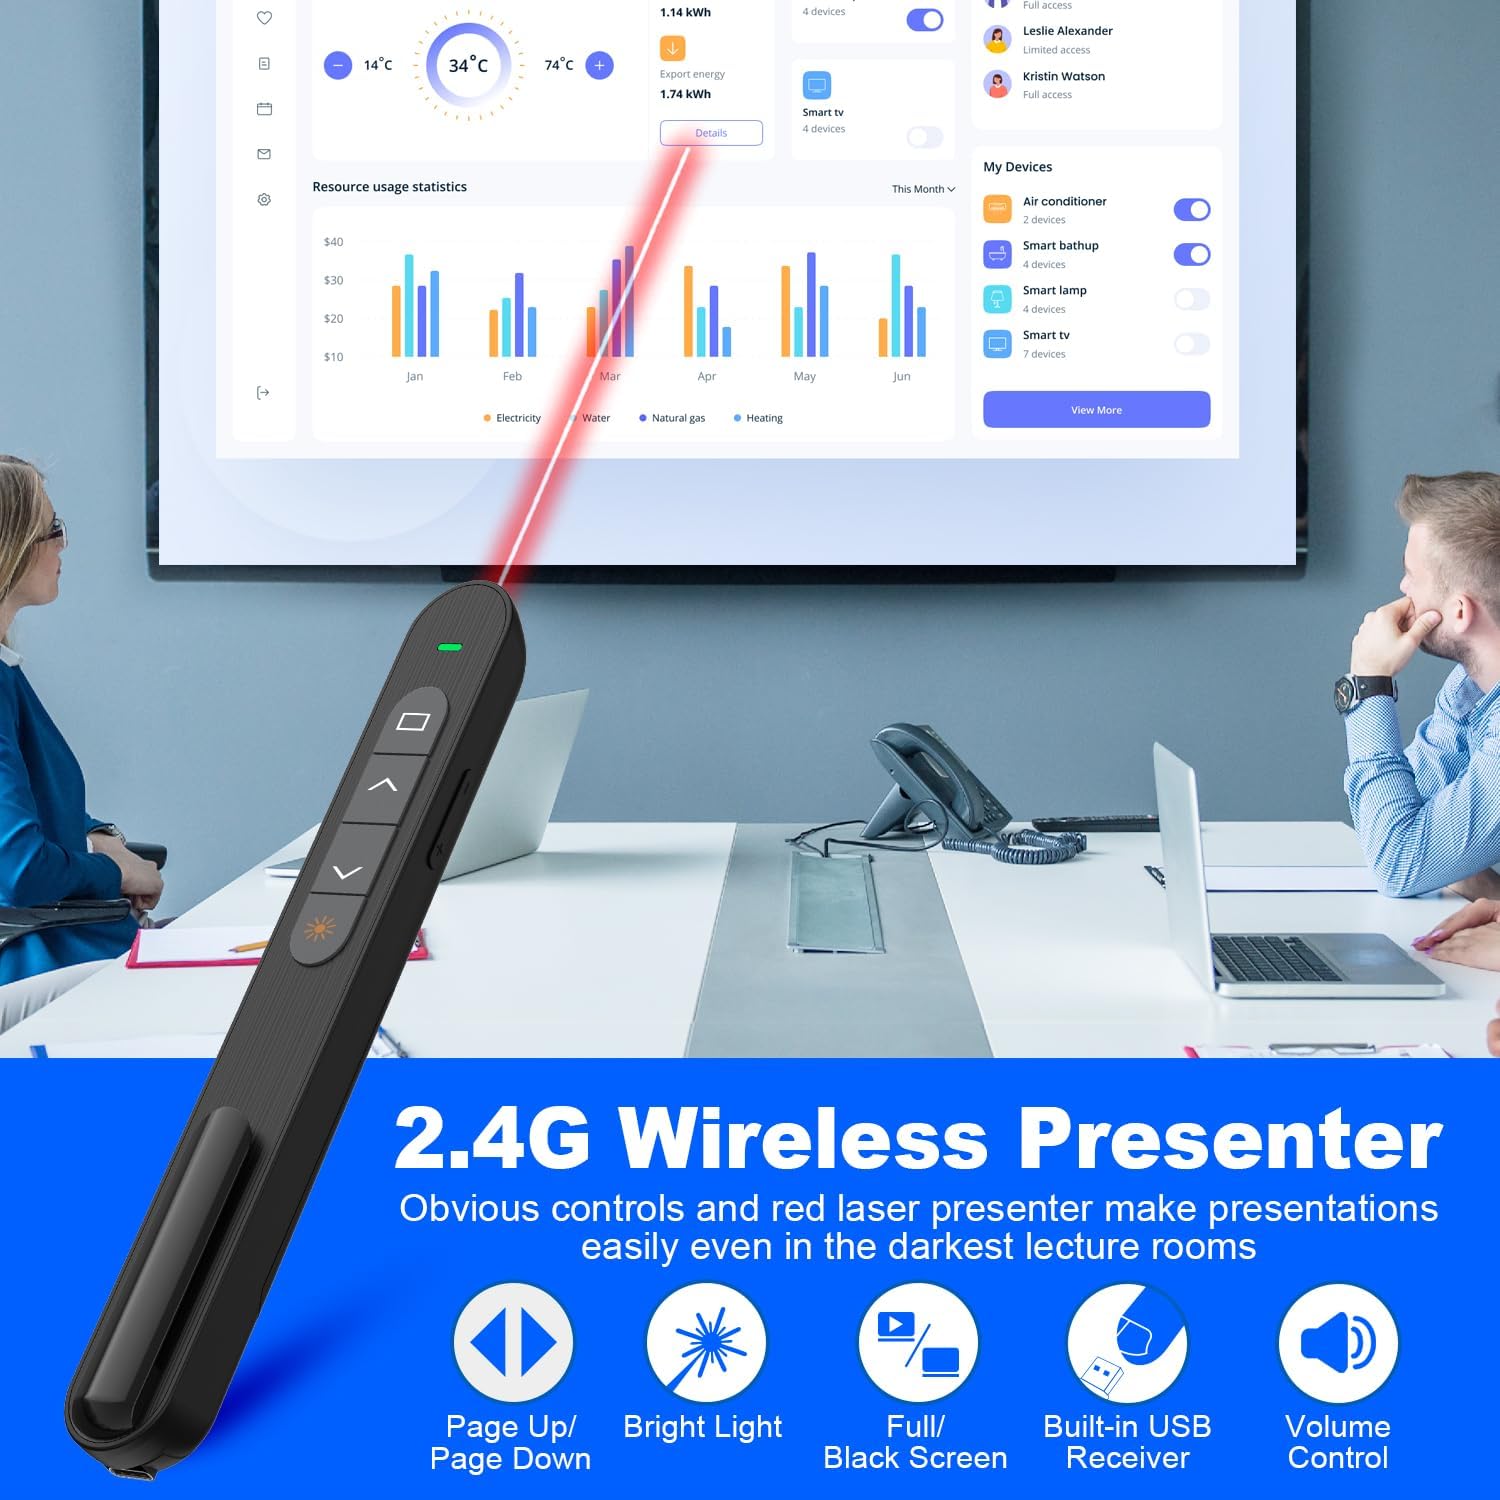
Image: A hand holding the QUI Presentation Clicker, with a red laser beam pointing towards a large screen displaying a presentation. Icons for Page Up/Down, Bright Light, Full/Black Screen, Built-in USB Receiver, and Volume Control are shown.
- Activate Laser: Press and hold the Laser Key (sun icon). Release to turn off.
5.3. Volume Control
- Increase Volume: Press the Volume Up button.
- Decrease Volume: Press the Volume Down button.
5.4. Advanced Functions
- Hyperlink Navigation: Double press the Tab Key to navigate between hyperlinks within your presentation.
- Application Switching: Press and hold the Alt-Tab button to switch between open applications on your computer.
5.5. Wireless Range
The presenter offers a stable wireless connection up to 328 feet (100 meters), allowing you to move freely during your presentation.

Image: A hand holding the QUI Presentation Clicker with a red laser beam, illustrating the long wireless range (228FT) and red laser range (328FT) capabilities in a conference room setting.
5.6. Demonstration Video
Watch this video for a visual demonstration of the QUI Presentation Clicker's features and operation.
Video: A demonstration of the QUI Presentation Clicker's functions, including button presses and laser pointer activation.
6. Compatibility
The QUI Presentation Clicker offers wide compatibility with various operating systems and presentation software, making it a versatile tool for different environments.

Image: A chart illustrating the wide compatibility of the QUI Presentation Clicker with various operating systems (Linux, Windows, Mac OS, Android) and software applications (PowerPoint, Excel, Word, Keynote, Numbers, Pages, Google Slides, Prezi, ACDSee).
6.1. Compatible Operating Systems
- Windows XP, Vista, 7, 8, 10
- Mac OS
- Linux
- Android
6.2. Supported Software
- Microsoft PowerPoint
- Microsoft Excel
- Microsoft Word
- Google Slides
- Apple Keynote
- Apple Numbers
- Apple Pages
- ACDSee
- Prezi
7. Specifications
| Feature | Detail |
|---|---|
| Model Number | BK600-black-c |
| Connectivity Technology | RF 2.4GHz Wireless |
| Wireless Range | Up to 328 feet (100 meters) |
| Laser Type | Red Laser |
| Receiver Type | 2-in-1 USB and USB-C |
| Power Source | 1 x AAA Battery (not included) |
| Item Weight | 1.13 ounces (approx. 32 grams) |
| Package Dimensions | 6.69 x 1.73 x 0.75 inches (approx. 17 x 4.4 x 1.9 cm) |
| Special Feature | Ergonomic design, Portable clip |
| Max Number of Supported Devices | 1 |
| Manufacturer | QUI Technology Co., Ltd. |
8. Troubleshooting
If you encounter issues with your QUI Presentation Clicker, please refer to the following common solutions:
- No Response from Presenter:
- Ensure the presenter is turned on using the Power On/Off switch.
- Check if the AAA battery is inserted correctly and has sufficient charge. Replace if necessary.
- Verify that the USB/USB-C receiver is securely plugged into your computer's port.
- Try plugging the receiver into a different USB/USB-C port on your computer.
- Ensure the presenter is within the effective wireless range (up to 328 feet) of the receiver.
- Laser Pointer Not Working:
- Make sure the presenter is powered on.
- Ensure you are pressing and holding the Laser Key correctly.
- Check the battery level. A low battery might affect laser performance.
- Buttons Not Functioning Correctly:
- Confirm that the receiver is properly connected and the presenter is paired.
- Restart your computer and try reconnecting the receiver.
- Ensure your presentation software is active and in focus.
9. Maintenance
To ensure the longevity and optimal performance of your QUI Presentation Clicker, follow these maintenance guidelines:
- Cleaning: Use a soft, dry cloth to clean the surface of the presenter. Avoid using harsh chemicals or abrasive materials.
- Storage: Store the presenter in a cool, dry place when not in use. If storing for an extended period, remove the AAA battery to prevent leakage.
- Handling: Avoid dropping the presenter or subjecting it to strong impacts, which can damage internal components.
- Receiver Care: Always store the USB/USB-C receiver in its designated magnetic slot within the presenter to prevent loss or damage.
10. Warranty and Support
Specific warranty details for the QUI Presentation Clicker are not provided in this manual. For information regarding warranty coverage, technical support, or service inquiries, please contact the seller or manufacturer directly through their official channels.
Manufacturer: QUI Technology Co., Ltd.
Please retain your purchase receipt as proof of purchase for any warranty claims.


