
1. Product Overview
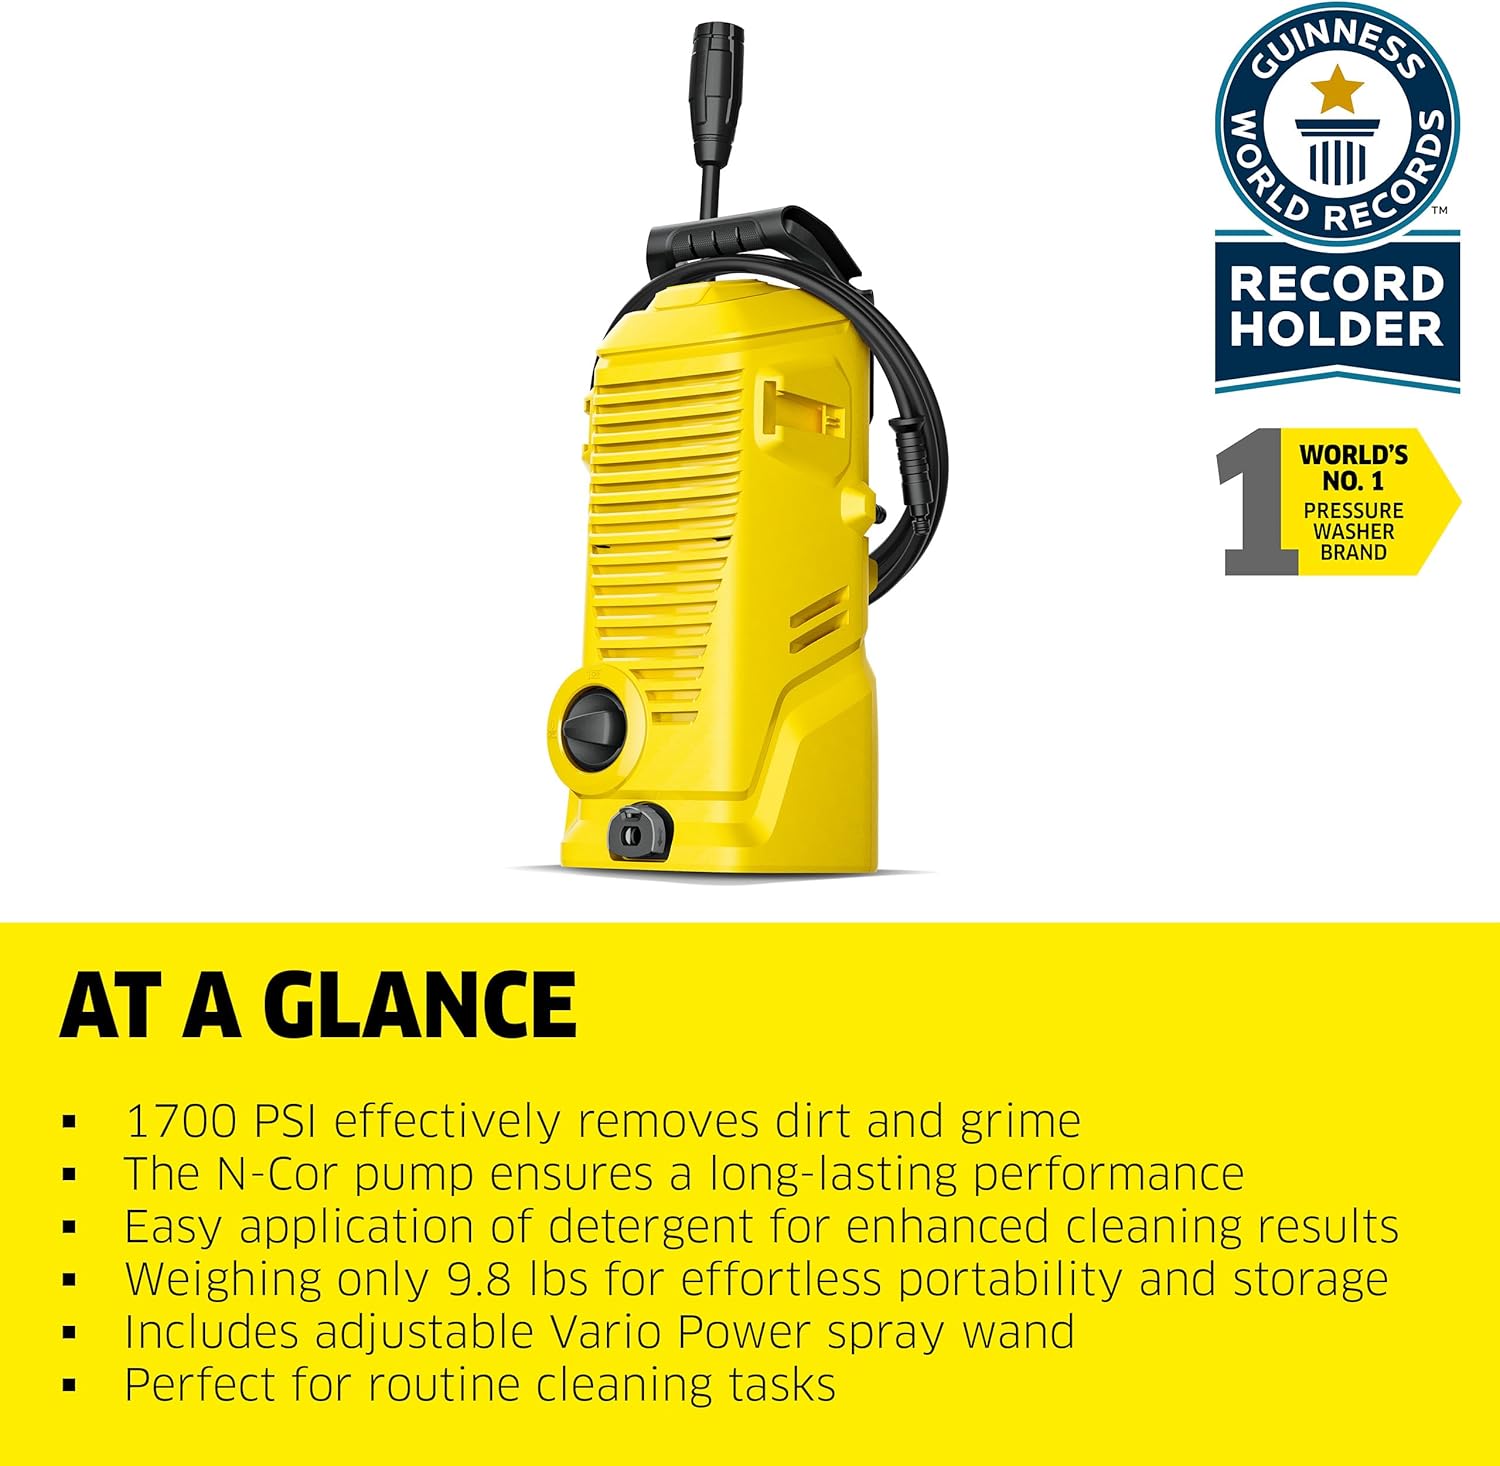
The Kärcher K 1 Compact Electric Pressure Washer is designed for light-duty cleaning tasks around your home. It provides 1700 PSI of pressure and a flow rate of 1.45 GPM, making it suitable for cleaning patio furniture, bicycles, small decks, and other similar surfaces. Its compact and lightweight design ensures ease of portability and storage.
Key Features:
- 1700 PSI Pressure: Effectively removes dirt and grime.
- 1.45 GPM Flow Rate: Efficient water usage for cleaning.
- Vario Power Spray Lance: Adjustable pressure control for different surfaces.
- Foam Cannon: Included for easy application of cleaning solutions.
- Compact and Lightweight: Weighs approximately 9.8 lbs for easy transport and storage.
- Onboard Storage: Conveniently store the hose, spray lance, and trigger gun.
2. Safety Information
Please read and understand all safety warnings and instructions before operating the pressure washer. Failure to follow these instructions may result in electric shock, fire, and/or serious injury.
General Safety Warnings:
- Electrical Safety: Always connect the pressure washer to a grounded outlet. Do not operate with damaged cords or plugs. Keep all connections dry and off the ground.
- High Pressure Hazard: The high-pressure jet can be dangerous if misused. Never direct the spray at people, pets, electrical devices, or the unit itself.
- Personal Protective Equipment: Always wear appropriate eye protection (safety glasses) and hearing protection when operating the pressure washer.
- Stability: Ensure the pressure washer is on a stable, level surface to prevent tipping during operation.
- Water Supply: Connect the unit to a cold water supply only. Do not use hot water.
- Chemicals: Use only detergents approved for pressure washers. Follow detergent manufacturer's instructions for use and disposal.
- Children and Pets: Keep children and pets away from the operating area.
3. Setup and Assembly
Follow these steps to assemble and prepare your Kärcher K 1 pressure washer for use.
- Unpack Components: Carefully remove all parts from the packaging. Ensure all components listed in the manual are present.
- Connect High-Pressure Hose: Attach the 10 ft high-pressure hose to the pressure washer's outlet and to the trigger gun. Ensure connections are secure.
- Attach Spray Lance: Connect the Vario Power spray lance to the trigger gun. For foam application, attach the foam cannon directly to the trigger gun.
- Connect Water Supply: Connect a garden hose (not included) to the water inlet of the pressure washer. Ensure the garden hose is free of kinks and has a minimum diameter of 1/2 inch. Turn on the water supply fully.
- Purge Air from System: Before plugging in the unit, squeeze the trigger gun to allow water to flow through the system and expel any trapped air. Continue until a steady stream of water emerges from the nozzle.
- Connect Power: Plug the pressure washer into a grounded electrical outlet.

4. Operating Instructions
Once assembled and connected, your Kärcher K 1 pressure washer is ready for operation.
4.1 Basic Operation
- Turn On: Switch the pressure washer to the "ON" position.
- Start Cleaning: Squeeze the trigger gun to begin spraying. The motor will start automatically.
- Adjust Pressure (Vario Power Lance): If using the Vario Power spray lance, twist the nozzle to adjust the pressure from low to high, or to a fan spray pattern.
- Stop Cleaning: Release the trigger gun to stop the water flow and motor. For extended breaks, turn the unit off.
4.2 Using the Foam Cannon
- Fill with Detergent: Fill the foam cannon reservoir with Kärcher pressure washer detergent or another compatible pressure washer soap.
- Attach Foam Cannon: Disconnect the Vario Power spray lance and attach the foam cannon directly to the trigger gun.
- Apply Foam: Squeeze the trigger gun to apply foam to the desired surface.
- Adjust Detergent Dose: The detergent dose can be adjusted using the yellow dial on top of the foam nozzle.


5. Maintenance and Storage
Proper maintenance and storage will extend the life of your pressure washer.
5.1 After Each Use
- Disconnect Power and Water: Turn off the pressure washer, unplug it, and turn off the water supply.
- Relieve Pressure: Squeeze the trigger gun to release any remaining pressure in the system.
- Drain Water: Disconnect the garden hose and high-pressure hose. Allow all water to drain from the unit and hoses.
- Clean Accessories: Rinse the spray lance and foam cannon with clean water.
5.2 Storage
- Winterization (for freezing climates): If storing in an area where temperatures may drop below freezing, use a pump protector or antifreeze solution to prevent damage. Consult the Kärcher website or customer support for specific instructions.
- Dry Storage: Store the pressure washer and all accessories in a dry, protected area.
- Onboard Storage: Utilize the onboard storage for the hose, spray lance, and trigger gun to keep components organized and protected.
6. Troubleshooting
Refer to this section for common issues and their solutions.
| Problem | Possible Cause | Solution |
|---|---|---|
| Unit does not start | No power supply; tripped circuit breaker; unit not plugged in. | Check power connection; reset circuit breaker; ensure plug is fully inserted. |
| No water pressure or fluctuating pressure | Water supply off or restricted; air in pump; clogged nozzle; kinked hose. | Ensure water supply is fully open; purge air from system; clean nozzle; straighten hose. |
| Water leaks | Loose connections; damaged O-rings or seals. | Tighten all connections; inspect and replace damaged O-rings/seals. |
| Detergent not dispensing | Foam cannon empty; foam cannon not properly attached; detergent dial set to minimum. | Refill foam cannon; ensure secure attachment; adjust detergent dial. |
7. Specifications
| Specification | Value |
|---|---|
| Brand | Karcher |
| Model Number | K 1 |
| Power Source | Electric |
| Maximum Pressure | 1700 PSI |
| Maximum Flow Rate | 1.45 GPM |
| Hose Length | 10 Feet |
| Weight | Approximately 9.8 lbs |
8. Warranty and Support
For warranty information, product registration, or technical support, please visit the official Kärcher website or contact their customer service department. Keep your purchase receipt as proof of purchase.
Kärcher Official Website: www.kaercher.com
Note: Specific warranty terms and conditions may vary by region and retailer.


