Introduction
The Estink Digital Depth Electronic Height Depth Digital Display Woodworking Ruler Measure Tool is designed for precise measurement of product size and depth. Equipped with a powerful magnet for easy attachment to iron surfaces, this versatile tool offers a measuring range of 0-80mm. Its detachable depth rod allows for dual-purpose use as both a height and depth gauge. Key features include high accuracy, metric conversion, one-key clearing, data saving functions, and a large, clear digital display for efficient readings.
Product Overview
The Estink Digital Depth Gauge consists of a main body with a digital display, control buttons, a sliding measurement arm, and a detachable depth rod. The robust ABS plastic construction ensures durability for woodworking and other precision tasks.

This image displays the Estink Digital Depth Gauge from an angled top-down perspective, highlighting its digital display showing '42.10 mm' and the main measurement arm. The device is black with blue and yellow function buttons.

The image shows the Estink Digital Depth Gauge in an upright position, with its digital display showing '0.00 mm'. Text overlays indicate 'Measuring range 0-80mm' and 'detachable depth measuring rod, height/depth dual purpose ruler', illustrating its versatility.
Specifications
| Feature | Detail |
|---|---|
| Measuring Range | 0-80mm |
| Material | ABS Plastic |
| Color | Black |
| Item Weight | 3.77 ounces |
| Package Dimensions | 7.87 x 5.12 x 1.18 inches |
| Power Source | 1Pc Battery (Not Included) |
| Manufacturer | Estink |
| Country of Origin | China |
Setup
- Battery Installation: Locate the battery compartment on the back of the digital display unit. Open the compartment cover. Insert one battery (not included) according to the polarity indicators (+/-). Close the battery compartment cover securely.
- Initial Check: After installing the battery, press the 'ON/OFF' button to power on the device. The display should light up and show '0.00 mm' or a similar reading.
Operating Instructions
Follow these steps to accurately use your Estink Digital Depth Gauge:
- Power On/Off: Press the 'ON/OFF' button to turn the device on or off.
- Unit Conversion: Press the 'mm/inch' button to switch between millimeters (mm) and inches (in) display units.
- Zero Setting: Place the gauge on a flat, stable surface. Ensure the measurement arm is fully retracted or at the desired zero point. Press the 'ZERO' button to set the current position as the zero reference. This is crucial for accurate relative measurements.
- Taking a Measurement:
- For depth measurement: Place the base of the gauge on the surface from which you want to measure depth. Extend the measurement arm into the hole or groove until it touches the bottom. Read the measurement on the digital display.
- For height measurement: Place the gauge on a flat surface. Extend the measurement arm upwards until it touches the top of the object you wish to measure. Read the measurement on the digital display.
- Data Hold: Press the 'HOLD' button to freeze the current reading on the display. Press it again to release the hold function.

A detailed view of the digital display and control buttons of the Estink Digital Depth Gauge. The buttons are clearly visible: 'ON/OFF' (yellow), 'mm/inch' (blue), 'ZERO' (yellow), and 'HOLD' (blue), indicating their functions.
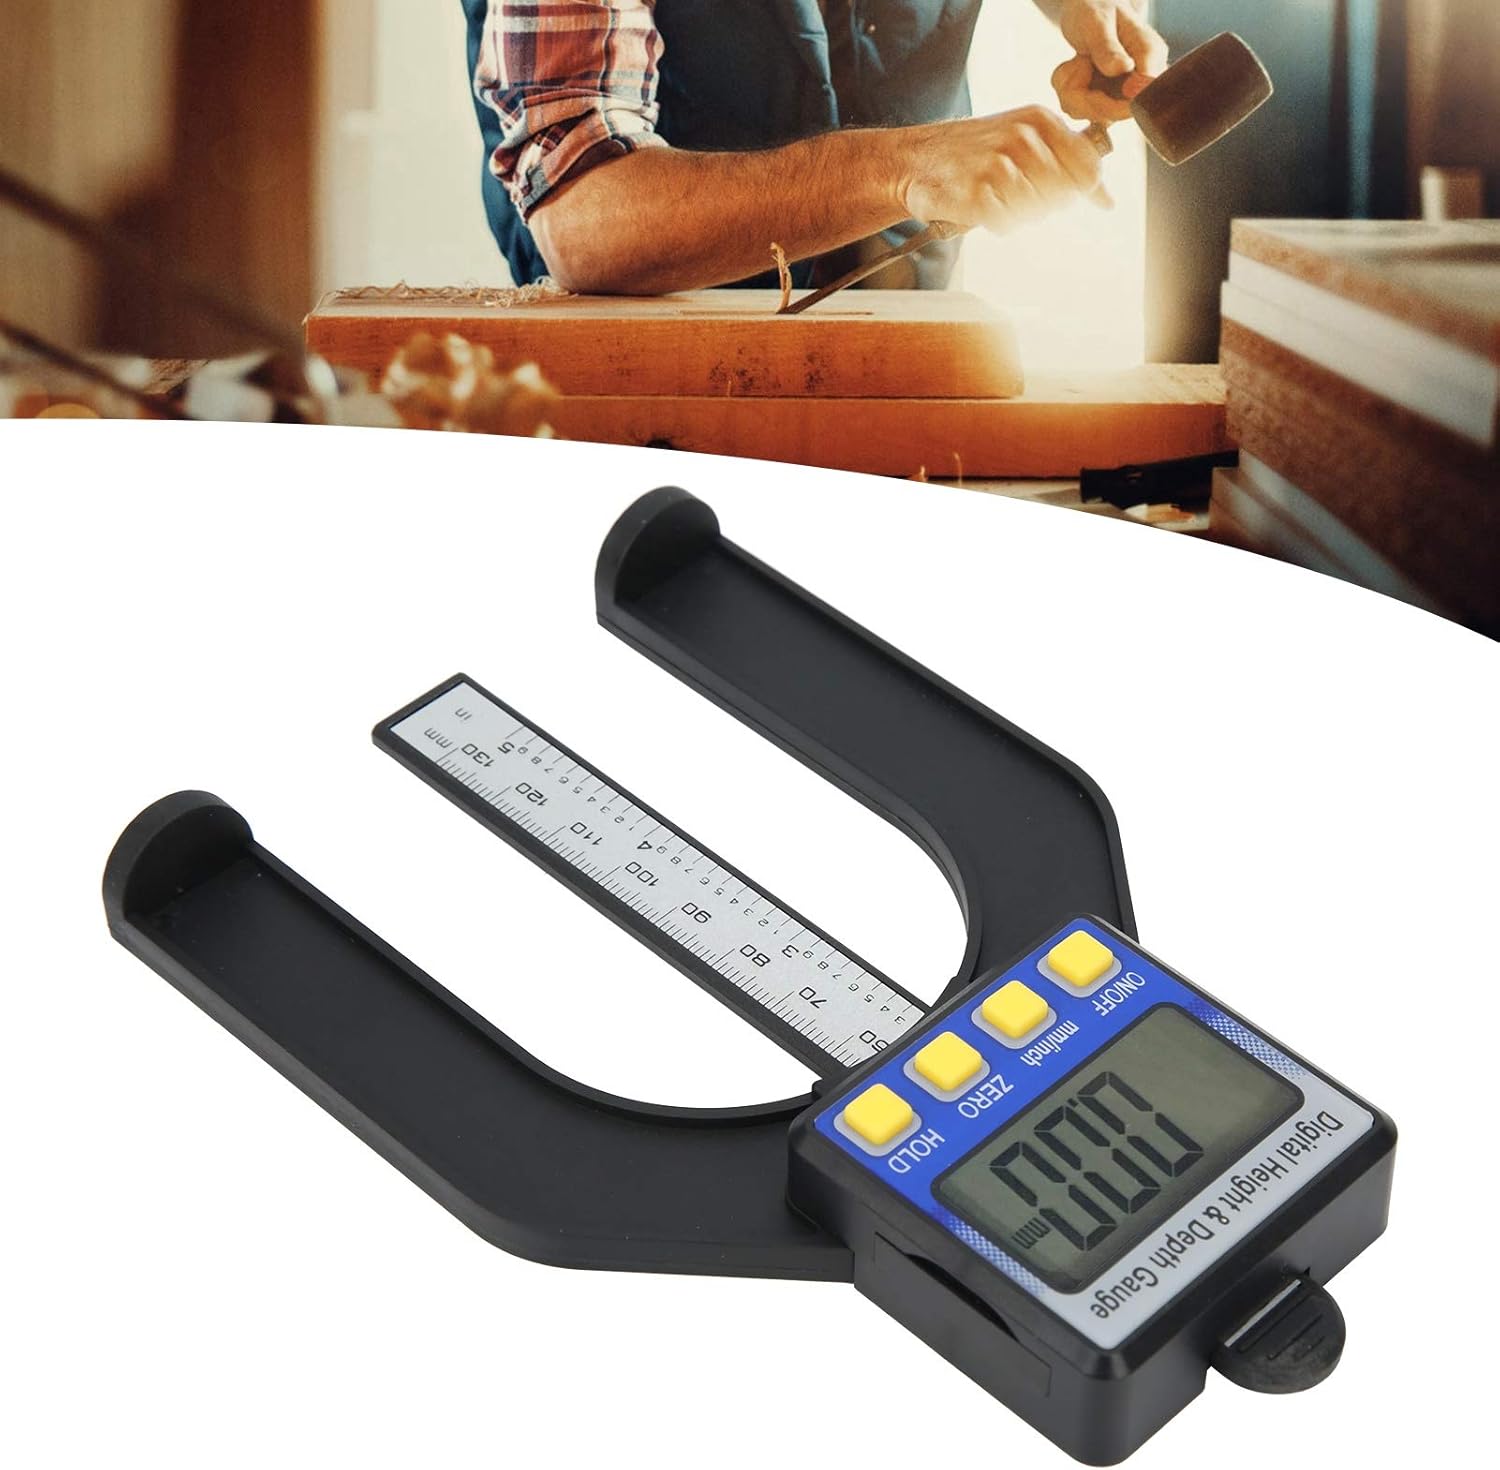
This image demonstrates the Estink Digital Depth Gauge in practical use, measuring a depth on a piece of wood. The user's hands are visible, carefully positioning the tool to obtain an accurate reading.
Maintenance
- Cleaning: Wipe the gauge with a soft, dry cloth after each use to remove dust and debris. Do not use abrasive cleaners or solvents, as they may damage the plastic or electronic components.
- Storage: Store the gauge in a clean, dry place away from direct sunlight, extreme temperatures, and high humidity. Keep it in its original packaging or a protective case to prevent damage.
- Battery Replacement: If the display becomes dim or erratic, replace the battery promptly. Remove the old battery and dispose of it according to local regulations.
Troubleshooting
| Problem | Possible Cause | Solution |
|---|---|---|
| Device does not power on | No battery, incorrect battery installation, or dead battery. | Ensure a fresh battery is installed correctly with the correct polarity. |
| Inaccurate readings | Gauge not zeroed, debris on measuring surfaces, or damaged sensor. | Press the 'ZERO' button before measuring. Clean the measuring surfaces. If issues persist, contact support. |
| Display is dim or flickering | Low battery. | Replace the battery with a new one. |
| Buttons are unresponsive | Battery issue or internal electronic fault. | Check or replace the battery. If the problem continues, the device may require professional inspection. |
Warranty and Support
For any questions, technical assistance, or warranty claims regarding your Estink Digital Depth Gauge, please contact the manufacturer or your point of purchase. Keep your purchase receipt as proof of purchase for warranty purposes.