
1. Introduction
This manual provides comprehensive instructions for the installation, operation, and maintenance of your Broan-NuTone QT Series 80 CFM Ultra Quiet Ceiling Bathroom Exhaust Fan, Model QTXEG080. Please read all instructions carefully before beginning installation or use to ensure proper function and safety.
2. Important Safety Information
WARNING: To reduce the risk of fire, electric shock, or injury to persons, observe the following:
- Install this unit only in the manner intended by the manufacturer. If you have questions, contact the manufacturer.
- Before servicing or cleaning, switch power off at the service panel and lock the service disconnecting means to prevent power from being switched on accidentally. When the service disconnecting means cannot be locked, securely fasten a prominent warning device, such as a tag, to the service panel.
- Installation work and electrical wiring must be done by qualified person(s) in accordance with all applicable codes and standards, including fire-rated construction codes and standards.
- Sufficient air is needed for proper combustion and exhausting of gases through the flue (chimney) of fuel-burning equipment to prevent back-drafting. Follow the heating equipment manufacturer’s guideline and safety standards such as those published by the National Fire Protection Association (NFPA), and the American Society for Heating, Refrigeration and Air Conditioning Engineers (ASHRAE), and the local code authorities.
- When cutting or drilling into wall or ceiling, do not damage electrical wiring and other hidden utilities.
- Ducted fans must always be vented to the outdoors.
- Do not use this fan with any solid-state speed control device.
- This unit is designed for installation over a tub or shower with a GFCI circuit.
3. Package Contents
Verify that all components are present before beginning installation:
- Broan-NuTone QT Series Exhaust Fan Housing
- Fan Motor Assembly
- Grille Cover
- Hanger Bars (for installation)
- Installation Hardware (screws, wire nuts)

4. Specifications
| Feature | Detail |
|---|---|
| Model Number | QTXEG080 |
| Air Flow Capacity | 80 Cubic Feet Per Minute (CFM) |
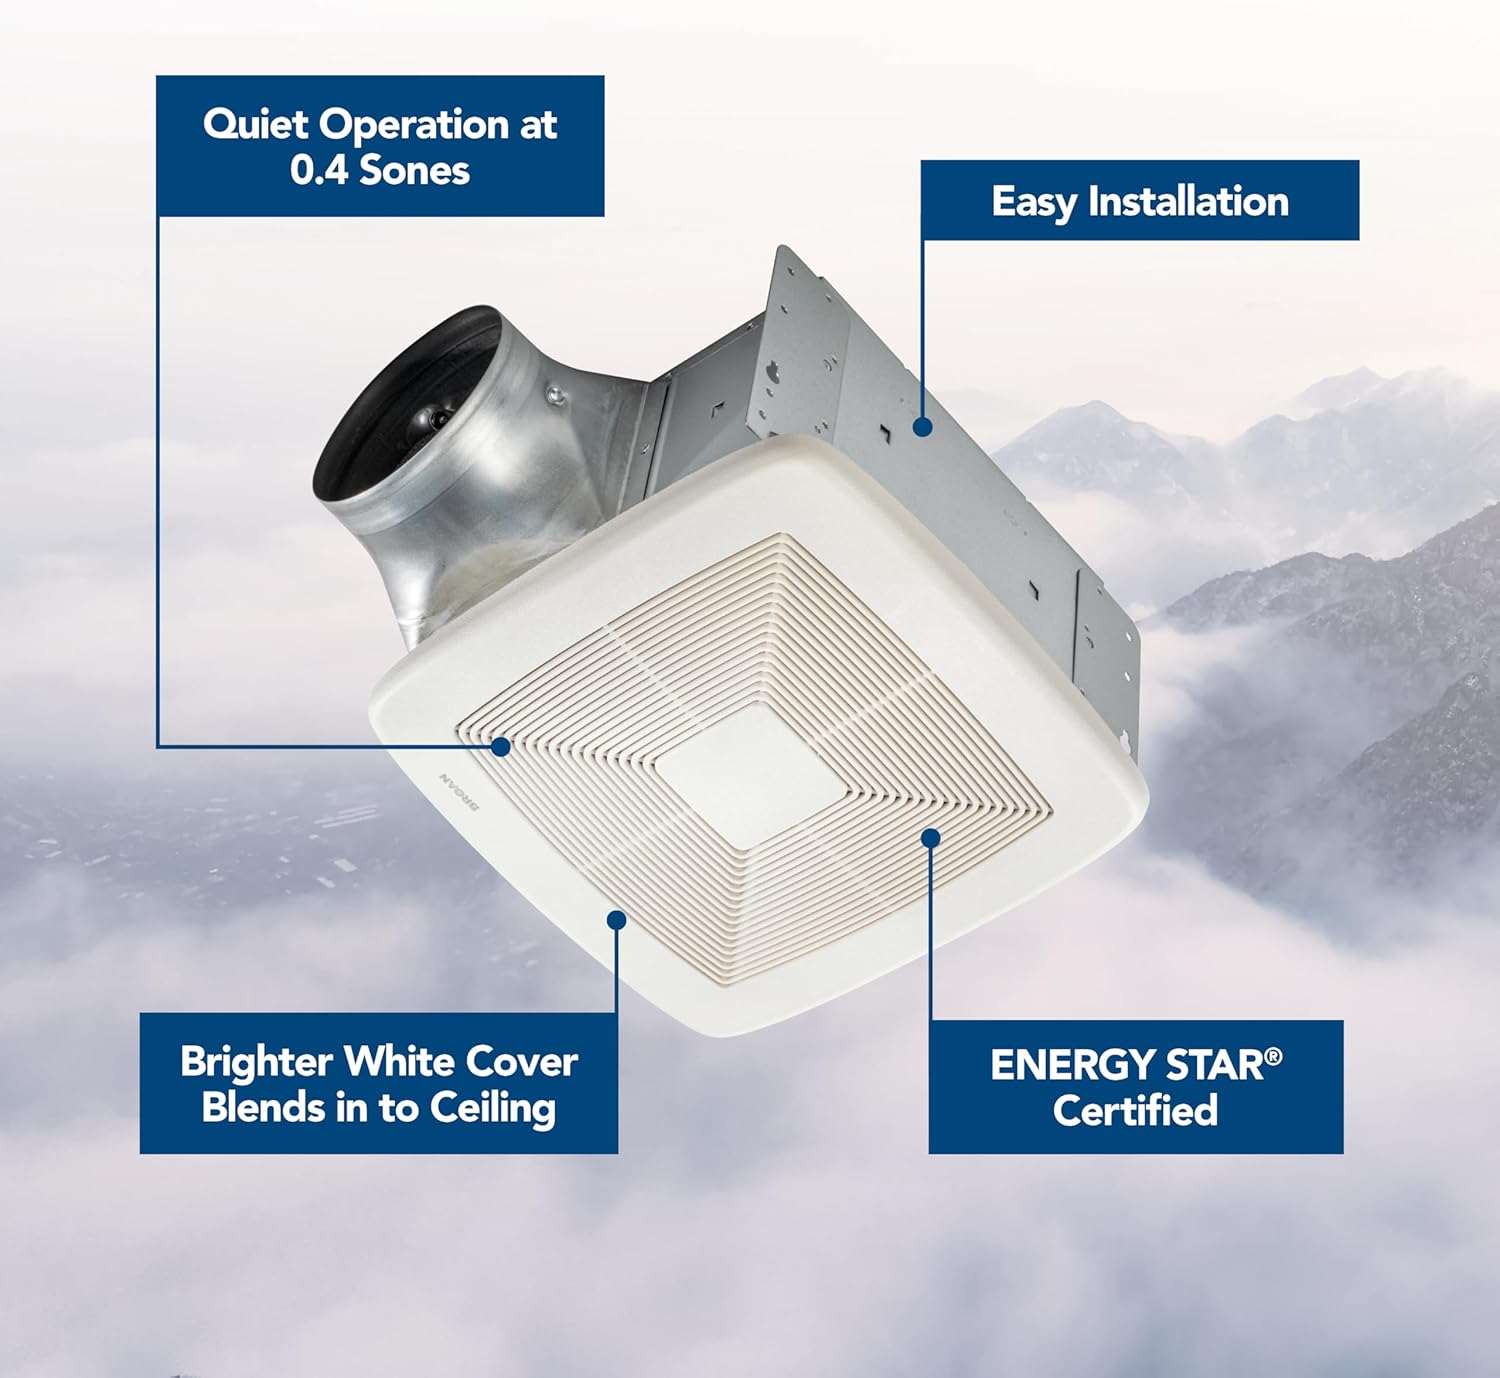
| Noise Level | 0.4 Sones |
| Voltage | 120 Volts |
| Wattage | 36 Watts |
| Product Dimensions (H x W x D) | 8.63" x 13.75" x 13" |
| Duct Size | 6 inches diameter |
| Ceiling Construction Fit | 2" x 8" minimum |
| Certifications | ENERGY STAR Certified, UL Certified |
| Recommended Room Size | Up to 80 sq. ft. |

5. Installation Instructions
Proper installation is crucial for optimal performance and safety. Refer to local building codes and the National Electrical Code (NEC) for specific requirements.
5.1 Pre-Installation Steps
- Power Disconnection: Ensure power is OFF at the circuit breaker before starting any electrical work.
- Location Selection: Choose a ceiling location that allows for proper ducting to the outdoors and fits the fan's dimensions (13"D x 13.75"W x 8.63"H). Ensure there is at least 2" x 8" ceiling construction available.
- Ducting: Plan for a 6-inch diameter duct run to the exterior of the building. Minimize bends and length for best performance.
5.2 Mounting the Fan Housing
- Prepare Opening: Cut an opening in the ceiling to accommodate the fan housing. The housing dimensions are approximately 13" x 13.75".
- Attach Hanger Bars: Secure the included hanger bars to the fan housing. These bars are designed for easy and fast installation between joists.
- Position Housing: Insert the fan housing into the ceiling opening. Extend the hanger bars and secure them to the ceiling joists using appropriate fasteners. Ensure the housing is level and flush with the ceiling surface.
5.3 Electrical Wiring
All wiring must comply with local electrical codes. If you are unsure, consult a qualified electrician.
- Connect Wiring: Route electrical supply wires into the fan's wiring compartment. Connect the house wiring to the fan's wires (typically black to black, white to white, and ground to ground) using wire nuts.
- Secure Connections: Ensure all electrical connections are tight and secure.
- Close Compartment: Replace the wiring compartment cover.
5.4 Duct Connection
- Attach Ducting: Connect the 6-inch diameter ductwork to the fan's exhaust collar.
- Seal Connections: Use duct tape or clamps to create an airtight seal at all duct connections to prevent air leakage and maximize efficiency.
5.5 Installing Motor and Grille
- Install Motor Assembly: The motor assembly is designed to snap into place within the housing. Align the motor assembly and firmly press it until it locks securely.
- Attach Grille: Connect the grille cover to the housing using the provided springs. Squeeze the grille springs and insert them into the slots in the fan housing. Push the grille up until it is flush with the ceiling.

6. Operation
The Broan-NuTone QT Series 80 CFM Ultra Quiet Ceiling Bathroom Exhaust Fan is designed for effective moisture and odor removal in bathrooms up to 80 sq. ft.
- Activation: The fan is typically activated via a wall switch connected during installation.
- Moisture Control: Operate the fan during and after showers or baths to effectively remove humidity and reduce the risk of mold and mildew growth.
- Odor Removal: Use the fan to quickly clear unwanted odors from the bathroom environment.
- Quiet Performance: This fan operates at an ultra-quiet 0.4 Sones, ensuring minimal noise disruption during use.

7. Maintenance
Regular maintenance ensures optimal performance and longevity of your exhaust fan.
7.1 Cleaning the Grille
- Disconnect Power: Always turn off power at the circuit breaker before cleaning.
- Remove Grille: Gently pull down the grille cover to release the springs and remove it from the housing.
- Clean Grille: Wash the grille cover with mild soap and water. Rinse thoroughly and dry completely before reinstallation.
7.2 Cleaning the Fan Housing and Motor
- Disconnect Power: Ensure power is OFF at the circuit breaker.
- Remove Motor Assembly: If necessary, carefully detach the motor assembly from the housing.
- Clean Interior: Use a soft cloth or vacuum cleaner with a brush attachment to remove dust and debris from the fan housing interior and around the motor.
- Reassemble: Reinstall the motor assembly and grille cover, ensuring they are securely in place.
Note: The fan motor is permanently lubricated and does not require additional oiling.
8. Troubleshooting
If your exhaust fan is not operating correctly, refer to the following common issues and solutions:
| Problem | Possible Cause | Solution |
|---|---|---|
| Fan does not operate | No power supply Loose wiring connection Faulty switch | Check circuit breaker and wall switch. Verify all wiring connections are secure (ensure power is off first). Test or replace the wall switch. |
| Fan is noisy | Loose mounting Debris in fan blades Ducting issues (e.g., too restrictive, leaks) | Ensure fan housing is securely mounted. Clean fan blades and interior (power off). Inspect ductwork for obstructions, kinks, or leaks. Ensure proper duct size (6-inch). |
| Poor ventilation/moisture removal | Blocked ducting Improper fan size for room Air leaks in ductwork | Check ductwork for obstructions. Ensure fan is appropriate for room size (up to 80 sq. ft.). Seal all duct connections properly. |
9. Warranty and Customer Support
Broan-NuTone products are manufactured to the highest quality standards and are backed by a limited warranty. For specific warranty details, please refer to the warranty card included with your product or visit the official Broan-NuTone website.
For technical assistance, replacement parts, or customer service inquiries, please contact Broan-NuTone customer support:
- Website: www.broan-nutone.com
- Phone: Refer to the website for regional contact numbers.