
1. Important Safety Information
Please read all safety instructions carefully before using the VSDISPLAY 24-inch Stretched Bar LCD Monitor. Keep this manual for future reference.
- Do not expose the monitor to rain, moisture, or extreme temperatures.
- Ensure proper ventilation around the monitor to prevent overheating.
- Use only the provided power adapter. Using an incorrect adapter may cause damage or fire.
- Avoid placing heavy objects on the power cord or the monitor itself.
- Do not attempt to disassemble or repair the monitor yourself. Refer all servicing to qualified personnel.
- Keep the monitor away from strong magnetic fields.
2. Package Contents
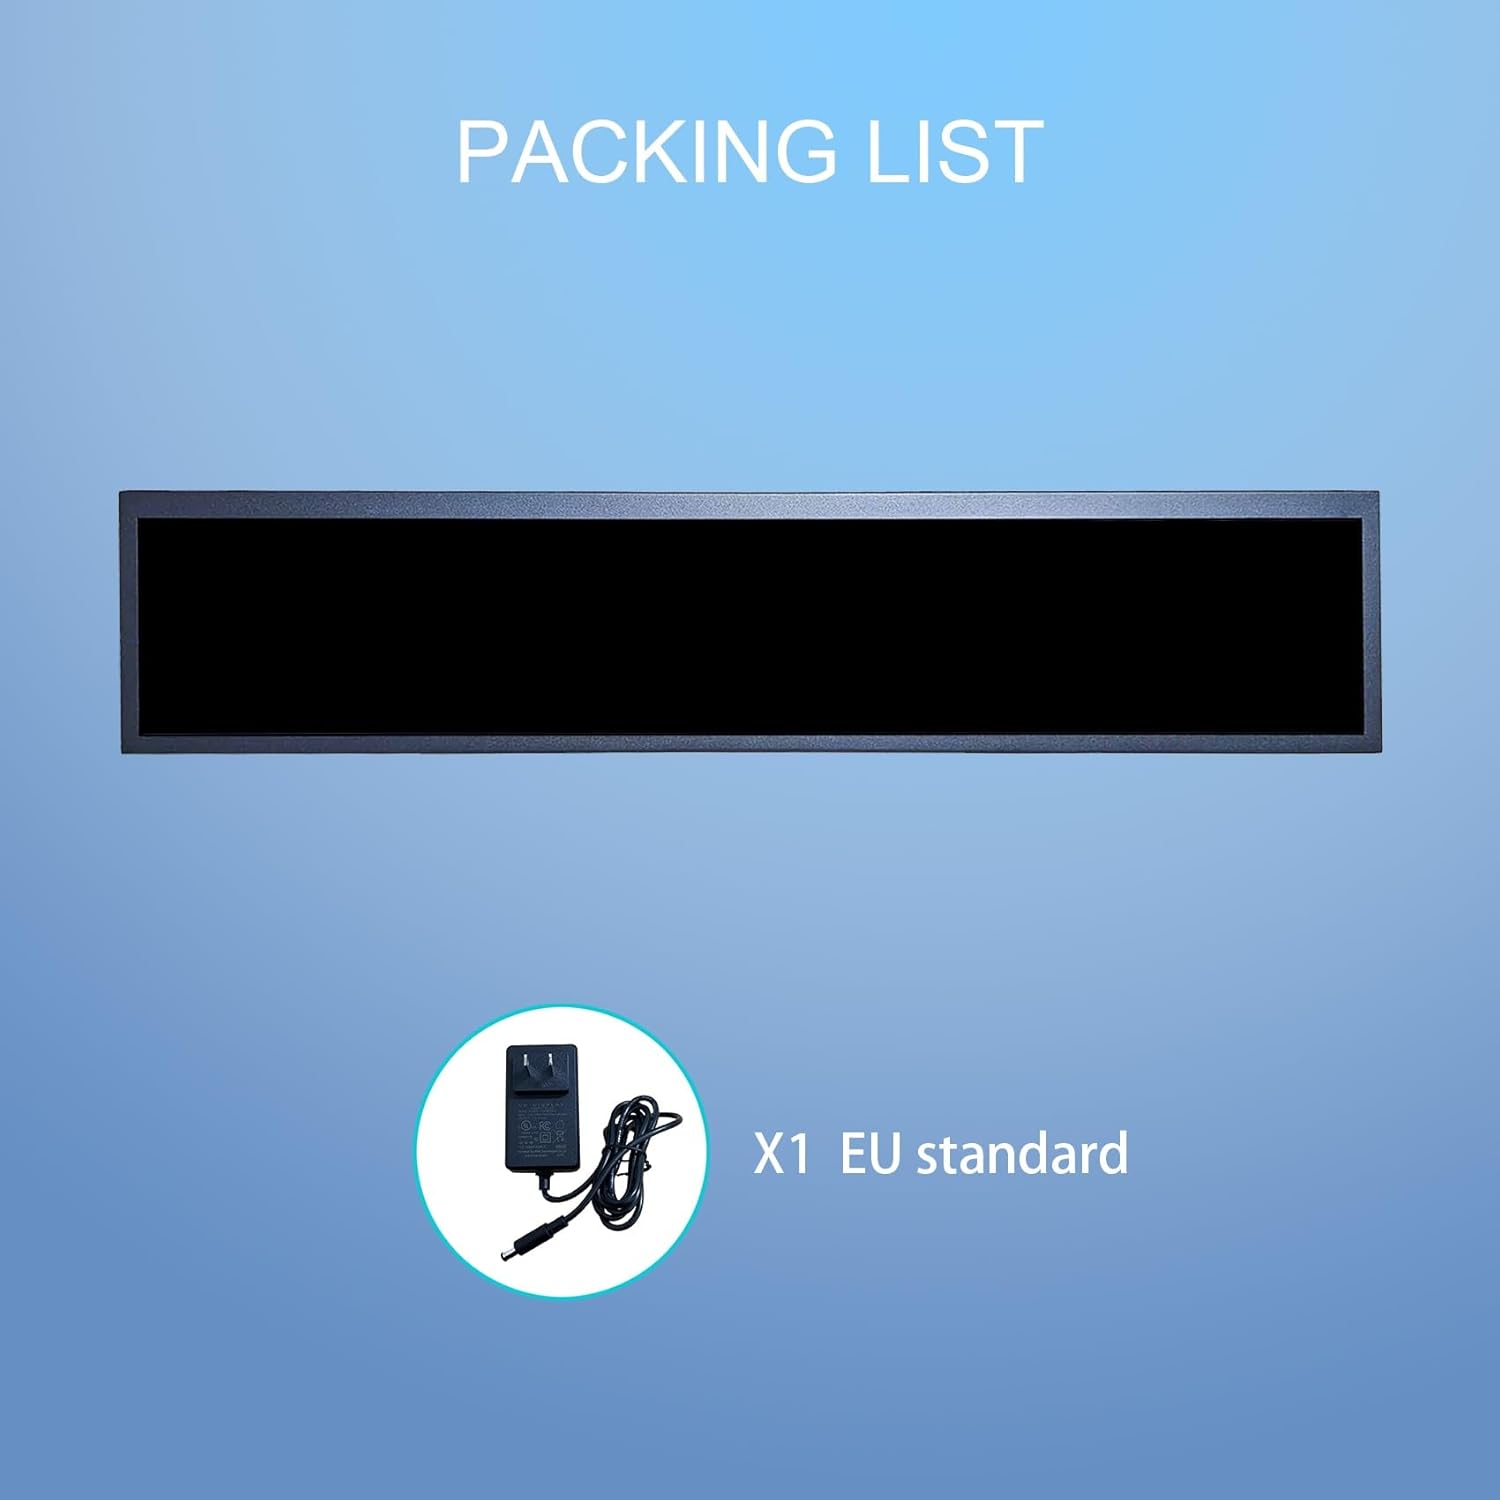
Verify that all items are present in the package:
- VSDISPLAY 24-inch Stretched Bar LCD Monitor (Model VS240AT01)
- Power Adapter (EU Standard)
- User Manual (this document)
3. Setup and Installation
3.1 Physical Installation
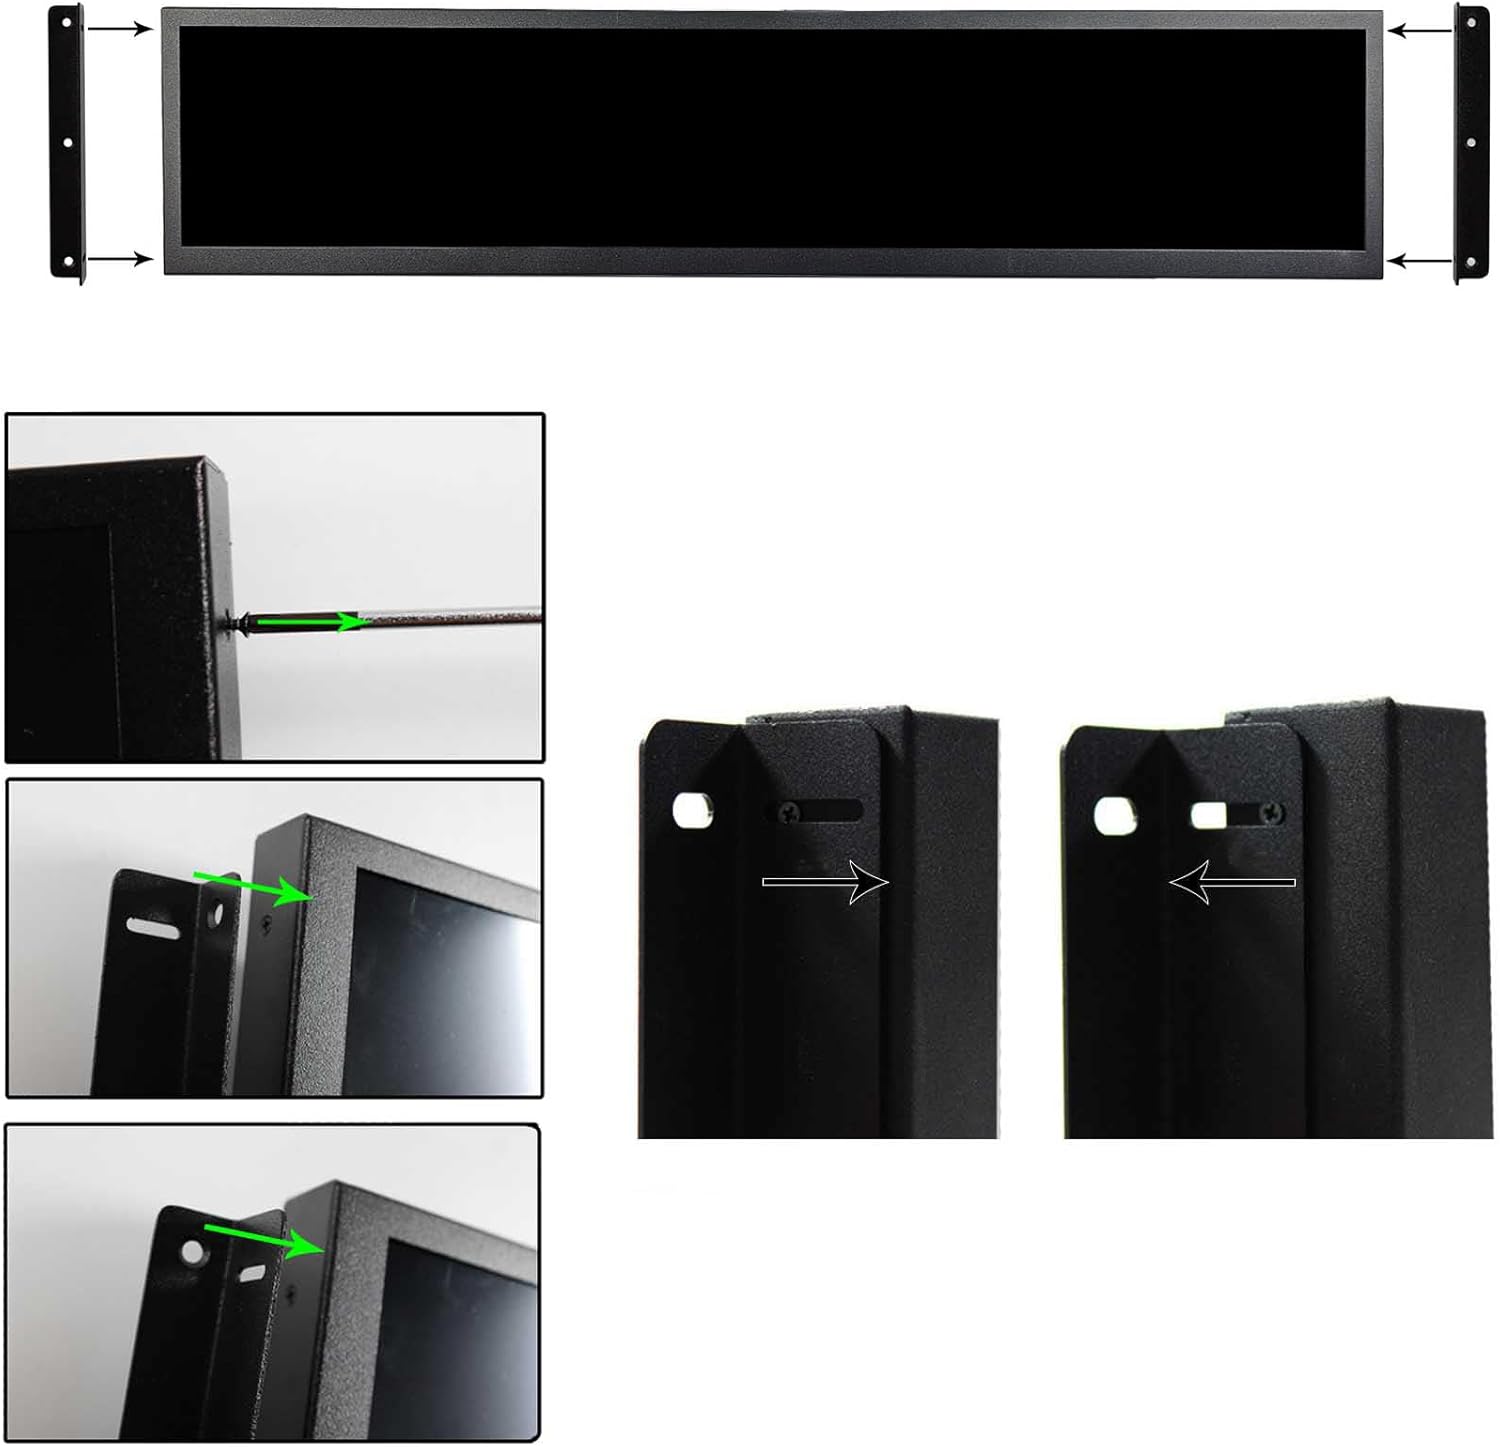
The monitor can be mounted using standard VESA-compatible brackets (not included) or placed on a flat surface. Ensure the mounting surface is sturdy enough to support the monitor's weight.

3.2 Connecting Power
- Connect the power adapter cable to the DC input port on the monitor.
- Plug the power adapter into a suitable electrical outlet.
- The monitor will power on automatically or can be turned on using the power button (if available).
3.3 Connecting Input Sources
The monitor supports various input interfaces:
- USB: For media playback and connecting peripherals.
- HDMI: For video and audio input from external devices.
- USB Type C: For data and potentially video input (check device compatibility).
Connect the signal cable from your source device (e.g., computer, media player) to the corresponding input port on the monitor.
4. Operation
4.1 Power On/Off
The monitor is designed for plug-and-play operation. Once connected to power, it will typically power on automatically. If a power button is present, press it to toggle the monitor's power state.
4.2 Android 11 System Features
This monitor is equipped with an Android 11 operating system, offering advanced functionalities:
- Automatic Playback: Configured to automatically play media files upon startup.
- Automatic Looping: Media content can be set to loop continuously.
- Automatic Copying: Supports automatic copying of files from inserted USB drives.
- 360-degree Screen Rotation: The display content can automatically adjust its orientation.
- Application Integration: Access to a wide range of Android applications and multimedia content.

4.3 Media Playback via USB
To play videos or display images from a USB drive:
- Insert a USB flash drive containing your media files into an available USB port on the monitor.
- The Android system will detect the USB drive and can be configured for automatic playback or manual selection of files.
4.4 Audio Experience
The monitor includes two integrated speakers, providing optimized sound for an immersive viewing experience. No external speakers are required for basic audio output.

5. Maintenance
5.1 Cleaning the Monitor
- Always power off and unplug the monitor before cleaning.
- Use a soft, lint-free cloth slightly dampened with water or a non-abrasive screen cleaner to wipe the display surface.
- For the exterior casing, use a soft, dry cloth. Avoid using harsh chemicals, solvents, or abrasive materials.
5.2 Storage
If storing the monitor for an extended period, ensure it is kept in a cool, dry place, away from direct sunlight and extreme temperatures. Use original packaging if available to protect it from dust and physical damage.
6. Troubleshooting
If you encounter issues with your VSDISPLAY monitor, refer to the following common problems and solutions:
| Problem | Possible Cause | Solution |
|---|---|---|
| No power | Power cable disconnected; faulty power adapter; power outlet issue. | Check power cable connections. Ensure the power adapter is securely plugged into both the monitor and a working electrical outlet. |
| No display/Black screen | Input source not connected; incorrect input selected; source device off. | Verify the HDMI/USB cable is securely connected to both the monitor and the source device. Ensure the source device is powered on. |
| No sound | Volume too low; audio settings incorrect; source device audio issue. | Increase the monitor's volume. Check audio settings on the source device. |
| USB media not playing | Unsupported file format; USB drive not detected; corrupted files. | Ensure media files are in supported formats. Reinsert the USB drive. Try a different USB drive or files. |
If the problem persists after attempting these solutions, please contact customer support.
7. Specifications
| Feature | Detail |
|---|---|
| Brand | VSDISPLAY |
| Model Number | VS240AZ01 (Product variant: VS240AT01) |
| Display Size | 24 Inches |
| Resolution | 1920 x 360 |
| Panel Type | IPS |
| Brightness | 300 nits (typical) |
| Contrast Ratio | 1200:1 |
| Response Time | 8 milliseconds |
| Refresh Rate | 60 Hz |
| Operating System | Android 11 |
| Connectivity | HDMI, USB Type A (1x USB 3.0), USB Type C |
| Audio | Built-in speakers |
| Dimensions (L x W x H) | 30 x 21 x 8 centimeters (approx. 619x137x30 mm overall) |
| Product Weight | 2.8 Kilograms |
| Special Feature | Portable |
8. Warranty and Support
8.1 Manufacturer's Warranty
This product comes with a 1-year manufacturer's warranty. Please retain your proof of purchase for warranty claims. The warranty covers defects in materials and workmanship under normal use. It does not cover damage caused by misuse, accidents, unauthorized modifications, or improper installation.
8.2 Customer Support
For technical assistance, troubleshooting, or warranty inquiries, please contact your retailer or the VSDISPLAY customer service department. Refer to the product packaging or the VSDISPLAY official website for specific contact information.