1. Introduction
This manual provides essential information for the safe and effective use of the ETURBEV ZL3C ZL-3C Rectifier. This device is designed to convert alternating current (AC) input into direct current (DC) output, specifically for brake power supply applications. Please read these instructions thoroughly before installation and operation to ensure proper functionality and safety.
2. Product Overview
The ZL3C ZL-3C Rectifier is a compact and efficient component for industrial and automotive applications requiring a stable DC power source from an AC supply. Its robust design ensures reliable performance. The product is designed to handle a wide input voltage range and provide a suitable DC output for brake systems.
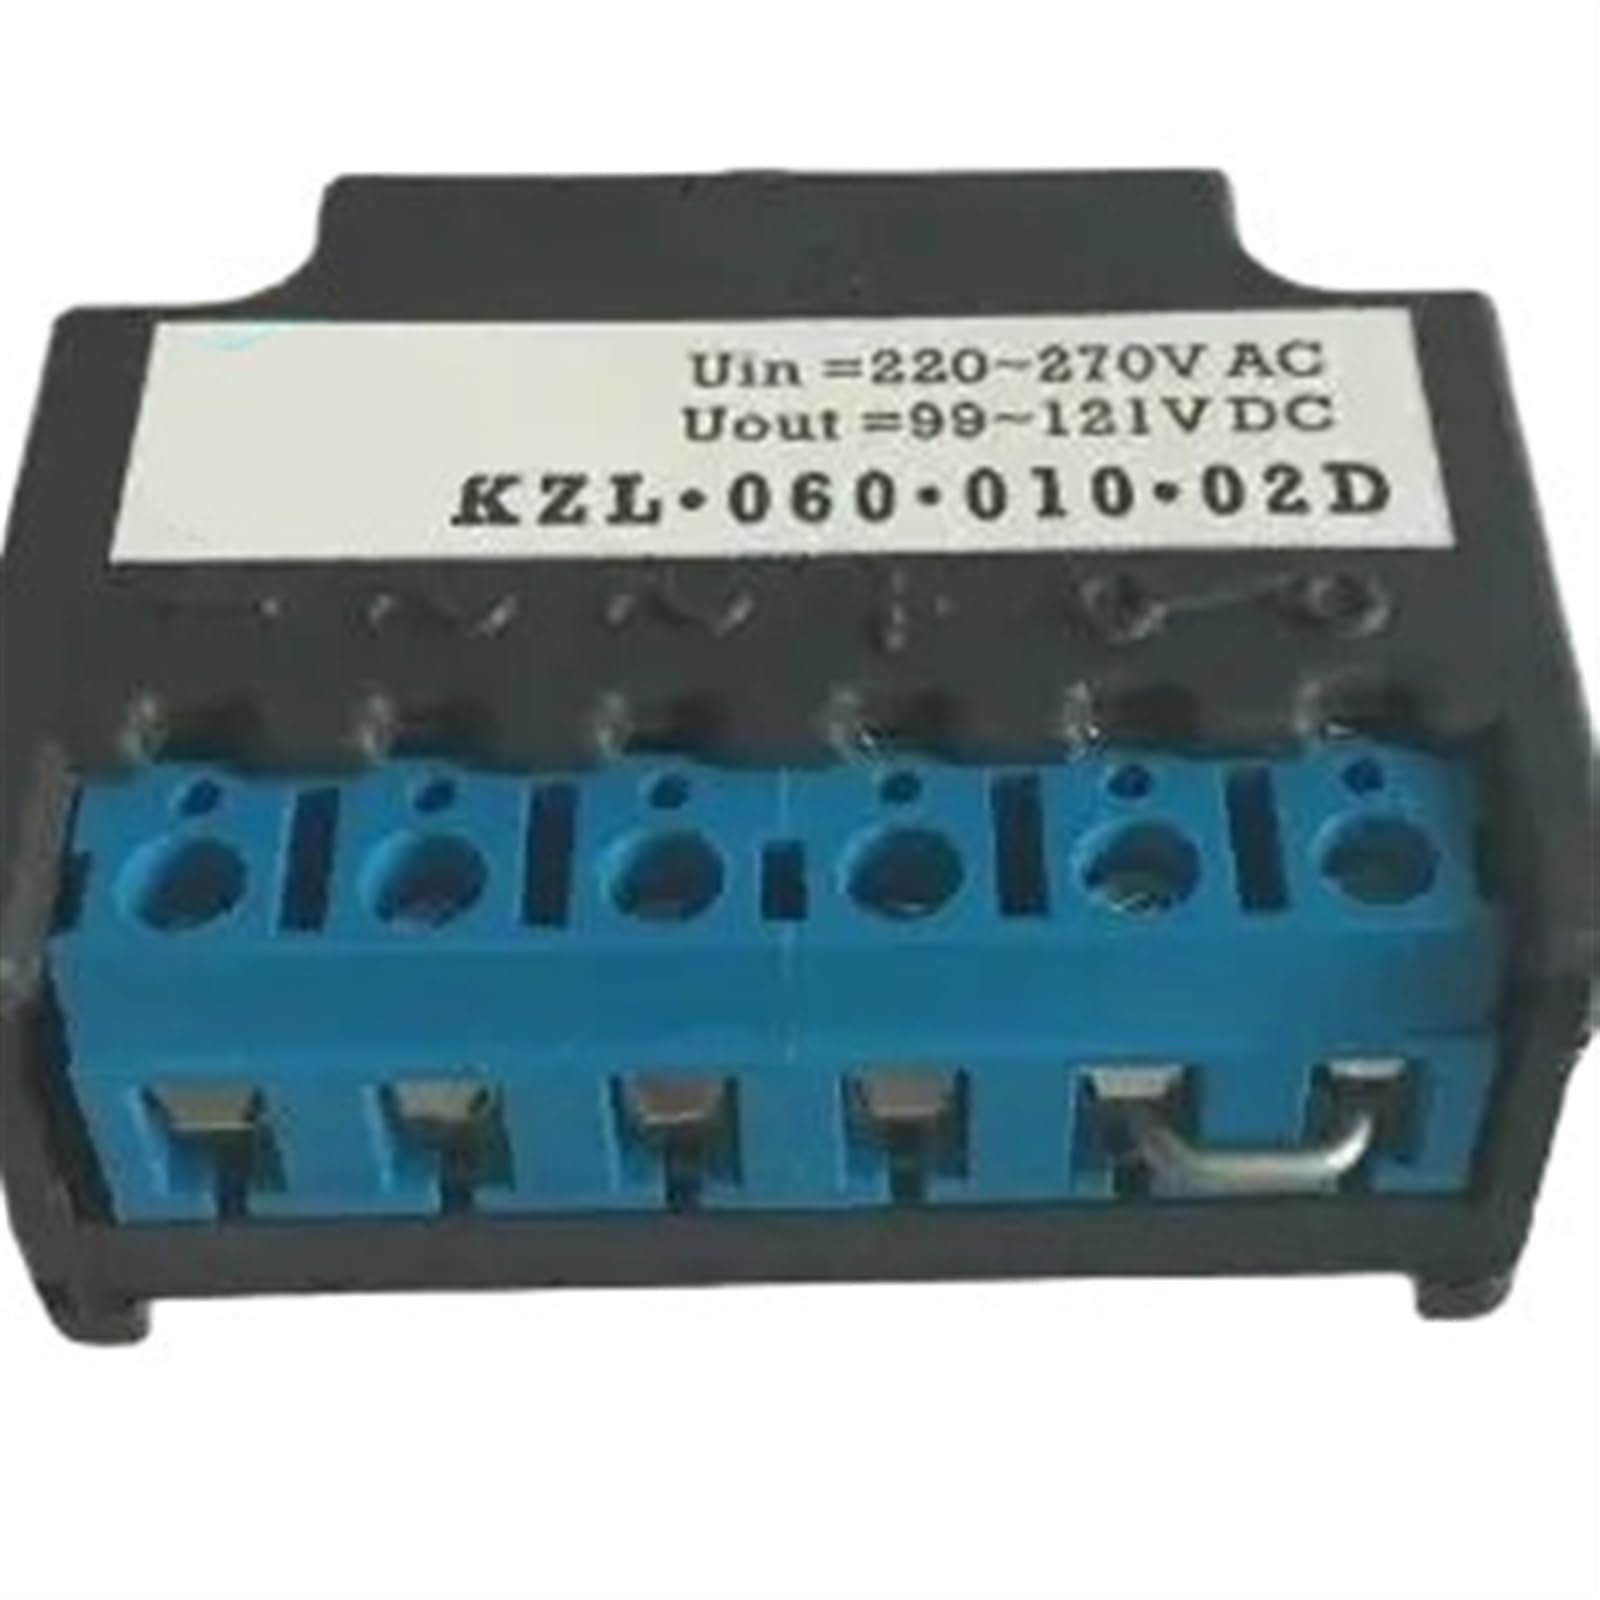
Figure 2.1: General view of a rectifier unit. Note: Labels on this example image may show specifications different from the ZL3C model.

Figure 2.2: Side view of a rectifier unit. This image provides an example of how specifications might be labeled on a rectifier. The actual specifications for the ZL3C model are detailed in Section 3.
3. Specifications
| Parameter | Value |
|---|---|
| Model | ZL-3C |
| Brand | ETURBEV |
| Input Voltage (AC) | 0 ~ 480V AC |
| Output Voltage (DC) | 0 ~ 216V DC |
| Function | Brake power supply |
| Item Weight | 1.76 ounces |
| Package Dimensions | 1.18 x 0.79 x 0.39 inches |
4. Setup and Installation
Proper installation is crucial for the safe and efficient operation of the rectifier. Always ensure power is disconnected before beginning any installation work.
- Safety First: Disconnect all power to the circuit where the rectifier will be installed. Verify with a voltage tester.
- Mounting: Securely mount the rectifier in a location that provides adequate ventilation and is protected from moisture, excessive heat, and vibration. Use appropriate fasteners for the mounting surface.
- Identify Terminals: Locate the AC input terminals and DC output terminals on the rectifier. These are typically labeled. Refer to the product diagram if available.
- AC Input Connection: Connect the AC power source wires to the designated AC input terminals. Ensure connections are tight and secure.
- DC Output Connection: Connect the DC load (e.g., brake system) to the DC output terminals. Pay close attention to polarity (+ and -) to prevent damage to the load or rectifier.
- Verify Connections: Double-check all wiring for correctness, tightness, and insulation integrity.
5. Operating Instructions
Once the rectifier is correctly installed and all connections are verified, it is ready for operation.
- Apply Power: Restore AC power to the circuit. The rectifier will immediately begin converting the AC input to DC output.
- Monitor: Observe the connected load (brake) to ensure it functions as expected. If possible, monitor the output voltage and current to confirm they are within the expected range for your application.
- Normal Operation: The rectifier operates continuously when AC power is supplied. No user intervention is typically required during normal operation.
6. Maintenance
The ZL3C ZL-3C Rectifier is designed for minimal maintenance. However, periodic checks can help ensure its longevity and reliable performance.
- Visual Inspection: Regularly inspect the rectifier for any signs of physical damage, discoloration, or loose connections.
- Cleanliness: Keep the unit free from dust, dirt, and debris, which can impede heat dissipation. Use a soft, dry cloth for cleaning. Do not use liquid cleaners.
- Ventilation: Ensure that the mounting area remains clear and allows for adequate airflow around the rectifier to prevent overheating.
- Connection Integrity: Periodically check that all electrical connections remain tight and secure.
7. Troubleshooting
If you encounter issues with your ZL3C ZL-3C Rectifier, refer to the following troubleshooting guide:
| Problem | Possible Cause | Solution |
|---|---|---|
| No DC Output | No AC input power Loose or incorrect wiring Internal rectifier failure | Check AC power source and circuit breaker Verify all input and output connections Replace the rectifier if other checks fail |
| Incorrect DC Output Voltage | AC input voltage outside specified range Overload on DC output | Verify AC input voltage is within 0-480V AC Reduce the load on the DC output |
| Rectifier Overheating | Insufficient ventilation Excessive load | Ensure adequate airflow around the unit Check if the DC load exceeds the rectifier's capacity |
If troubleshooting steps do not resolve the issue, contact customer support.
8. Warranty and Support
For warranty information or technical support regarding your ETURBEV ZL3C ZL-3C Rectifier, please refer to the purchase documentation or contact your vendor. Keep your purchase receipt as proof of purchase.


