
1. Introduction
Thank you for choosing the COUGAR MX600 Mini RGB Gaming PC Case. This manual provides essential information for the proper installation, operation, and maintenance of your new PC case. The MX600 Mini RGB is a compact mini tower designed for high-performance builds, featuring advanced cooling capabilities and support for modern components.
Key Features:
- Pre-installed twin 160mm PWM cooling fans at the front.
- Expanded fan capacity, supporting up to 10 fans in total.
- Compatibility with reverse connector motherboards for cleaner cable management.
- Sloped airflow ramp design for optimized air circulation.
- Support for top-mounted 360mm water cooling radiators.
- Accommodates graphics cards up to 380mm in length.
2. Setup and Installation
2.1 Unpacking
Carefully remove the MX600 Mini RGB case from its packaging. Inspect the case for any signs of damage during transit. Retain the packaging for future transportation or storage.
2.2 Component Overview
Familiarize yourself with the case's layout and components.

Figure 1: Front view of the MX600 Mini RGB case.

Figure 2: Top view with I/O ports.

Figure 3: Interior view of the case.
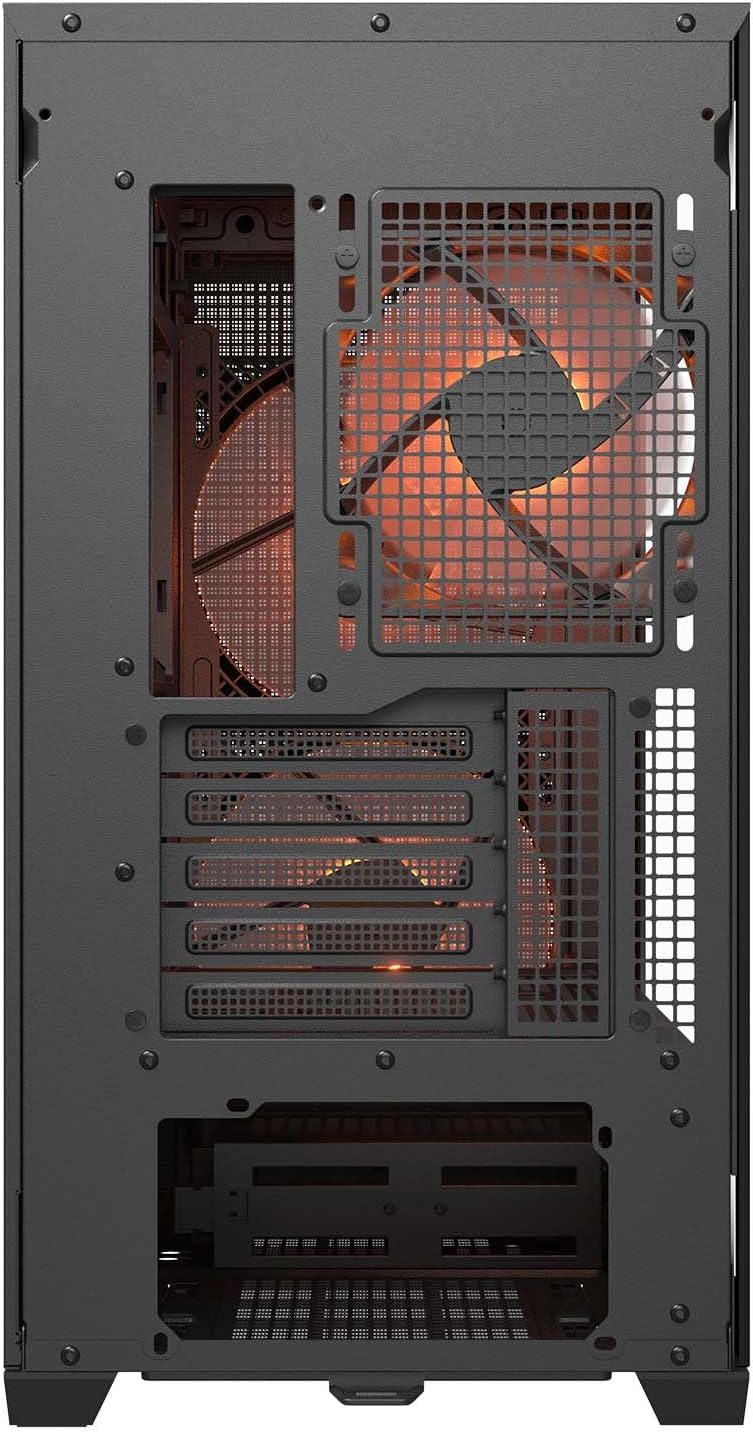
Figure 4: Rear view of the case.
2.3 Motherboard Installation
The MX600 Mini RGB supports Mini ITX and Micro ATX motherboards. Install the necessary standoffs for your motherboard size. Carefully place the motherboard into the case, aligning it with the standoffs and I/O shield opening. Secure it with screws. This case also supports reverse connector motherboards, allowing for alternative cable routing.
2.4 Graphics Card Installation
This case supports graphics cards up to 380mm in length. Remove the necessary PCIe slot covers, insert your graphics card into the PCIe slot on the motherboard, and secure it with screws.
2.5 Cooling System Setup
The case comes with two 160mm PWM fans pre-installed at the front. Additional cooling options include:
- Air Cooling: The case supports up to 10 fans in various configurations. Refer to Figure 6 for fan placement options.
- Water Cooling: A 360mm water cooling radiator can be installed at the top of the case. Refer to Figure 5 for radiator placement options.

Figure 5: Water cooling support diagram.

Figure 6: Air cooling support diagram.
2.6 Power Supply Installation
The power supply mounts at the bottom of the case. Slide the power supply into its designated bay and secure it with screws from the rear of the case.
2.7 Cable Management
Utilize the cable routing cutouts and tie-down points behind the motherboard tray to manage cables effectively. This improves airflow and maintains a clean interior aesthetic.
3. Operating Instructions
3.1 Powering On
After all components are installed and cables connected, press the power button located on the top I/O panel to start your system.
3.2 RGB Lighting Control
The MX600 Mini RGB features an integrated universal fan hub that coordinates PWM fan speed and RGB lighting. This allows you to control the RGB lighting without additional software, or synchronize it with compatible motherboard RGB software.

Figure 7: Integrated fan hub and RGB lighting examples.
4. Maintenance
4.1 Cleaning
Regularly clean the dust filters located on the top and front panels to maintain optimal airflow. These filters are typically magnetic and can be easily removed for cleaning. Use a soft, dry cloth to wipe down the exterior of the case. For interior cleaning, use compressed air to remove dust from components and fan blades.
4.2 Fan Inspection
Periodically check that all fans are spinning freely and are free from obstructions. Excessive noise from fans may indicate dust buildup or a failing bearing.
5. Troubleshooting
If you encounter issues with your COUGAR MX600 Mini RGB case, consider the following:
- No Power: Ensure all power cables (24-pin ATX, 8-pin CPU, PCIe, SATA) are securely connected to the motherboard, graphics card, and storage devices. Verify the power supply switch is in the 'ON' position.
- Fans Not Spinning/RGB Not Working: Check fan and RGB connections to the integrated fan hub and/or motherboard. Ensure the fan hub is powered correctly. Consult your motherboard manual for RGB software control.
- Excessive Noise: Inspect fans for dust buildup or loose cables interfering with fan blades. Ensure all screws are tightened to prevent vibrations.
For further assistance, please contact COUGAR customer support.
6. Specifications
| Brand | COUGAR |
| Series | MX600 Mini RGB |
| Model Name | MX600 Mini RGB |
| Case Type | Mini Tower |
| Color | Black |
| Material | Metal |
| Product Dimensions (LxWxH) | 17.95 x 9.13 x 17.52 inches (456 x 232 x 445 mm) |
| Item Weight | 16.72 pounds (7.58 kg) |
| Motherboard Compatibility | Mini ITX, Micro ATX |
| Power Supply Mounting Type | Bottom Mount |
| Cooling Method | Air |
| Pre-installed Fans | 2 x 160mm PWM (Front) |
| Max Fan Capacity | 10 |
| Top Radiator Support | Up to 360mm |
| Max GPU Length | 380mm |
| Recommended Uses | Business, Gaming |
7. Warranty and Support
For warranty information and technical support, please refer to the official COUGAR website or contact your local distributor. Keep your proof of purchase for warranty claims.
COUGAR Official Website: https://cougargaming.com/