1. Introduction and Overview
The KEPEAK Car Jump Starter with Air Compressor is a versatile emergency device designed to provide multiple essential functions for vehicle owners. This all-in-one unit integrates a powerful jump starter, a smart tire inflator, a fast-charging power bank, and a multi-mode LED light. It is engineered for reliability and ease of use in various emergency situations, from starting a dead car battery to inflating tires and charging mobile devices.
With a boosted 4000A peak cranking current, this jump starter can easily start 12V vehicles with up to 9.0L gas or 6.5L diesel engines, even in extreme temperatures ranging from -4°F to 140°F. The intelligent tire inflation function allows for preset pressure and automatic shut-off, supporting various inflation modes for cars, motorcycles, bikes, and balls. Its portable design and multiple safety protections ensure a secure and convenient experience for all users.
2. Package Contents
Please verify that all items listed below are included in your package:
- 1 x KEPEAK Jump Starter with Air Compressor
- 1 x Smart Jumper Cable
- 1 x Air Pump Hose
- 1 x Ball Needle
- 1 x Presta Adapter
- 1 x Portable Cloth Bag
- 1 x Type-C Charging Cable
- 1 x User Manual
3. Product Overview and Components

Figure 1: KEPEAK Car Jump Starter with Air Compressor and included accessories. The main unit features a large LCD display and control buttons. Accessories include jumper cables, an air pump hose, various nozzles, and charging cables.

Figure 2: The all-in-one large LCD screen provides clear, real-time data including pressure unit (PSI, BAR, KPA, kg/cm²), current pressure value, battery level, preset pressure value, and selected inflation modes (car, motorcycle, bike, ball, custom).

Figure 3: The integrated 160PSI air compressor can quickly inflate a 225/50R17 car tire from 30 to 36 PSI in approximately 2 minutes. It features preset pressure and auto shut-off for convenient and accurate tire maintenance.
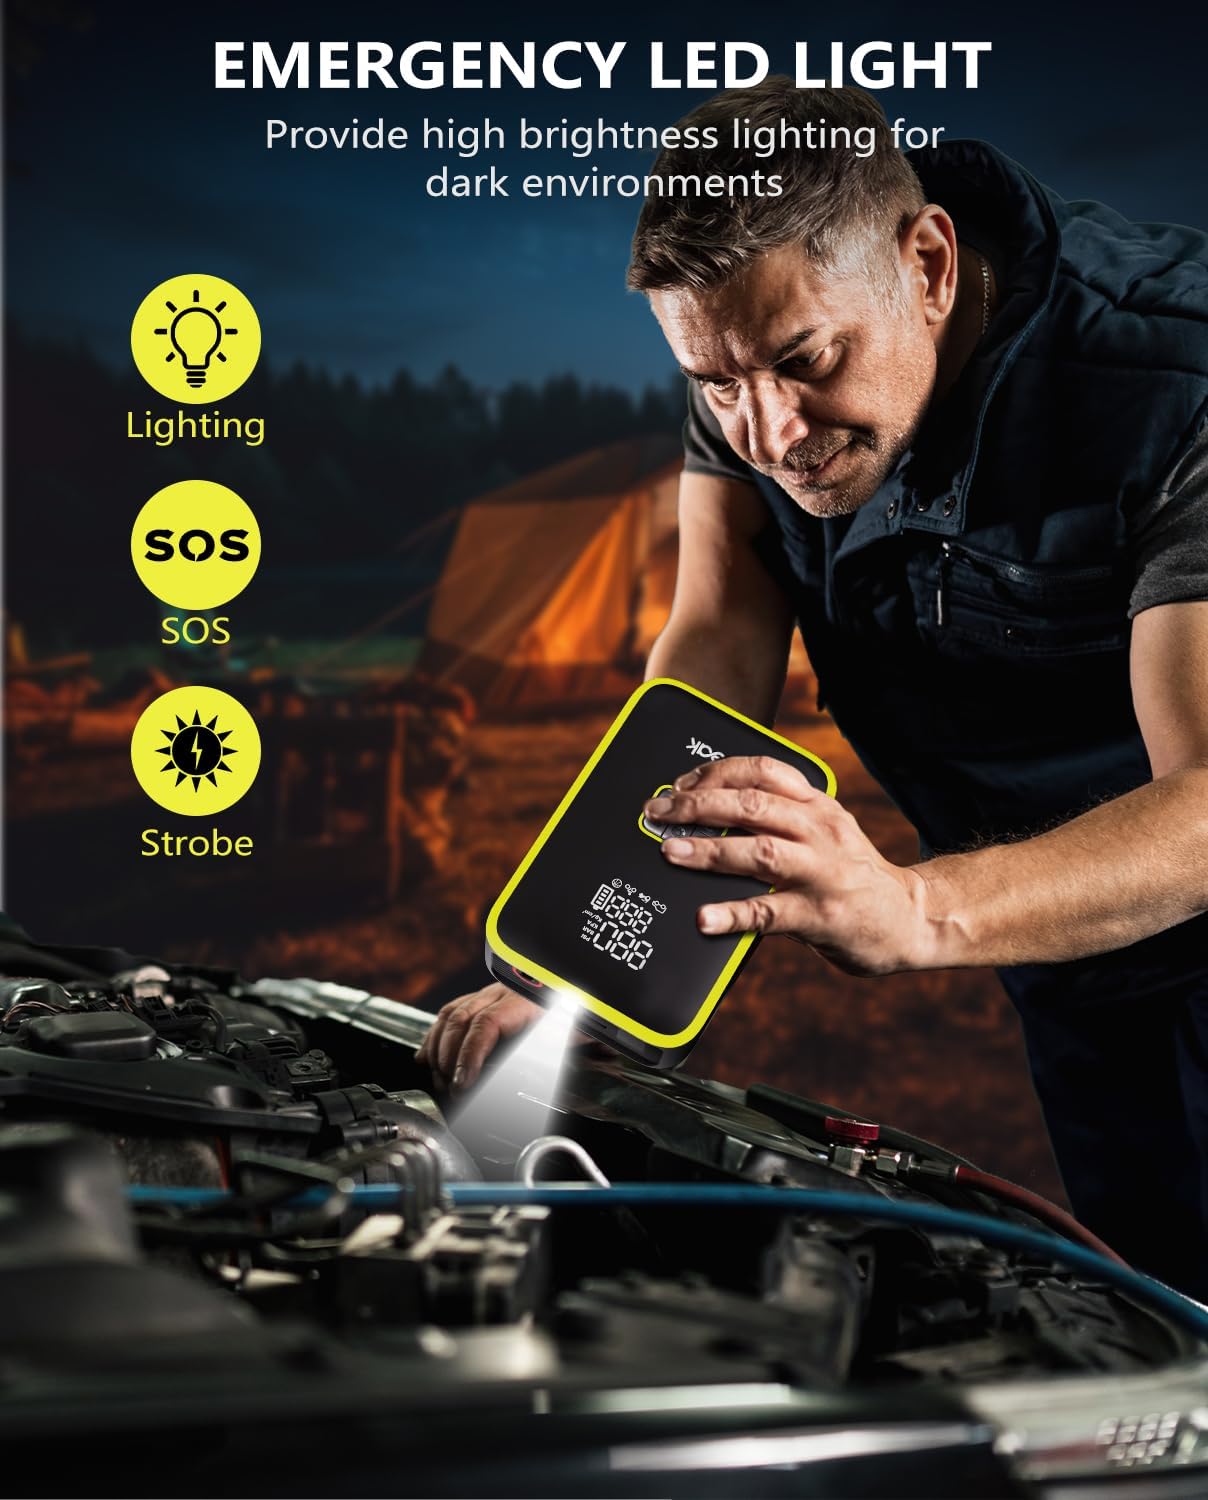
Figure 4: The unit functions as a portable power bank with upgraded charging technology, capable of charging phones, tablets, and other devices up to 2x faster than standard chargers. It features Type-C input (5V/3A, 9V/3A) and USB output (5V/2A).

Figure 5: A bright 300 lumen emergency LED light is integrated, offering three modes: flashlight, strobe, and SOS warning. This light can last up to 72 hours on a full charge, providing essential illumination in dark environments.
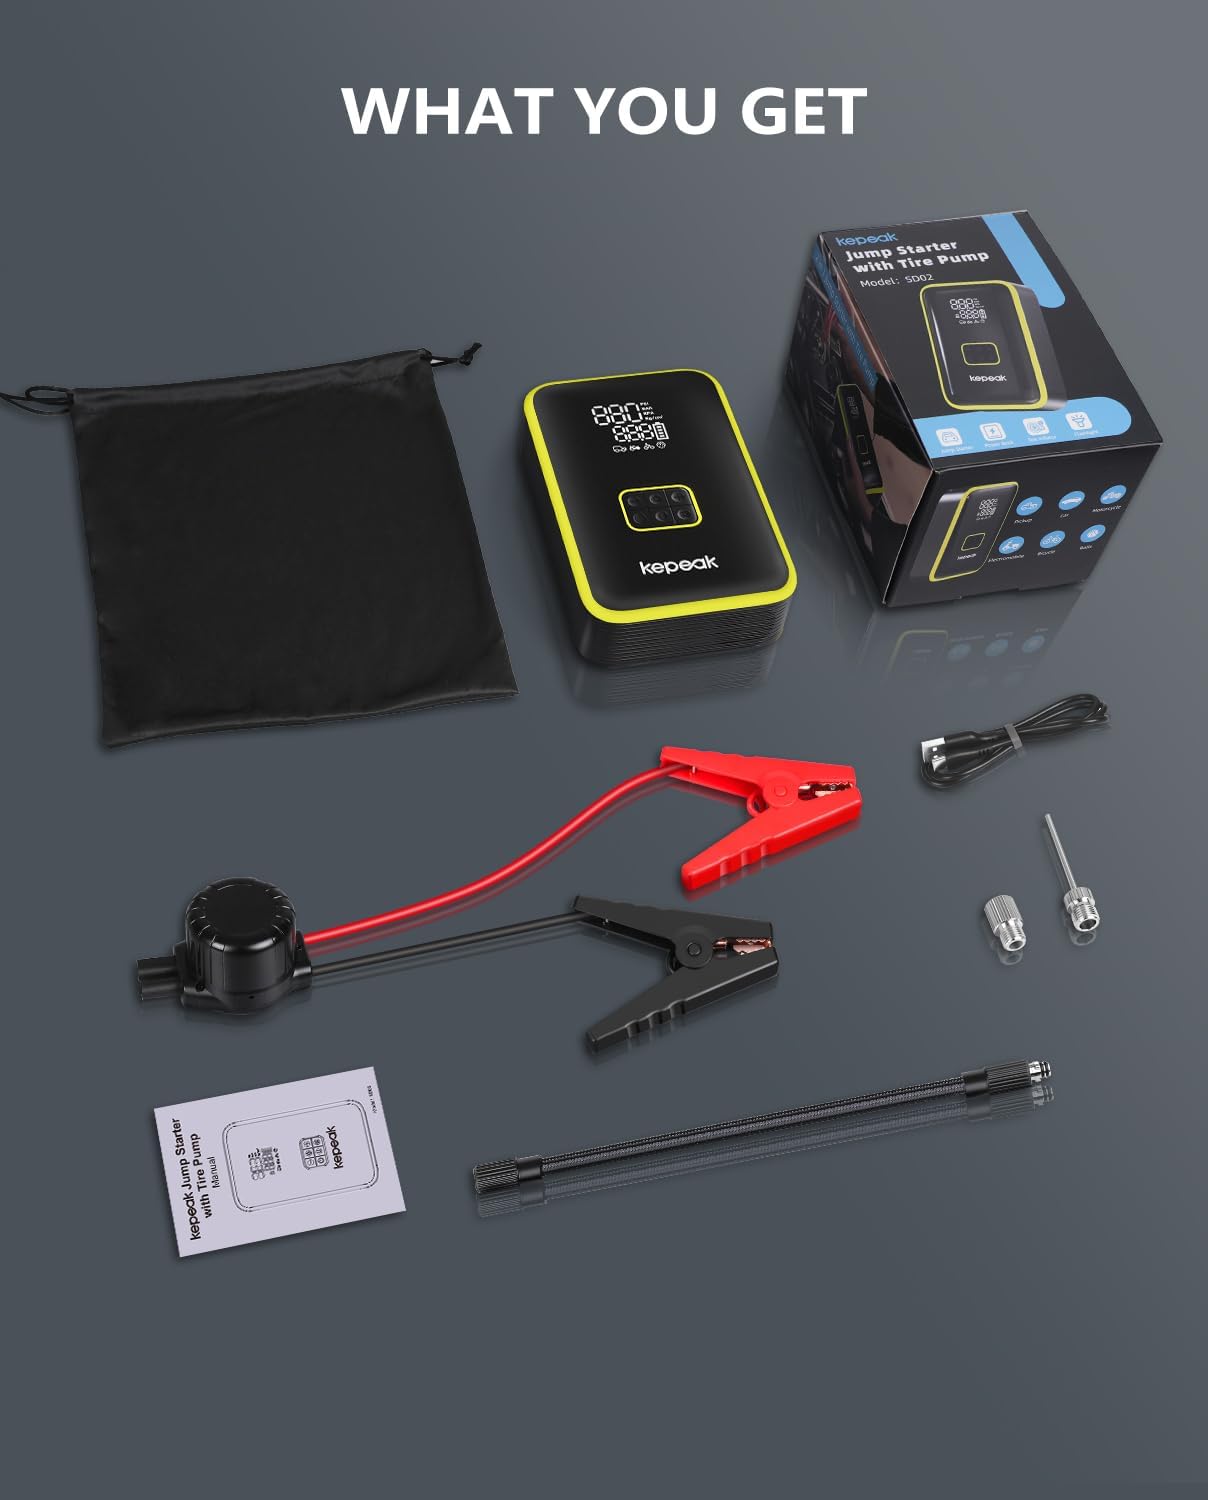
Figure 6: The smart jumper cables incorporate 10 built-in safety protection technologies, including over-voltage, short circuit, anti-spark, over-current, overload, over-charge, reverse charge, reverse polarity, low temperature, and over-heat protection. These features prevent damage even if cables are accidentally reversed.
4. Setup
4.1 Initial Charging
Before first use, fully charge the KEPEAK Jump Starter using the provided Type-C charging cable. Connect the Type-C cable to the unit's input port and the other end to a compatible USB power adapter (not included). The LCD display will indicate charging progress. Ensure the unit is charged to at least 50% before attempting to jump start a vehicle.
5. Operating Instructions
5.1 Jump Starting a Vehicle

Figure 7: Visual guide for connecting the jump starter to a car battery and starting the engine.
- Ensure the jump starter unit has at least 50% battery power.
- Insert the smart jumper cable into the jump starter's port. The indicator light on the smart clamp will flash red and green alternately.
- Connect the red clamp to the positive (+) terminal of the car battery and the black clamp to the negative (-) terminal. The indicator light on the smart clamp should turn solid green. If it flashes red/green, check connections or press the force start button if the battery is completely dead.
- Start your vehicle.
- Once the vehicle starts, remove the jumper cable from the car battery immediately.
Note: If the car does not start successfully, wait for 60 seconds and then repeat the above steps. Do not connect the two clips together, as this may damage the product.
5.2 Tire Inflation Function

Figure 8: Visual guide for connecting the air pump hose, selecting pressure units and inflation modes, adjusting preset pressure, and initiating inflation.
- Screw the air pump hose into the unit's air outlet.
- Connect the other end of the air pump hose to the tire valve. Ensure a secure connection to prevent air leakage.
- Turn on the unit. The LCD display will show the current tire pressure.
- Press the 'M' button to select the desired inflation mode (car, motorcycle, bike, ball, custom).
- Press the 'U' button to select the desired pressure unit (PSI, BAR, KPA, kg/cm²).
- Use the '+' and '-' buttons to adjust the preset pressure to your desired level.
- Press the power button to start inflation. The unit will automatically stop when the preset pressure is reached.
5.3 Portable Power Bank

Figure 9: The unit provides Type-C input (5V/3A, 9V/3A) and USB output (5V/2A) ports, allowing for fast charging of smartphones, tablets, laptops, watches, cameras, and headphones.
Connect your electronic devices to the USB output port using a compatible USB cable. The unit will automatically begin charging your device.
5.4 Emergency LED Light

Figure 10: The emergency LED light offers three modes for various situations.
- Press and hold the light button to turn on the flashlight (comfortable lighting).
- Press the light button again to switch to strobe mode (conspicuous strobe).
- Press the light button a third time to activate SOS warning mode (urgent SOS).
- Press and hold the light button to turn off the light.
6. Safety Precautions
The KEPEAK Jump Starter is equipped with 10 built-in safety protection technologies to ensure safe operation. Always follow these precautions:
- Over-Voltage Protection: Prevents damage from excessive voltage.
- Short-Circuit Protection: Automatically cuts power in case of a short circuit.
- Anti-Spark Technology: Prevents sparks during connection.
- Over-Current Protection: Safeguards against excessive current flow.
- Overload Protection: Protects the unit from operating beyond its capacity.
- Over-Charge Protection: Prevents battery damage from overcharging.
- Reverse Charging Prevention: Stops current flow if the unit is connected incorrectly.
- Reverse Polarity Protection: Alerts and prevents damage if clamps are connected to the wrong battery terminals.
- Low Temperature Protection: Ensures safe operation in cold environments (-4°F).
- Over-Heat Protection: Prevents overheating during prolonged use.
Always ensure proper connection of the jumper cables. Even if you accidentally reverse the cables, the built-in safety system will prevent sparks or damage.
7. Maintenance
To ensure optimal performance and longevity of your KEPEAK Jump Starter, please observe the following maintenance guidelines:
- Recharge the unit at least once every 3 months, even if not in use, to maintain battery health.
- Store the unit in a cool, dry place away from direct sunlight and extreme temperatures.
- Keep the unit clean and free from dust and debris. Use a soft, dry cloth for cleaning.
- Avoid dropping the unit or subjecting it to strong impacts.
8. Troubleshooting
No specific troubleshooting steps are provided in the user manual. If you encounter issues, please refer to the indicator light troubleshooting guide in the user manual or contact customer support.
9. Specifications
| Feature | Specification |
|---|---|
| Brand | KEPEAK |
| Model | SD02 |
| Peak Cranking Current | 4000 Amps |
| Vehicle Compatibility | Up to 9.0L Gas / 6.5L Diesel (12V vehicles) |
| Tire Inflator Pressure | 160 PSI (Max) |
| Tire Inflator Accuracy | ±1 PSI |
| Power Bank Output | USB: 5V/2A |
| Power Bank Input | Type-C: 5V/3A, 9V/3A |
| LED Light Brightness | 300 Lumens |
| Operating Temperature | -4°F to 140°F (-20°C to 60°C) |
| Item Weight | 2.59 pounds |
| Package Dimensions | 7.4 x 5.35 x 4.33 inches |
10. Warranty and Support
KEPEAK offers a 2-year free warranty for this product. For lifetime technical support and 24/7 customer service, please contact us directly. Any questions or concerns can be addressed by our dedicated support team.
Video 1: A brief overview of the KEPEAK jump starter with air compressor, highlighting its key features and compact design. This video provides a quick visual introduction to the product's capabilities.


