
1. Introduction
This manual provides detailed instructions for the setup, operation, and maintenance of your Douk Audio T6 PRO Bluetooth Tube Amplifier. Please read this manual thoroughly before using the device to ensure proper functionality and to maximize your audio experience. The T6 PRO is a hybrid amplifier designed for home theater and Hi-Fi systems, combining vacuum tube pre-amplification with a Class D power amplifier.
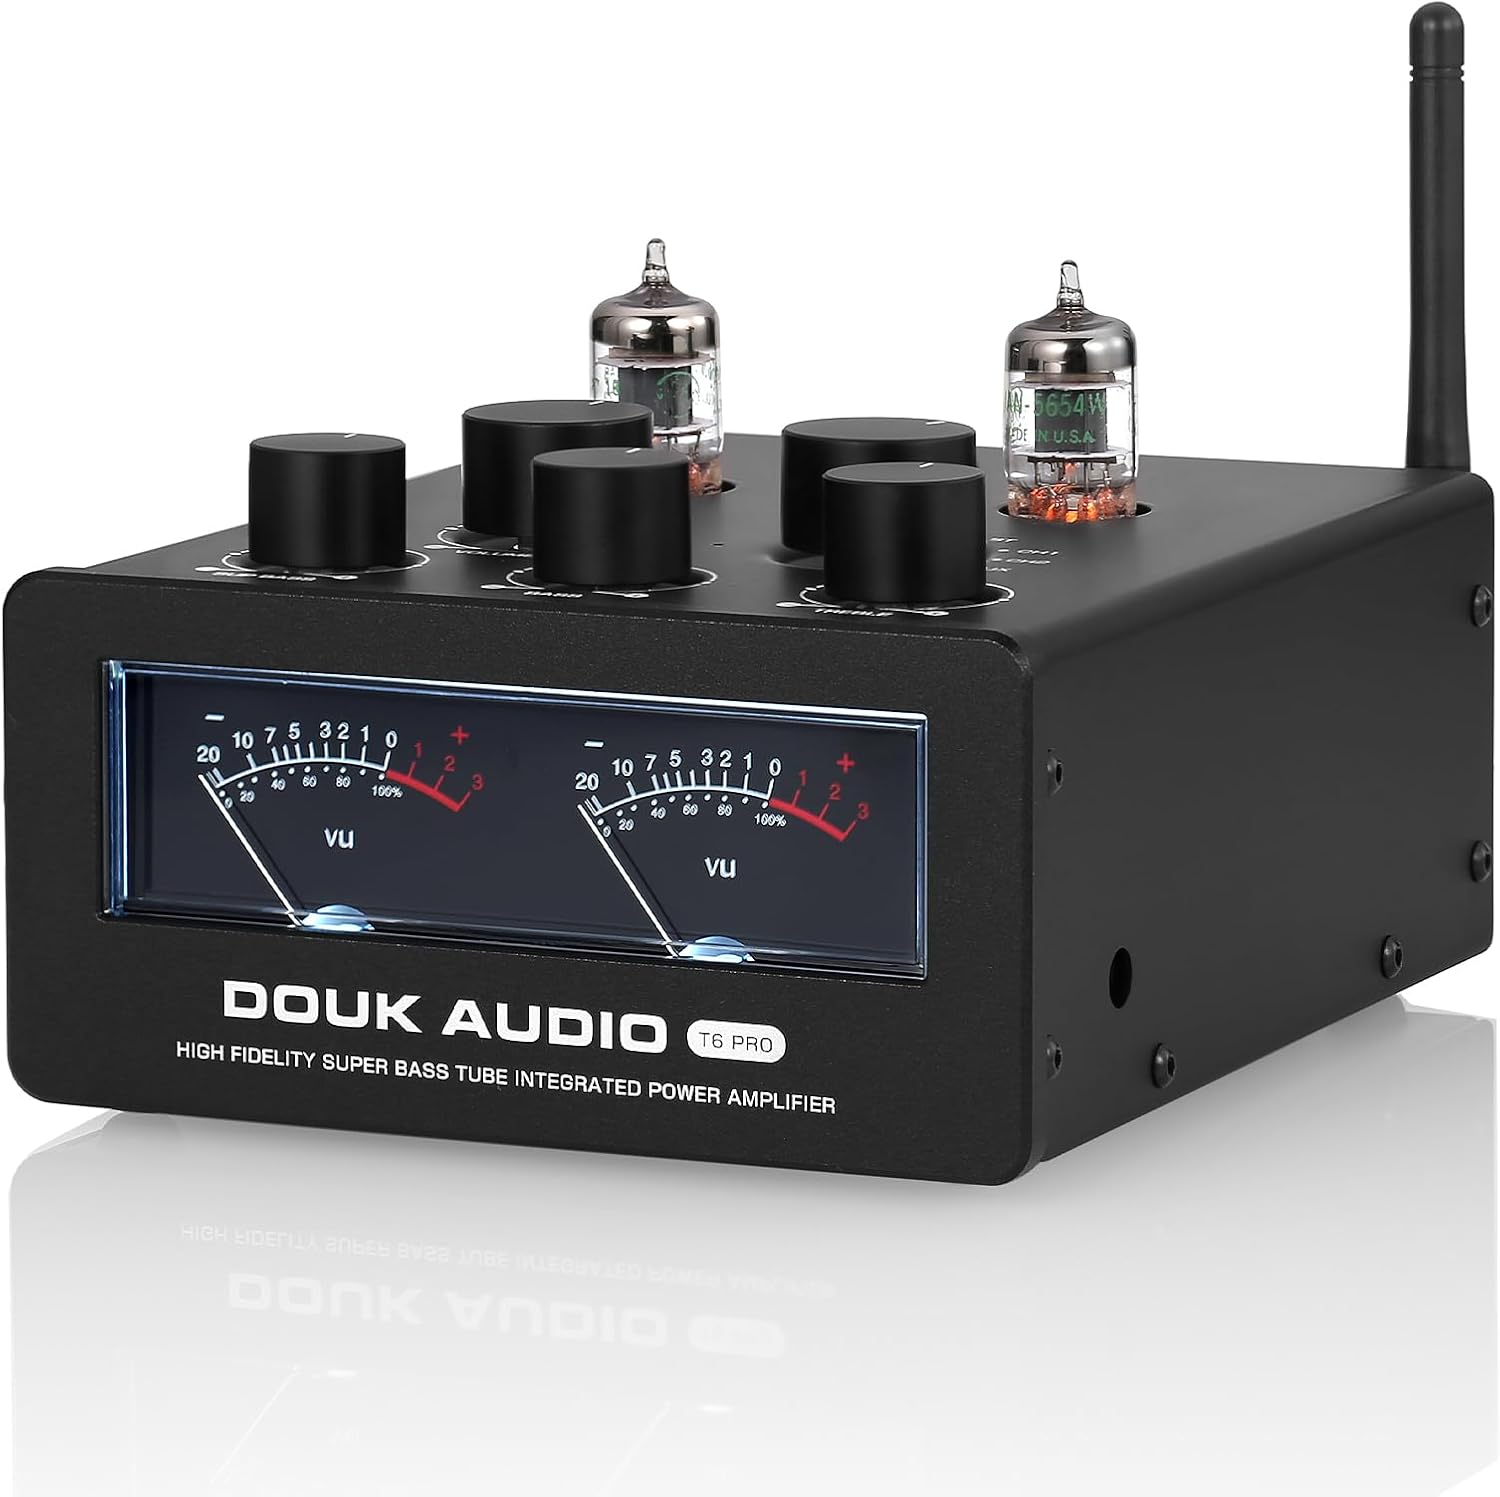
Image 1.1: Front view of the Douk Audio T6 PRO Bluetooth Tube Amplifier, showcasing the dual VU meters and control knobs.
2. Product Features
- Hybrid Sound Architecture: Delivers 300W x2 output. Utilizes JAN5654 tubes for pre-amplification, providing a warm audio characteristic, combined with a TPA3255 Class D amplifier for high efficiency and clarity.
- Bluetooth 5.1 Connectivity: Supports high-quality wireless audio codecs including APTX-HD and LDAC. Offers versatile input options including AUX, RCA, and Bluetooth.
- Dual VU Meters: Features two integrated VU meters that provide real-time visual feedback of the audio signal strength, aiding in volume adjustment and distortion prevention.
- Super Bass Control: Includes a dedicated Super Bass knob for adjusting frequencies down to 20Hz, alongside standard treble and bass controls, allowing for sound customization.
- Durable Construction: Constructed with CNC-machined aluminum alloy. Incorporates high-quality capacitors and inductors from Germany and Japan for reliable audio performance.

Image 2.1: Illustration of the hybrid design, highlighting the TPA3255 Class D amplifier chip and the JAN5654 vacuum tubes.
3. Package Contents
Verify that all items listed below are included in your package:
- 1 × T6 PRO Amplifier
- 2 × JAN5654 Vacuum Tubes
- 1 × DC 32V Power Adapter
- 1 × Bluetooth Antenna
- 1 × User Manual (this document)

Image 3.1: Visual representation of the items included in the T6 PRO package.
4. Product Overview
4.1 Front Panel Controls

Image 4.1: Diagram illustrating the top and front panel controls of the amplifier.
- Tube Sockets: Receptacles for the JAN5654 vacuum tubes.
- Volume Knob: Adjusts the overall output volume.
- Power Switch / Input Select Knob: Turns the unit on/off and selects between Bluetooth (BT), Channel 1 (CH1), Channel 2 (CH2), and AUX inputs.
- Treble Knob: Adjusts high-frequency response.
- Bass Knob: Adjusts low-frequency response.
- Super Bass Knob: Provides additional adjustment for very low frequencies (down to 20Hz).
- VU Meters: Visual indicators of audio signal levels.
4.2 Rear Panel Connections

Image 4.2: Diagram illustrating the rear panel input and output connections.
- RF (Bluetooth Antenna Connector): Connect the provided Bluetooth antenna here.
- Audio Input (CH1, CH2, AUX): RCA inputs for Channel 1 and Channel 2, and a 3.5mm AUX input for connecting various audio sources.
- AUX Out: 3.5mm output for connecting to another amplifier, active speakers, or an active subwoofer.
- Speaker Output: Binding posts for connecting passive speakers. Ensure correct polarity (+/-).
- DC 24V-48V Power Input: Connect the DC power adapter here.
5. Setup Instructions
Follow these steps to set up your Douk Audio T6 PRO amplifier:
- Unpack the Amplifier: Carefully remove all components from the packaging.
- Install Vacuum Tubes: Gently insert the two JAN5654 vacuum tubes into their respective sockets on the top panel. Ensure they are seated firmly.
- Connect Bluetooth Antenna: Screw the provided Bluetooth antenna onto the RF connector on the rear panel.
- Connect Speakers: Connect your passive speakers to the Speaker Output binding posts on the rear panel. Observe correct polarity (red to red, black to black). Ensure the speaker wires are securely fastened.
- Connect Audio Sources:
- RCA Inputs: Connect your audio source (e.g., CD player, DAC) to the CH1 or CH2 RCA inputs using RCA cables.
- AUX Input: Connect your audio source (e.g., smartphone, tablet) to the 3.5mm AUX input using a 3.5mm audio cable.
- Connect Power: Connect the DC 32V power adapter to the DC 24V-48V Power Input on the rear panel, then plug the adapter into a wall outlet.

Image 5.1: Example setup showing the amplifier connected to multiple audio sources and speakers.
6. Operating Instructions
6.1 Powering On and Tube Warm-up
Turn the Power Switch / Input Select knob clockwise from the "OFF" position to select an input. The amplifier will power on. For optimal audio performance, allow the vacuum tubes to warm up for 3-5 minutes before playing audio. This is a characteristic of tube amplifiers.
6.2 Input Selection
Rotate the Power Switch / Input Select knob to choose your desired audio source: "BT" for Bluetooth, "CH1" or "CH2" for RCA inputs, or "AUX" for the 3.5mm input.
6.3 Bluetooth Pairing
- Select "BT" input on the amplifier.
- On your Bluetooth device (e.g., smartphone), search for available Bluetooth devices.
- Select "Douk Audio T6 PRO" from the list to pair. A confirmation tone may sound upon successful connection.
6.4 Volume and Tone Control
- Volume: Adjust the large Volume knob to control the overall output level.
- Treble: Use the Treble knob to fine-tune high frequencies.
- Bass: Use the Bass knob to adjust low frequencies.
- Super Bass: Use the Super Bass knob for enhanced low-frequency effects.
6.5 VU Meter Functionality
The dual VU meters on the front panel will display the audio signal strength in real-time. These meters provide a visual indication of the audio level and can help in preventing signal clipping or distortion.

Image 6.1: Detailed view of the dual VU meters, showing their real-time response to audio signals.
7. Maintenance
- Cleaning: Use a soft, dry cloth to clean the amplifier's exterior. Avoid using liquid cleaners or solvents.
- Tube Replacement: Vacuum tubes have a finite lifespan. If you notice a degradation in sound quality or if a tube stops glowing, it may need replacement. Ensure the amplifier is powered off and unplugged before attempting to replace tubes. Allow tubes to cool down completely before handling.
- Ventilation: Ensure adequate ventilation around the amplifier to prevent overheating. Do not block ventilation holes.
8. Troubleshooting
| Problem | Possible Cause | Solution |
|---|---|---|
| No sound output |
|
|
| Distorted sound |
|
|
| Bluetooth connection issues |
|
|
| One channel silent |
|
|
9. Specifications
| Feature | Specification |
|---|---|
| Model | T6 PRO (SUC-T6-PRO-AU) |
| Output Power | 300W x 2 |
| Amplifier Chip | TPA3255 |
| Vacuum Tubes | JAN5654 |
| Bluetooth Version | 5.1 (supports APTX-HD, LDAC) |
| Inputs | RCA (x2), 3.5mm AUX, Bluetooth |
| Outputs | Speaker Output, 3.5mm AUX Out |
| Power Supply | DC 24V-48V (32V adapter included) |
| Product Dimensions (L x W x H) | 6.5 x 2.72 x 5.51 inches (165 x 69 x 140 mm) |
| Item Weight | 3.09 pounds (1.40 kg) |
10. Warranty and Support
Douk Audio products typically come with a manufacturer's warranty. For specific warranty details, support, or service inquiries, please refer to the warranty card included with your product or contact Douk Audio customer service directly through their official website or the retailer where the product was purchased. Please retain your proof of purchase for warranty claims.