
1. Introduction
Thank you for choosing the EAST OAK Cordless Electric Lunch Box. This portable, battery-powered food warmer is designed to provide warm meals anywhere, without the need for an electrical outlet. Please read this manual thoroughly before use to ensure safe and optimal operation.
2. Safety Information
- Only Use the Original Charger: Using any other charger, even if it fits, may permanently damage your product.
- Only Use the Original Battery: Other battery packs are not compatible.
- Nickel Allergy Warning: The inner container is made of food-grade 304 stainless steel and contains nickel. Individuals allergic to nickel should avoid use.
- Food Temperature: The display shows the temperature of the heating element. The actual food temperature is usually lower to avoid overheating, which can cause burns and affect taste.
- Lid Closure: The lid will only close properly when the meal container is inside. Always ensure the container is in place before closing the lid.
3. Product Overview & Components
Your EAST OAK Cordless Electric Lunch Box comes with the following components:
- 1× Portable Lunch Box Warmer (Main Unit)
- 1× 5.5-Cup Stainless Steel Meal Container
- 1× Removable Tray Divider
- 1× Fork and Spoon Set
- 1× Power Cord (Original Charger)
- 1× Single Layer Insulated Lunch Bag
- 1× User Manual (This Document)
- 1× Packaging Box
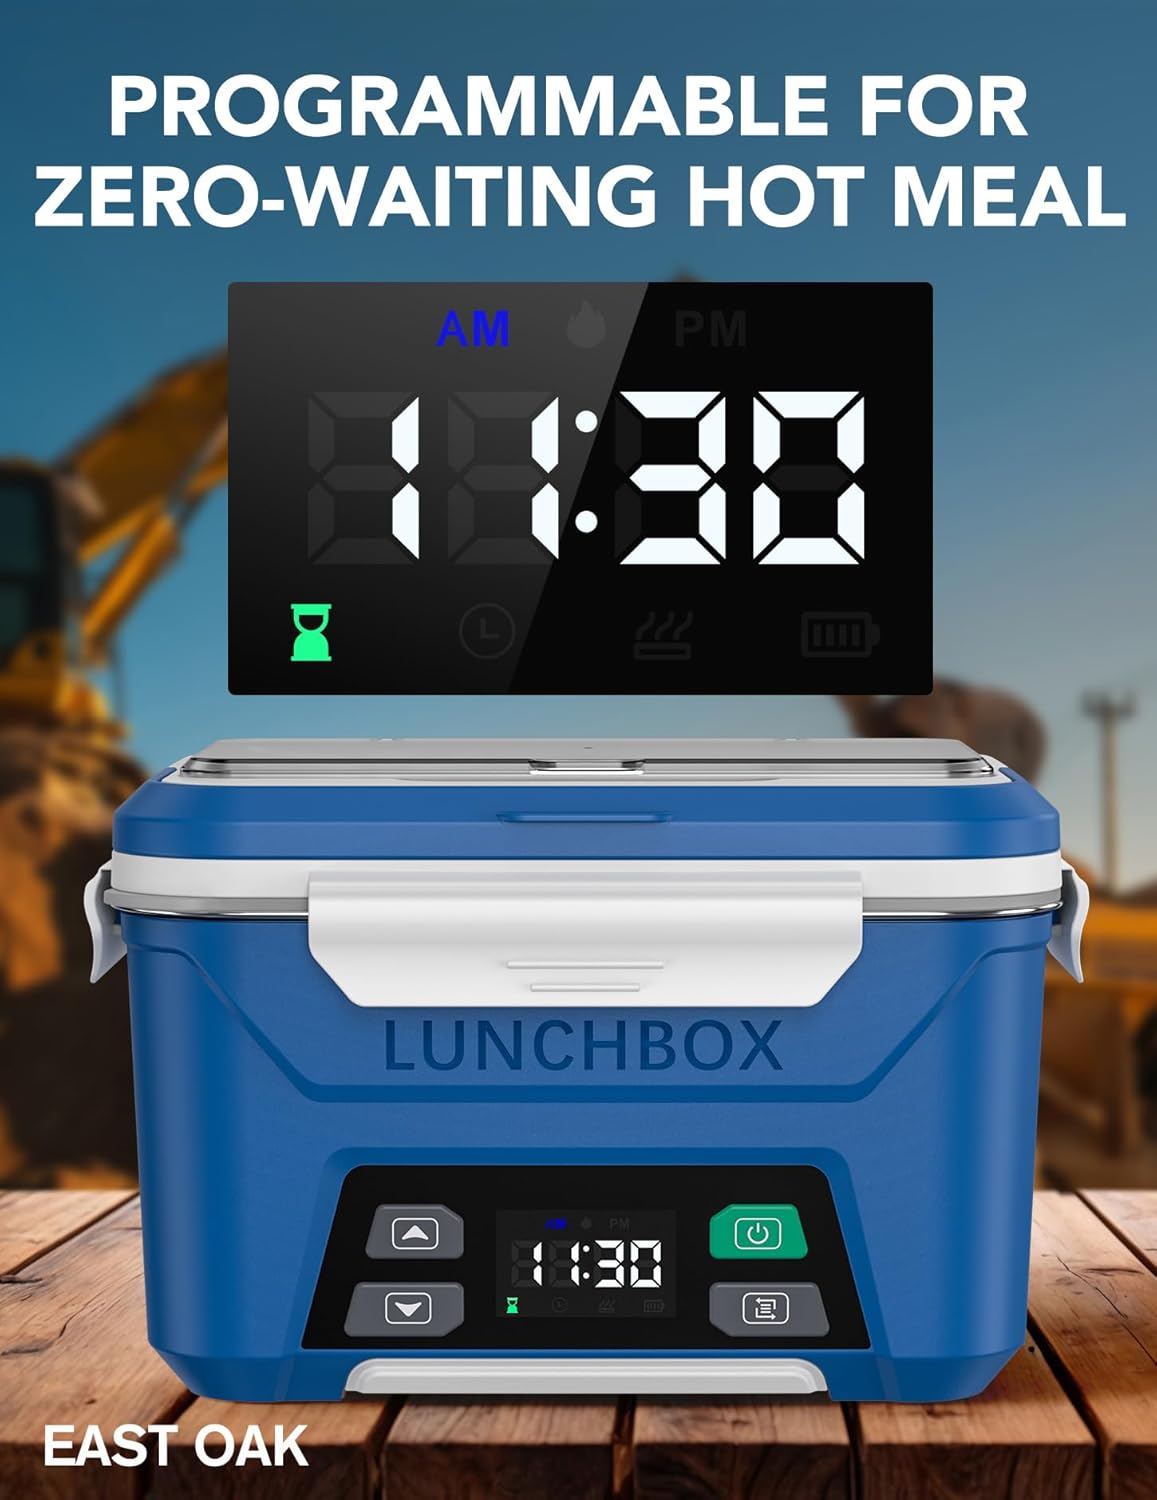
Figure 3.1: All included accessories for the EAST OAK Cordless Electric Lunch Box.
4. Setup
4.1 Initial Charging
For first-time use, please fully charge the device using only the original power cord. Before each subsequent use, check the battery level; it should be at least 90% for optimal performance.

Figure 4.1: The lunch box features a 10,000mAh rechargeable battery.
4.2 Lid and Container Assembly
- Place your food into the stainless steel meal container. You may use the removable tray divider to separate different food items.
- Ensure the meal container is correctly seated within the main unit. The lid will not close properly if the container is missing or incorrectly placed.
- Close the lid securely. The top of the lid has a space for your fork and spoon, with a groove and a snap-on transparent cover. If the cover gets loose or falls off, just snap it back on.
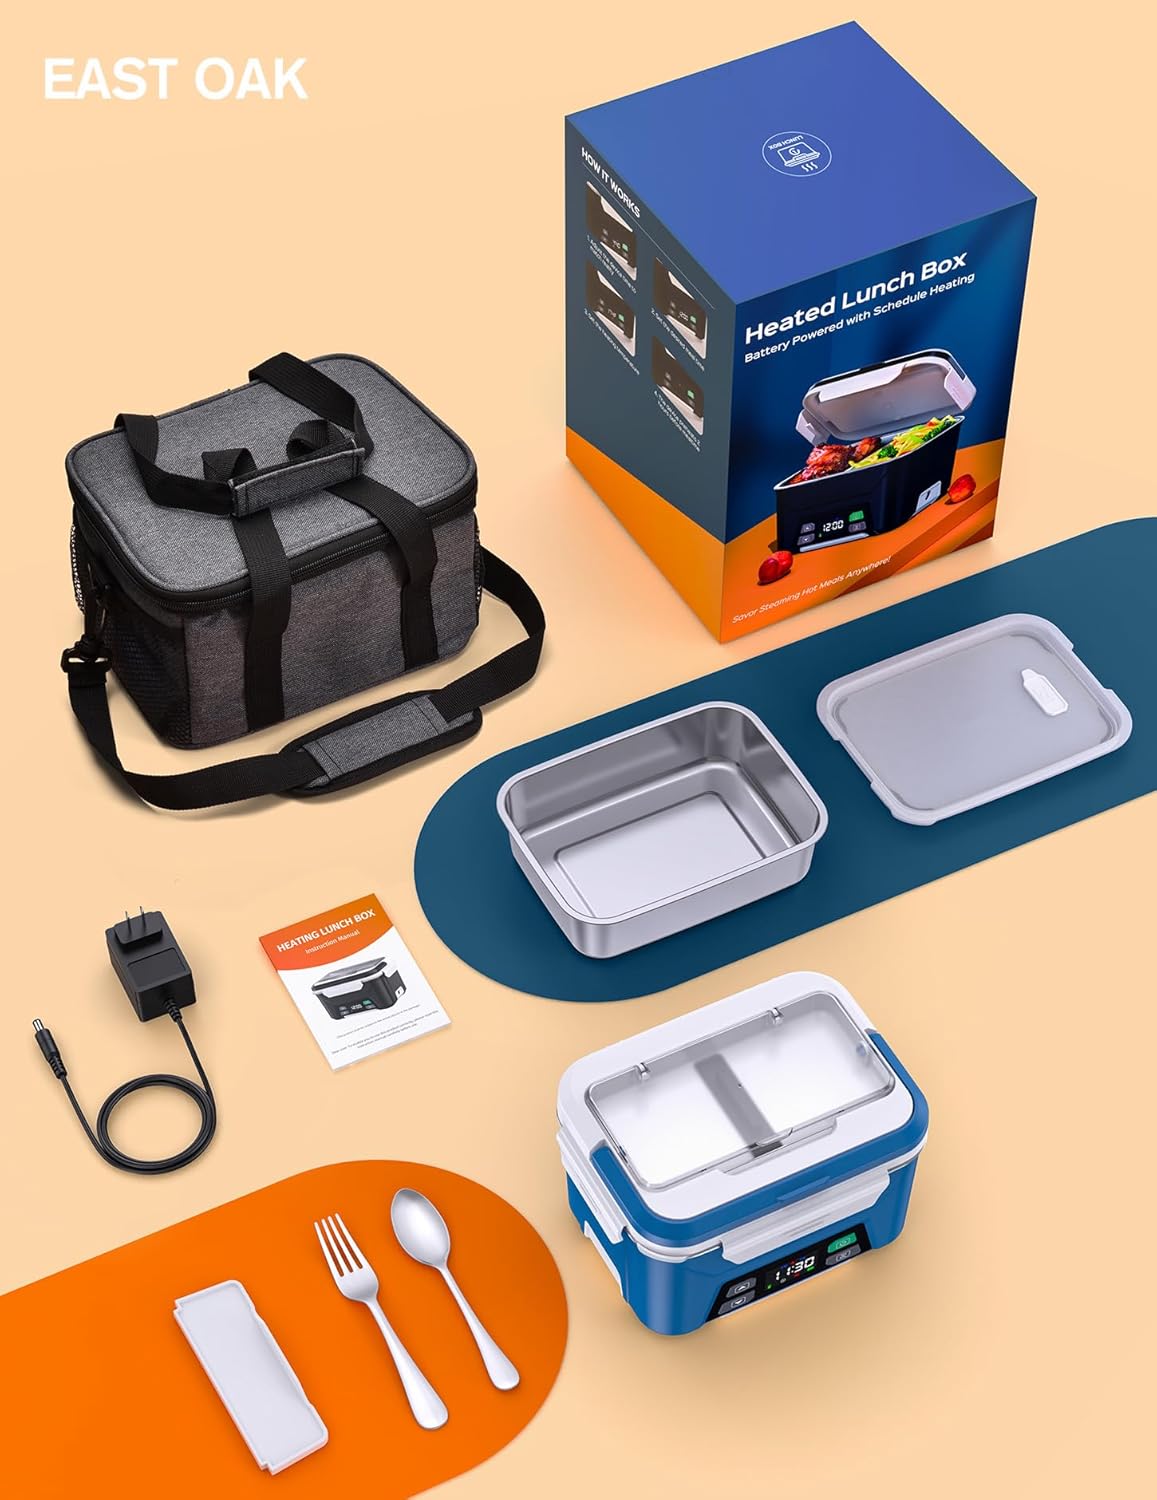
Figure 4.2: The removable tray divider allows for customized meal storage.
5. Operating Instructions
5.1 Setting Current Time
Before using the scheduled heating function, set the current time on the device to match the actual time.
5.2 Scheduled Heating Function
This function allows the lunch box to automatically heat your food in advance, ensuring a hot meal when you're ready. The memory function remembers your last settings.
- Set the current time (refer to Section 5.1).
- Set your desired meal time.
- Ensure the lunch box is powered on. It must remain powered on for at least two hours before your meal time to activate automatic heating.

Figure 5.1: Set your meal time and the lunch box will heat automatically.
5.3 Immediate Heating Mode
For immediate heating, select the appropriate mode on the device. The lunch box is designed to evenly heat food to the ideal temperature after approximately 2 hours.

Figure 5.2: The immediate heating mode provides quick warming options.
5.4 Temperature Settings
The device can heat up to 220°F (104°C) at the heating element. You can adjust the set heating temperature if needed. Remember, the displayed temperature refers to the heating element, not the food itself.

Figure 5.3: The heating element reaches up to 220°F for optimal warming.
5.5 Tips for Best Heating Results
- Moisture Content: Foods with higher moisture content heat more effectively. For low-moisture foods, add a small amount of water or sauce.
- Container Contact: The device heats from the bottom. Ensure food or water is in contact with the container bottom to capture heat. For irregularly shaped foods, adding sauce or a few drops of water can assist in steam generation and thorough heating.
- Original Container: For compatibility and best results, use only the original stainless steel container.
- Insulated Bag: Placing the lunch box in the provided insulated bag can help retain heat and improve food warmth.
6. Maintenance and Cleaning
The removable meal container, lid, fork, spoon, and divider are dishwasher safe, making cleaning effortless.

Figure 6.1: Removable parts are dishwasher safe for easy cleaning.
7. Troubleshooting
7.1 Device Fails to Power On (E1 Error)
If the device fails to power on, you can force reset the embedded controller (EC) using the following steps:
- Remove the four screws.
- Pry open the left-side clip.
- Pry open the right-side clip.
- Remove the battery cover.
- Pull out the battery connector.
- Disconnect the battery connector.
- With the screen black, press the power button several times.
- Reassemble.
- Repair complete.
Video 7.1: Official product video demonstrating features and usage of the EAST OAK Cordless Electric Lunch Box.
8. Specifications
| Brand | EAST OAK |
| Model Number (ASIN) | B0DKJNWBYK |
| Color | Blue |
| Material | Stainless Steel |
| Capacity | 5.5 Cups (approx. 1.3 L or 44 oz) |
| Item Weight | 2.8 Pounds |
| Product Dimensions | 12"D x 8"W x 9"H |
| Special Features | Battery Powered, Scheduled Heating, Memory Settings, Leak Resistant, Dishwasher Safe (removable parts), Insulated Carry Handle |
| Included Components | Stainless Steel Meal Container, Fork and Spoon Set, Power Cord, Removable Tray Divider, Insulated Lunch Bag |
| UPC | 850066822890, 850066822883 |
9. Warranty and Support
For warranty information and customer support, please refer to the documentation included with your purchase or contact EAST OAK customer service directly. Keep your proof of purchase for any warranty claims.
