
Introduction
The SpaceX Starlink Gen 3 Standard Kit provides high-speed, low-latency satellite internet access, designed to connect users in remote and underserved areas globally. This kit enables activities such as streaming, online gaming, and video calls, which were previously challenging with traditional satellite internet. It is engineered for easy self-installation, allowing users to get online within minutes. Starlink operates through a vast constellation of satellites in low Earth orbit, communicating with ground stations and your user terminal to deliver reliable internet service.
What's in the Box
Your Starlink Kit comes with everything required for a quick self-install:
- Standard Starlink System
- Kickstand
- Gen 3 Router
- Starlink Cable (49.2 ft)
- AC Power Cable (4.92 ft)
- Power Supply (4.02 ft)

Figure 1: Diagram of all components included in the Starlink Gen 3 Standard Kit.

Figure 2: Photo of the Starlink Gen 3 Standard Kit components laid out.
Setup
The Starlink Gen 3 Standard Kit is designed for straightforward self-installation. Follow these steps to get your system up and running.
Component Overview

Figure 3: The Starlink dish (left) and Gen 3 router (right).

Figure 4: The Starlink dish with its integrated kickstand extended.
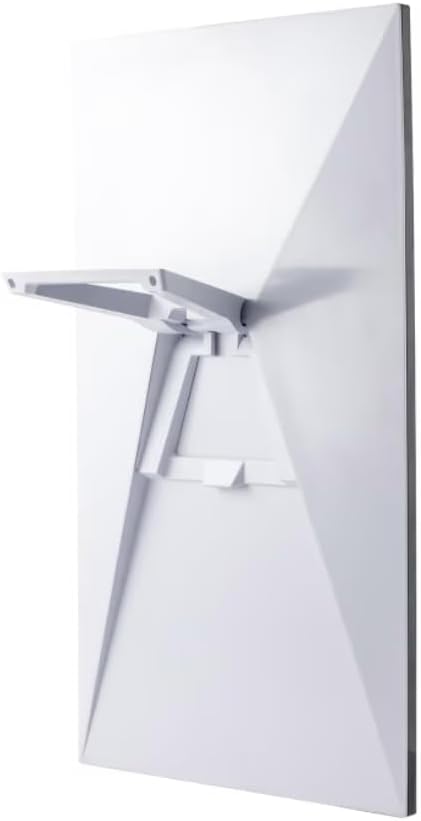
Figure 5: Rear view of the Starlink dish, showing the kickstand mechanism.

Figure 6: The sleek design of the Starlink Gen 3 Wi-Fi router.
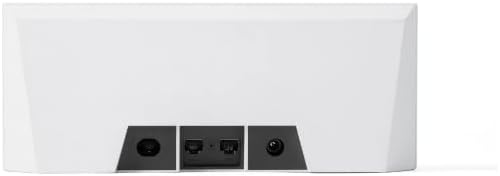
Figure 7: Rear ports of the Gen 3 router, including power and Ethernet connections.

Figure 8: The power supply unit for the Starlink system.
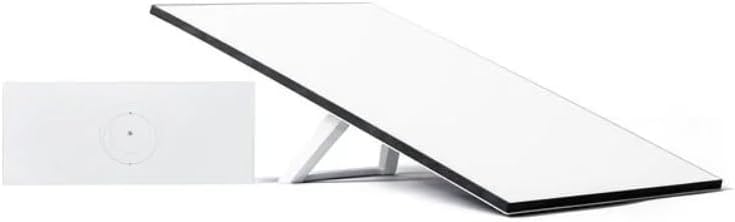
Figure 9: The Starlink cable and AC power cable.
Dish Placement
For optimal performance, your Starlink dish requires a clear, unobstructed view of the sky. Avoid placing it near trees, buildings, or other structures that could block the signal from the satellites. The Starlink app can assist you in finding the best placement location by scanning the sky for obstructions.
Figure 10: The Starlink dish set up outdoors with its kickstand.
Connecting Components
Once the dish is placed, connect the Starlink cable from the dish to the designated port on the Gen 3 Router. Then, connect the AC Power Cable to the power supply, and the power supply to the router. Finally, plug the AC Power Cable into a power outlet. The system is designed for quick and easy connection.