1. Introduction
This manual provides essential instructions for the safe and efficient operation of your Nostalgia NRMO11BK6A Retro Countertop Microwave Oven. Please read all instructions carefully before use and retain this manual for future reference. This appliance is designed for residential use to heat, cook, and defrost food items.
2. Important Safeguards
When using electrical appliances, basic safety precautions should always be followed to reduce the risk of fire, electrical shock, burns, or injury. This includes:
- Read all instructions before operating the microwave oven.
- Do not attempt to operate this oven with the door open as this can result in harmful exposure to microwave energy.
- Do not place any object between the oven front face and the door, or allow soil or cleaner residue to accumulate on sealing surfaces.
- Do not heat liquids or other foods in sealed containers as they are liable to explode.
- Only use utensils that are suitable for use in microwave ovens.
- Ensure proper ventilation around the appliance.
- Supervise children closely when the appliance is in use.
- Do not use corrosive chemicals or vapors in this appliance.
- Do not immerse the cord, plug, or the appliance in water or other liquids.
3. Product Overview
The Nostalgia NRMO11BK6A microwave oven features a retro design with modern functionality, including a digital clock, various cooking programs, and a child safety lock.
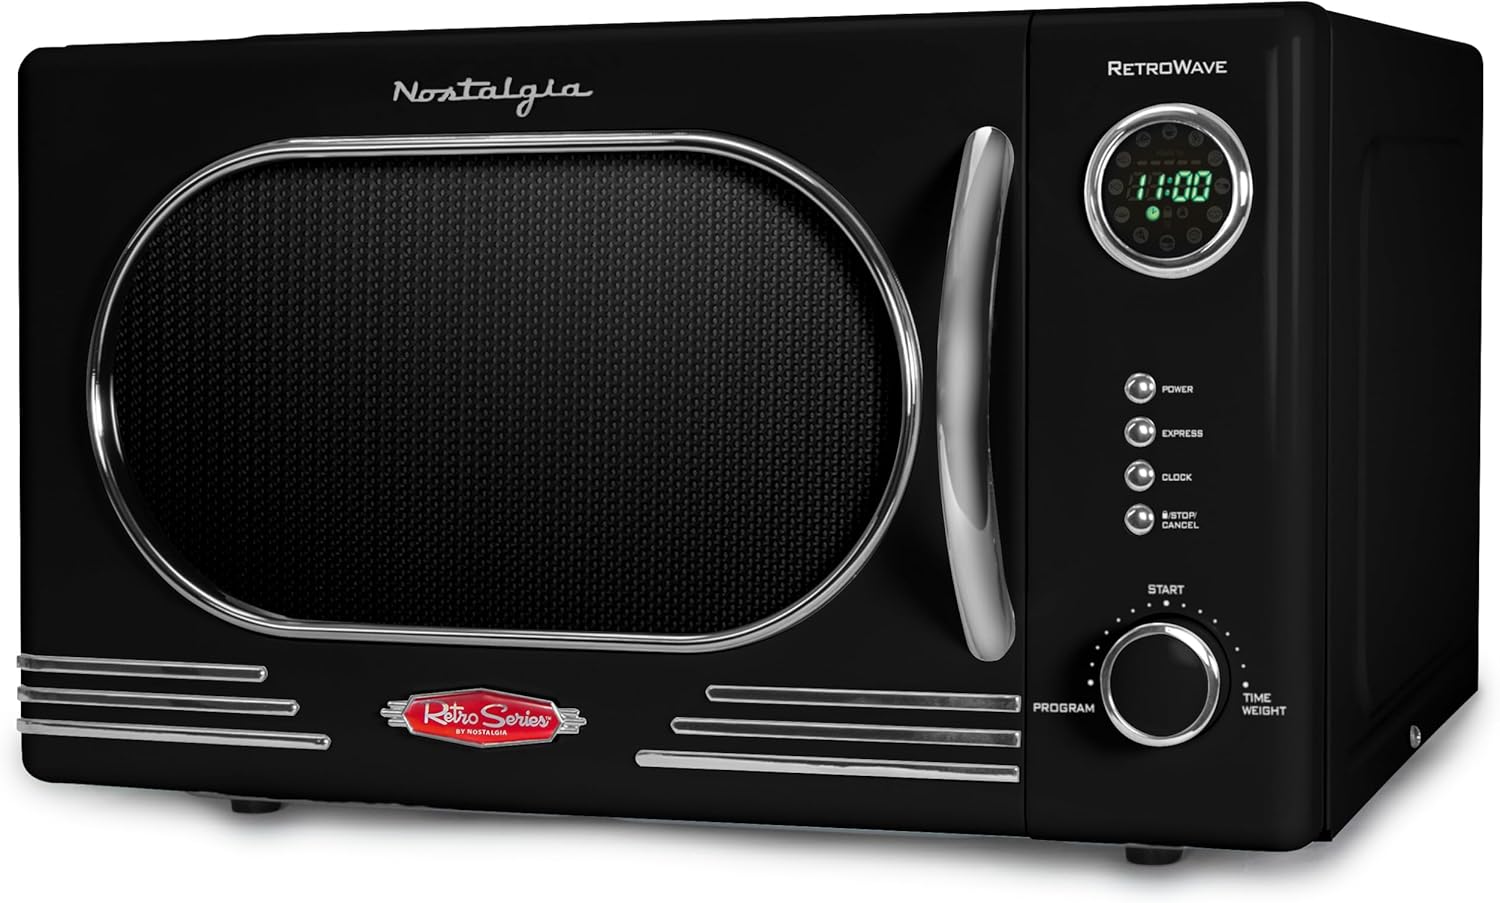
Figure 3.1: Front view of the Nostalgia NRMO11BK6A Retro Countertop Microwave Oven, showcasing its black finish and chrome accents.
Components:
- Oven Cavity: The interior space where food is placed for cooking.
- Glass Turntable: A removable glass plate that rotates to ensure even cooking.
- Turntable Support: Supports the glass turntable.
- Control Panel: Features an LED display, function buttons, and a rotary dial for setting time and programs.
- Oven Door: Equipped with a handle and a safety interlock system.

Figure 3.2: Detailed view of the control panel, showing the LED display, function buttons (Power, Express, Clock, Stop/Cancel), and the Program/Time/Weight dial.
4. Setup and Installation
4.1 Unpacking
Carefully remove the microwave oven and all packaging materials. Check the oven for any damage, such as dents or a misaligned door. Do not operate the oven if it is damaged.
4.2 Placement
- Place the microwave oven on a flat, stable surface that can support its weight and the heaviest food item likely to be cooked in it.
- Ensure adequate ventilation by leaving at least 4 inches (10 cm) of space around the top, back, and sides of the oven. Do not block any ventilation openings.
- Keep the oven away from heat sources and strong magnetic fields.
4.3 Turntable Assembly
Place the turntable support ring in the center of the oven cavity. Then, place the glass turntable securely on top of the support ring. Ensure the turntable rotates freely.
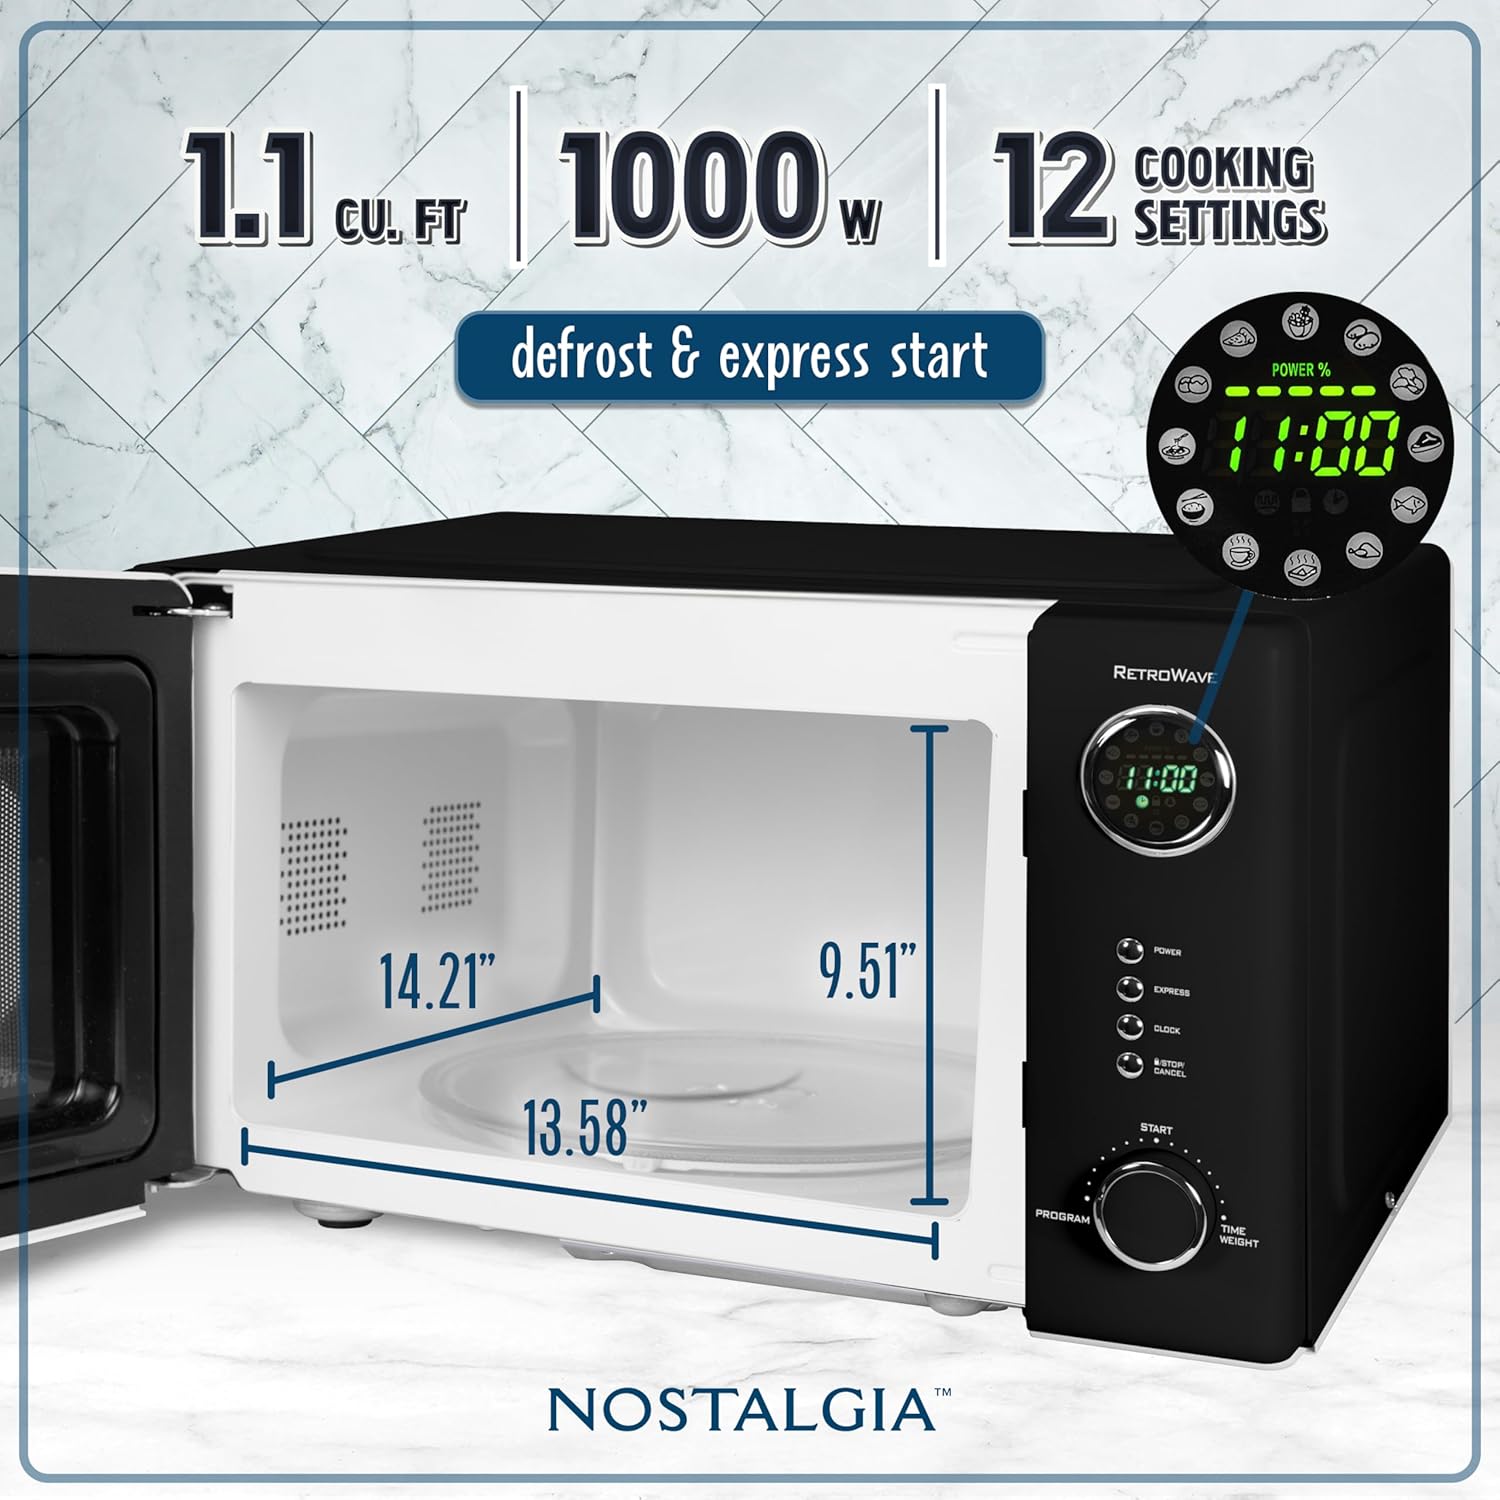
Figure 4.1: Interior view of the microwave oven, illustrating the 1.1 cubic feet capacity and key dimensions for proper food placement and turntable operation.
4.4 Power Connection
Plug the power cord into a grounded electrical outlet. Ensure the outlet meets the voltage and wattage requirements of the appliance (120V AC, 1000W).
5. Operating Instructions
5.1 Setting the Clock
- Press the CLOCK button once.
- Turn the PROGRAM/TIME/WEIGHT dial to set the hour.
- Press the CLOCK button again.
- Turn the PROGRAM/TIME/WEIGHT dial to set the minutes.
- Press the CLOCK button one last time to confirm.
5.2 Basic Microwave Cooking
- Place food in a microwave-safe container on the glass turntable.
- Close the oven door.
- Turn the PROGRAM/TIME/WEIGHT dial to set the desired cooking time. The maximum cooking time is 99 minutes and 99 seconds.
- Press the START button to begin cooking.
5.3 Adjusting Power Levels
The microwave offers 5 power levels. To adjust the power level during cooking:
- Press the POWER button.
- Each press will cycle through the power levels (P100, P80, P60, P40, P20). Select the desired power level.
- Press the START button to confirm and continue cooking.
5.4 Pre-programmed Cooking Settings
The microwave includes 12 pre-programmed settings for common food items such as popcorn, pizza, and potatoes. To use a pre-programmed setting:
- Press the PROGRAM button repeatedly until the desired program number appears on the display.
- Turn the PROGRAM/TIME/WEIGHT dial to select the quantity or weight if applicable.
- Press the START button to begin.

Figure 5.1: Examples of food items that can be prepared using the microwave's various cooking functions and pre-programmed settings.
5.5 Express Cooking
For quick heating, press the EXPRESS button. Each press adds 30 seconds of cooking time at full power. Press START to begin immediately after selecting the desired express time.
5.6 Child Safety Lock
The child safety lock prevents unintended operation of the microwave oven.
- To Activate: Press and hold the STOP/CANCEL button for 3 seconds. A lock indicator will appear on the display.
- To Deactivate: Press and hold the STOP/CANCEL button for 3 seconds again. The lock indicator will disappear.

Figure 5.2: Illustration of the child safety lock feature, designed to prevent accidental operation of the microwave oven.
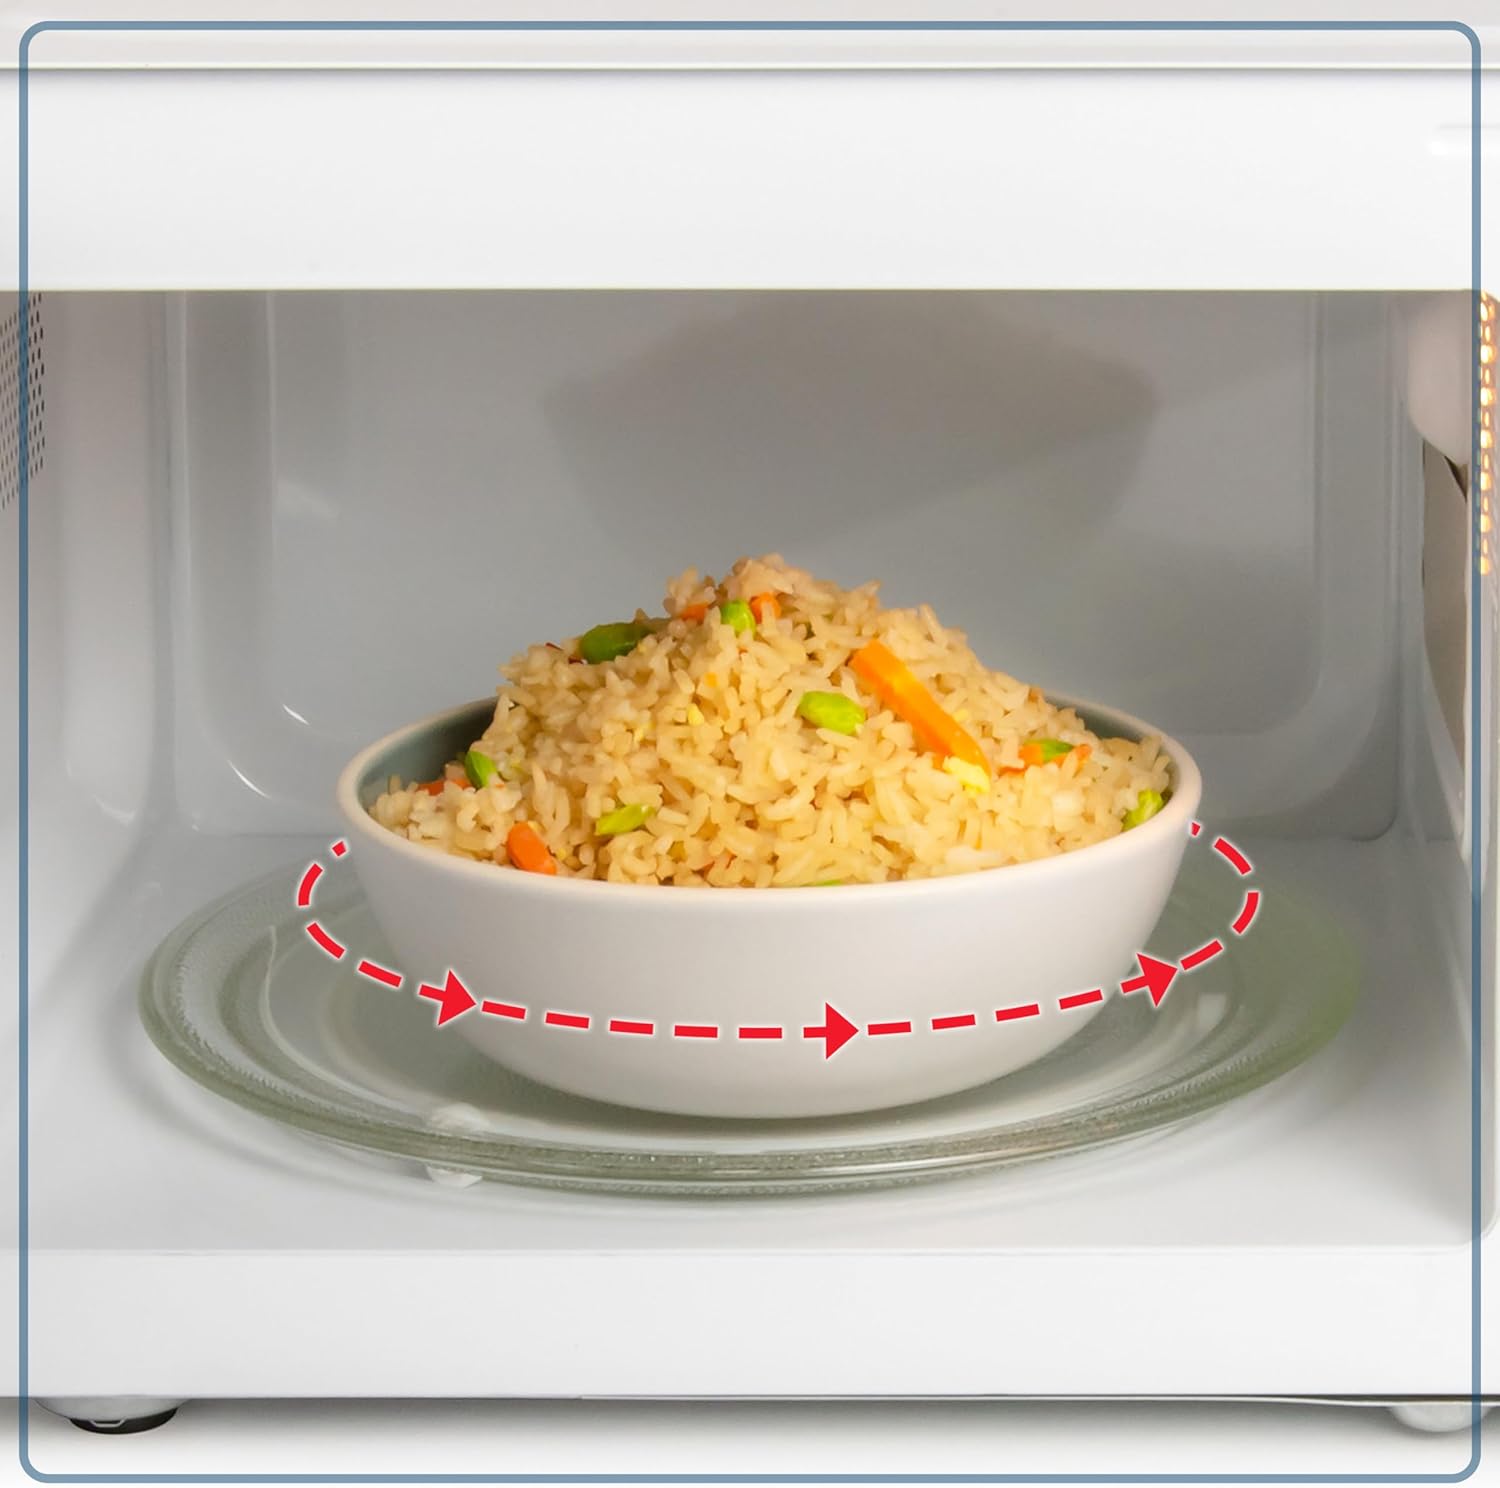
Figure 5.3: A food bowl rotating on the removable glass turntable, demonstrating the even cooking mechanism of the microwave.
6. Maintenance and Cleaning
6.1 Cleaning the Exterior
Wipe the exterior surfaces with a soft, damp cloth. Avoid using abrasive cleaners or harsh chemicals that could damage the finish.
6.2 Cleaning the Interior
To clean the interior, wipe with a soft cloth dampened with mild soap and water. For stubborn food splatters, place a bowl of water with lemon slices inside and microwave for a few minutes to loosen residue, then wipe clean. Ensure the oven is unplugged before cleaning.
6.3 Cleaning the Glass Turntable
The glass turntable and turntable support can be removed and washed in warm, soapy water or in the dishwasher. Ensure they are completely dry before placing them back in the oven.
7. Troubleshooting
If you experience issues with your microwave oven, refer to the following common problems and solutions:
| Problem | Possible Cause | Solution |
|---|---|---|
| Oven does not start | Power cord not plugged in; Door not closed properly; Fuse blown or circuit breaker tripped. | Ensure plug is firmly in outlet; Close door securely; Check household fuse/circuit breaker. |
| Food not heating | Door not closed properly; Cooking time too short; Power level too low. | Close door securely; Increase cooking time; Adjust power level. |
| Turntable not rotating | Turntable not properly seated; Obstruction under turntable. | Re-seat turntable and support; Remove any obstructions. |
| Unusual noise during operation | Turntable or support misaligned; Foreign object in cavity. | Check turntable alignment; Inspect cavity for foreign objects. |
If the problem persists after attempting these solutions, please contact customer support.
8. Specifications
| Feature | Specification |
|---|---|
| Model Number | NRMO11BK6A |
| Capacity | 1.1 Cubic Feet |
| Wattage | 1000 Watts |
| Voltage | 120 Volts (AC) |
| Product Dimensions (D x W x H) | 16.5 x 20 x 12.75 inches |
| Item Weight | 34.1 pounds |
| Material | Metal or Steel |
| Special Feature | Child Safety Lock |
9. Warranty and Support
For information regarding warranty coverage, please refer to the warranty card included with your product or visit the official Nostalgia website. For technical support or service inquiries, please contact Nostalgia customer service directly. Contact details can typically be found on the manufacturer's website or in the packaging materials.


