
Introduction
Thank you for purchasing the Nostalgia NRMO11WH6A Retro Countertop Microwave Oven. This manual provides important safety information, setup instructions, operating procedures, maintenance guidelines, and troubleshooting tips to ensure safe and efficient use of your appliance. Please read this manual thoroughly before operation and retain it for future reference.
Important Safety Instructions
When using electrical appliances, basic safety precautions should always be followed, including the following:
- Read all instructions before using the appliance.
- Do not operate the microwave oven if the door is damaged, or if the appliance is malfunctioning.
- Do not attempt to service or repair the microwave oven yourself. Contact qualified service personnel.
- Ensure proper grounding to reduce the risk of electric shock.
- Do not heat liquids or other foods in sealed containers as they are liable to explode.
- Always use microwave-safe cookware.
- Supervise children closely when the microwave is in use. This appliance features a Child Safety Lock.
- Do not use corrosive chemicals or vapors in this appliance.
- Maintain a minimum clearance of 3 inches from the wall for proper ventilation.
For detailed safety information, refer to the full product manual available on the manufacturer's website.
Setup and Installation
Unpacking
- Carefully remove the microwave oven and all materials from the carton.
- Check the oven for any damage, such as dents or a misaligned door. Do not operate if damaged.
- Remove all protective film from the surface of the cabinet and door.
Turntable Assembly
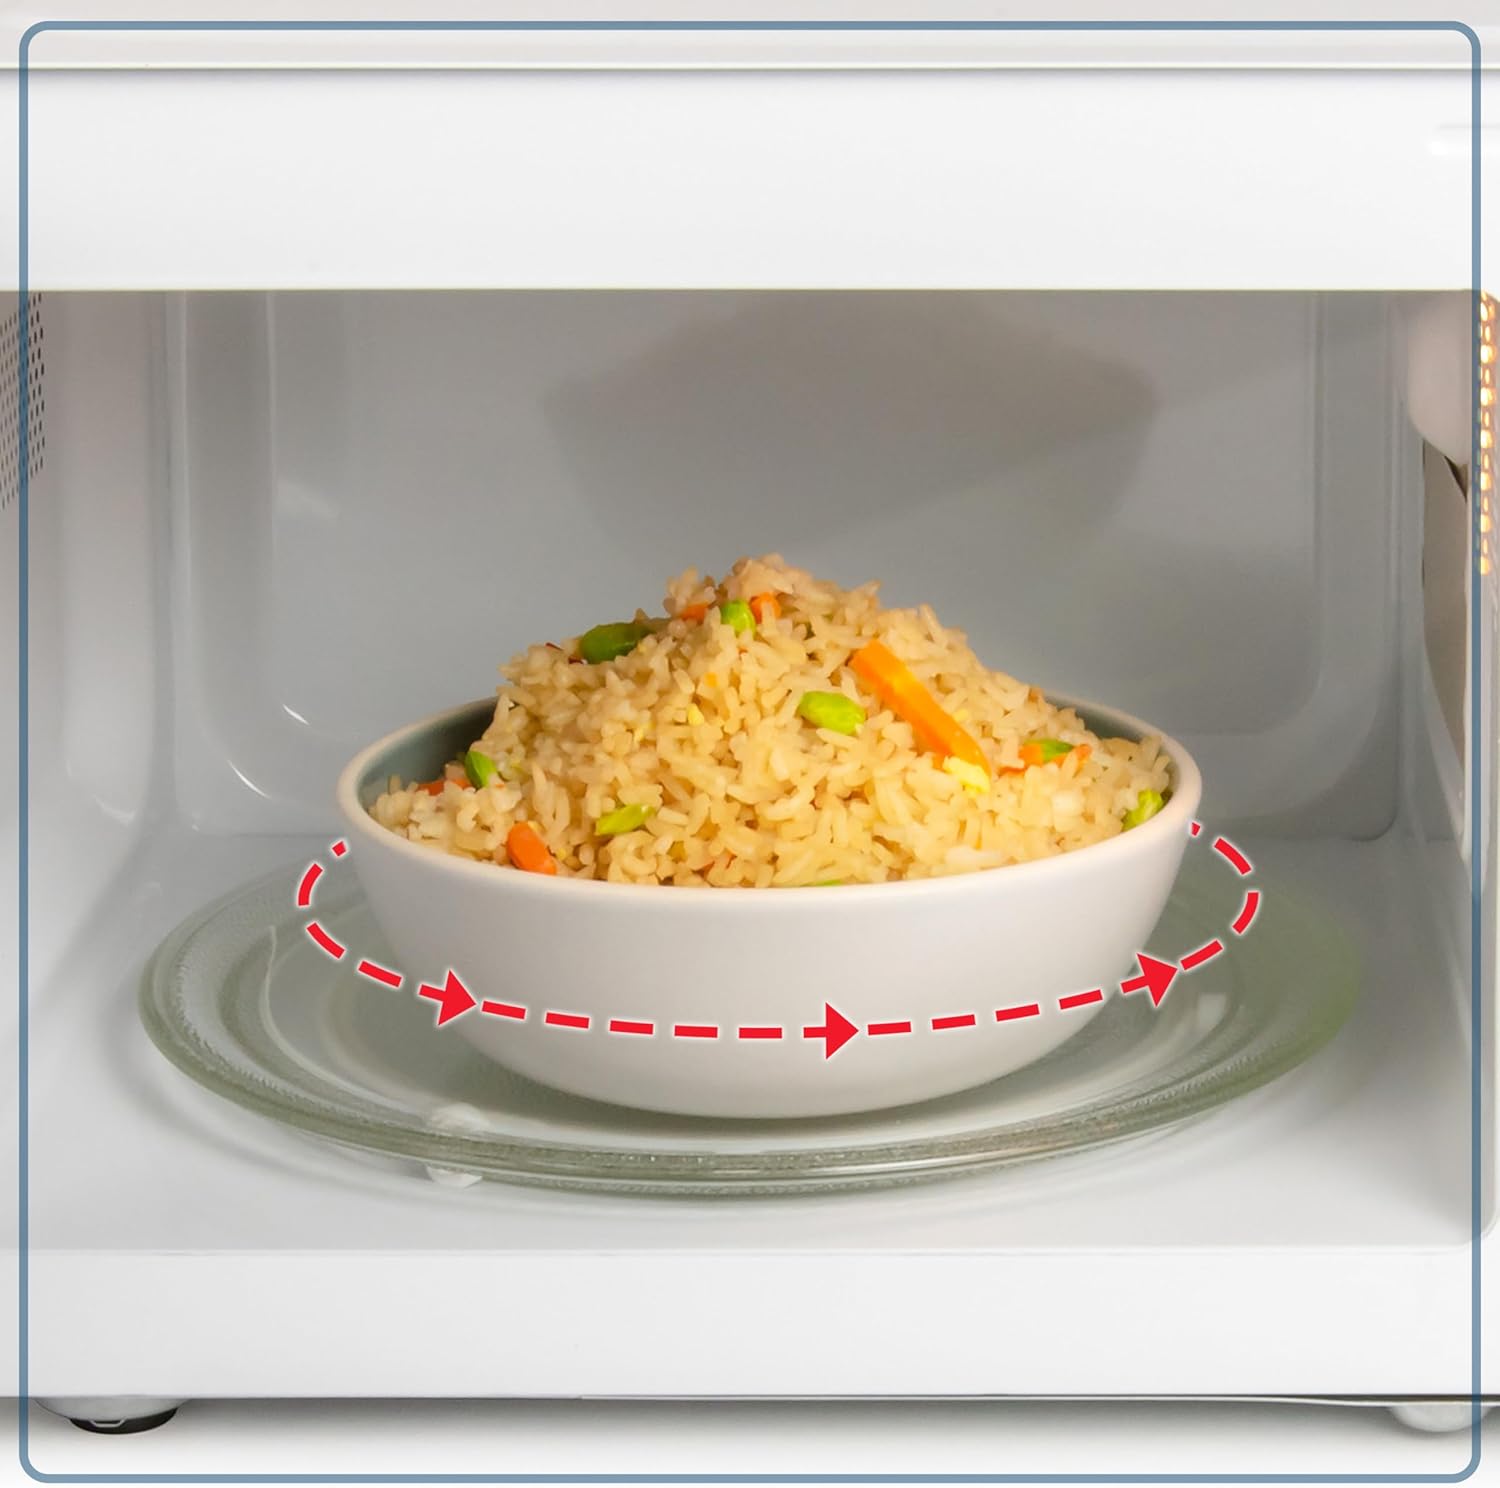
The microwave oven includes a removable glass turntable for even cooking. Ensure it is correctly assembled before use.
- Place the turntable ring inside the microwave cavity.
- Position the glass turntable plate securely on top of the turntable ring. Ensure it sits properly in the center support.
Placement and Power Connection
- Place the microwave oven on a flat, stable surface.
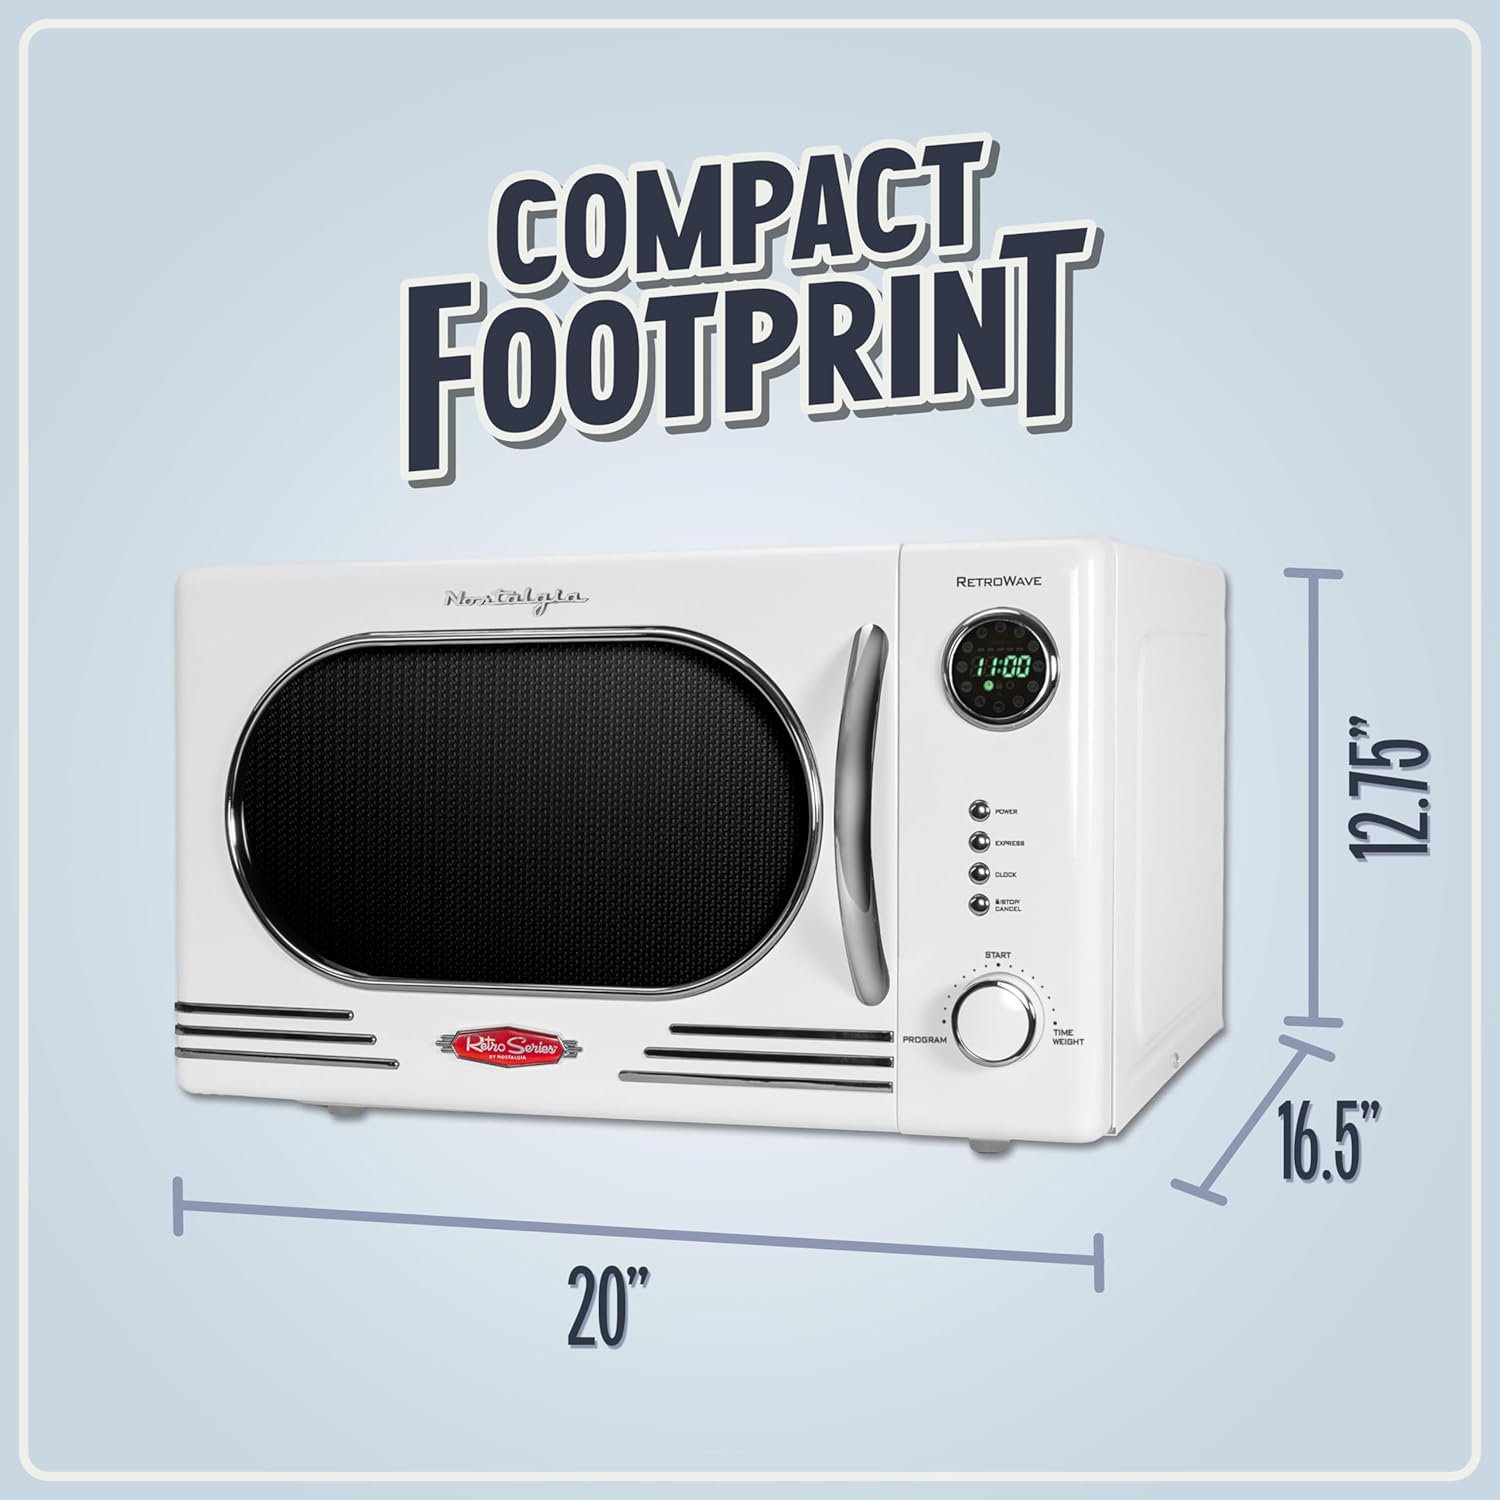
- Ensure there is adequate ventilation space around the unit. A minimum of 3 inches (7.6 cm) clearance is recommended from the rear and sides, and 12 inches (30 cm) above.
- Plug the power cord into a standard 120V AC electrical outlet.
Operating Instructions
Your Nostalgia microwave oven features a user-friendly control panel with a digital display, pre-programmed settings, and a rotary knob for time and weight adjustments.
Control Panel Overview

Setting the Clock
- Press the CLOCK button once.
- Rotate the TIME/WEIGHT knob to set the hour.
- Press the CLOCK button again.
- Rotate the TIME/WEIGHT knob to set the minutes.
- Press the CLOCK button one more time to confirm the setting.
Basic Microwave Cooking
- Place food in a microwave-safe container on the glass turntable. Close the door.
- Rotate the TIME/WEIGHT knob to set the desired cooking time. The maximum cooking time is 99 minutes and 99 seconds.
- Press the START button to begin cooking.
- To adjust power levels (5 available: 20%, 40%, 60%, 80%, 100%), press the POWER button before pressing START, then select the desired power level using the knob.
Pre-Programmed Cooking Settings
The microwave offers 12 pre-programmed settings for common food items:
- Popcorn
- Potato
- Pizza
- Frozen Meal
- Beverage
- Reheat
- And more (refer to the control panel for all 12 options).
To use a pre-programmed setting:
- Press the PROGRAM button repeatedly until the desired program appears on the display.
- Press the START button to begin cooking.
Child Safety Lock
The Child Safety Lock prevents unintended operation of the microwave oven, enhancing safety, especially around children. The microwave door automatically locks during and after use. Do not force the door open.

To ACTIVATE the Child Safety Lock:
- Press the POWER button, the DOOR UNLOCK button (if present, otherwise the relevant lock button), and the TIME/WEIGHT dial simultaneously. The display will show "ON" when activated.
To DEACTIVATE the Child Safety Lock:
- Repeat the activation process by pressing the POWER button, the DOOR UNLOCK button, and the TIME/WEIGHT dial simultaneously. The display will show "OFF" when deactivated.
Care and Maintenance
Cleaning the Microwave Oven
- Always unplug the microwave oven before cleaning.
- Clean the interior and exterior surfaces with a damp cloth and mild soap. Avoid abrasive cleaners.
- The glass turntable and turntable ring can be removed and washed in warm, soapy water or in a dishwasher. Ensure they are completely dry before reassembling.
- Wipe the door seals and adjacent parts carefully to remove any spills or splatters.
Troubleshooting Guide
If you experience issues with your microwave oven, consult the following table before contacting customer service.
| Problem | Possible Cause | Solution |
|---|---|---|
| Oven does not start. | Power cord not securely plugged in. Door not closed properly. Fuse blown or circuit breaker tripped. | Ensure plug is firmly in outlet. Close door completely. Check household fuse/circuit breaker. |
| Food not heating. | Incorrect cooking time or power level set. Microwave-safe cookware not used. | Adjust cooking time/power level. Use appropriate microwave-safe dishes. |
| Turntable not rotating. | Turntable not correctly placed on the roller support. Debris under the turntable. | Re-position the turntable and roller support. Clean the area beneath the turntable. |
| Unusual noise during operation. | Food container touching oven walls. Turntable not centered. | Ensure container does not touch walls. Re-center the turntable. |
Product Specifications
- Model Number: NRMO11WH6A
- Brand: Nostalgia
- Capacity: 1.1 Cubic Feet
- Wattage: 1000 watts
- Product Dimensions (D x W x H): 16.5" x 20" x 12.75"
- Color: White
- Material: Stainless Steel (Exterior), Glass (Turntable)
- Voltage: 120 Volts (AC)
- Number of Power Levels: 5
- Cooking Programs: 12 pre-programmed settings
- Special Features: Child Safety Lock, Removable Glass Turntable, Digital Clock
Warranty and Support
This Nostalgia NRMO11WH6A Microwave Oven comes with a 1 Year Limited Warranty. For warranty claims or technical support, please refer to the contact information provided with your purchase documentation or visit the official Nostalgia website.
For additional support and product information, you may visit the Nostalgia Store on Amazon.
Product Videos
Nostalgia Retro Classic Microwaves Overview
This video provides a general overview of the Nostalgia Retro Classic Microwaves, highlighting their design and features. It is provided by the vendor, EMG- Dropship.


