1. Introduction and Overview
The XUZHID F4 V3S Plus Flight Controller and 4-in-1 Electronic Speed Controller (ESC) module is designed for high-performance drone applications. This integrated unit provides stable flight control and efficient power output, making it suitable for various FPV (First Person View) setups.
Key Features:
- High-performance F4 V3S Plus Flight Controller.
- Integrated 45/55/60A 4-in-1 Electronic Speed Controller for stable power delivery.
- Robust hardware for precise control and strong interference resistance.
- Crafted from high-quality, lightweight materials for reliable operation.
- Equipped with rich interfaces and expansion functions to connect various external devices, meeting diverse application needs.

Image 1: The XUZHID F4 V3S Plus Flight Controller and 4-in-1 ESC Module, including an XT60 cable and capacitor.
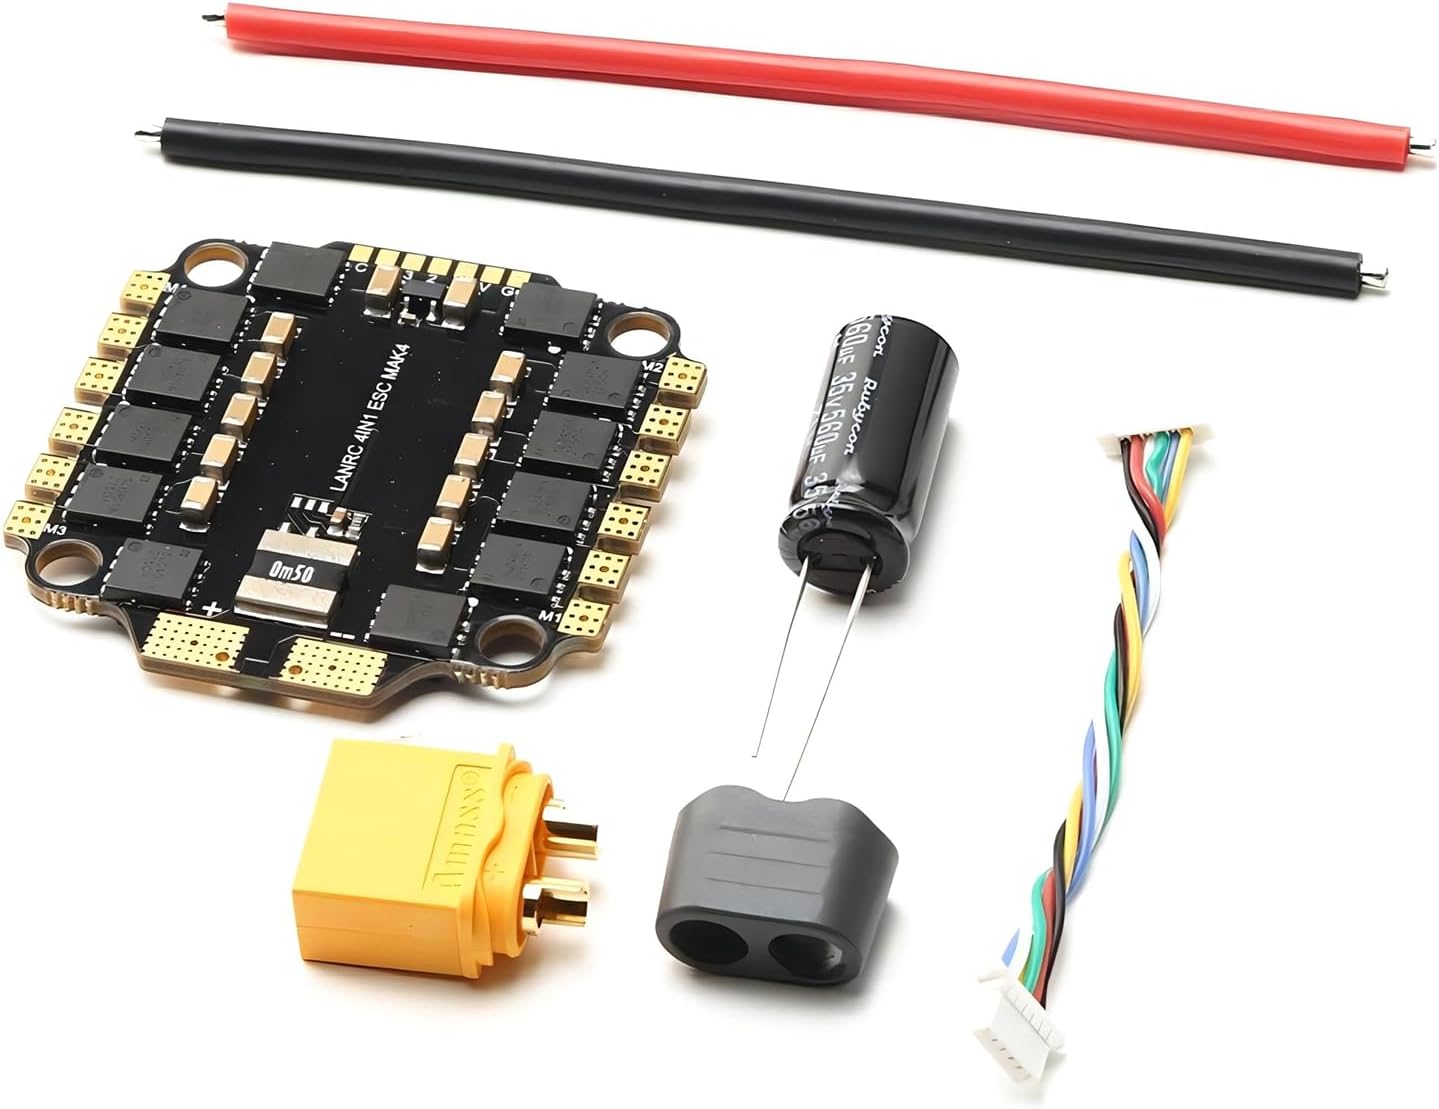
Image 2: A comprehensive view of the XUZHID F4 V3S Plus Flight Controller kit components.
2. Setup and Installation
Proper installation is crucial for the safe and optimal performance of your flight controller and ESC module. Follow these steps carefully:
- Mounting the Module: Securely mount the F4 V3S Plus module onto your drone frame using appropriate standoffs and screws. Ensure it is isolated from vibrations.
- Power Connection: Connect the XT60 cable to the battery input pads on the ESC. Ensure correct polarity (positive to positive, negative to negative). It is recommended to solder the included capacitor across the main battery leads for voltage spike suppression.
- Motor Connections: Solder your drone's motor wires to the designated motor pads (M1, M2, M3, M4) on the 4-in-1 ESC. Refer to the wiring diagram for correct motor order and rotation.
- Receiver Connection: Connect your ExpressLRS receiver to the appropriate UART pads on the flight controller. This module features an integrated receiver, simplifying the wiring.
- Peripheral Connections: Connect other peripherals such as FPV camera, VTX (Video Transmitter), GPS, or buzzer to their respective pads as per the flight controller's pinout diagram.
- Firmware Flashing: Connect the flight controller to your computer via USB. Use Betaflight Configurator (or similar software) to flash the latest stable firmware.
- Configuration:
- Initial Setup: Follow the setup wizard in Betaflight Configurator.
- Sensor Calibration: Calibrate the accelerometer and gyroscope for accurate flight performance.
- Motor Direction: Verify and adjust motor directions in the Motors tab.
- Receiver Setup: Configure your receiver protocol (e.g., ExpressLRS) and channel mapping.
- Flight Modes: Assign desired flight modes (e.g., Angle, Horizon, Acro) to your radio switches.
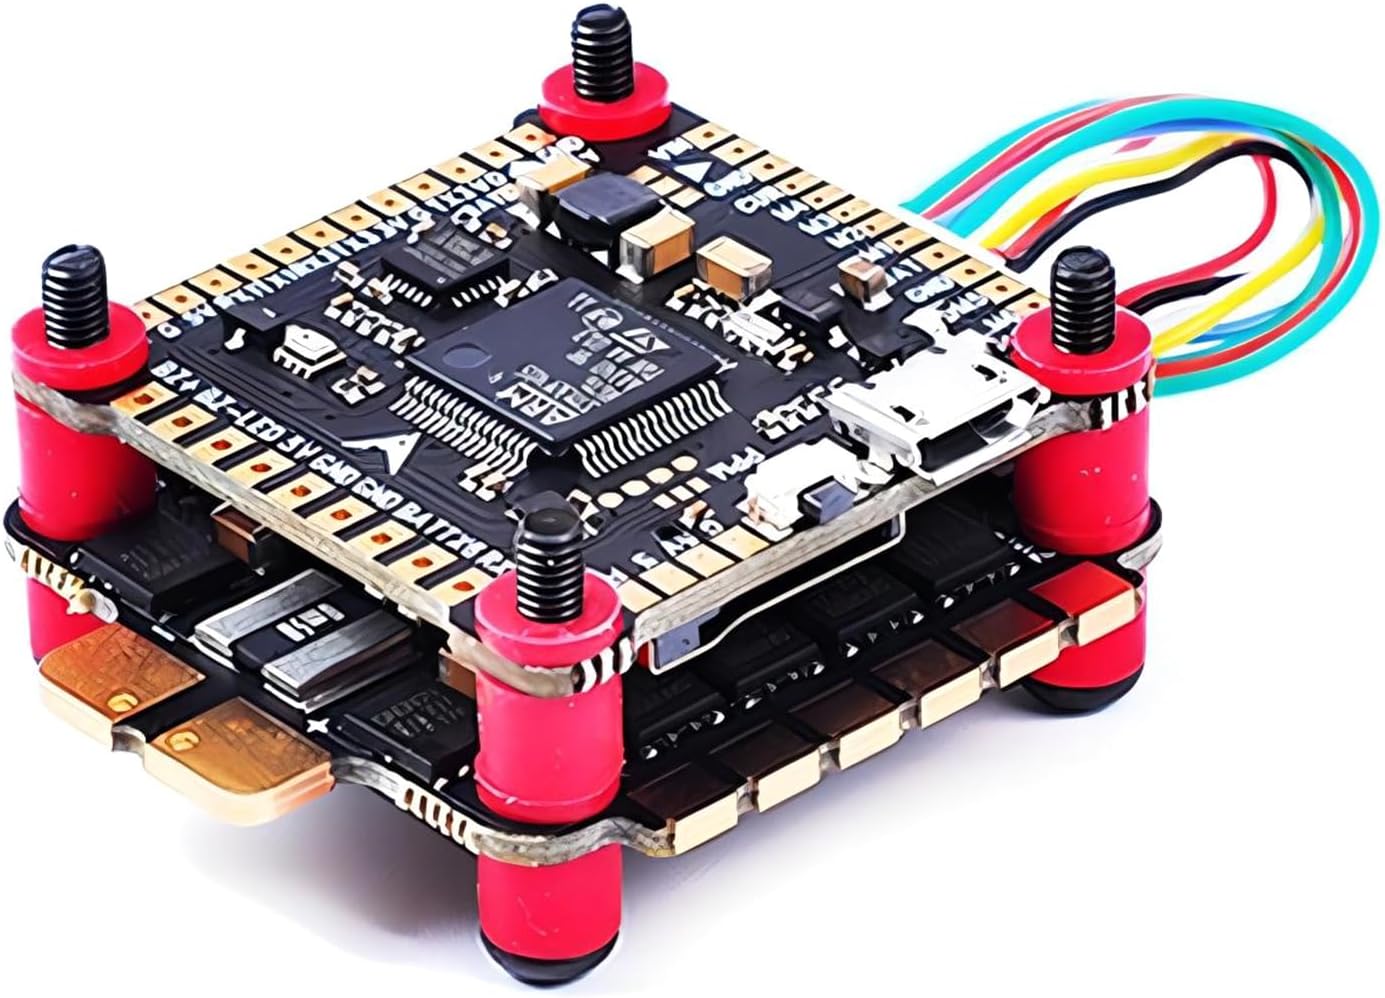
Image 3: The F4 V3S Plus Flight Controller and ESC module stacked and mounted with standoffs.

Image 4: Detailed wiring diagram illustrating motor (M1-M4) and battery (BAT, GND) connections on the F4 V3S Plus.
Warning: Always double-check all wiring and connections before applying power to prevent damage to components.
3. Operating Instructions
Once your F4 V3S Plus module is correctly installed and configured, you are ready for operation. Always prioritize safety during flight.
- Pre-Flight Check:
- Ensure battery is fully charged and securely mounted.
- Check all propellers for damage and ensure they are correctly installed.
- Verify radio control link and arming switch functionality.
- Perform a visual inspection for any loose wires or components.
- Arming the Drone: Move the assigned arming switch on your radio to the 'armed' position. The motors will typically spin slowly, indicating the drone is armed and ready for flight.
- Takeoff: Gently increase the throttle to lift off. For optimal control, maintain a smooth and steady throttle input.
- Flight Control:
- Roll (Aileron): Controls side-to-side movement.
- Pitch (Elevator): Controls forward and backward movement.
- Yaw (Rudder): Controls rotation around the vertical axis.
- Throttle: Controls altitude.
- Landing: Slowly decrease throttle to descend. Aim for a smooth landing on a flat surface. Disarm the drone immediately after landing.
- Post-Flight: Disconnect the battery. Inspect the drone for any damage or loose connections.
Safety Note: Always fly in a safe environment, away from people, animals, and obstacles. Be aware of local regulations regarding drone operation.
4. Maintenance
Regular maintenance ensures the longevity and reliable performance of your XUZHID F4 V3S Plus Flight Controller and ESC module.
- Visual Inspection: After each flight, inspect the module for any signs of physical damage, loose solder joints, or burnt components.
- Cleaning: Keep the module free from dust, dirt, and moisture. Use a soft brush or compressed air for cleaning. Avoid using liquids directly on the electronics.
- Firmware Updates: Periodically check for and install the latest firmware updates for your flight controller. These updates often include performance improvements, bug fixes, and new features.
- Component Check: Ensure all connectors (e.g., motor, receiver, camera) are securely attached. Replace any damaged wires or connectors promptly.
- Propeller Inspection: Regularly check propellers for cracks, bends, or chips. Damaged propellers can cause vibrations and reduce flight efficiency.
5. Troubleshooting
If you encounter issues with your F4 V3S Plus module, refer to the following common troubleshooting steps:
- No Power:
- Check battery connection and voltage.
- Inspect power leads and XT60 connector for damage or poor solder joints.
- Verify continuity of power lines with a multimeter.
- Motors Not Spinning:
- Ensure the drone is armed.
- Check motor connections to the ESC.
- Verify motor protocol (e.g., DShot) and direction in Betaflight Configurator.
- Test individual motors in Betaflight Configurator (remove propellers first!).
- No Receiver Signal:
- Confirm receiver is powered and correctly wired to the flight controller.
- Check receiver binding status with your radio.
- Verify UART configuration and serial receiver provider in Betaflight Configurator.
- Unstable Flight:
- Recalibrate accelerometer.
- Check for loose propellers or damaged motor bearings.
- Review PID tuning settings (advanced users).
- Ensure the flight controller is securely mounted and isolated from vibrations.
- LED Indicators: Refer to the flight controller's specific LED patterns for diagnostic information (e.g., solid blue for armed, flashing red for error).
For more advanced troubleshooting or persistent issues, consult online FPV forums or contact XUZHID customer support.
6. Specifications
| Feature | Detail |
|---|---|
| Product Type | Flight Controller & 4-in-1 ESC Module |
| Flight Controller | F4 V3S Plus |
| ESC Current Options | 45A, 55A, 60A (optional variants) |
| Input Voltage | LiPo 2-6S |
| Dimensions (Package) | 5.04 x 3.46 x 0.47 inches |
| Item Weight | 0.528 ounces |
| Manufacturer | XUZHID |
| ASIN | B0DKFFJRQ2 |
7. Warranty Information
XUZHID products are manufactured to high-quality standards. This product is covered by a limited warranty against defects in materials and workmanship for a period of [Insert Warranty Period, e.g., one year] from the original date of purchase. The warranty does not cover damage caused by improper installation, misuse, accidents, modifications, or normal wear and tear.
Please retain your proof of purchase for warranty claims. For detailed warranty terms and conditions, please visit the official XUZHID website or contact customer support.
8. Customer Support
For technical assistance, product inquiries, or support, please contact XUZHID customer service through the following channels:
- Website: Visit the official XUZHID website for FAQs, firmware downloads, and contact forms.
- Email: [Insert Customer Support Email Address, if available]
- Online Forums: Participate in FPV community forums for peer support and shared knowledge.
When contacting support, please have your product model number (F4 V3S Plus) and ASIN (B0DKFFJRQ2) ready.


