1. Introduction
This manual provides detailed instructions for the proper use and maintenance of your EBTOOLS Body Camera, model EBTOOLSs1gq2a4o5t-13. This portable camcorder is designed for various recording needs, including law enforcement, outdoor activities, and personal security. It features 1080p HD video recording, night vision, a 130° wide-angle lens, and loop recording capabilities.
2. Package Contents
Please verify that all items listed below are included in your package. If any items are missing or damaged, please contact customer support.
- EBTOOLS Body Camera
- USB Charging Cable
- Mounting Clip
- Bicycle/Motorcycle Mount
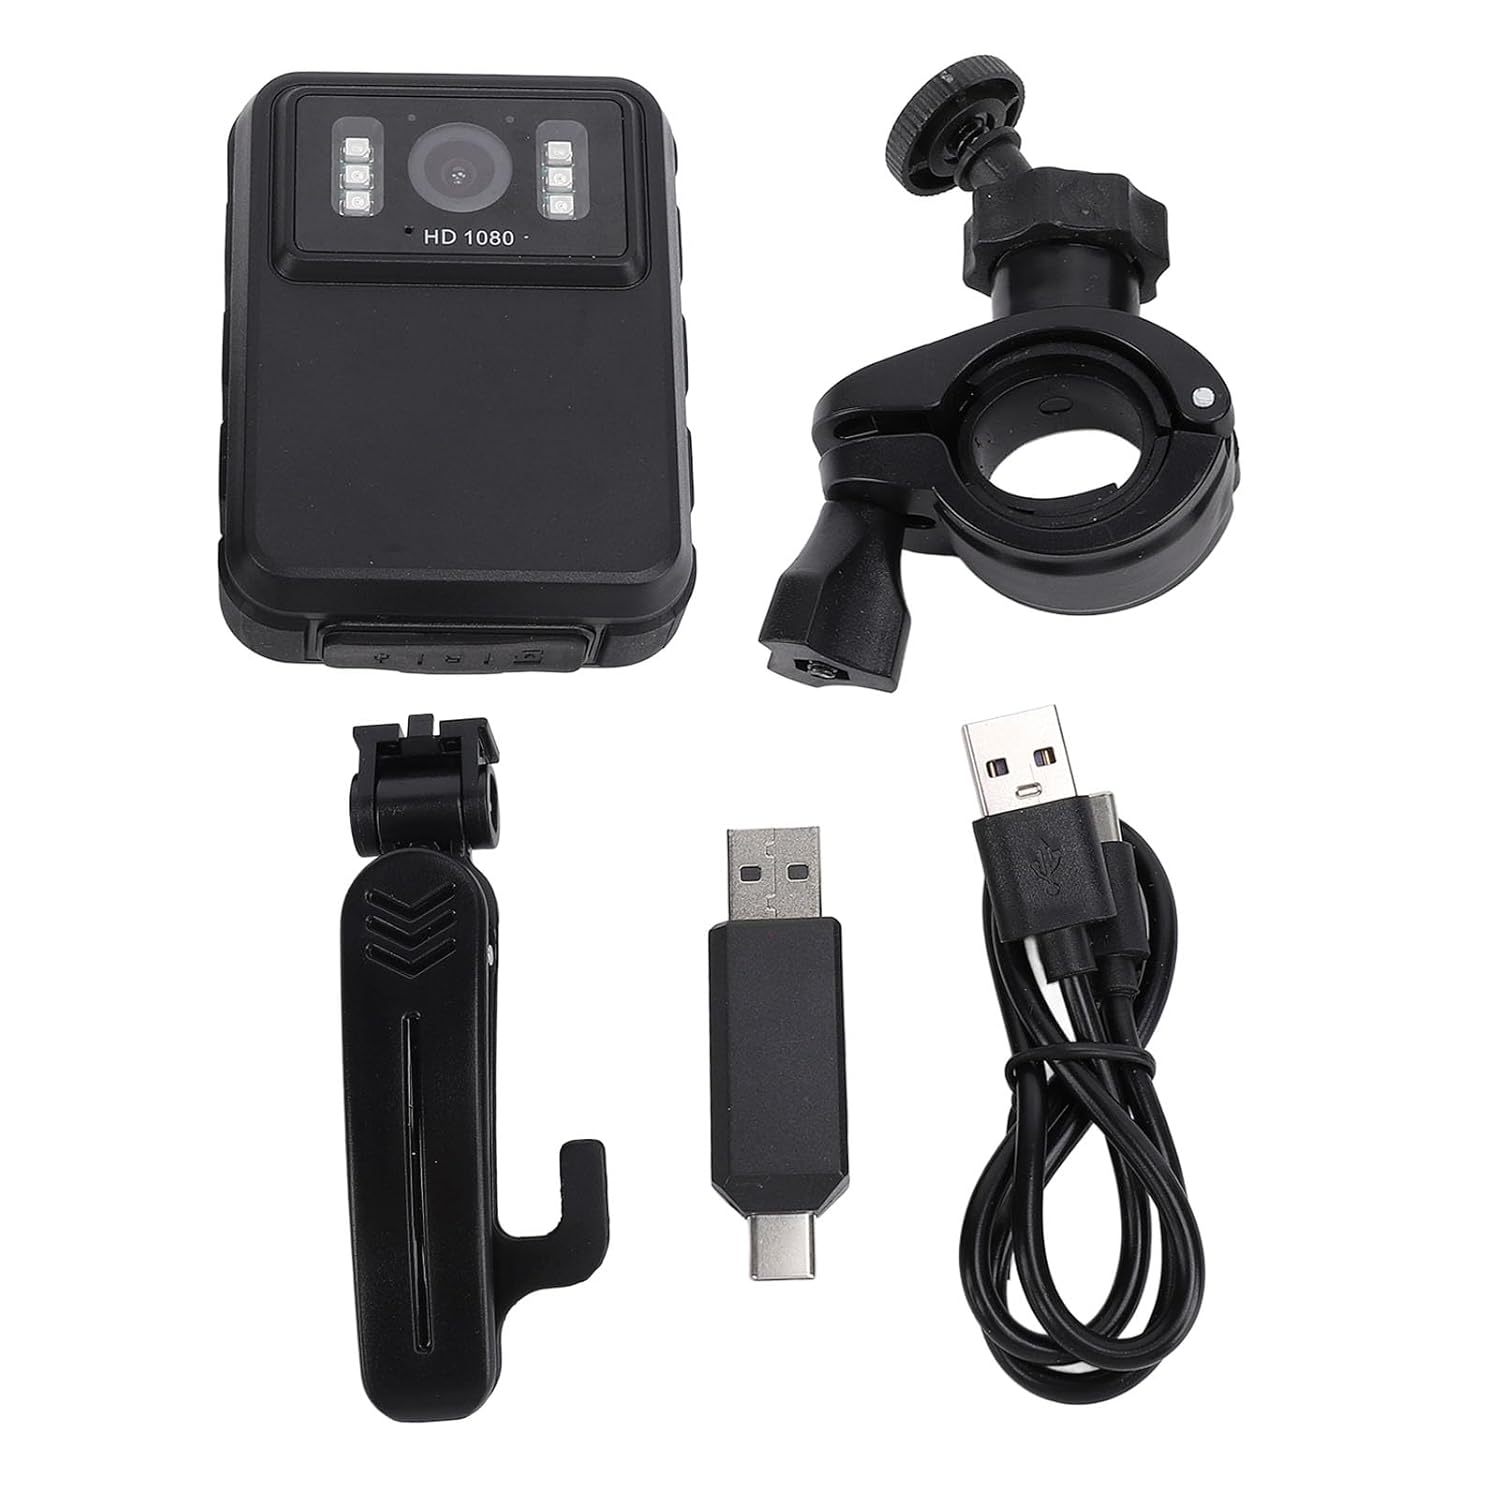
Figure 2.1: Included accessories with the EBTOOLS Body Camera.
3. Setup
3.1. Charging the Battery
Before first use, fully charge the camera's integrated 1800mAh lithium battery. Connect the camera to a power source using the provided USB cable. The charging indicator light will show the charging status and turn off or change color when fully charged.
3.2. Inserting a Storage Card
The camera supports storage cards (not included). Locate the card slot, typically on the side or bottom of the device. Insert a compatible storage card (e.g., up to 128GB) with the contacts facing down until it clicks into place. Ensure the card is formatted correctly (FAT32 recommended) for optimal performance.
3.3. Powering On/Off
To power on the camera, press and hold the Power button for a few seconds until the screen illuminates. To power off, press and hold the Power button again until the device shuts down.
4. Operating Instructions
4.1. Basic Video Recording
Once powered on, press the Record button to start video recording. The recording indicator will typically flash or remain solid red. Press the Record button again to stop recording. Videos are saved automatically to the inserted storage card.

Figure 4.1: The camera supports various resolutions, including 2K (2304x1296P) and 1080P (1920x1080P).
4.2. Night Vision Function
The camera is equipped with 6 infrared LEDs for night vision, effective up to 33 feet. Night vision can be set to Off, Auto, or Manual Adjustment via the camera's menu. In Auto mode, the camera will automatically activate night vision in low-light conditions.

Figure 4.2: The camera's built-in infrared lights enable clear recording in low-light environments.
4.3. Loop Recording
When loop recording is enabled, the camera will automatically overwrite the oldest video files when the storage card becomes full. This ensures continuous recording without manual intervention. You can typically set the duration of each video segment in the camera's settings.
4.4. Viewing Footage on Screen
The camera features a 2.0-inch IPS screen (320x240 resolution) for direct playback of recorded videos and viewing photos. Navigate through your files using the control buttons below the screen. This allows for immediate review without needing a computer.

Figure 4.3: The 130° wide-angle lens captures more of the scene, and the 2.0-inch IPS screen provides clear playback.

Figure 4.4: Detail of the camera's display and user interface.
4.5. Connecting to a Computer
To transfer files, connect the camera to your computer using the USB cable. The camera will typically appear as a removable storage device. You can then copy video and photo files to your computer.
4.6. Mounting the Camera
The camera comes with a mounting clip and a bicycle/motorcycle mount. The clip allows attachment to clothing, while the mount enables use as a dash cam or on a motorcycle. Ensure the camera is securely fastened before use.

Figure 4.5: The camera can be worn or mounted for versatile recording.
5. Maintenance
5.1. Cleaning
Use a soft, dry cloth to clean the camera body. For the lens and screen, use a specialized lens cleaning cloth and solution to avoid scratches. Do not use harsh chemicals or abrasive materials.
5.2. Battery Care
To prolong battery life, avoid exposing the camera to extreme temperatures. If the camera will not be used for an extended period, charge it to about 50% before storing and recharge every few months.
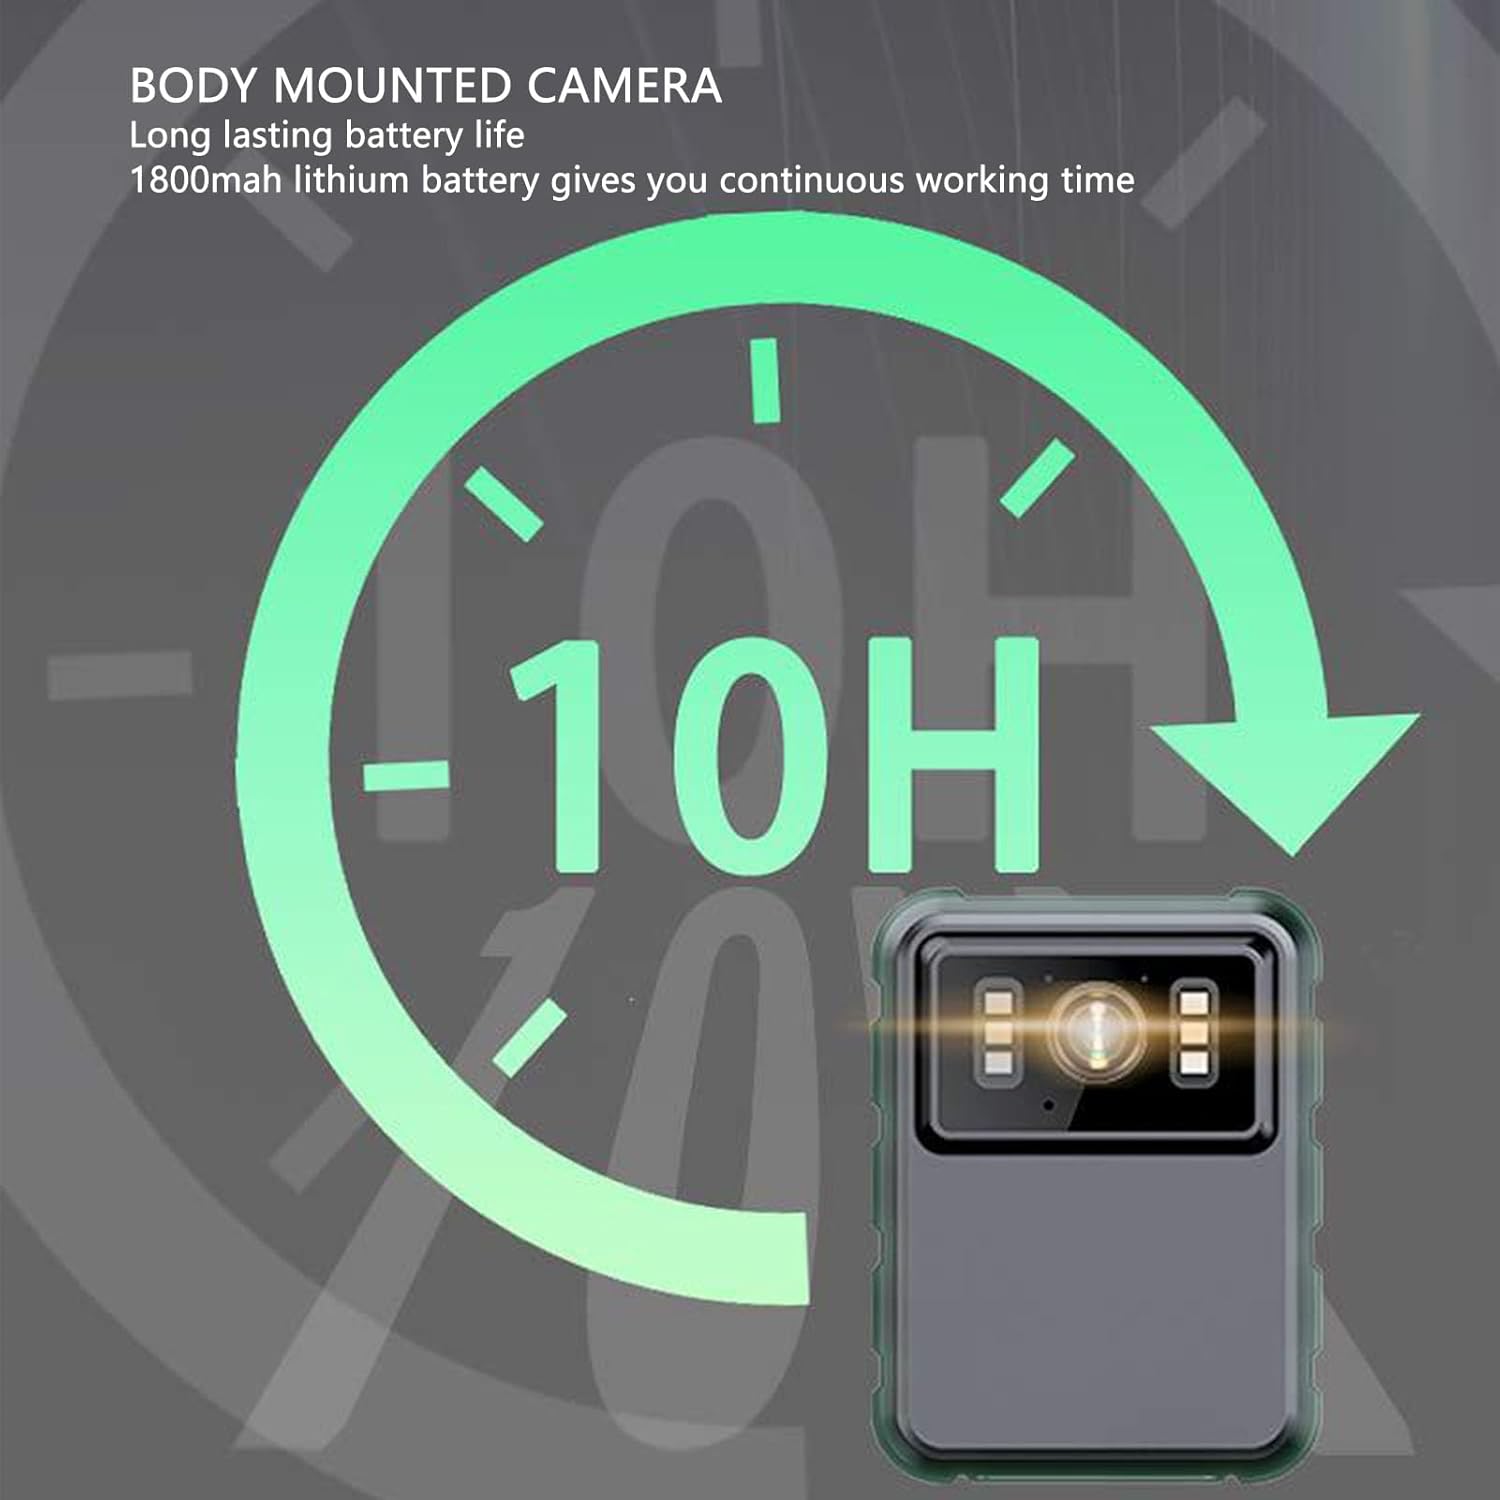
Figure 5.1: The camera offers approximately 10 hours of continuous operation on a full charge.
5.3. Storage
Store the camera in a cool, dry place away from direct sunlight and moisture. Keep it in its original packaging or a protective case to prevent damage.
6. Troubleshooting
6.1. Camera Not Powering On
- Ensure the battery is charged. Connect to a power source and try again.
- Press and hold the Power button for a longer duration (5-10 seconds).
6.2. Recording Issues (e.g., not saving, corrupted files)
- Check if a storage card is properly inserted and has sufficient free space.
- Ensure the storage card is formatted correctly (FAT32). Reformat if necessary (this will erase all data).
- Try using a different, high-quality storage card.
6.3. Poor Image Quality
- Clean the camera lens with a soft, lint-free cloth.
- Ensure there is adequate lighting. For low-light conditions, activate night vision.
- Check the recording resolution settings in the camera menu.
6.4. Night Vision Not Activating
- Verify that night vision is set to 'Auto' or 'Manual' in the camera settings, not 'Off'.
- Ensure the environment is dark enough for automatic activation.
7. Specifications
| Feature | Specification |
|---|---|
| Model | EBTOOLSs1gq2a4o5t-13 |
| Battery | Integrated 1800mAh Lithium Battery |
| Lens | Fixed lens, 100° viewing angle (product description states 130°, refer to product for exact) |
| Display | 2.0 inch IPS Screen, 320x240 resolution |
| Camera Resolution | 3840x2160p (2K), 2560x1440p, 1920x1080p (1080P) |
| Audio Bit Rate | WAV (512KBPS) |
| Infrared Night Vision | Support, built-in 6 infrared lights, up to 33 feet |
| Microphone | Omni-directional MIC with integrated capacitor |
| Connectivity | USB |
| Item Weight | 310 g |
Note: Some specifications, such as viewing angle, may vary slightly. Refer to product packaging for the most accurate details.
8. Warranty and Support
For warranty information and customer support, please refer to the documentation included with your product packaging or visit the official EBTOOLS website. Keep your purchase receipt as proof of purchase for any warranty claims.


