1. Introduction
This manual provides comprehensive instructions for the operation and maintenance of your EBTOOLS Body Camera, Model EBTOOLSs1gq2a4o5t-12. This portable, body-mounted camcorder is designed for various recording needs, including law enforcement, security, and outdoor activities, offering 1080P HD video recording, night vision capabilities, and a wide-angle lens.
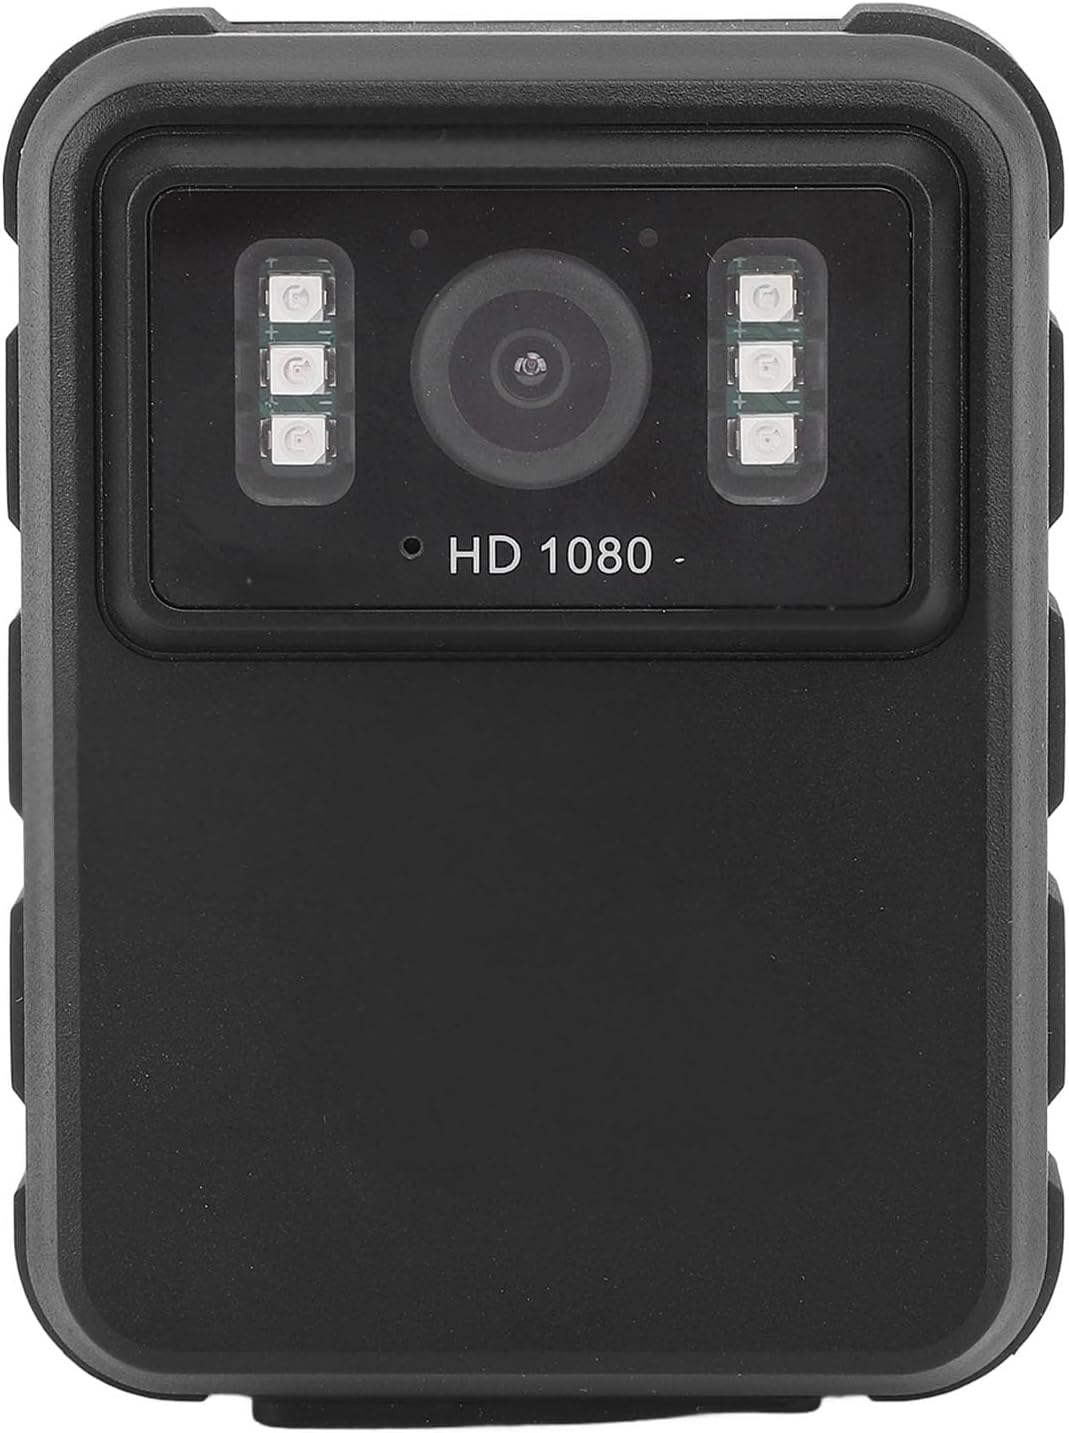
Figure 1: Front view of the EBTOOLS Body Camera, showing the lens and infrared LEDs.
2. Product Overview
2.1 Key Features
- 1080P HD Video Recording: Captures high-definition video for clear footage.
- Night Vision: Equipped with 6 infrared LEDs for clear recording up to 33 feet in low-light or dark conditions, with manual and automatic activation modes.
- 130° Wide Angle Lens: Provides a broader field of view to capture more of the surroundings.
- Loop Recording: Automatically overwrites the oldest footage when storage is full, ensuring continuous recording.
- 2.0-inch IPS Display: Allows for immediate video playback and photo viewing directly on the device.
- Versatile Mounting Options: Can be clipped to clothing, mounted on a motorcycle, or used as a dash cam.
- Long Battery Life: Built-in 1800mAh lithium battery supports approximately 8 hours of continuous recording.

Figure 2: Illustration of the 130° wide-angle lens and the 2.0-inch IPS display for clear viewing.

Figure 3: The camera's built-in infrared lights for night vision and its robust design suitable for various conditions.
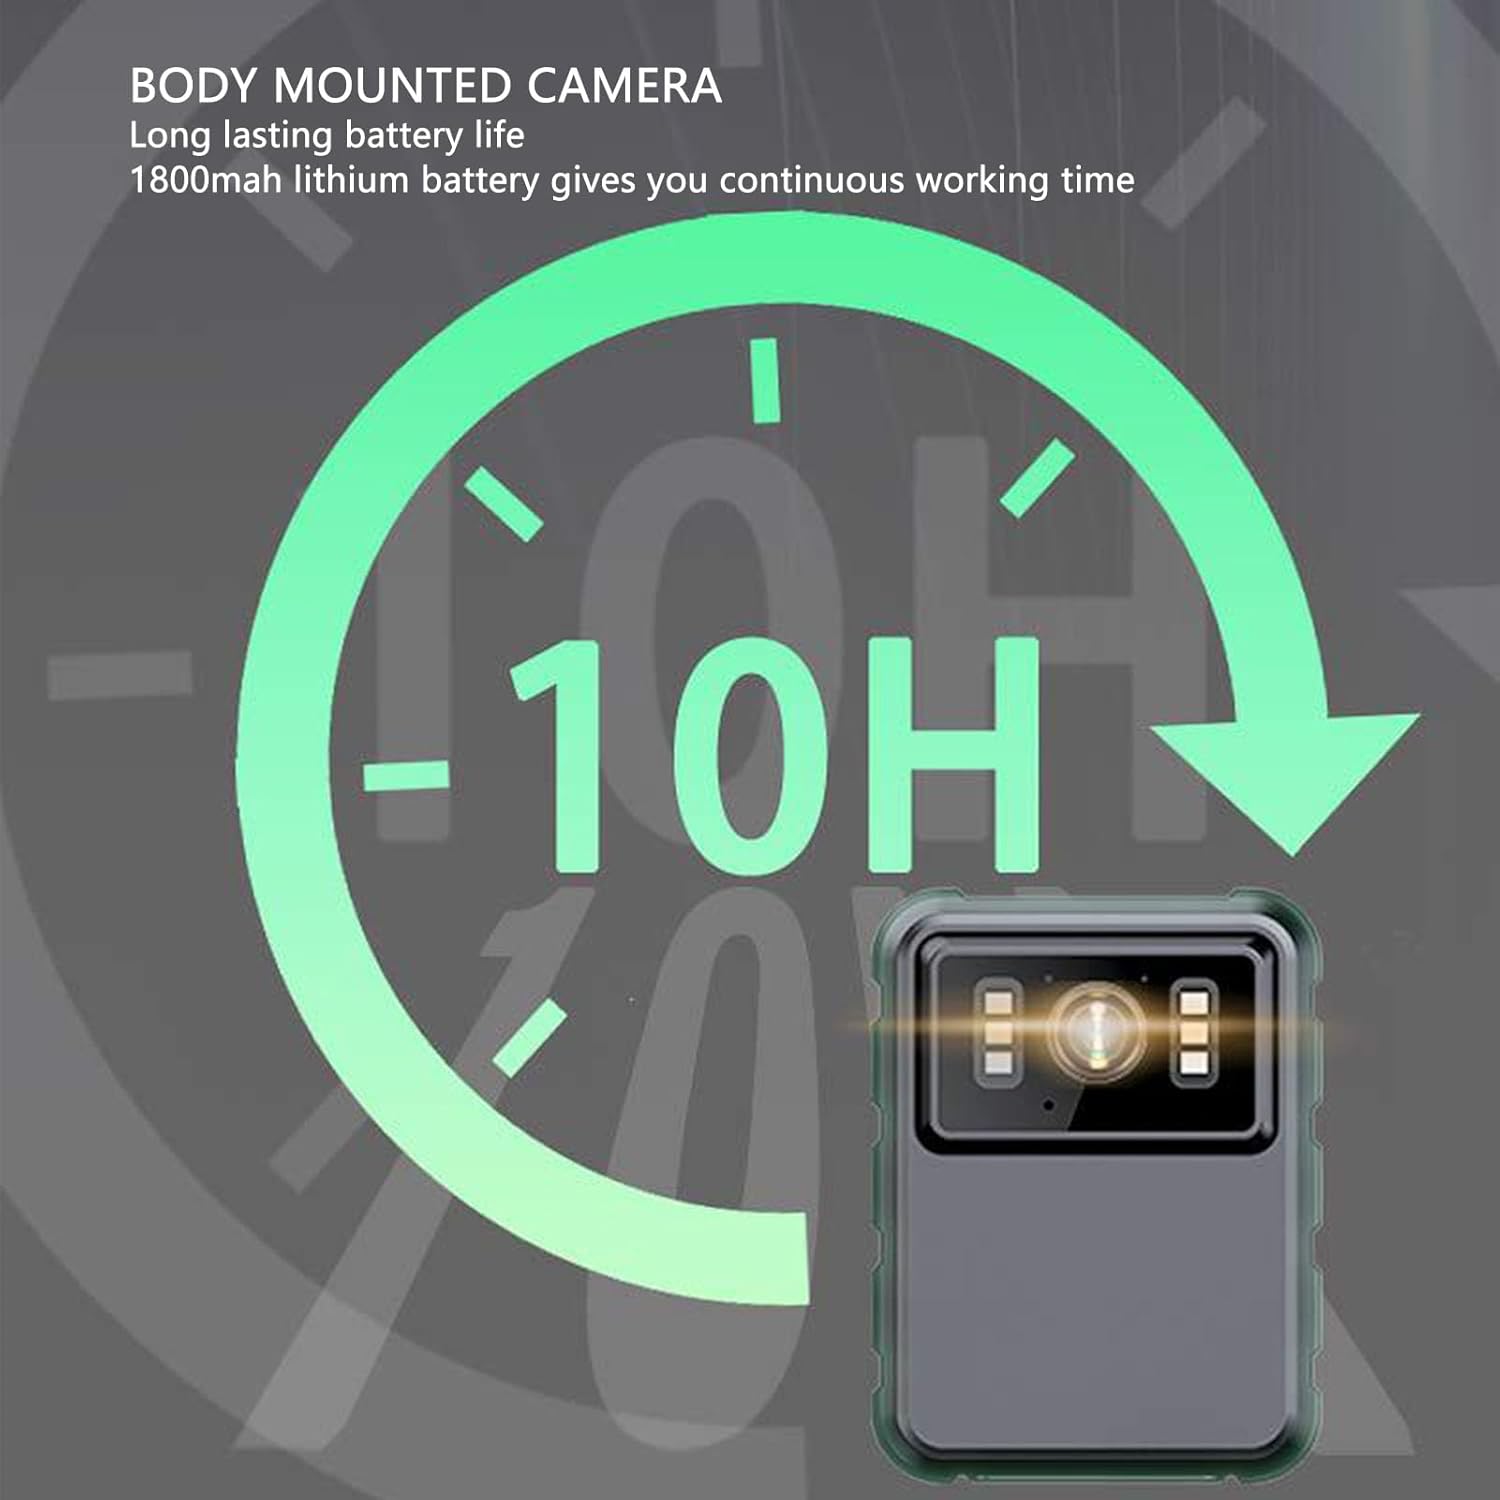
Figure 4: The camera features a long-lasting 1800mAh lithium battery, providing extended operational time.
2.2 Package Contents
Verify that all items are present in the package:
- 1 x EBTOOLS Body Camera
- 2 x Mounting Brackets
- 1 x Adapter
- 1 x Charging Cable (USB)
- 1 x User Manual (this document)
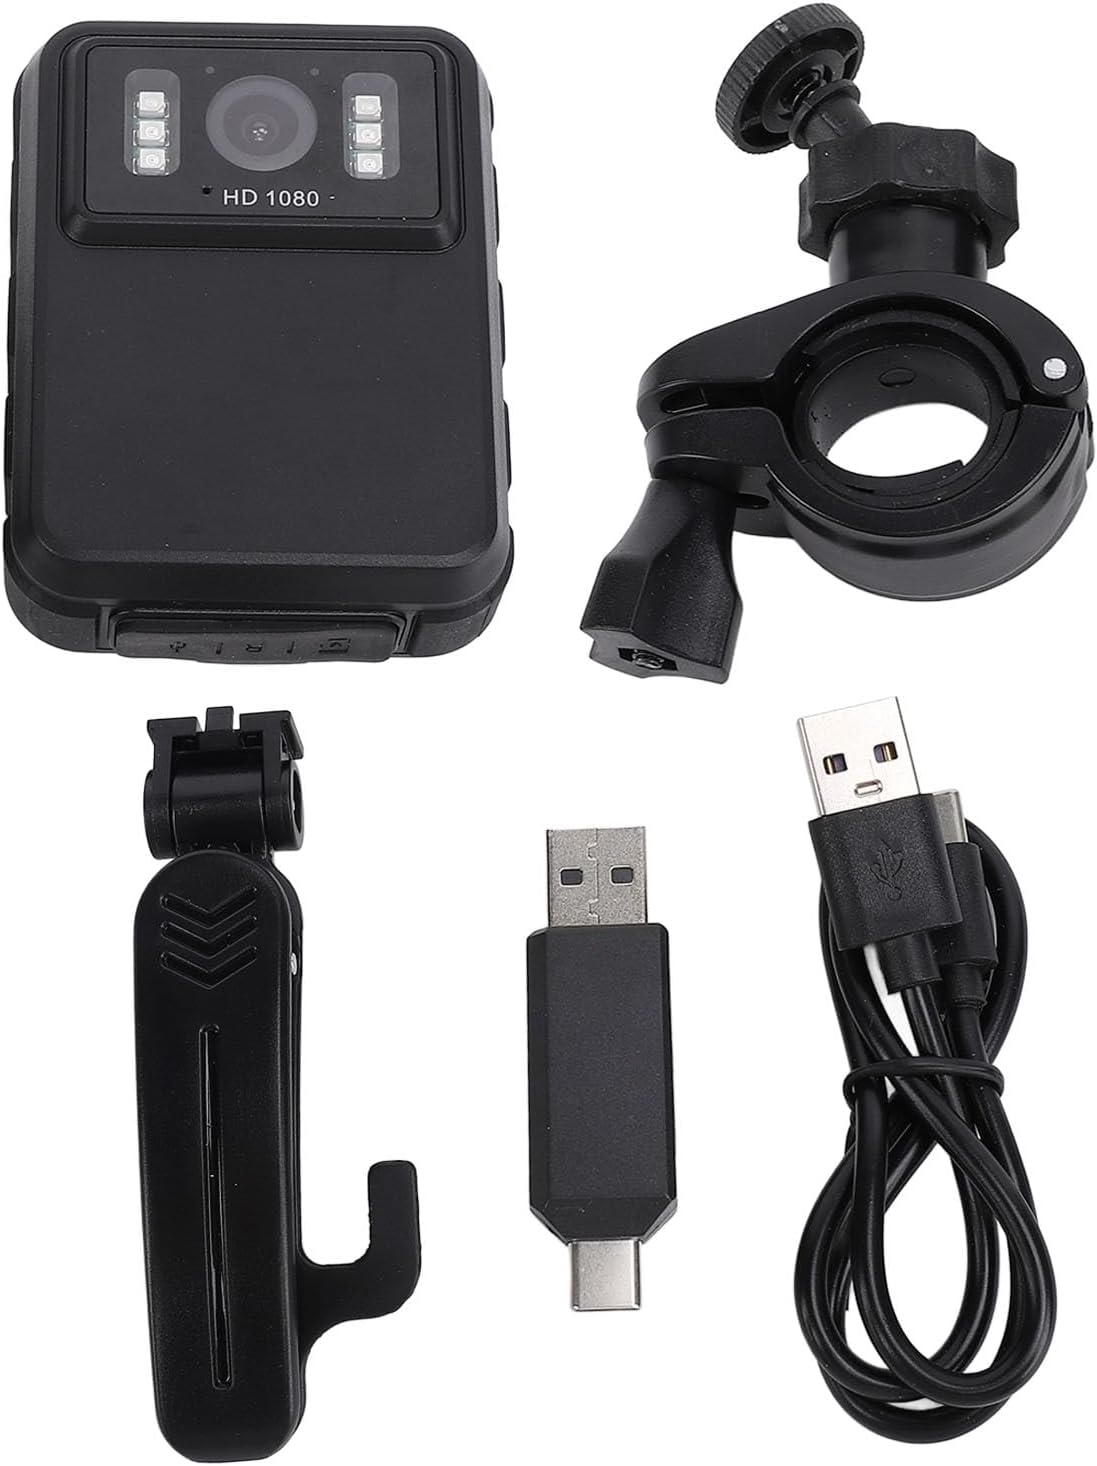
Figure 5: All components included in the EBTOOLS Body Camera package.
3. Setup
3.1 Initial Charging
- Connect the provided charging cable to the camera's USB port.
- Connect the other end of the charging cable to the adapter, then plug the adapter into a standard power outlet.
- Allow the camera to charge fully before first use. The charging indicator light will typically change color or turn off when charging is complete.
3.2 Powering On/Off
- To Power On: Press and hold the Power button (usually located on the side or top) for a few seconds until the screen illuminates.
- To Power Off: Press and hold the Power button again until the device shuts down.
3.3 Attaching Brackets
The camera comes with two types of brackets for versatile mounting:
- Clip Bracket: For attaching to clothing, pockets, or straps. Slide the camera onto the clip until it securely locks.
- Universal Mount Bracket: For motorcycle handlebars, dashboards, or other surfaces. Attach the camera to the bracket's screw mount, then secure the bracket to the desired location.

Figure 6: Detail of the camera's universal mounting screw thread.
4. Operating Instructions
4.1 Recording Video
- Ensure the camera is powered on.
- Press the dedicated Record button (often marked with a red dot or camera icon) to start video recording. A recording indicator (e.g., a flashing red light or icon on the screen) will appear.
- Press the Record button again to stop recording. The video file will be saved automatically.
- The camera supports 1080P and 2K resolution. Refer to the on-screen menu for resolution selection.

Figure 7: The camera supports both 2K and 1080P video recording resolutions.
4.2 Taking Photos
- With the camera powered on, switch to photo mode (if applicable, via a mode button or menu).
- Press the Shutter button (often the same as the Record button, or a separate button) to capture a still image.
4.3 Night Vision Activation
The camera features both automatic and manual night vision modes:
- Automatic Mode: The camera will detect low light conditions and automatically activate the infrared LEDs.
- Manual Mode: Access the camera's menu settings to manually turn night vision on or off.
4.4 Loop Recording
When the storage capacity is full, the camera will automatically overwrite the oldest video files to continue recording. This feature ensures continuous operation without manual intervention to clear space.
4.5 Playback and File Management
- On-Device Playback: Use the 2.0-inch IPS display and navigation buttons to browse and play recorded videos or view photos directly on the camera.
- Computer Connection: Connect the camera to a computer using the USB cable to transfer files for backup or viewing on a larger screen. The camera will appear as a removable disk drive.

Figure 8: The camera's display and control buttons for navigation and playback.

Figure 9: Examples of the camera's versatile applications, such as for delivery personnel or motorcycle riders.
5. Maintenance
- Cleaning: Use a soft, dry cloth to clean the camera body. For the lens, use a specialized lens cleaning cloth and solution to avoid scratches. Do not use harsh chemicals.
- Storage: Store the camera in a cool, dry place away from direct sunlight and extreme temperatures.
- Battery Care: To prolong battery life, avoid fully discharging the battery frequently. Charge the camera regularly, even if not in use, to maintain battery health.
- Firmware Updates: Check the manufacturer's website periodically for any available firmware updates to ensure optimal performance and new features.
6. Troubleshooting
6.1 Camera Not Powering On
- Ensure the battery is sufficiently charged. Connect the camera to a power source and allow it to charge for at least 30 minutes before attempting to power on again.
- Verify that the power button is being pressed and held for the required duration (typically 3-5 seconds).
6.2 Recording Issues (e.g., not saving, corrupted files)
- Check available storage space. If the storage is full and loop recording is not enabled or functioning correctly, new recordings may not save.
- Ensure the camera's internal storage is not corrupted. If issues persist, consider formatting the storage via the camera's settings menu (this will erase all data).
6.3 Night Vision Not Activating
- Verify that night vision is enabled in the camera's settings, either in automatic or manual mode.
- Ensure there are no obstructions blocking the infrared LEDs on the front of the camera.
6.4 Computer Not Recognizing Camera
- Try a different USB port on your computer.
- Ensure the USB cable is securely connected to both the camera and the computer.
- Restart both the camera and the computer.
7. Specifications
| Feature | Detail |
|---|---|
| Brand | EBTOOLS |
| Model Name | EBTOOLSs1gq2a4o5t-12 |
| Display Screen | 2.0 inch IPS Screen (Resolution: 320x240) |
| Lens Viewing Angle | 100° (Wide Angle) |
| Camera Resolution | 3840x2160p (2K), 2560x1440p, 1920x1080p (1080P) |
| Audio Bitrate | WAV (512KBPS) |
| Infrared Night Vision | Support, Built-in 6 Enhanced Energy Saving Infrared Lights |
| Infrared Switching Mode | Off, Auto, Manual Adjustment |
| Microphone | Omnidirectional Built-in Capacitor MIC |
| Built-in Battery | Lithium Battery 1800mAh |
| Recording Working Time | Approximately 8 hours |
| Continuous Recording Time | Approximately 8 hours |
| Longest Photo Time | Approximately 10 hours (1080p 30fps High Grade Video) |
| Connectivity Technology | USB |
| Item Weight | 10.9 ounces |
| Package Dimensions | 5.91 x 5.12 x 2.36 inches |
8. Warranty and Support
For warranty information, technical support, or service inquiries, please refer to the official EBTOOLS website or contact their customer service department. Keep your purchase receipt as proof of purchase for warranty claims.
You can typically find support contact details on the manufacturer's website or through the retailer where the product was purchased.


