1. Important Safety Instructions
Please read these safety instructions carefully before operating the unit. Keep this manual for future reference.
- Do not expose this appliance to rain or moisture.
- Do not block any ventilation openings. Install in accordance with the manufacturer's instructions.
- Do not install near any heat sources such as radiators, heat registers, stoves, or other apparatus (including amplifiers) that produce heat.
- Protect the power cord from being walked on or pinched, particularly at plugs, convenience receptacles, and the point where they exit from the appliance.
- Only use attachments/accessories specified by the manufacturer.
- Unplug this appliance during lightning storms or when unused for long periods of time.
- Refer all servicing to qualified service personnel. Servicing is required when the apparatus has been damaged in any way.
- Do not use batteries (8 x LR20/D) if they show signs of leakage or corrosion.
2. Package Contents
Verify that all items are present upon unpacking:
- Soundmaster SCD8300SW Boombox
- AC Power Cable
- User Manual
3. Product Overview
Familiarize yourself with the components of your Soundmaster SCD8300SW.
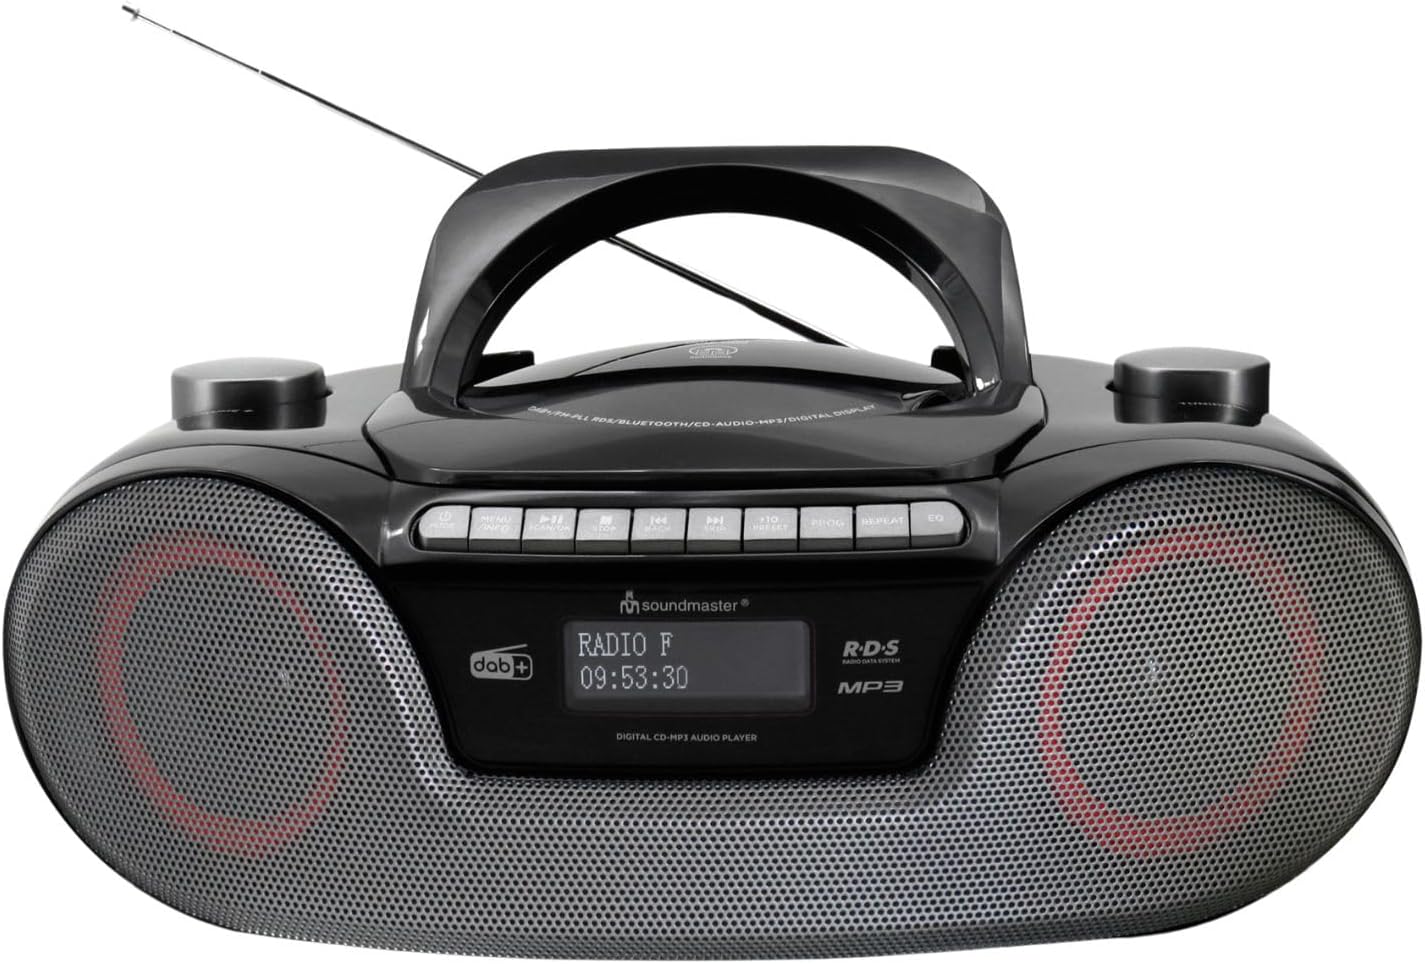
Image: Front view of the Soundmaster SCD8300SW Boombox. It features a central handle, an extendable antenna, a display screen, control buttons on top, and two speaker grilles on the front. The display shows 'RADIO F' and '09:53:30'.
Front Panel Controls and Features:
- Display Screen: Shows current mode, station information, time, and other relevant data.
- Speaker Grilles: Stereo speakers for audio output.
- Control Buttons (Top Panel): Includes Power, Mode, Play/Pause, Stop, Skip/Tune, Volume, EQ, Info, and Alarm functions.
- CD Compartment: Located on the top, for inserting CDs.
- USB Port: For connecting USB storage devices.
- SD Card Slot: For inserting SD memory cards.
- Headphone Jack: For private listening.
- AUX Input: For connecting external audio devices.
- Telescopic Antenna: For improved radio reception.
4. Setup
4.1 Power Supply
Your boombox can be powered by AC mains or batteries.
AC Power Operation:
- Ensure the unit is switched off.
- Connect the supplied AC power cable to the AC IN socket on the rear of the unit.
- Plug the other end of the AC power cable into a standard wall outlet.
Battery Operation:
For portable use, the unit requires 8 x LR20/D size batteries (not included).
- Open the battery compartment cover on the bottom of the unit.
- Insert 8 x LR20/D batteries, ensuring correct polarity (+/-) as indicated inside the compartment.
- Close the battery compartment cover securely.
4.2 Antenna Setup
For optimal DAB+ and FM radio reception, fully extend the telescopic antenna. Adjust its position for the best signal.
5. Operating Instructions
5.1 General Operation
- Power On/Off: Press the POWER button to turn the unit on or off.
- Mode Selection: Press the MODE button repeatedly to cycle through available modes: DAB+, FM, CD, Bluetooth, USB, SD, AUX.
- Volume Control: Use the VOLUME +/- buttons to adjust the sound level.
5.2 DAB+ Radio
- Switch to DAB+ mode using the MODE button.
- The unit will automatically scan for available DAB+ stations on first use.
- Use the SKIP/TUNE buttons to navigate through the list of stations.
- Press ENTER or PLAY/PAUSE to select a station.
- To save a station, press and hold the PRESET button, then use SKIP/TUNE to select a preset number (1-40) and press ENTER to confirm.
5.3 FM Radio
- Switch to FM mode using the MODE button.
- Press and hold the SKIP/TUNE buttons to automatically scan for the next available station. Press briefly to manually tune.
- To save an FM station, follow the same procedure as for DAB+ stations (up to 40 presets).
5.4 CD Player
- Switch to CD mode using the MODE button.
- Open the CD compartment cover and insert a CD (CD, CD-R/RW, or MP3 CD) with the label side facing up. Close the cover.
- The CD will begin playing automatically.
- Use PLAY/PAUSE to pause/resume playback.
- Use STOP to stop playback.
- Use SKIP/TUNE buttons to skip tracks.
5.5 Bluetooth Playback
- Switch to Bluetooth mode using the MODE button. The display will show 'BT' or 'PAIRING'.
- Enable Bluetooth on your smartphone, tablet, or other compatible device.
- Search for 'SCD8300SW' in your device's Bluetooth list and select it to pair.
- Once paired, you can play audio from your device through the boombox.
- Use the boombox's PLAY/PAUSE and SKIP/TUNE buttons to control playback, or control directly from your paired device.
5.6 USB/SD Playback
- Insert a USB flash drive into the USB port or an SD card into the SD card slot.
- Switch to USB or SD mode using the MODE button.
- The unit will automatically detect and begin playing MP3 files from the storage device.
- Use PLAY/PAUSE, STOP, and SKIP/TUNE buttons to control playback.
5.7 Audio Book Mode
The Audio Book mode is designed for optimized playback of audio books, often resuming from the last played position.
- When playing audio from CD, USB, or SD, activate the Audio Book mode (refer to specific button or menu option if available, typically labeled 'Audio Book' or similar).
- This mode may offer features like bookmarking or faster navigation suitable for spoken word content.
5.8 Alarm Clock Function
The unit features two alarms with a weekend function.
- Press the ALARM button to enter alarm setup.
- Use SKIP/TUNE to select Alarm 1 or Alarm 2, then press ENTER.
- Set the alarm time, source (Buzzer, Radio, CD, USB/SD), and volume using SKIP/TUNE and ENTER.
- Activate or deactivate the weekend function as desired.
- Press ALARM again to exit setup.
5.9 Equalizer Presets
Press the EQ button repeatedly to cycle through various equalizer presets (e.g., Pop, Rock, Jazz, Classic, Flat) to adjust the sound profile.
5.10 Headphone and AUX Connection
- Headphone Jack: Plug 3.5mm headphones into the headphone jack for private listening. The speakers will be muted automatically.
- AUX Input: Connect an external audio device (e.g., MP3 player) to the AUX IN jack using a 3.5mm audio cable. Switch the boombox to AUX mode to play audio from the connected device.
6. Maintenance
Proper maintenance ensures the longevity of your device.
- Cleaning: Use a soft, dry cloth to clean the exterior of the unit. Do not use abrasive cleaners or solvents.
- CD Lens Cleaning: Use a specialized CD lens cleaner disc periodically to maintain optimal CD playback.
- Storage: If storing the unit for an extended period, remove the batteries to prevent leakage. Store in a cool, dry place.
- Antenna: Retract the telescopic antenna when not in use to prevent damage.
7. Troubleshooting
Refer to this table for common issues and their solutions.
| Problem | Possible Cause | Solution |
|---|---|---|
| No power | Power cable not connected; Batteries depleted or incorrectly inserted. | Check AC power connection; Replace batteries or ensure correct polarity. |
| Poor radio reception | Antenna not extended or poorly positioned; Weak signal area. | Fully extend and adjust the telescopic antenna; Try moving the unit to a different location. |
| CD not playing | CD inserted incorrectly; CD is dirty or scratched; Incorrect mode selected. | Ensure CD is inserted label-side up; Clean or replace CD; Select CD mode. |
| Bluetooth pairing failed | Bluetooth not enabled on device; Unit not in pairing mode; Device too far. | Ensure Bluetooth is active on your device; Switch boombox to Bluetooth mode; Keep devices within range (approx. 10m). |
| USB/SD not playing | Incorrect file format; USB/SD card not inserted correctly; Incorrect mode selected. | Ensure files are MP3 format; Reinsert USB/SD card; Select USB or SD mode. |
8. Specifications
Technical specifications for the Soundmaster SCD8300SW.
| Feature | Specification |
|---|---|
| Model Number | SCD8300SW |
| Brand | Soundmaster |
| Color | Black |
| Connectivity Technology | Bluetooth V5.3, Auxiliary |
| Compatible Devices | MP3 Player, Smartphone, Tablet |
| Speaker Type | Stereo |
| Dimensions (L x W x H) | 38 x 22 x 14 cm |
| Power Source | AC Power Cable (included), 8 x LR20/D Batteries (not included) |
| Item Weight | 2 Kilograms |
| Supported Standards | CD, CD-R/RW, CD-MP3, USB/SD-MP3 |
| Radio Tuner | DAB+, FM |
| Display | Dimmable Dot Matrix LCD |
| Presets | Up to 40 DAB+ and 40 FM stations |
9. Warranty and Support
This product comes with a standard manufacturer's warranty. For detailed warranty information, please refer to the documentation included with your purchase or contact Soundmaster customer support.
For technical assistance or service inquiries, please visit the official Soundmaster website or contact their customer service department.